Homemade Danish Pastry Dough (with Video Tutorial)
Have you ever wanted to make homemade Danish for a special breakfast or brunch? Start with my easy Danish Pastry Dough! I’ve broken the recipe down to be super-simple and there’s even a video tutorial so you can follow along. You’re moments away from the most butter-y, flaky, fruit-filled treat ever!

I am declaring this the summer of bucket-list baking!
Is there something you’ve always wanted to try? But maybe you’ve been a little afraid? Maybe there are a lot of steps, or maybe it’s just a little bit complicated?
I’ve got lots of items like that. Some I’ve yet to tackle and a few that I took the plunge on. Know what I’ve found, most times? It’s not nearly as bad as we build it up in our minds to be.
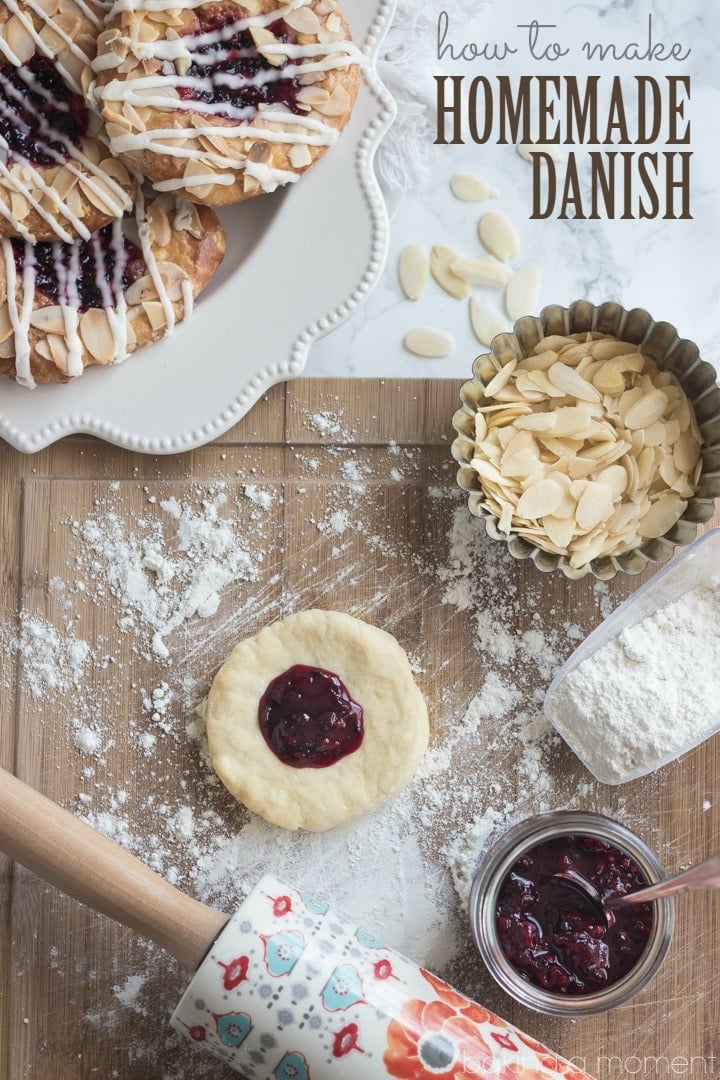
Every time I’ve ever had a Danish at a coffee shop or bakery, I’ve always been a little let down. They always seem to be a bit heavy, and kinda soggy. There’s only one solution, and that’s to make it homemade, from all the best ingredients, and fresh from the oven.
But ugh. I had heard about that butter square. How you have to create a square of butter, encase it within a yeast dough, and roll and fold it over on itself a hundred times to get all those flaky layers. Are you kidding me??? The though of it was exhausting.
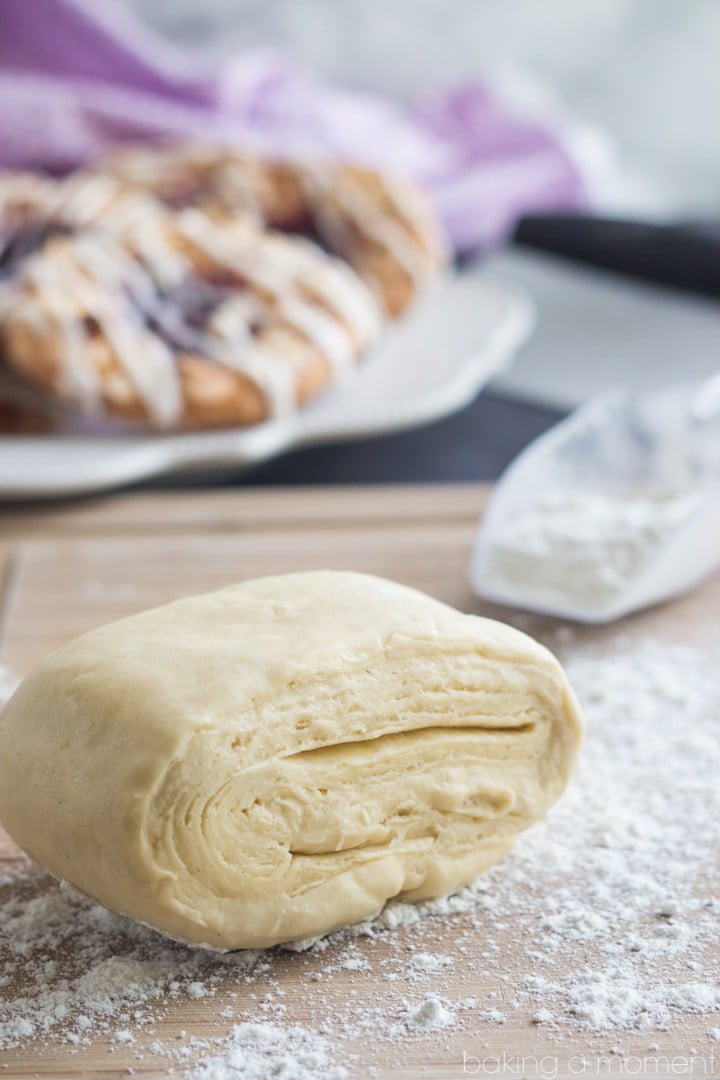
Well, I finally just got up and did it. And guess what? It wasn’t hard at all. The dough itself is as simple as mixing dry with wet, and the butter square took me all of about five minutes. Nothin’ to it!
The final product is light as air and super butter-y. I used the best ingredients I could get my hands on, including Irish butter from Kerrygold. What an incredible result! The flaky layers are to-die-for. On Friday I’ll tell you all about the filling and garnishes, so stay tuned!
I do a lot of talking in this video tutorial. I’m not really sure how I feel about that, but rather than typing out the step-by-step, I’m just going to let it speak for itself. I hope you enjoy, and let me know if you give this a try!
This post contains affiliate sales links.

Easy Danish Pastry Dough
Ingredients
- 1 cup (227 g) cold unsalted butter, (2 sticks)
- 2 3/4 cups (343.75 g) all-purpose flour
- 3 tablespoons granulated sugar
- 1 1/4 teaspoons (1.25 teaspoons) kosher salt
- 2 teaspoons dry active yeast
- 1/2 cup (122 ml) milk
- 1/4 cup (62.5 ml) warm water, (like a baby's bath)
- 1 large egg
- 1 teaspoon vanilla bean paste
Instructions
- Cut a half a tablespoon of butter off the ends of each stick of butter, and set aside.
- Cut each stick of butter in half, then cut each half stick lengthwise.
- Line up 4 butter rectangles side by side on a sheet of lightly floured parchment.
- Dust with flour, and fold the parchment up and over the butter.
- Use a rolling pin to lightly pound/roll the butter to a thickness of about 1/4-inch.
- Repeat with the remaining 4 butter rectangles.
- Refrigerate the parchment-wrapped butter squares.
- Place the flour, sugar, salt, and yeast in a large mixing bowl and stir to combine.
- Cut in the reserved tablespoon of cold butter, rubbing between your fingertips to fully incorporate.
- In a large liquid measure, stir the milk, water, egg, and vanilla together.
- Add the liquid ingredients into the dry and stir together.
- Knead the dough for approximately 7 minutes in a stand mixer fitted with the dough hook attachment.
- Turn the dough out onto a lightly floured surface, and roll/pat into a rough rectangle shape. (Ideally, the short side of the rectangle should be about the same length as the long side of the butter square in step 2. The long side should be about 3x the length of the short side of the butter square.)
- Place one of the butter squares in the center of the dough rectangle.
- Fold one side of the dough over the butter, and top with the remaining butter square.
- Fold the other side of the dough over the second butter square.
- Pinch the sides of the dough together to encase the butter within the dough.
- Roll the dough out to a thickness of about 1/2-inch, then fold the dough into thirds, like a letter. Repeat, two more times.
- Wrap loosely with plastic wrap and refrigerate overnight (or for a minimum of 1 hour).


This is a puff pastry dough not a danish dough
Not true- puff pastry does not have yeast in it.
Any chance you can do the recipe by weights? I’ve found almost every recipe comes out different because everyone measures things differently, i.e. flour, sugar, etc. I’ve wasted more flour and sugar because I use weight and even almost every blogger uses different weights with their recipes. Thank you so much.
Yes if you’d like to view the recipe by weight, just click the “metric” button just below the list of ingredients.
I’ve made your danish dough 3 times now! Our local bakery closed due to Covid. I was trying to find a recipe that would get me close to their danish. Ha – This is better than theirs! Not hard at all. Thanks for the video . I wouldn’t be able to do it without you!!
Question – how long can the dough last in the fridge? There are only two of us and this yields more than we need.
So glad to hear you like it! You can keep it in the fridge for up to 48 hours, or in the freezer for up to 2 weeks. Thanks for the great feedback!
I’m in Canada and our butter doesn’t come in sticks. It comes in 1 pound blocks. In fact, I don’t think it comes in sticks anywhere but the US. You need to modify your instructions to include this.
Thanks
My instructions include metric and imperial measurements, as well as noting the number of sticks. Is there a fourth way of measuring that I am unaware of?
I like it but I CNT see the video so it is hard for me to follow the instruction s carefully
Can you make this dough ahead of time and freeze it until you are ready to use it?
It will probably keep in the freezer for a few weeks but after a very long time the yeast will most likely die. Good luck!
Made this last weekend, my husband loved it ! I used a traditional cream cheese filling.
Very easy recipe to follow, I am used to making puff pastry so I chilled the dough between turns.
And baked them for 20 min at 400°F. Was a great balance of soft and flaky.
Thank you for sharing
My pleasure Lison! I’m so glad you and your husband were pleased with the recipe. Thanks so much for the great feedback!
Hi Allie ,
I tried making the dough and as I was rolling it out after adding the butter squares the butter made a mess all over the dough . What do I do to fix it and how can I avoid this happening next time .
Thank you
Sounds like your butter was too soft! It needs to stay very cold. Hope you have better luck next time!
Best Danish Dough recipe I have tried so far! I will keep using it and recommending it to others. I very much appreciate the nutrition information that you included. My son is diabetic so we use the carb counts to see how much insulin he has to take. Again appreciated!!!!??
It’s my pleasure Tammy! I’m so glad you were happy with it. Thank you so much for the positive feedback. Wishing you and your son all the best!