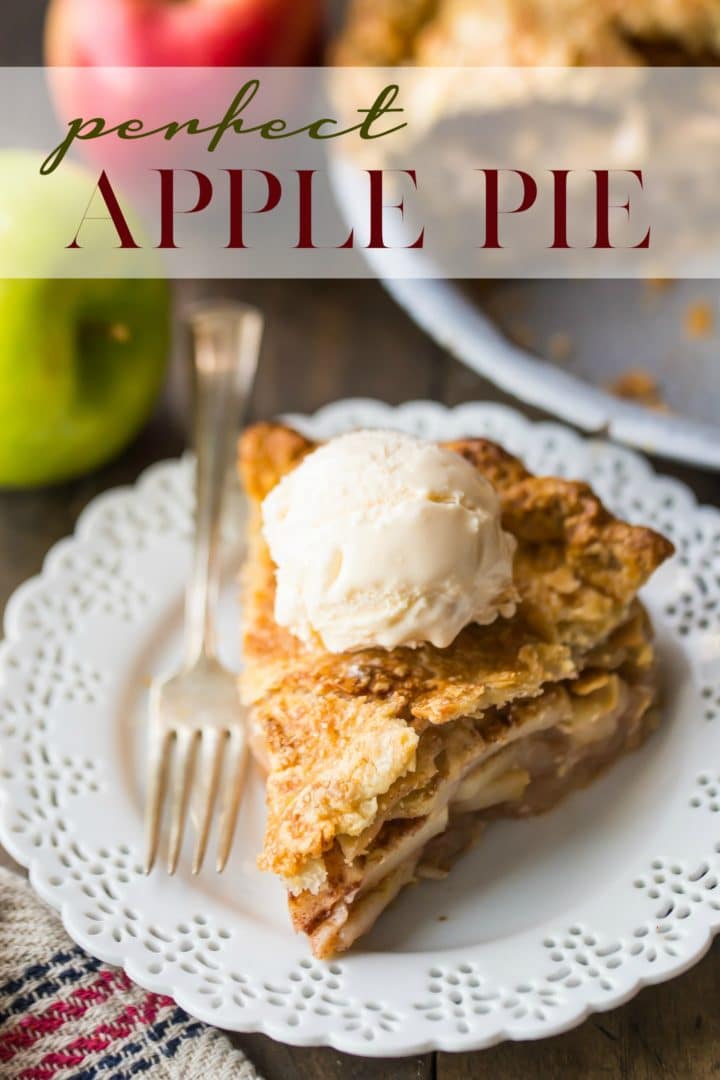
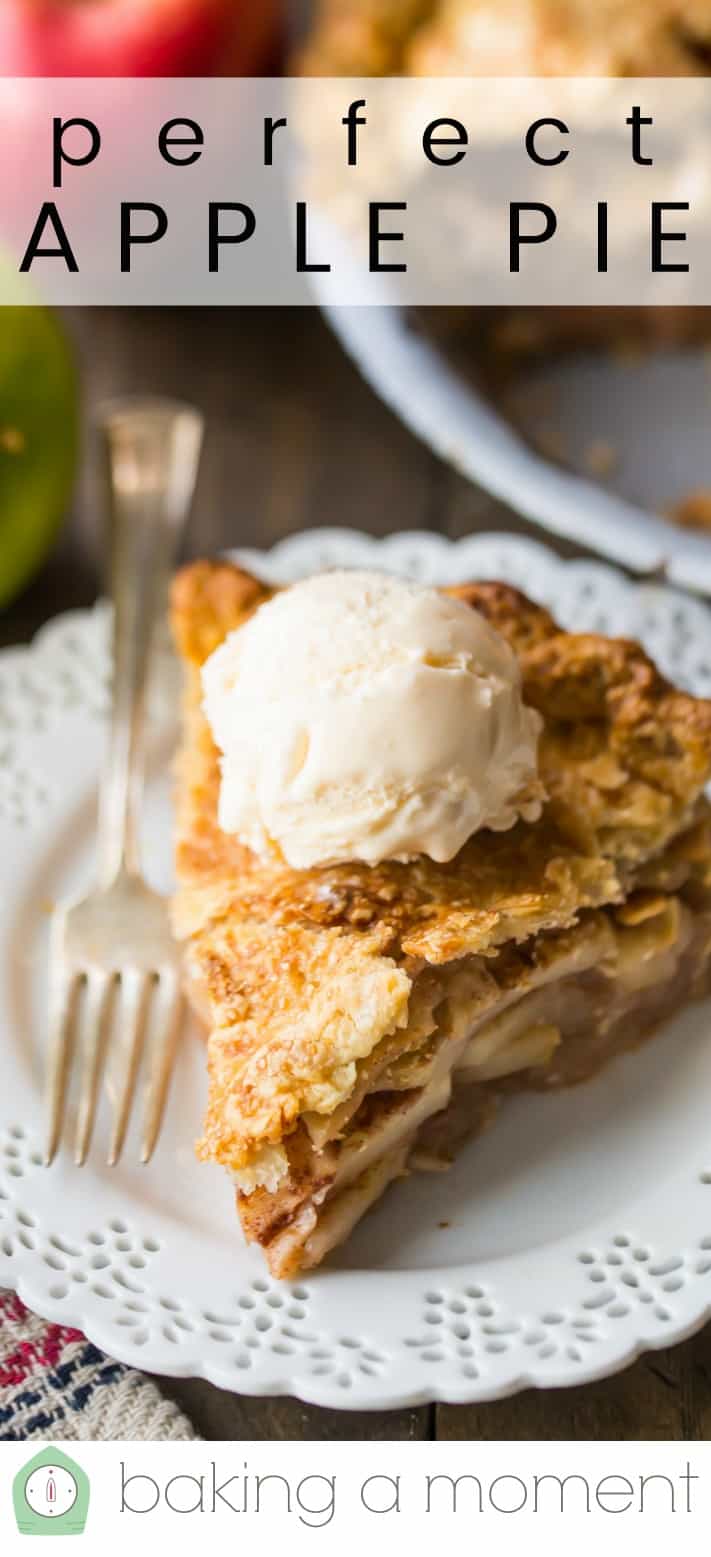
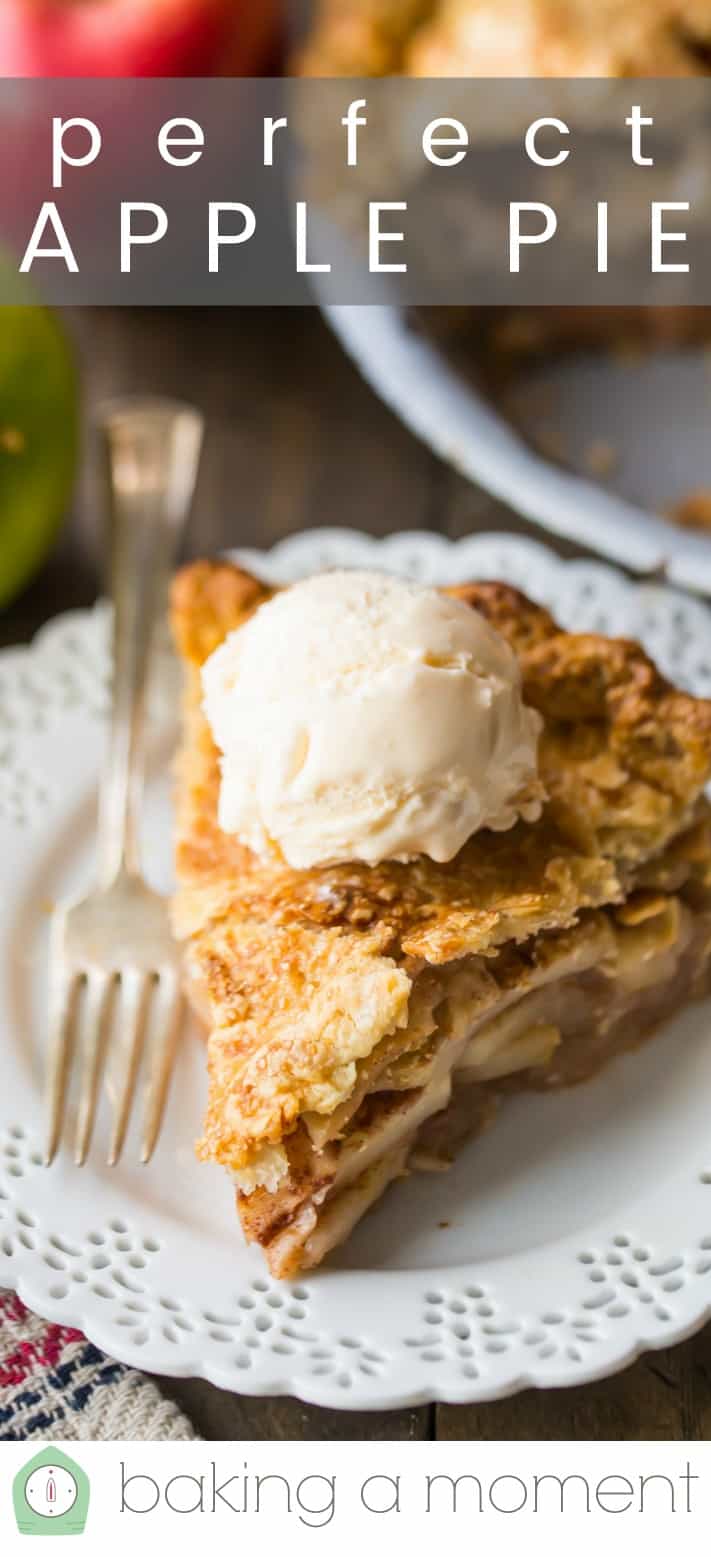
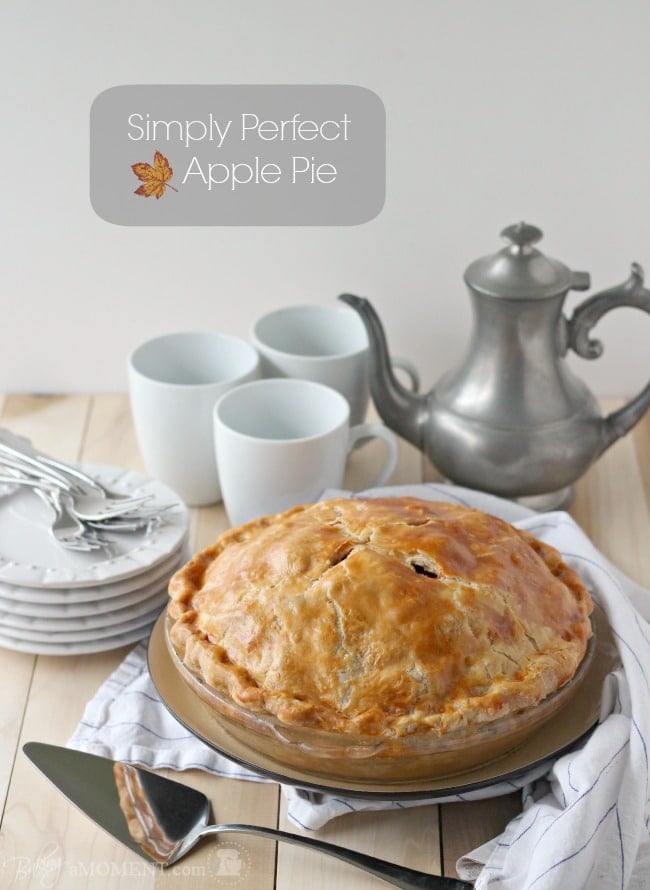
Simply Perfect Apple Pie
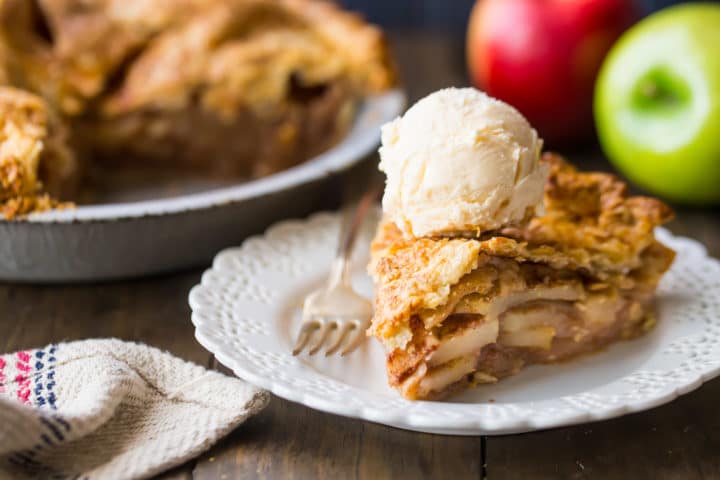
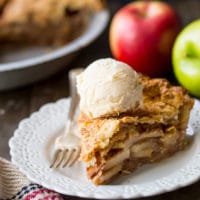
Everything you could ever want in an apple pie! Buttery, flaky crust, tart and juicy apples, and sweet, warm holiday spice. It’s simply perfect!
*This post originally published on November 18, 2013. I thought it was due for an update! So, I’ve included new photos, added a how-to video, and given some more detailed instructions and tips for success. Hopefully you’ll enjoy this apple pie recipe as much I do!*
Here I am with another perfect pie recipe!
This has definitely been the year of pies for me. I shared a ton of homemade pies over the summer, and now that fall is here I haven’t slowed down for a second. In the last few weeks, I’ve posted pumpkin pie and pecan pie, and today I am here to share our family favorite: Apple Pie.
My oldest son lives for apple pie. It’s his favorite dessert in all the land, and I am right there with him. It just wouldn’t be fall without apple pie!
This recipe is a total classic. Flaky pastry, tender apples, and plenty of warm cinnamon and spice. The flavors are perfectly balanced, and the contrast between soft fruit and crisp crust is everything!
WHAT KIND OF PASTRY CRUST TO USE FOR APPLE PIE
I have 3 main types of pie crust on this site: Graham Cracker Crust, Tart Crust, and Pie Crust.
The pie crust recipe is definitely the best option for apple pie. Graham cracker crust doesn’t hold together well enough, and there is just too much filling to all fit into a tart!
The pie crust is buttery and flaky, and provides a nice contrast to all the sweet and soft apples in the filling. You can use my recipe or just get it store bought. There’s more info on that below, so read on!
HOW TO MAKE APPLE PIE FROM SCRATCH
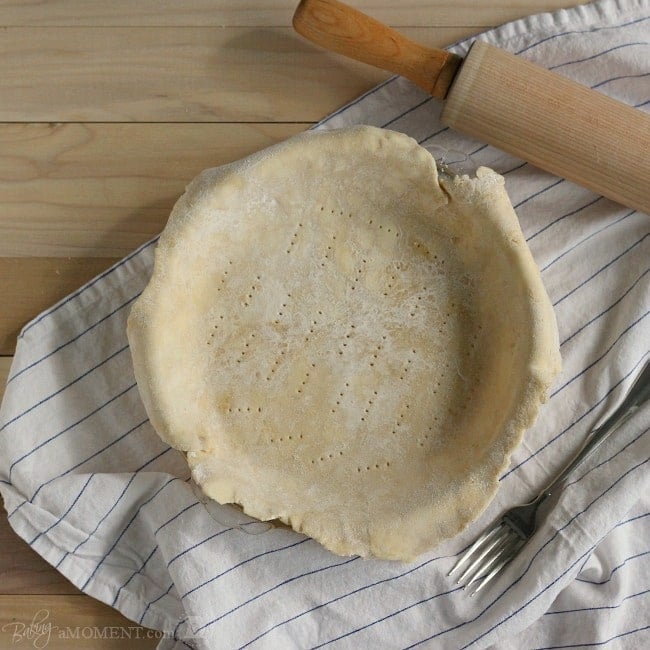
The Crust
You can use store bought pie crust if you’re looking for a quick shortcut. Or, you can make my favorite homemade pie crust. It comes out so unbelievably flaky (thanks to my special secret method!) and it’s made with no shortening, so the flavor is off the charts!
Apple Pie Filling
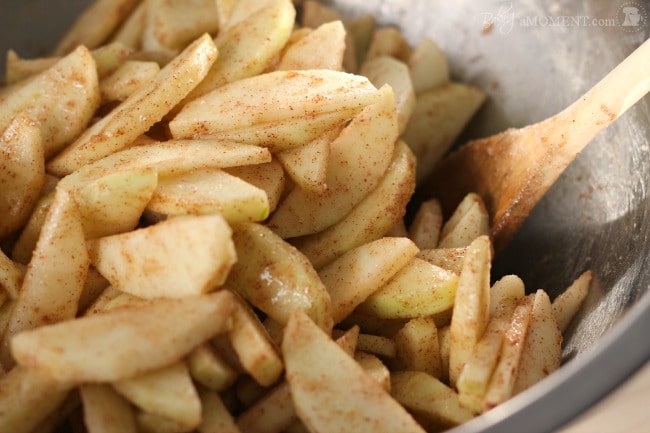
Once the crust is nestled into the pie dish, you can mix up the filling. The ingredients for apple pie are: sliced apples, sugar, spices, a squeeze of lemon, a pinch of salt, and a little flour. It’s as simple as tossing everything together until coated. .
The flour will help to thicken the juices as the pie bakes. This way, your apple pie will hold together nicely and not come out runny!
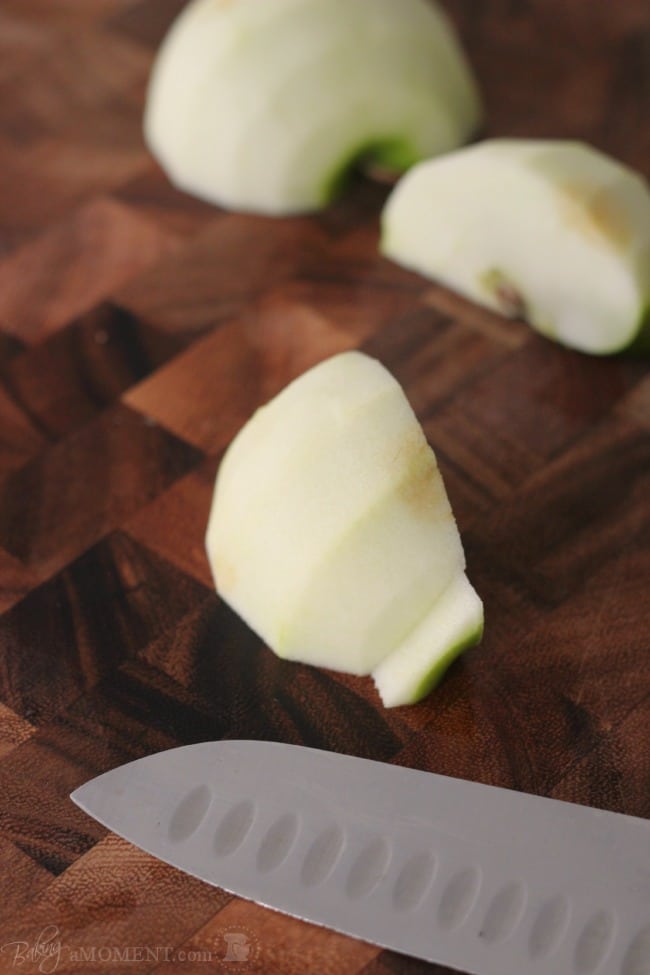
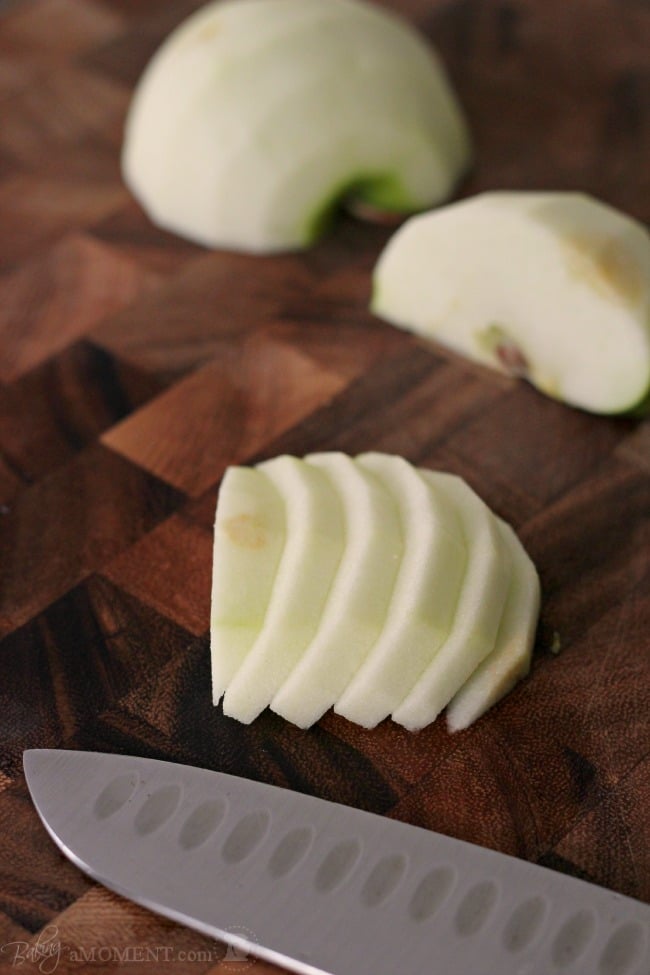
I like to use granny Smith apples for all my baking, because they’re firm, they hold up well, and the taste is really apple-y and not too sweet. But you can use any kind of firm baking apple you like!
Transfer the filling to the pie dish, and top it with a few tablespoons of butter. Butter will give the pie a richer taste and really make the flavors shine!
How to top apple pie
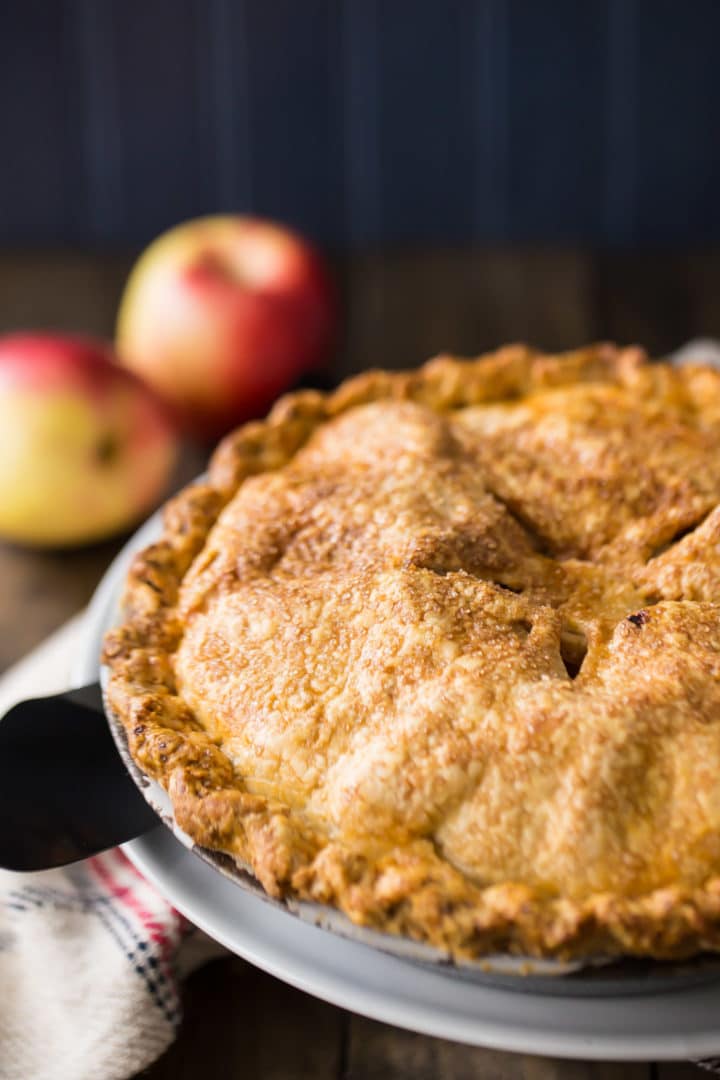
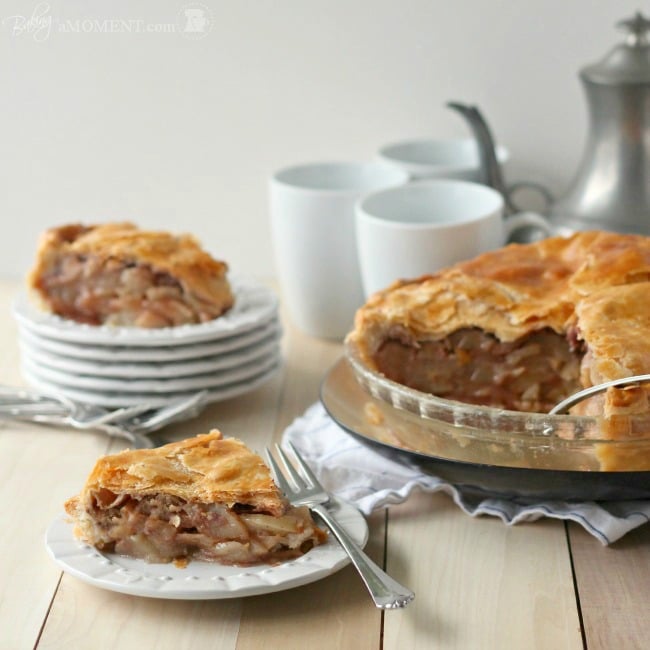
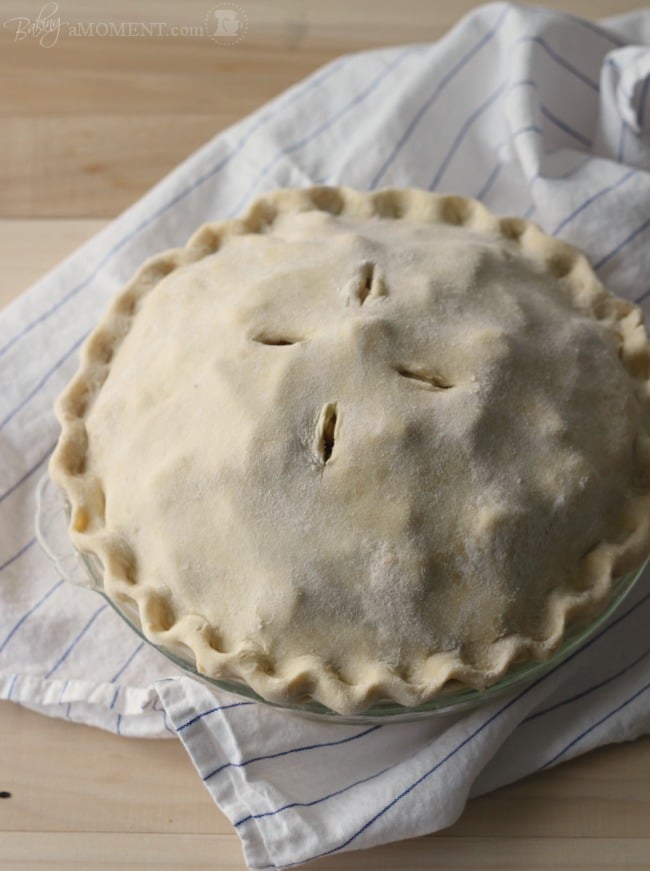
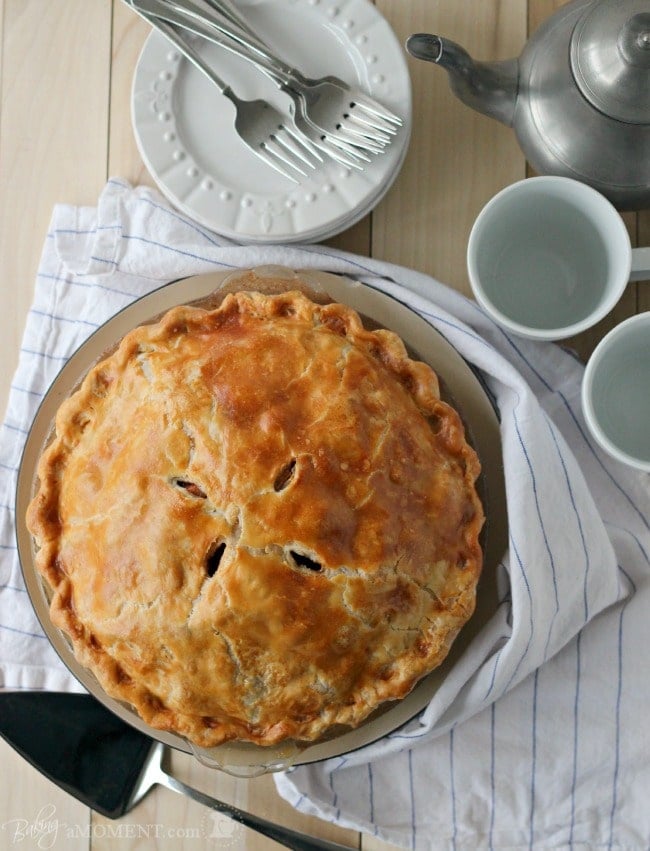
For the pie you see pictured here, I chose to do a double crust. So there is a layer of crust on the bottom and on the top.
But you could also do a lattice top pie, or just leave it open-faced, or make a Dutch apple pie by topping it with streusel crumb topping.
If you’d like to do a double-crust apple pie like this one, roll out the other half of your pie dough and lay it over the filling. Then just turn up the excess bottom crust, pinching it together with the top crust. (You can see what this looks like in the video below.) Crimp the edge and use a sharp knife to cut some vent holes in the top crust. This way the steam can escape!
HOW LONG TO BAKE APPLE PIE
The name of the game here is to get the apples soft and tender. This is going to take a while! It could be anywhere from 45 minutes to an hour and 15 minutes, depending upon how toothy or soft you like your apple pie.
I like mine to be soft but not mushy. A little bit of bite is good for me! So I usually bake my pie for about 50 minutes.
If you’re not sure if your pie is done, you can check it by inserting a bamboo skewer or thin sharp knife through one of the vent holes. It’s pretty easy to feel how firm or soft the filling is that way.
If you notice that the pie crust is starting to look too brown before the filling is done, you can pop on a pie shield, or just cover those areas loosely with foil.
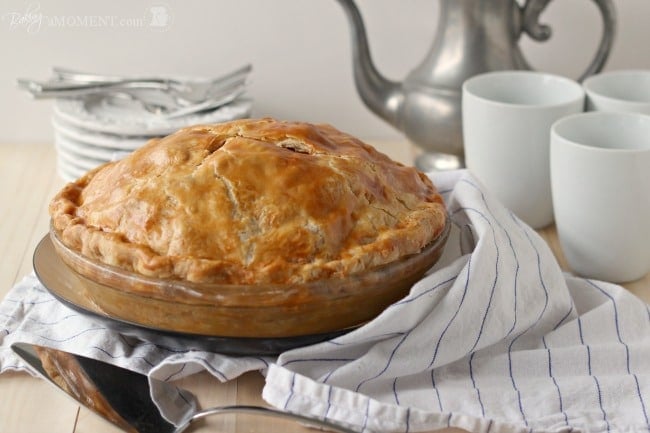
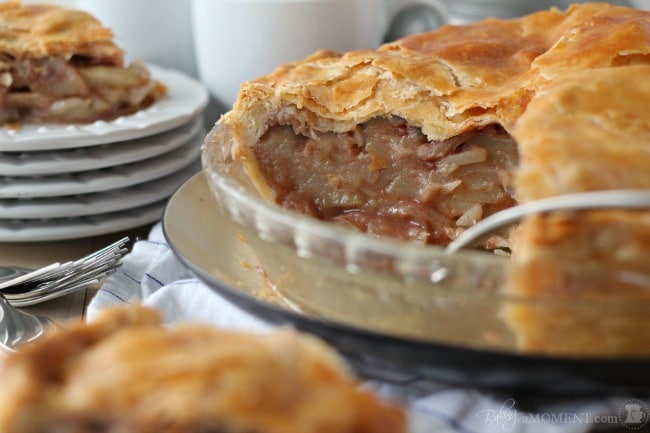
Straight from the oven, you’ll notice that the juices in the filling are bubbly and liquid. The filling will thicken up a lot as it cools, so give it a good 2 hours to cool before slicing into it.
GLUTEN-FREE, DAIRY-FREE, OR VEGAN APPLE PIE
To make a gluten-free version of this apple pie recipe, substitute 1 ½ tablespoons of cornstarch for the flour in the filling. For the pie crust, just substitute the all-purpose flour for a gluten-free flour blend Look for one that that subs 1:1 for regular flour. Here are a few good options:
- King Arthur Flour Gluten-Free Measure for Measure Flour
- Bob’s Red Mill Gluten-Free All-Purpose Baking Flour
- Cup4Cup Multi-Purpose Gluten-Free Flour
For a dairy-free and/or vegan apple pie, try using your favorite vegan butter substitute, and substitute your favorite non-dairy creamer for the egg wash.
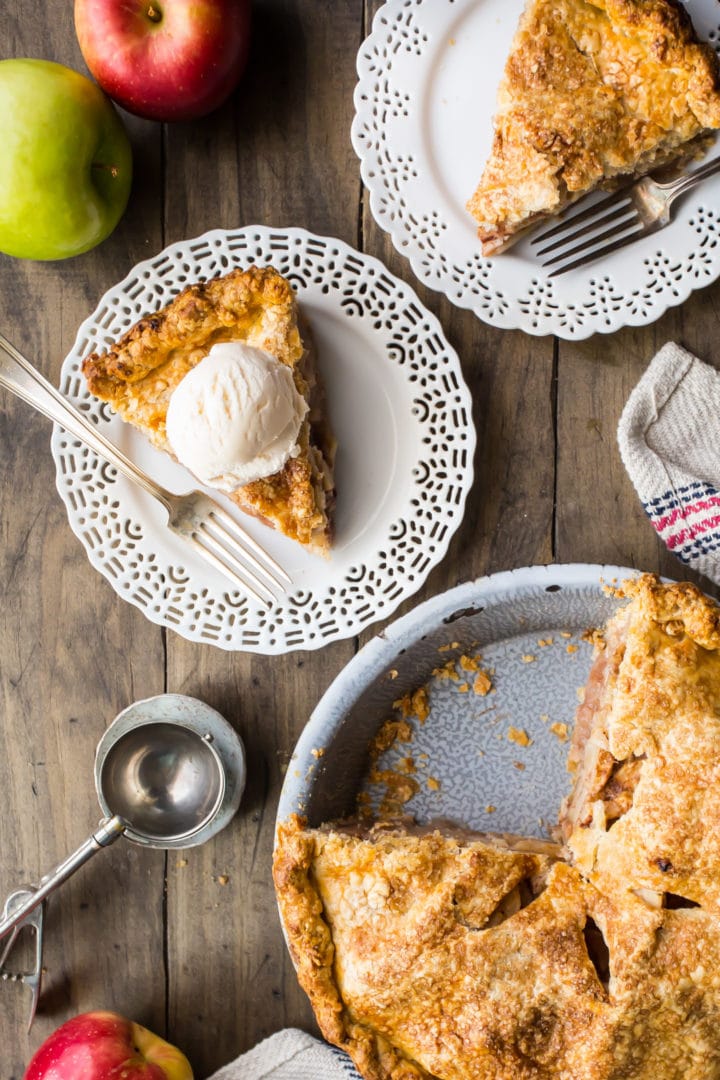
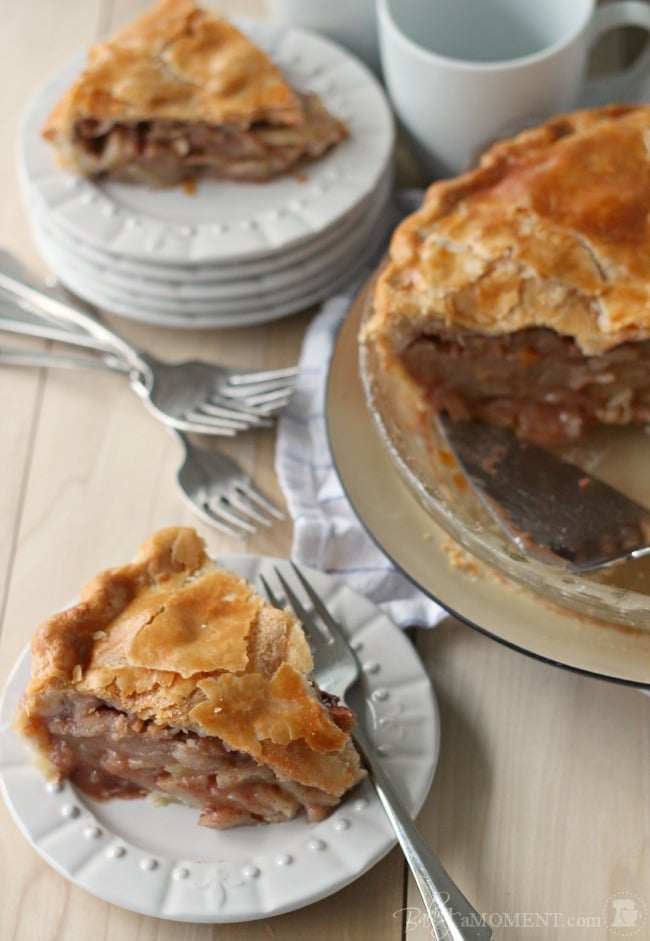
HOW TO SERVE APPLE PIE
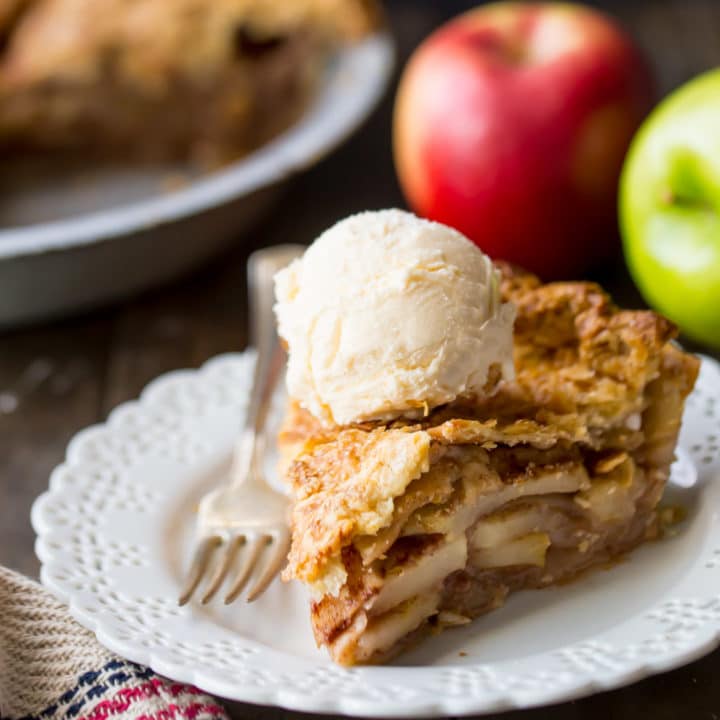
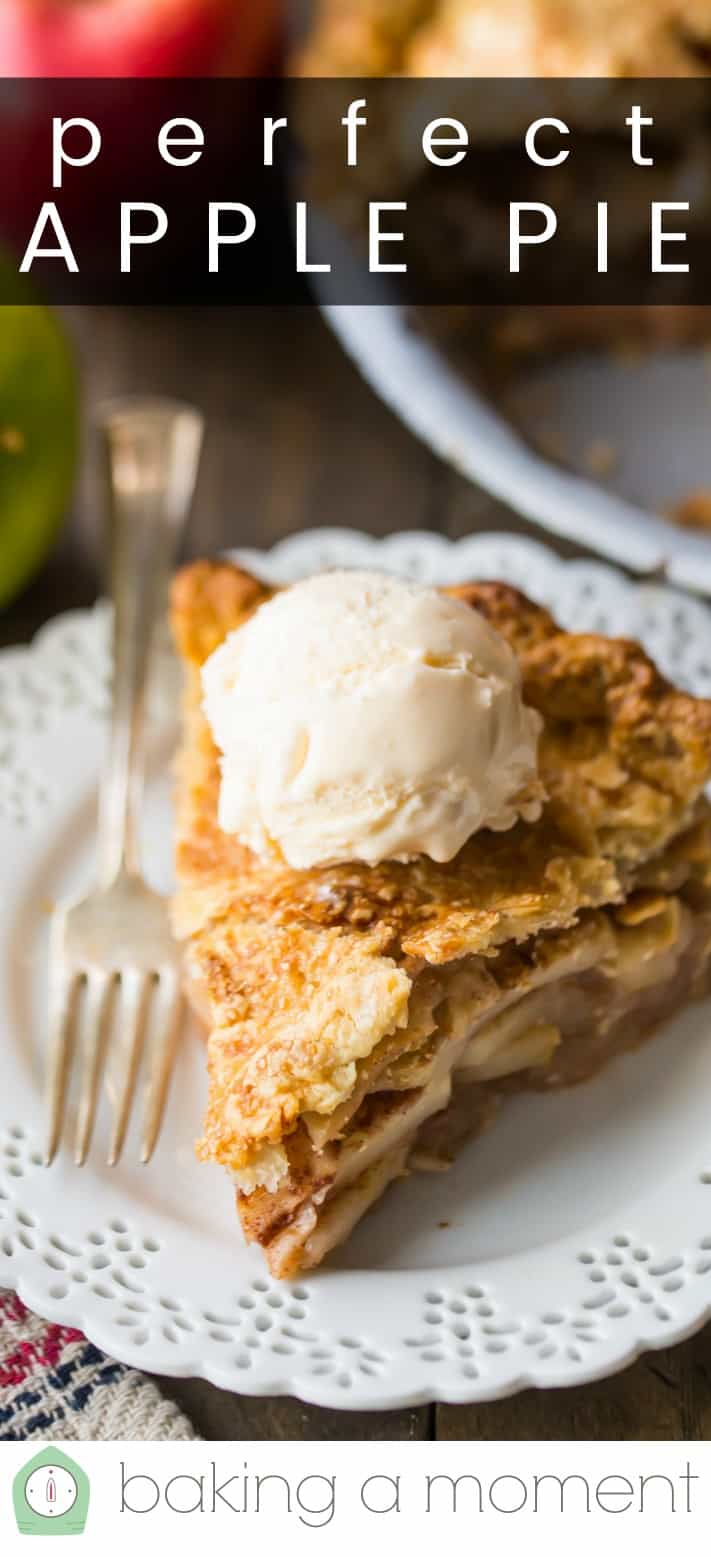
This pie can be enjoyed warm or cold, but I definitely prefer it warm! It’s such comfort food.
If you really want to make it extra special, try topping it with vanilla ice cream, and adding a drizzle of salted caramel sauce.
CAN APPLE PIE BE MADE AHEAD OF TIME
It’s a great idea to get ahead on prep and make pies ahead of time! This way they have plenty of time to cool and firm up, and this saves a lot of stress when you’re entertaining.
You can definitely make the crust at least a few days ahead, and keep it wrapped tightly in the fridge until the day before you plan to serve your apple pie.
The crust can be rolled out, filled, and baked 24 hours before serving. It’s ok to keep it out at room temperature (loosely covered). Then you can just warm it (in a 170 degrees F oven) for about 20 minutes.
Can apple pie be frozen before baking?
Freezing pies ahead is another great way to get a jump on your meal prep.
When freezing pies, it’s a good idea to bake them in foil pans, just so that your pie dish isn’t tied up in the freezer! Wrap really well to prevent freezer burn or funky odors, and keep in the freezer for up to a month.
You don’t even need to thaw it before baking. It can go into the oven frozen. Just bear in mind that it will probably need an extra 20 to 45 minutes of bake time.
How long will apple pie last?
If you have leftovers, they will keep (refrigerated) for several days. After that the crust might start to get a little soggy.
You could also freeze your leftover apple pie. Just wrap it tightly in plastic wrap, and it should keep in the freezer for about a month. Thaw at room temperature, rewarm, and enjoy!
This apple pie will be the highlight of your season! It’s such an iconic fall or winter dessert, and your family will love you for it. Enjoy!
This post contains affiliate sales links.
Simply Perfect Apple Pie
Ingredients
- 1 batch Perfect Pie Crust from Scratch, , prepared & chilled
- 10 apples, peeled, cored, and sliced 1/4-inch thick
- 1/2 cup (100 g) granulated sugar
- 3 tablespoons all purpose flour
- 2 tablespoons (2 tablespoons) lemon juice
- 2 1/2 teaspoons (2.5 teaspoons) ground cinnamon
- 1/2 teaspoon (0.5 teaspoon) ground nutmeg, (or 1/8 teaspoon freshly ground nutmeg)
- 1/4 teaspoon (0.25 teaspoon) kosher salt
- 1/8 teaspoon (0.13 teaspoon) ground cloves
- 2 tablespoons (29.57 g) unsalted butter , (cold), cubed
- egg wash, (one egg beaten with a tablespoon of cold water)
- 2 teaspoons raw sugar, , for garnish
Instructions
- Roll out half the pie dough to about 2 inches wider than your pie dish, place it in the bottom of an ungreased pie plate, and refrigerate.
- Place the apples, sugar, flour, lemon juice, spices, and salt in a large bowl and toss to coat evenly.
- Fill the chilled pie shell with the apple mixture, working carefully to mound the apples evenly and with as few empty spaces between apple slices as possible.
- Dot with butter and refrigerate.
- Roll out the second disk of pie dough, (large enough to overhang the sides of the pie by at least an inch), and drape the dough over the pie, pressing lightly to conform to the shape of the apples.
- Trim off any excess dough, leaving about a one inch margin all around the pie.
- Roll the top and bottom crusts up and over, pinching together to seal, and crimp.
- Cut steam vents in the top crust with a sharp knife or kitchen shears, brush with egg wash, and garnish with raw sugar.
- Refrigerate the pie for 15 to 20 minutes.
- Preheat the oven to 425 degrees.
- Bake the pie for 45 to 60 minutes, or until the crust is golden, the juices are bubbling, and the apples are softened but still a little firm (not mushy).
- Cool the pie for at least an 2 hours before slicing.


The pie crust was extremely difficult to roll out.
I expect the crust to be very tough, but the filling should be good.
I made this today and although the crust was delicious and flaky on top, the sides and bottom were all soggy. What can I do to prevent this from happening? Can the crust be par baked ?
Theres ALL kinds of directions on how to do the crust and filling , but at least I couldn’t find the actual ingredients and measurements for the pie crust
😢😭
VERY FRUSTRATING!!@
You couldn’t find the pie crust recipe? It’s the first item listed in the ingredients section. Just click the link- it’s all right there at the bottom of the post.
Do you reccomend a certain type of apple for this recipe?
I do- I talk about it within the post please read the section “Apple Pie Filling.”
Thanks! Can I bake this in a glass pie pan?
Any kind of pie pan will do! Just make sure it’s a standard-sized pan (9.5-inches in diameter).
Hi Allie! I baked this pie but didn’t get to taste it. I used a 9″ tin pie pan as the pie was not coming back and it was not a deep pie. Just the standard 9″ tinny pan from the store. Because it wasn’t deep, I ended up using only 4 or 5? Good sized granny Smith’s (they weren’t small apples) for it but kept all of your other ingredients the same on their measurements. I’m waiting to hear if they liked it but wondered from your expertise, did I do a bad thing here and do you think it would have made it too sweet? The slices were nicely and evenly coated with the cinnamon/sugar mixture so I thought it’d work fine. It turned out beautifully; I just haven’t heard yet how it tasted… :). Any thoughts with large GS apples if this would be fine? I’m hoping to duplicate it soon to find out. ??. Thank you!!
I doubt you did a bad thing Lori! I think you did a very nice thing to give that pie (that you worked so hard on!) away without even getting a taste. To be honest, apples vary so much in size. I’ve made this pie with 12 apples and I’ve made it with 8 apples, and it comes out delicious regardless. Your pie may have been a little sweeter but is that such a bad thing? I think most people enjoy a sweet treat. I hope you get some positive feedback soon, and when you make it next time I hope you get a nice big slice for yourself!
I’m not sure what I did wrong or what happened, but my pie was burnt up at 30 minutes. Is the 425 correct temperature? I’m sad. LOL
Oh no! It’s definitely right- in fact I just made it again yesterday and baked it at that temp. Did you have it on the middle rack of your oven? Sounds like your oven temp could be off.
I have made this pie in the past and it TOOK my breath away. However I have noticed something new when I came back to make the recipe this year…there are less apples. Before I recall you say thisbpie was very deep (which I’m sure it still is ) however am I correct in that there are less apples ? 12/15 it used to be…not sure, and now there are 10? Also , did the pie used to call for cardamom ? I could be way off, maybe it was cloves but I want to be sure! Either way this is the only apple pie recipe I will ever use .
Hey Ashley! I am so sorry- I did not think anyone had looked at this recipe in years! I did update it and decreased the number of apples from 10 to 12. It was always cloves though! If you want to still use 12 apples you definitely can. Thank you so much for the 5 star rating, in spite of the fact that I made a change to the original!
Perfect is right!! This is one delicious pie!