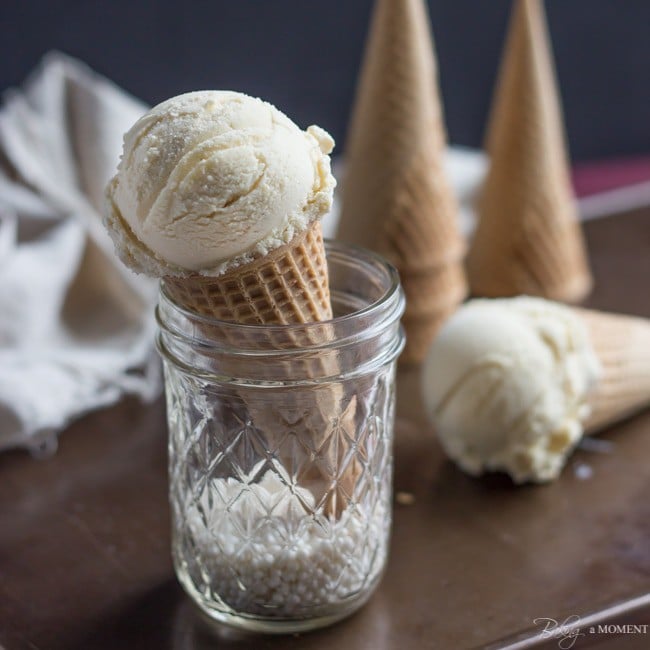
Simply Perfect Vanilla Ice Cream, & a Giveaway!
A step-by-step picture tutorial on how to make perfect homemade vanilla ice cream. This simple recipe will be your basic go-to for making classic churned ice cream.
Don’t forget to scroll all the way to the bottom of the post for a fabulous giveaway from Nielsen Massey!
Hello dear friends! I hope you had a wonderful weekend! Mine was pretty low-key and relaxing. I’ve caught up on things over the last week, thanks in part to my good friend Lisa and her Key Lime Pie Posset recipe from Friday (Did you see it? Please do check it out!).
And I’ve even been able to get on top of a few organizational things around the house that have been making me twitchy for months. I don’t think I’ve ever shared this with you guys before, and maybe you won’t be too surprised to know, but I’m kind of an organization junkie. When things aren’t “just so,” it kinda makes me nuts. With two little boys, I’m sure you can imagine I feel nuts a lot of the time! But I love reading décor blogs and organizing blogs because they are so inspiring!
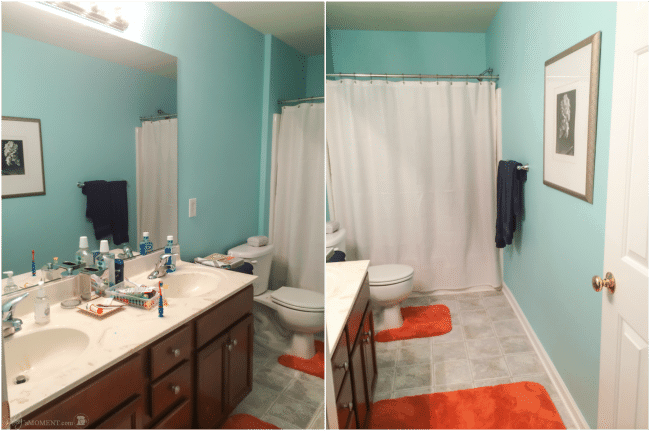
I have some friends coming to stay at my house in a few weeks, and I’m working on getting our guest bedroom/bathroom situation in order before they arrive. This is a house project that’s been on the back burner for months (years even?) so I’m really happy for the incentive to finally get it done! I’m sharing a photo of the current state of affairs in our hall/kids bathroom, in hopes of showing the final, made-over result after I finish tidying, improving, and beautifying!
But today’s post is all about vanilla. I’m thrilled to be able to offer a fabulous prize package of Neilsen Massey vanilla products at the end of this post, so be sure to scroll all the way to the bottom to get your entries in!

I thought long and hard about what kind of vanilla recipe to include with this giveaway, but at the end of the day, there was really no other option. We’re smack in the middle of the hazy-hot-and-humid-est time of the year, and what really showcases the rich and delicate flavor of vanilla better than ice cream??? Ok well there’s cupcakes but that’s already been covered. 😉
The idea of making homemade, classic churned ice cream might seem a little intimidating, with separating and tempering the eggs and all, but I’m here to tell you: you can totally do this. Plan ahead and take your time and you’ll be golden. And your efforts will be so rewarded, when you taste the amazingly rich, creamy, and flavorful result.
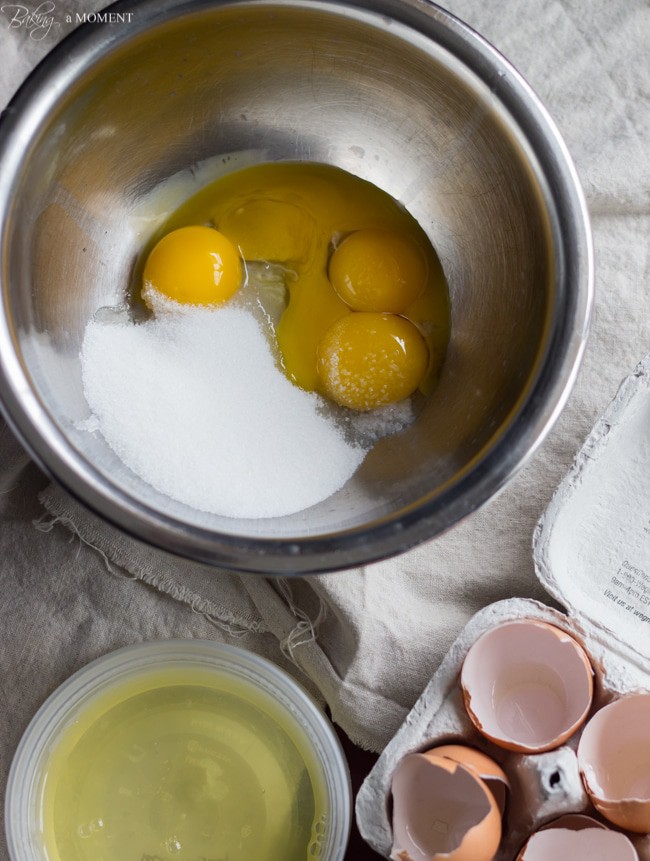
It all begins with egg yolks, sugar and salt. Place them together in a bowl and whisk.
Now heat a bit of milk on the stove until there are wisps of steam rising from the top and little bubbles forming around the edges.
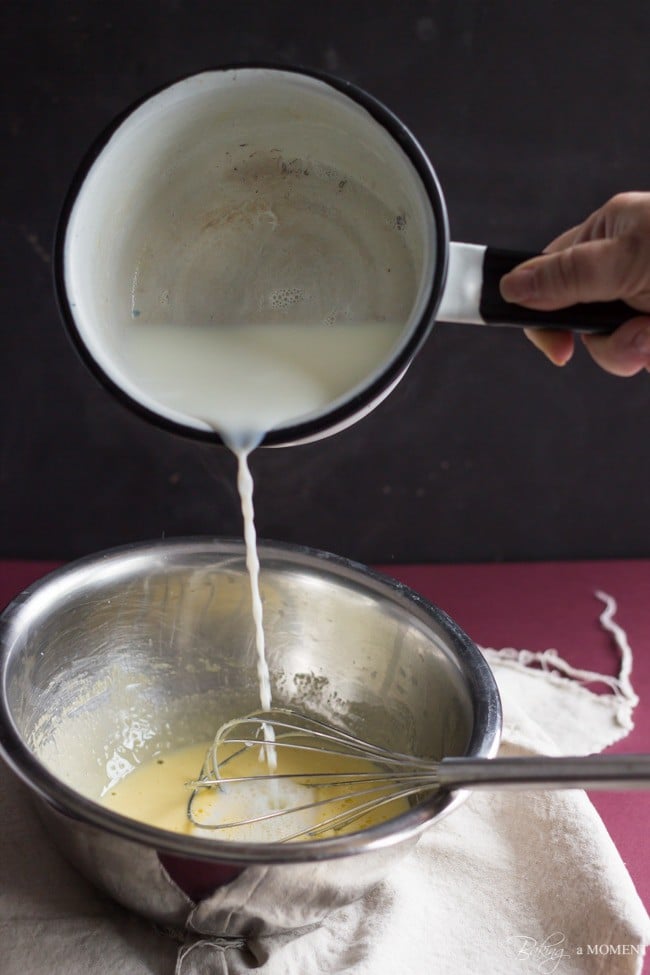
Pour the hot milk into the eggs, a little at a time, while whisking. Once all the hot milk has been added, you’ll notice the mixture feels very warm to the touch. That is good! You’ve tempered the yolks, and now the mixture can go back on the stove. It’s much less likely to curdle now, because of the tempering, but keep the heat low and whisk continuously as it cooks, just to be safe. When it feels hot and looks thickened…
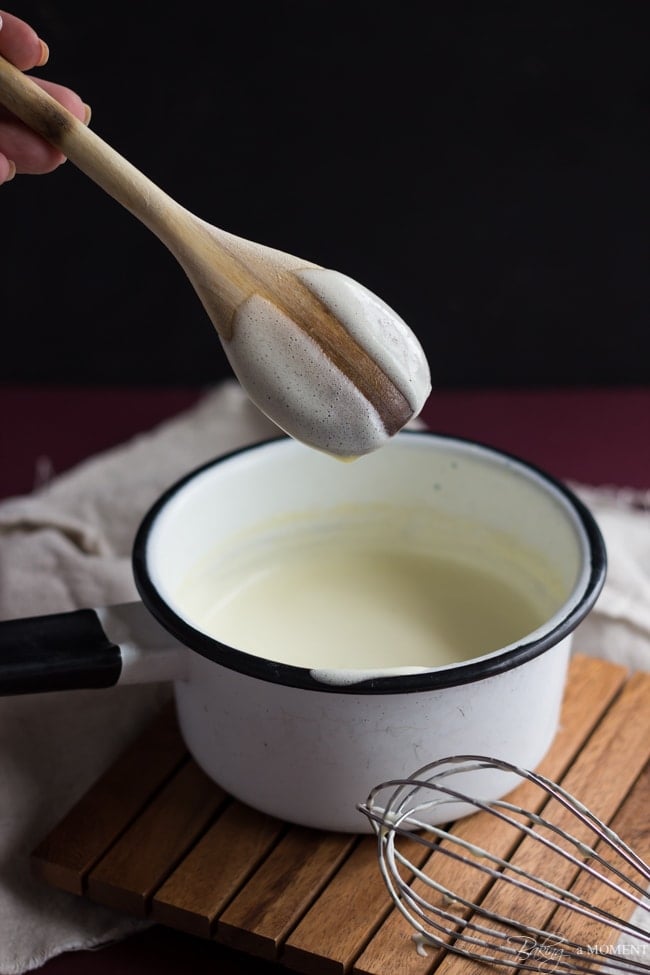
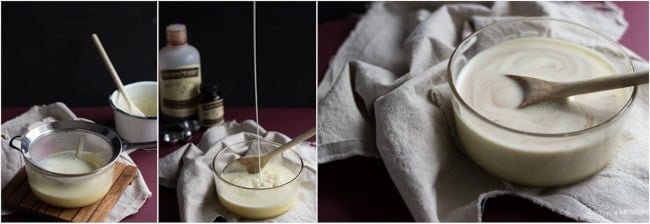
…remove it from the heat and strain it into a heat-safe bowl. At this point, all you have to do is add the cream and vanilla!
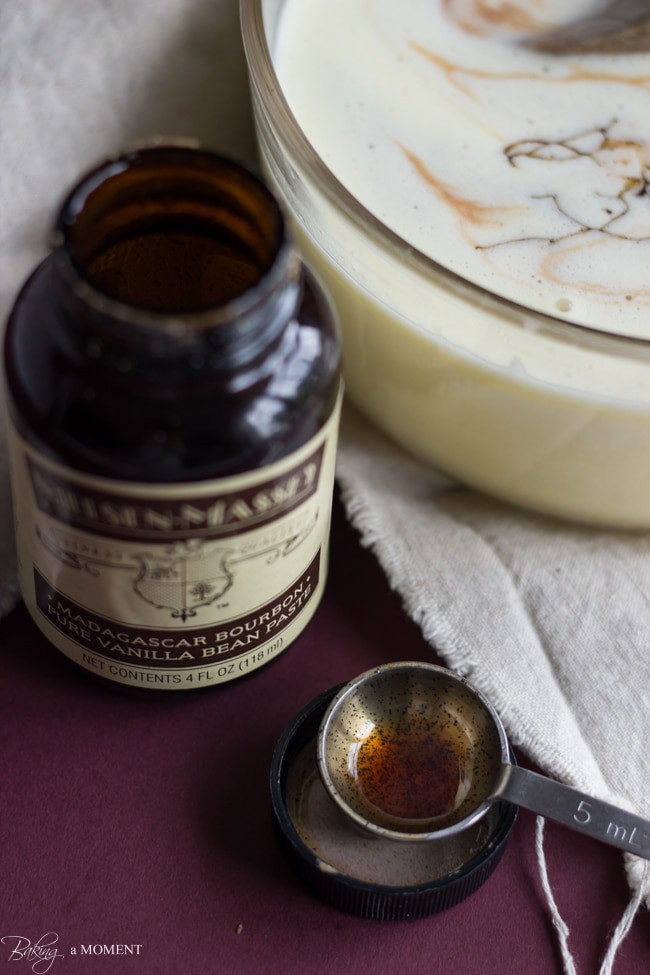
I really love Nielsen Massey vanilla bean paste, and they are not paying me to say that! I have loved it for years, mainly because of the intense vanilla punch it packs, and those little specks of vanilla bean seeds. You can get the same effect with a whole bean, but it’s much, much more expensive. Nielsen Massey vanilla bean paste is a lot more economical, and it keeps in the cupboard for a long time. I highly recommend it! You can order it online through my shop by clicking here. (Please note that this is an affiliate link, so I will make a small commission from your purchase.)
Chill the custard overnight in the fridge, and freeze the canister of your ice cream maker. This is the ice cream maker I’m currently in love with. I love this ice cream maker attachment because it takes up so much less space than a standalone machine, and it works beautifully.

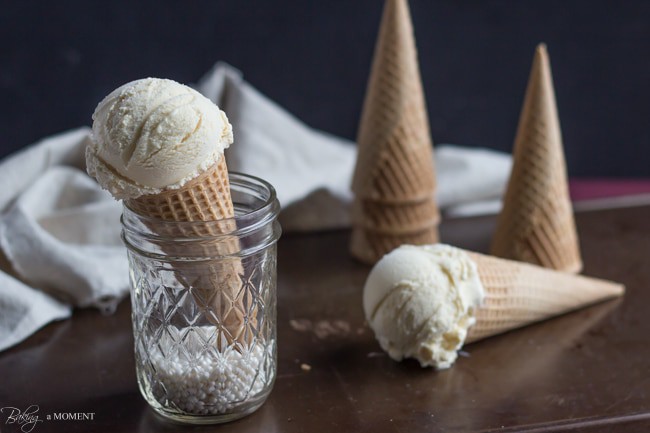
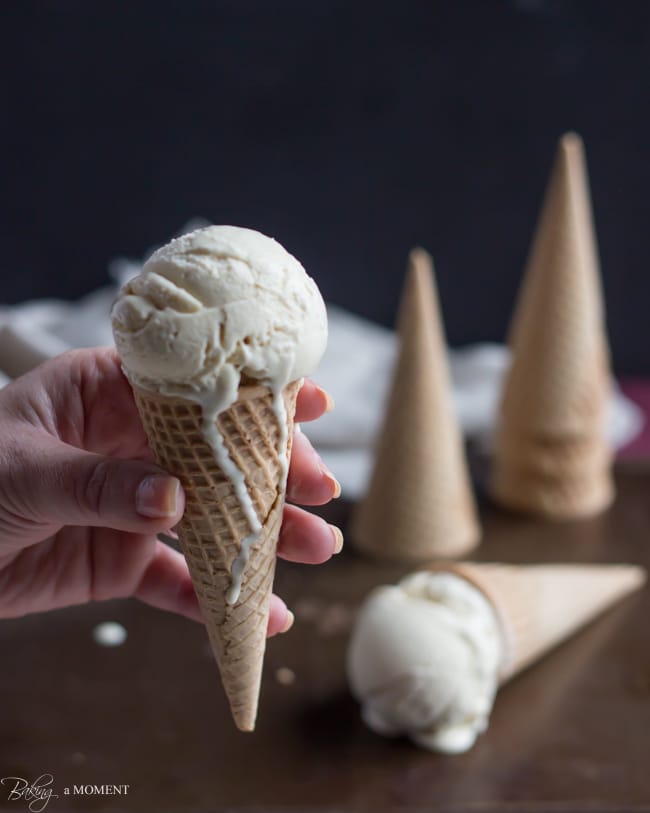
In the morning you can churn your ice cream, and transfer it to a loaf pan for easy scooping. Ta-dah!
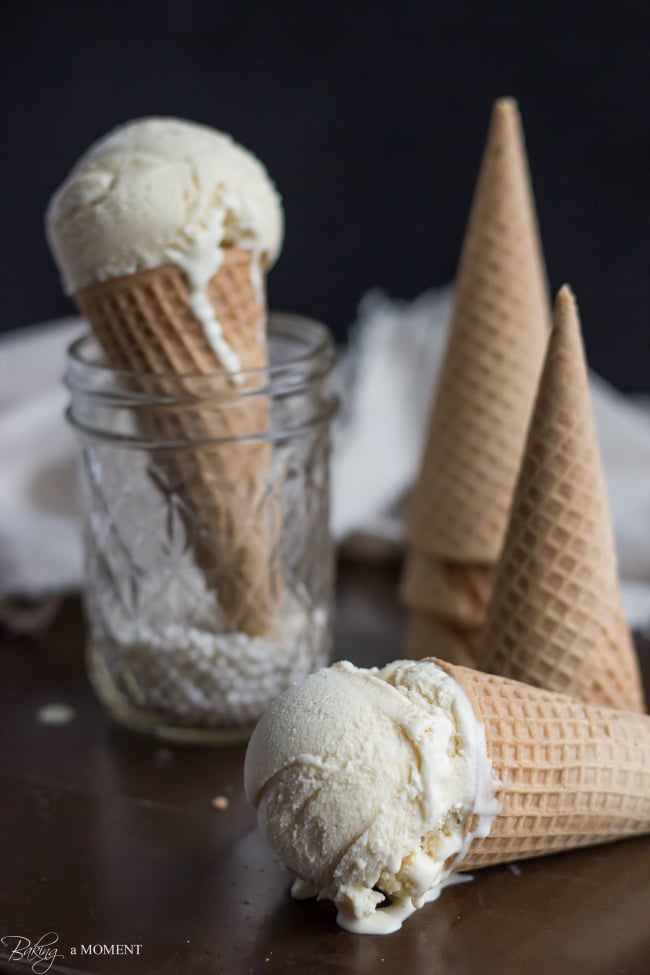
I think you will really love how rich and creamy this homemade vanilla ice cream is. And it’s a great recipe to keep in your recipe box, as sort of a basic building block. You can add all sorts of flavors or mix-ins, and really make it your own. Enjoy!
2oz Pure Almond Extract
2oz Pure Chocolate Extract
2oz Pure Coffee Extract
2oz Pure Lemon Extract
2oz Pure Orange Extract
2oz Orange Blossom Water
2oz Pure Peppermint Extract
2oz Rose Water
2.5oz Madagascar Bourbon Pure Vanilla Powder
4oz Madagascar Bourbon Pure Vanilla Extract
4oz Organic Fairtrade Madagascar Bourbon Pure Vanilla Extract
4oz Tahitian Pure Vanilla Extract
4oz Madagascar Bourbon Pure Vanilla Bean Paste
8.5oz Madagascar Bourbon Pure Vanilla Sugar
2 bean vial, Madagascar Bourbon Vanilla Beans
A Century of Flavor Cookbook
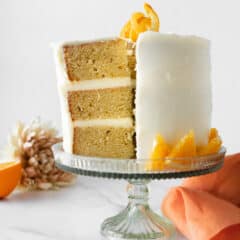
Vanilla Bean Ricotta Cheesecake Cake from Chez CateyLou
Funfetti Hi-Hat Cupcakes from bethcakes
Coconut Raspberry Rhubarb Ice Cream from Blahnik Baker
Snickerdoodle Caramel Tart from Club Narwhal
Vanilla Bean Ice Cream by URBAN BAKES
As an amazon associate I earn from qualifying purchases.

Simply Perfect Vanilla Ice Cream
Ingredients
- 4 egg yolks, (large)
- 1/3 cup (66.67 g) granulated sugar
- 1/8 teaspoon kosher salt
- 3/4 cup (177.44 ml) milk, (I used 1%)
- 1 1/2 cups (354.88 ml) heavy cream
- 2 teaspoons vanilla extract
- 1 teaspoon vanilla bean paste
Instructions
- Chill the canister of an ice cream maker in the freezer overnight.
- Place the yolks, sugar, and salt in a medium bowl and whisk until pale and thick.
- Place the milk in a small pot and heat on the stove until small bubbles appear around the edges and wisps of steam are rising from the surface.
- Pour the hot milk into the yolk mixture, a little at a time, while whisking.
- When all of the hot milk has been incorporated, transfer the custard back to the pot and heat over medium-low, whisking, until hot and slightly thickened.
- Strain into a heat safe bowl, stir in the cream and vanilla, and chill overnight.
- Churn the ice cream for about 15-25 minutes, or until it resembles soft-serve ice cream.
- Transfer to a loaf pan and freeze until hard.


Hello!! i love you and your baking auntie 🙂 i am afraid my icing bag leaks cream and my icing cream does not stand in shape plus i don’t have a beater 🙁 <3 <3
Oh, dear! I’m so sorry, Hamail!
Looks delicious Allie! I have been getting into making homemade ice cream lately.
check out my post from today, Dark Chocolate Ice Cream!
Michael 🙂
http://michaelswoodcraft.wordpress.com/2014/08/08/rich-creamy-dark-chocolate-ice-cream/
Oh my goodness, Michael! It looks diviiiiiiiine! Isn’t homemade ice cream just the best? Love it. Thanks so much and hope you had a great weekend!
Yes, homemade is the best! thank you Allie, had a great weekend but dreading Monday already!
There is nothing quite like really, really good homemade vanilla ice cream, Allie. I think yours is the best I’ve ever seen!
Oh Nora you are too sweet! Btw, the hubby was in Montreal all weekend long! I showed him your post so he could check out some of your recs- he’s bringing me home some bagels! Can’t wait to try 😉 Hope you had a fun weekend sweetie! xoxo
Sometimes (actually, most of the times), the simplest things are the ones that are enjoyed most! Like this vanilla ice cream! A simple flavor yet a classic and something that can never be replaced with anything else! This looks sooooo incredible Allie! Lovinggggg that pretty .gif and the step-by-step instructions make the custard base making process a real breeze! <3 Pinning! 😀
Thank you so much Samina and I feel the same way! Sometimes I get so wrapped up in the process of making something new and unique that I forget how important (and delicious!) the simple basics can be. I’m so glad you feel me on that! Thanks for the sweet comment and the pin too 😉