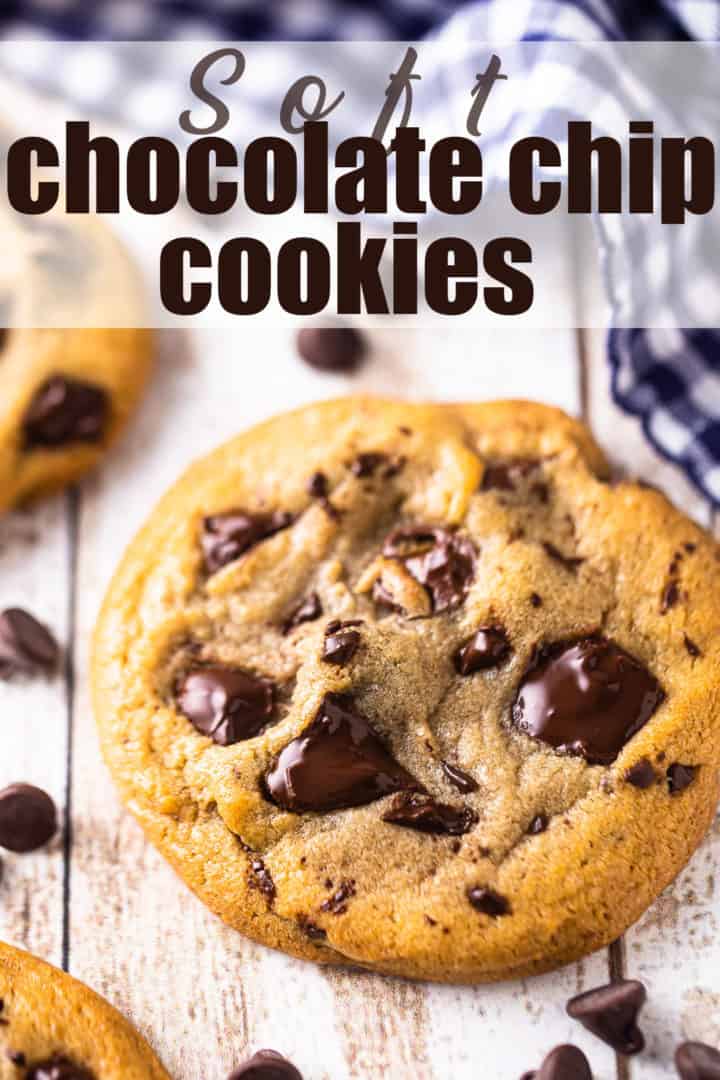
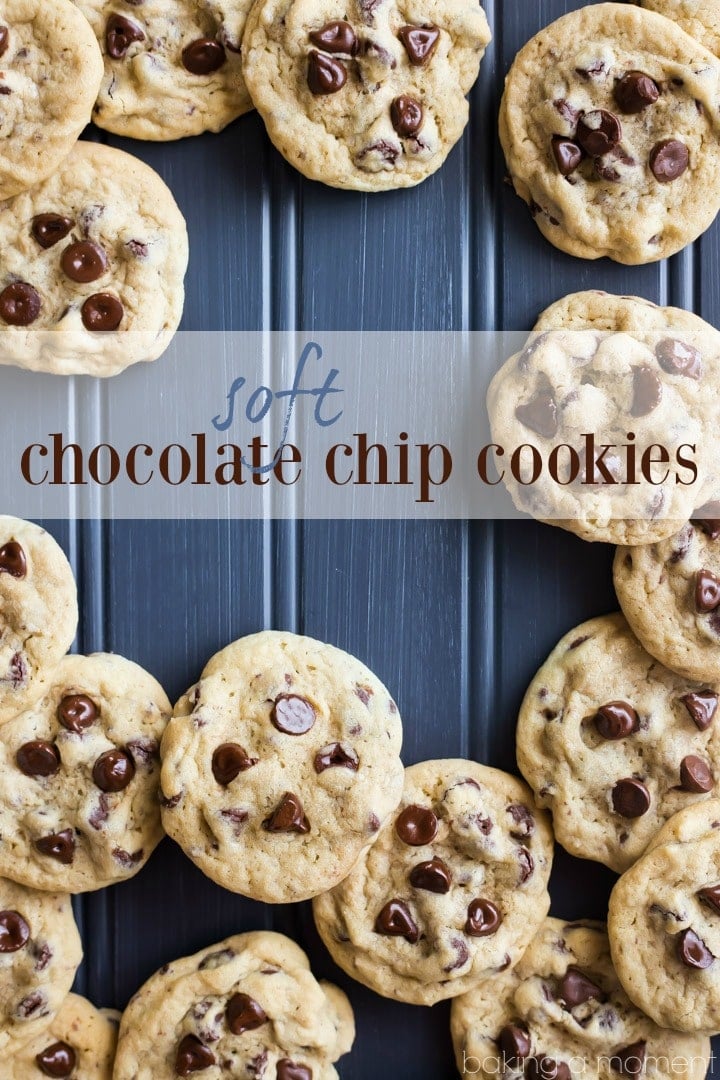
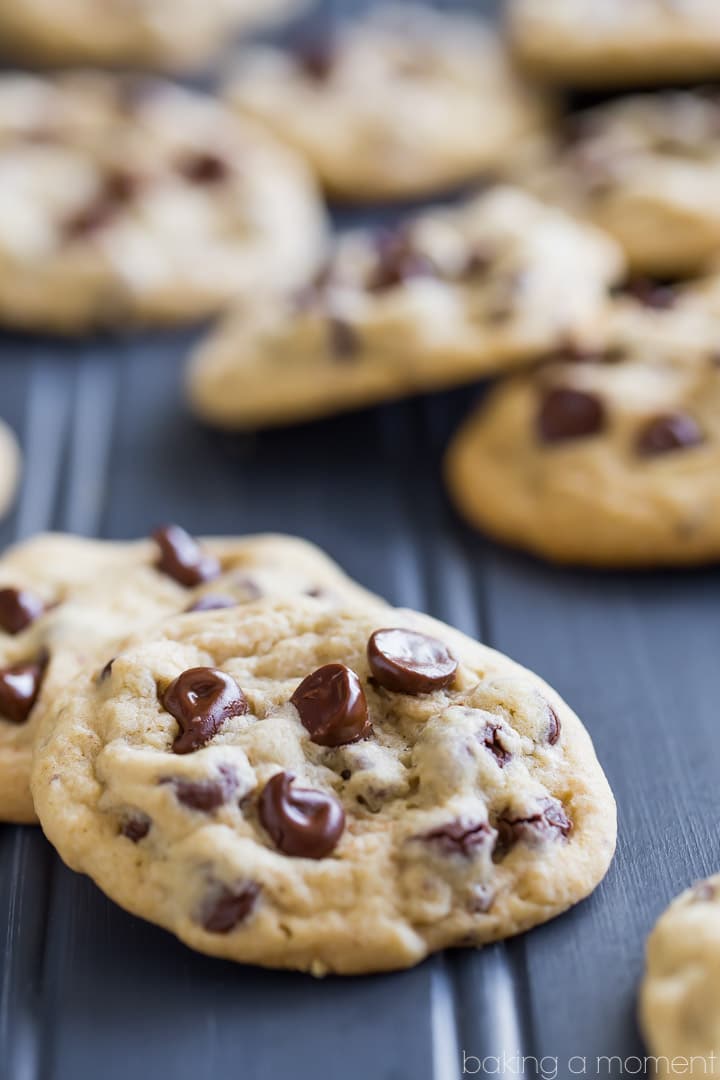
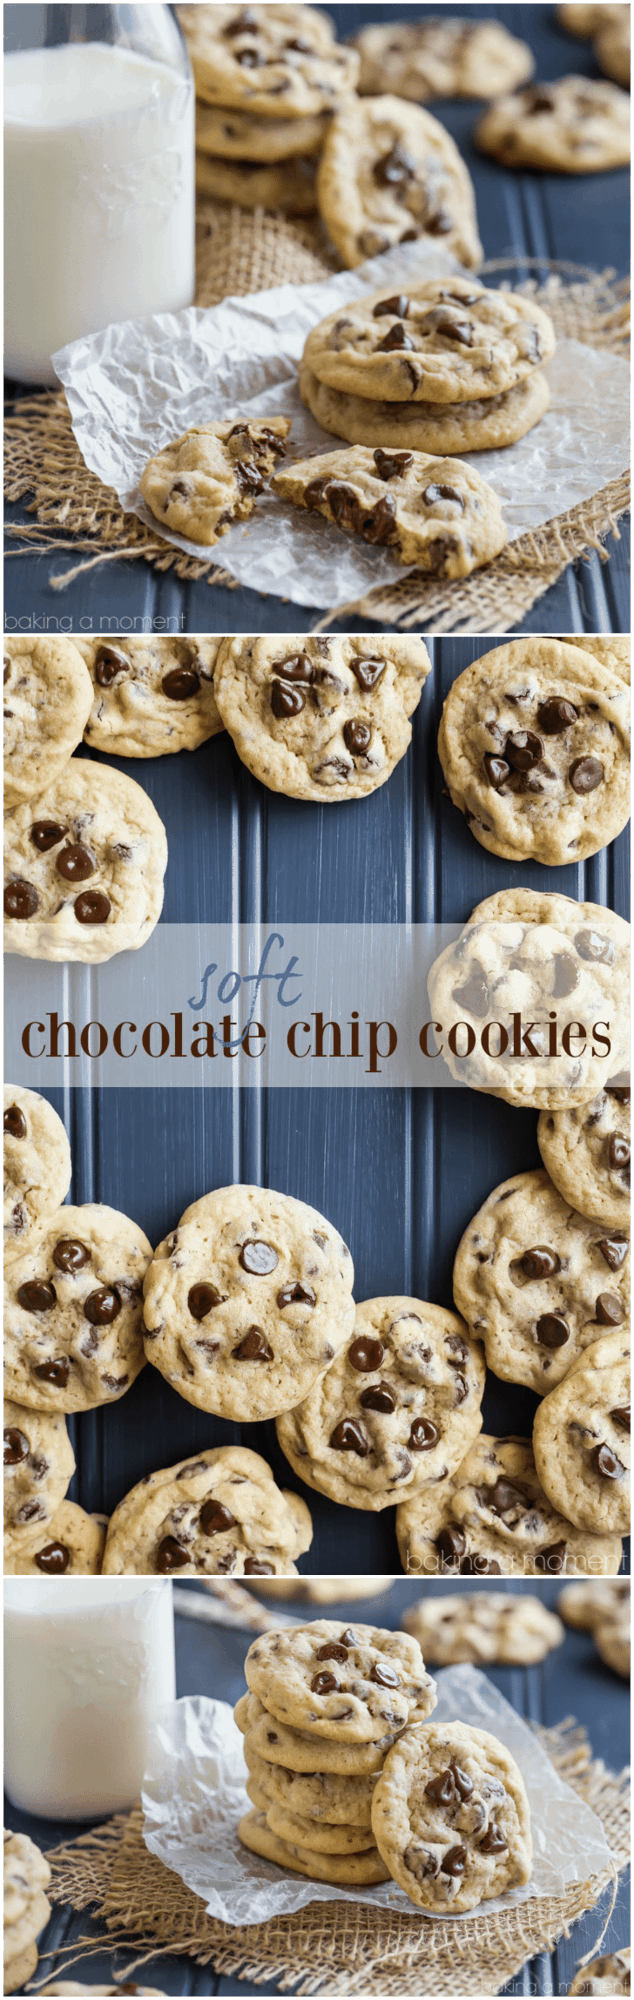
Soft Chocolate Chip Cookies
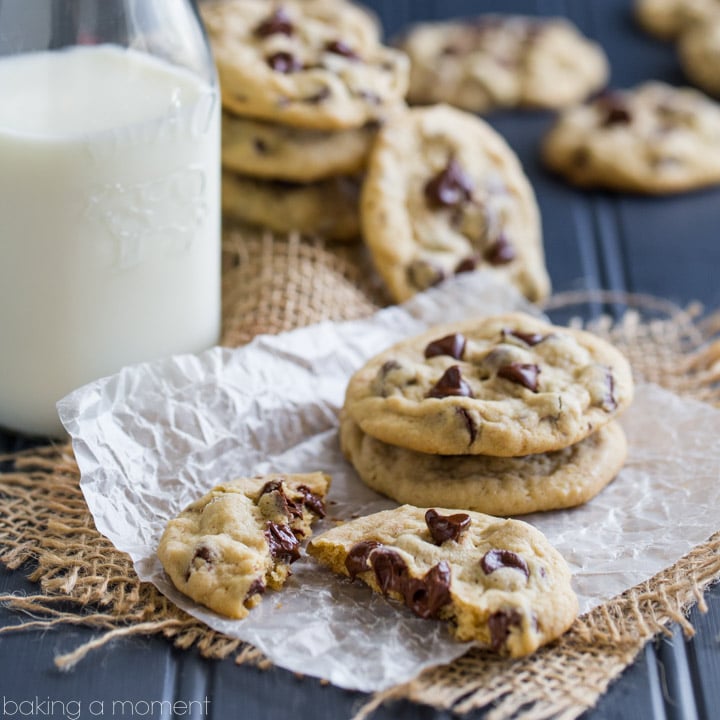
Soft chocolate chip cookies: Chewy edges, pillowy middles & the best classic, comforting flavor. Simple ingredients, no chilling required.

*This post was originally published on September 1, 2016. I thought it was due for an update, so I’ve improved the recipe, added step-by-step pictures & a video, and answers to some frequently asked questions. Hopefully you’ll enjoy this chocolate chip cookie recipe as much as my boys and I do!*
It’s the holiday season!
And you know that means making our favorite cookie recipes on repeat. Over the next couple of weeks, dozens and dozens of pizzelles, Mexican wedding cookies, and peanut butter blossoms will make their way out of my kitchen.
But I can’t ignore what is indisputably the king of all cookiedom: chocolate chip cookies!
I’ve tweaked, tested, and re-tested this recipe a hundred times, and it truly yields the best chocolate chip cookies you are ever going to find. Pinky promise!
WHAT MAKES THESE THE BEST CHOCOLATE CHIP COOKIES
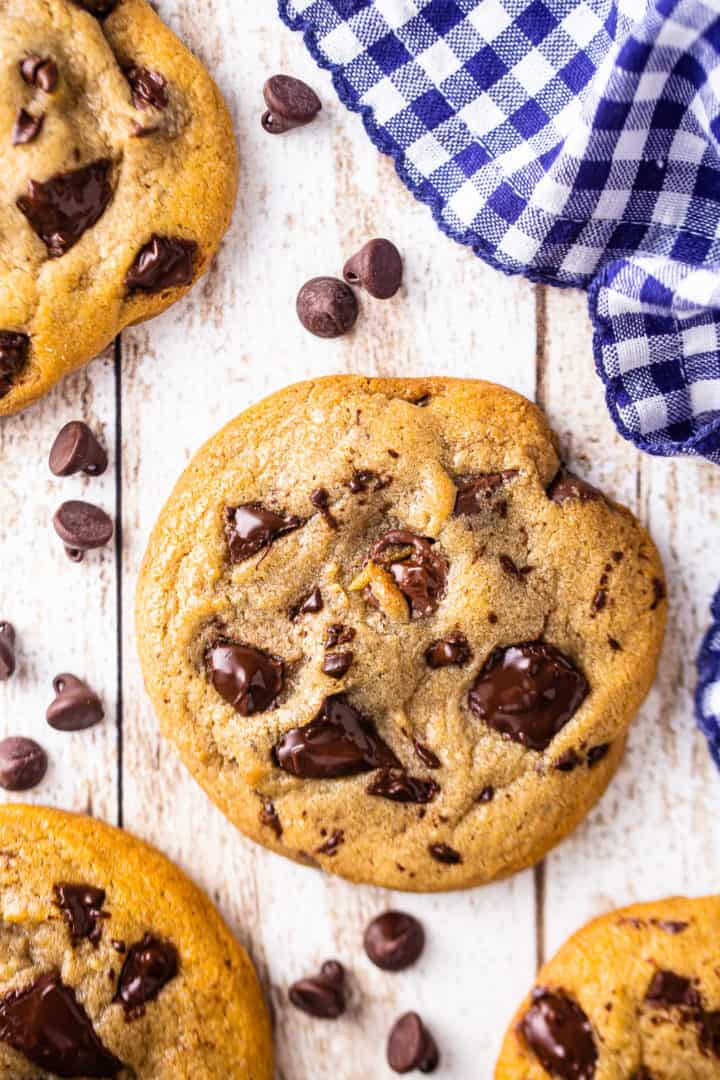
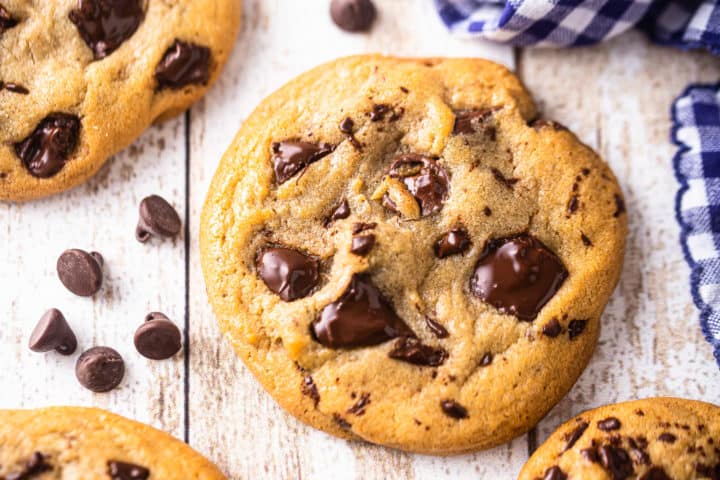
If you’re in search of thick, chubby, generously sized ccc’s that are slightly crisp and chewy around the edges, with pillowy soft middles, a rich, buttery brown sugar flavor, and plenty of gooey chocolate chips in every bite, then look no further.
- Made with basic pantry staples, nothing wierd or exotic.
- Easy to make, in just one bowl.
- Quick to make, with no chilling required.
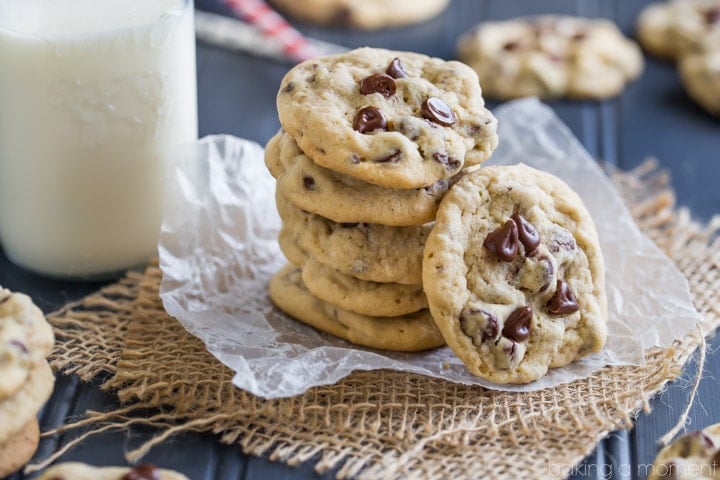
- Not only soft when they’re fresh from the oven. They keep that ooey-gooey, soft & chewy texture for days!
HOW TO MAKE THESE CHOCOLATE CHIP COOKIES
This recipe utilizes the classic “creaming” method, so you want to start by whipping room-temperature butter together with sugar.
A combination of light brown and white granulated sugars will give you the best texture. Brown sugar makes them softer (higher moisture content); white sugar allows for that slightly crisp texture around the edges.
Cream these ingredients together on medium-high speed for a MINIMUM of 3 to 5 whole minutes. Set a timer to make sure you don’t skimp! This step is critical for adding an airy, light texture to your cookies. They will positively melt in your mouth if you get this part right!
You’ll probably have to stop every now & then to scrape the bottom and sides of the mixing bowl with a silicone spatula.
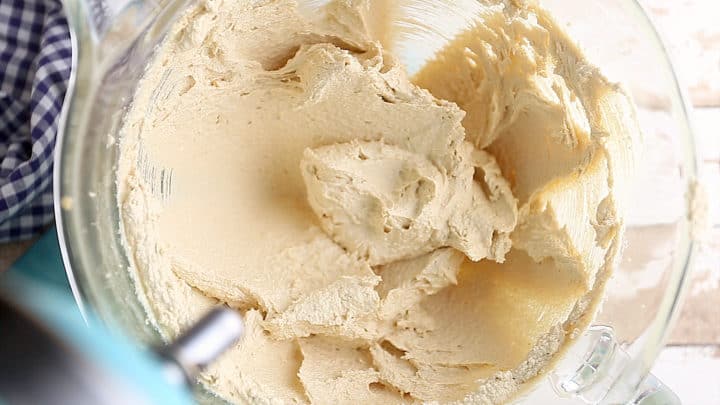
Once the mixture looks very pale (almost white), fluffy, and has doubled in volume, mix in the first egg until combined.
Continue mixing in the remaining eggs & yolks, one at a time, along with the vanilla, until well-incorporated, then scrape the bottom and sides of your bowl down with a silicone spatula.
The additional egg yolks provide richness and help to keep the cookies softer for longer. They’re mostly fat so they really help to enrich the cookies, but they offer a little more “binding power” than just butter, so the cookies won’t spread too thin.
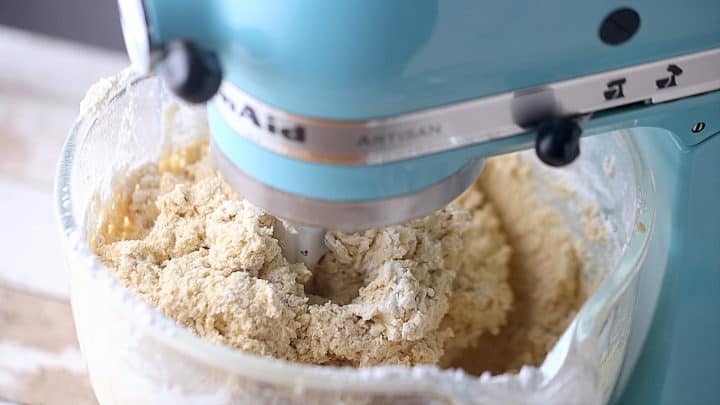
Next come the dry ingredients: flour (regular all-purpose is fine!), cornstarch, baking soda, and salt.
Cornstarch provides structure to the cookies without added gluten, which keeps them soft and tender. Make sure you use cornstarch, which is white, powdery, flavorless, and odorless, as opposed to cornmeal, which is yellow, gritty, and tastes like tortilla chips.
Pro Tip: Cornstarch can be found in the baking aisle, near the instant pudding mixes.
Mix these dry ingredients in until *just barely* combined. It’s actually best if a few streaks of flour still remain. Overmixing at this stage will develop glutens that could make the cookies tough, and may even prevent them from spreading properly (more on that below).
The final step is to stir in the chocolate chips. Again: be careful not to overmix at this stage!
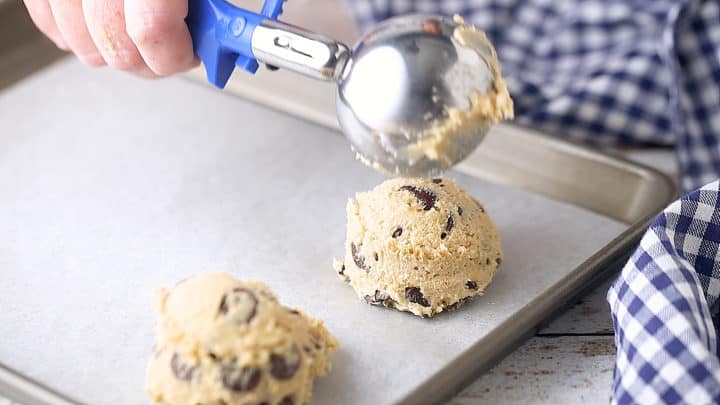
Use a 1/4-cup scoop to portion the dough out onto parchment-lined baking sheets, allowing a few inches in between for spreading.
I recommend baking these at a slightly higher temperature of 375 degrees F. This way, the cookies puff, spread, and quickly set around the edges and on the bottom, while maintaining a soft and gooey interior.
Overbaking is the #1 cause of cookies that aren’t soft, so be very careful not to overbake!. If you do your cookies will come out dry and hard.
Keep a close eye on them as they bake, as different ovens will often require different bake times.
You’ll want to pull them from the oven when they’re just barely beginning to turn golden around the edges, or even a little bit before. Remember, the cookies will continue to set up as they cool. This process is called carry-over cooking, and here is a very good explanation of what that means:
“Carry-Over Cooking: The process that occurs as food continues to cook despite being removed from the [heat source]. Often a recipe will suggest an amount of time to allow foods to rest […] after foods have been cooked. Referred to as the resting time or the resting period, Carry-Over Cooking is a length of time during which the temperature in the food continues to rise 10ºF to 20ºF once the food is removed from the oven or cooking area. […] Therefore, it is important to remove [foods] from the oven prior to reaching the desired temperature so they do not overcook but instead continue cooking to the desired temperature outside the oven and then begin to cool.”
-source: RecipeTips.com
INGREDIENT SUBSTITUTIONS
While I have not tested this recipe with any alternative ingredients, I do think it could work well as an allergen-free recipe.
For gluten-free chocolate chip cookies, look for a gluten-free flour blend that subs 1:1 for regular flour.
If you’d like to make this dairy-free, use a dairy-free butter substitute that can sub 1:1 for regular dairy.
For an eggless, vegan version, try using subbing with flax eggs or chia eggs. To make 1 flax/chia egg, mix one tablespoon of ground flax or chia seed with 2 tablespoons of water, and allow it to sit for about 5 minutes until gelled. Since this recipe calls for additional yolks as well, you might want to x1.5 that ratio.
You can also feel free to use any kind of chocolate chips or chunks you like. Milk chocolate, white chocolate, or bittersweet chocolate will work equally well in this recipe.
- Nuts such as pecans, walnuts, or pistachios
- Dried fruit such as cranberries, cherries, or banana chips
- Crunchy snacks like pretzels or potato chips
- Chopped sweets such as peanut butter cups, candy canes, or Oreo cookies
- Measuring: The number one reason why cookies come out either too flat or not flat enough comes down to improper measuring. Baking is an exact science, so you want to be as precise as possible when you measure things out. Here is a universal guide on how to really nail it: How to Measure Ingredients for Baking.
- OVERMIXING: As I mentioned above, if you overmix the dough after the dry ingredients go in, the glutens can almost “seize up” and prevent the cookies from spreading properly.
- BUTTER TEMPERATURE: Cookies may not spread right if your butter isn’t the right temp. Make sure the butter is softened but not warm. It should feel pliable but cool. If it is too warm, the cookies could spread out like pancakes. Too cold, and they’ll come out like tight little balls.
- DRIED-OUT DOUGH: Scoop and bake this dough as soon as it’s done mixing. There is no need for an extended chill time. If it sits too long it will dry out and the cookies won’t spread.
- LEAVENING: If all else fails, try adding slightly more or less baking soda. I’m talking just a pinch- less than 1/8-teaspoon can make a huge difference. For fatter, thicker cookies, use a little less, for thinner, more spread out cookies, a little more.
- Already Baked: wrap them tightly and freeze in an airtight container between layers of parchment. Thaw at room temp, in a warm oven, or for a quick burst in the microwave, and enjoy!
- Unbaked: scoop the dough onto parchment-lined baking sheets and freeze in one even layer until hard. Then transfer to zip-top bags and bake off as many as you like, whenever the craving strikes. You may need to increase the bake time slightly if they go into the oven frozen.
- 1 1/2 cups (340.5 g) unsalted butter, (3 sticks), softened
- 2 cup (440 g) light brown sugar,, lightly packed
- 1/2 cup (100 g) granulated sugar
- 2 (100 g) large eggs
- 2 (34 g) large egg yolks
- 3 teaspoons (12 g) vanilla extract
- 4 cups (500 g) all-purpose flour
- 1/2 cup (64 g) cornstarch
- 2 teaspoon (8 g) baking soda
- 1 1/2 teaspoon (9 g) kosher salt
- 24 ounces (680.39 g) semi-sweet chocolate chips, (2 bags)
- Preheat the oven to 375 degrees F and line baking sheets with parchment paper.
- Place the butter, brown sugar and granulated sugar in a large mixing bowl and beat on medium-high speed until very pale and fluffy (3 to 5 minutes minimum).
- Add the egg, egg yolk, and vanilla, beating until completely incorporated.
- Scrape the bottom and sides of the bowl with a silicone spatula, then add the flour, cornstarch, baking soda, and salt, stirring on medium-low speed just until all the ingredients are combined (do not over-mix).
- Stir in the chocolate chips.
- Use a 1/4-cup scoop to drop balls of cookie dough onto the prepared sheets, allowing about two inches in between (for spreading).
- Bake (one sheet at a time) on the center rack of the oven until set around the edges and just barely beginning to turn golden (approx. 8 to 12 minutes).
- Cool completely on the baking sheet, then transfer to an air-tight container for storage.
-

TROUBLESHOOTING: COOKIES THAT ARE TOO FLAT OR DON’T SPREAD
CAN THEY BE FROZEN?
This recipe freezes beautifully and can be done in either of two ways:
HOW TO STORE/SHELF LIFE
These cookies will stay soft and chewy for days on end!
Place them in an airtight container and they will keep at room temperature for a week to 10 days.
If you want to make the dough ahead, follow my steps for freezing above, or add a tiny pinch more baking soda and wrap it tightly in plastic wrap. It will keep in the fridge for a few days.
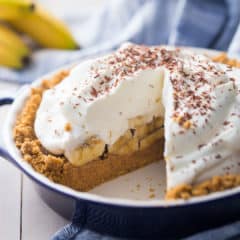
A FEW MORE OF MY FAVORITE SOFT COOKIE RECIPES

Soft Chocolate Chip Cookies
Ingredients
Instructions
Author

Leave a Reply
71 comments

Hi, I’m Allie!
I'm Allie, a former pastry chef. I love being in my kitchen, almost as much as I enjoy feeding people delicious treats! With my simple recipes, you'll transform the most basic ingredients into treasured memories!

as seen on:


You were SO right when you said these were the BEST chocolate chip cookies! My family loves these! I use a smaller scoop when I make them. You know, portion control. I make these at least once a month and sometimes more often if the chocolate chips to on sale.😀😀 Thanks for the great recipe!
So happy to hear this Rita! Thanks so much for the positive feedback!
Just made a batch and I will now throw out all the other printed recipes for CCcookies. This is the keeper recipe. I don’t have a 1/4 cup ice cream scoop (they never work well for me N E way) so I used a 1/4 c measuring scoop which resulted in 30 very large cookies so I can pig out now while still saying I only had 2 cookies.
Haha! So happy you were pleased Stu! TYSM for the 5-star review. It really helps me out a lot!
This is by far THE BEST soft chocolate chip cookie recipe EVER! I can’t even tell you how many recipes we have gone through finding the perfect cookie. Look no further. Run! Don’t walk to your kitchen and make these cookies!!
I just starting to make these and noticed in the recipe you say to use a 1/4 cup scoop, but in a comment below, you mentioned that your scoop measures 1.5 tablespoons. A quarter cup is actually 4 tablespoons, so I’m not sure what to do. Can you clarify? Thank you!
So sorry for the confusion! I’m not sure if you noticed at the top of the post but this recipe has been recently reworked. So some changes were made and any older comments would be reflective of the previous version. I used to make these cookies with a smaller scoop but now I prefer a larger one.
Yay! I’m so happy to see this post!! I’ve been missing your updates! I love all the ideas & recipes you share! I’ve been baking a long time & have found some new things from your site that have been added to our family favorites! Thanks for sharing!! We appreciate you!
Aw thank you so much! It has been a while, sorry about that! I’m hoping to pick back up with regular updates over the next few months. It means so much that you missed me! I appreciate you too!
Is it better to use refrigerated eggs or room temperature??? I have both so was just wondering. Thanks you for wonderful recipes.
Probably room temp but I’ve done it with cold eggs too and it still works very well!
Absolutely love this recipe!
I may have over-mixed as my cookies didn’t want to spread. But they still tasted AMAZING!
Thank you!