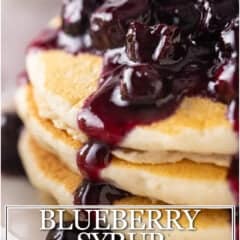
Blueberry Syrup
As an amazon associate I earn from qualifying purchases.
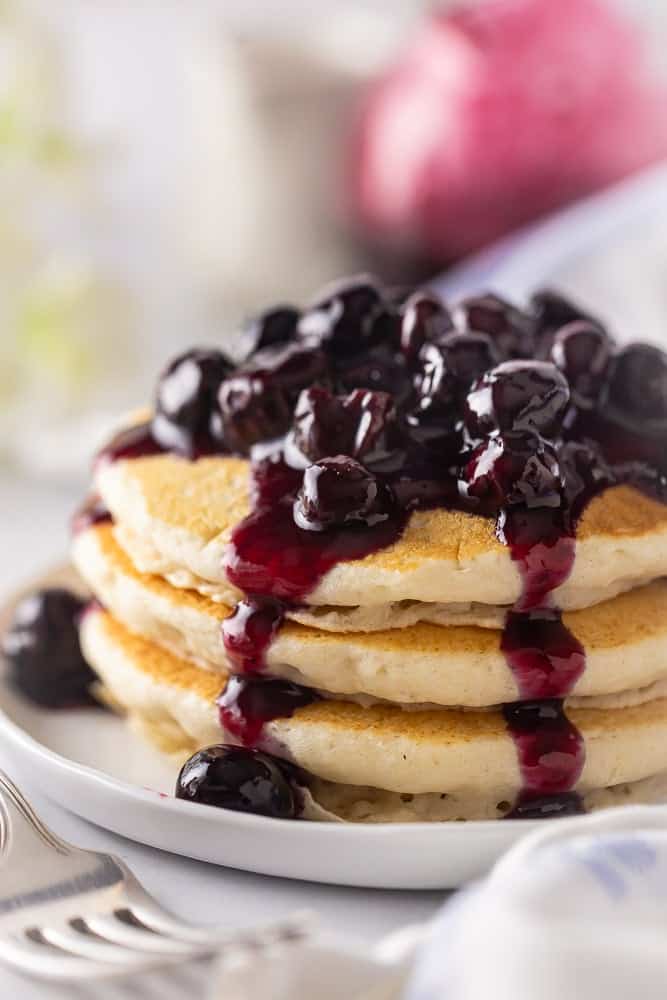
Table of Contents
- Here's Why You'll Love This Recipe
- Ingredients You'll Need
- In Photos: How To Make Blueberry Syrup
- Recipe FAQ
- More Blueberry Recipes
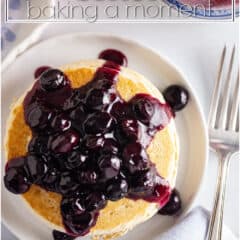
Blueberry syrup is such a simple fruit topping. You make it by cooking blueberries with sugar and a thickener until the berries burst and release their juices.
The finished syrup is somewhere between a syrup and a sauce. It pours easily when warm, thickens as it cools, and is full of soft, juicy berries.
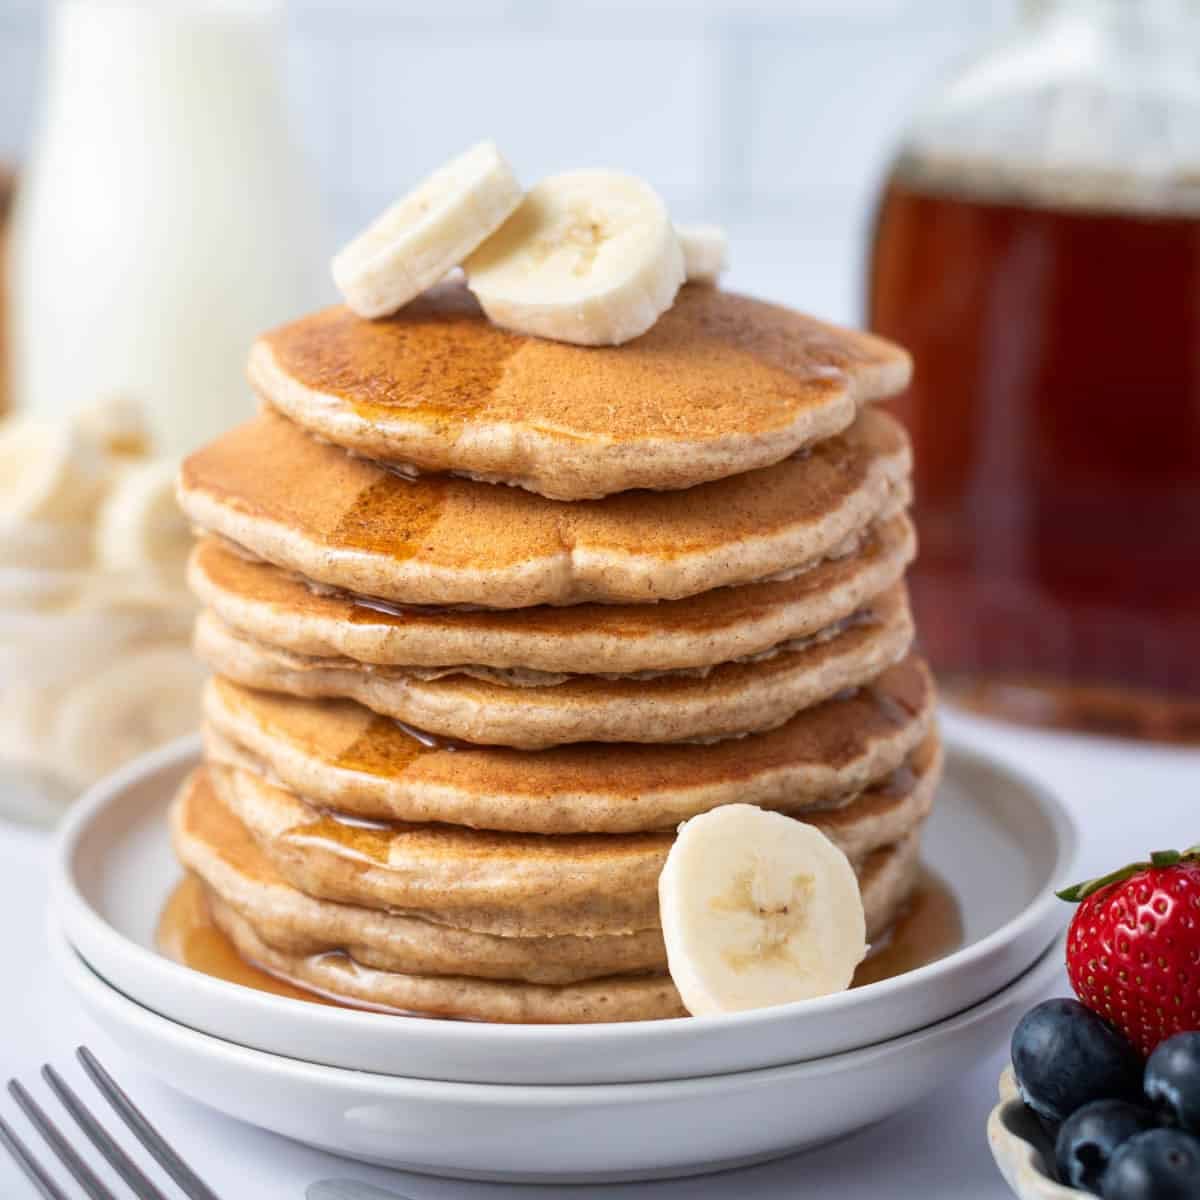
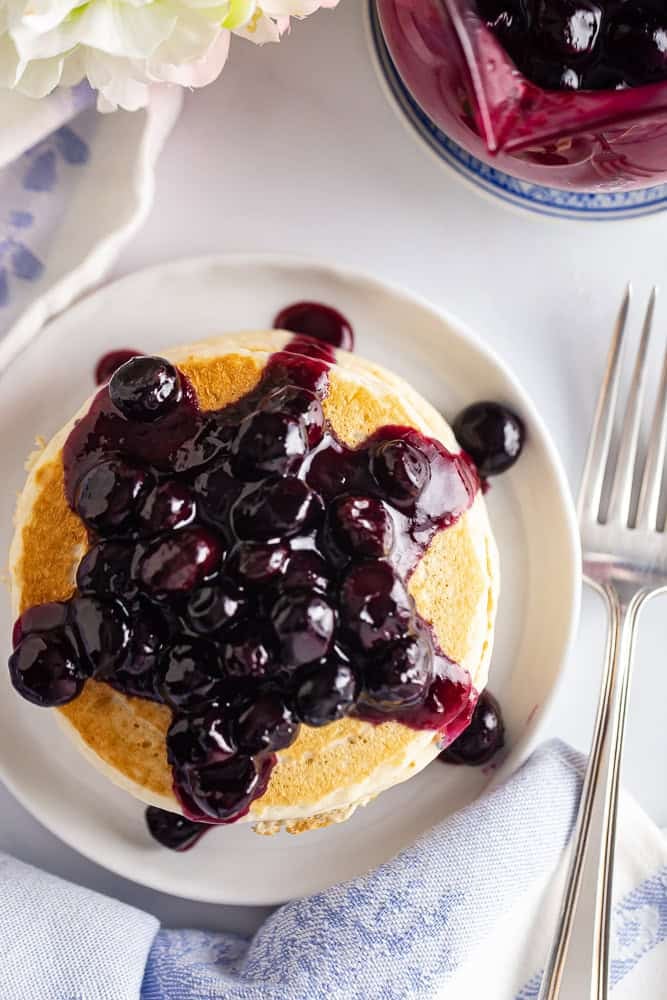
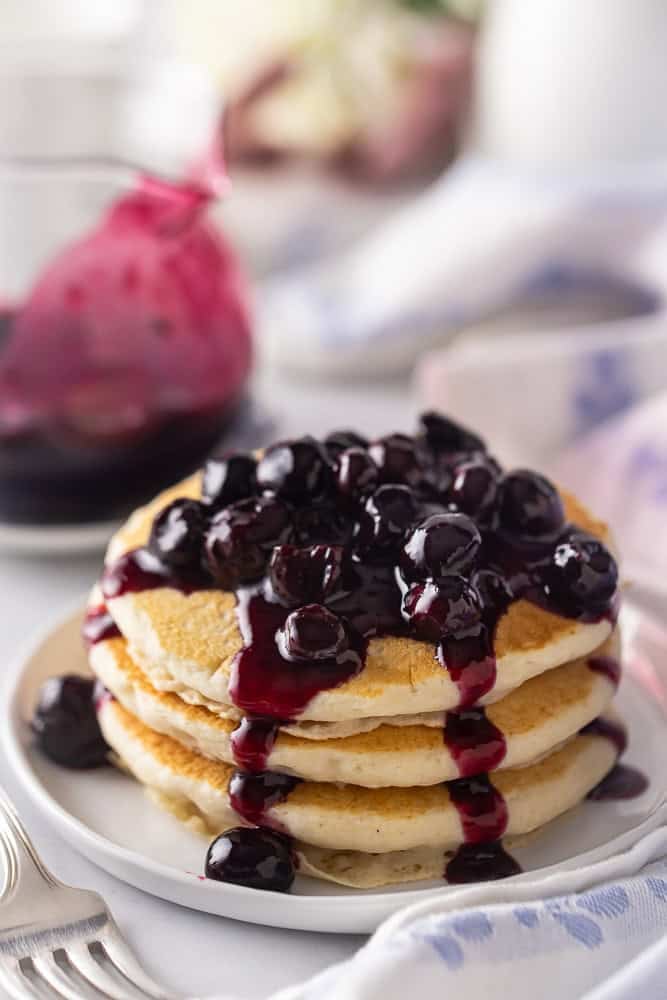
This syrup tastes great on pancakes, waffles, or French toast.
It's also delicious on vanilla ice cream, pound cake, cheesecake, Greek yogurt, oatmeal, crepes, or biscuits.
You can also swirl it into lemonade, iced tea, smoothies, or cocktails for a fruity blueberry flavor.
Here's Why You'll Love This Recipe
- This blueberry syrup recipe is quick, easy, and so much better than anything from a bottle.
- It's packed with real blueberry flavor, has a beautiful purple-blue color, and a thick texture that sticks nicely to pancakes and waffles.
- You'll also appreciate that it uses simple pantry ingredients and takes just about 15 minutes from start to finish.
Ingredients You'll Need
The recipe card at the bottom of the post contains the full list with all of the amounts. Refer to that when you're cooking.

- Blueberries: You can use fresh or frozen blueberries. If you use frozen, there's no need to thaw them first, but they might take a minute or two longer to cook.
- Granulated sugar: This sweetens the syrup and brings out the natural flavor of the berries.
- Cornstarch: This thickens the syrup, making it glossy and easy to spoon instead of watery.
- Lemon juice: It brightens the flavor and balances the sweetness. Feel free to add more or less, depending on your taste.
In Photos: How To Make Blueberry Syrup
Step 1: Combine
Add the blueberries, sugar, and cornstarch to a medium pot.
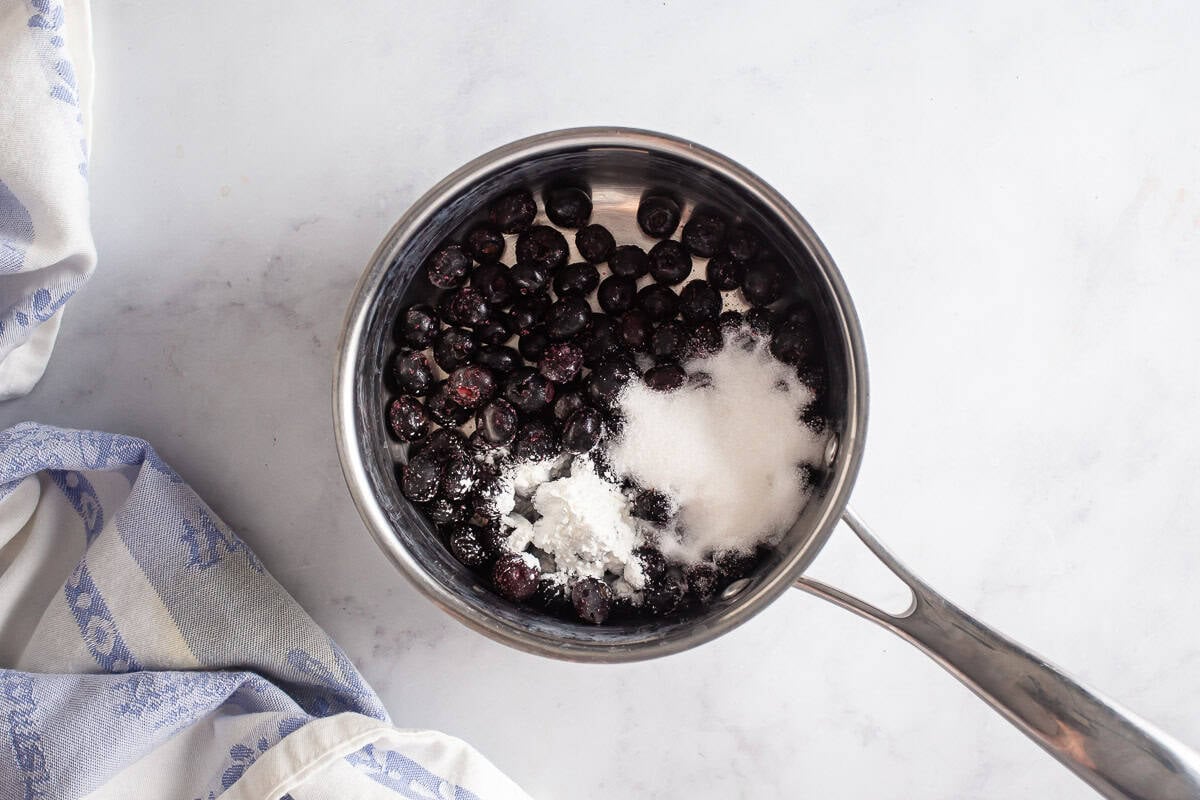
Stir everything together until the berries are evenly coated.
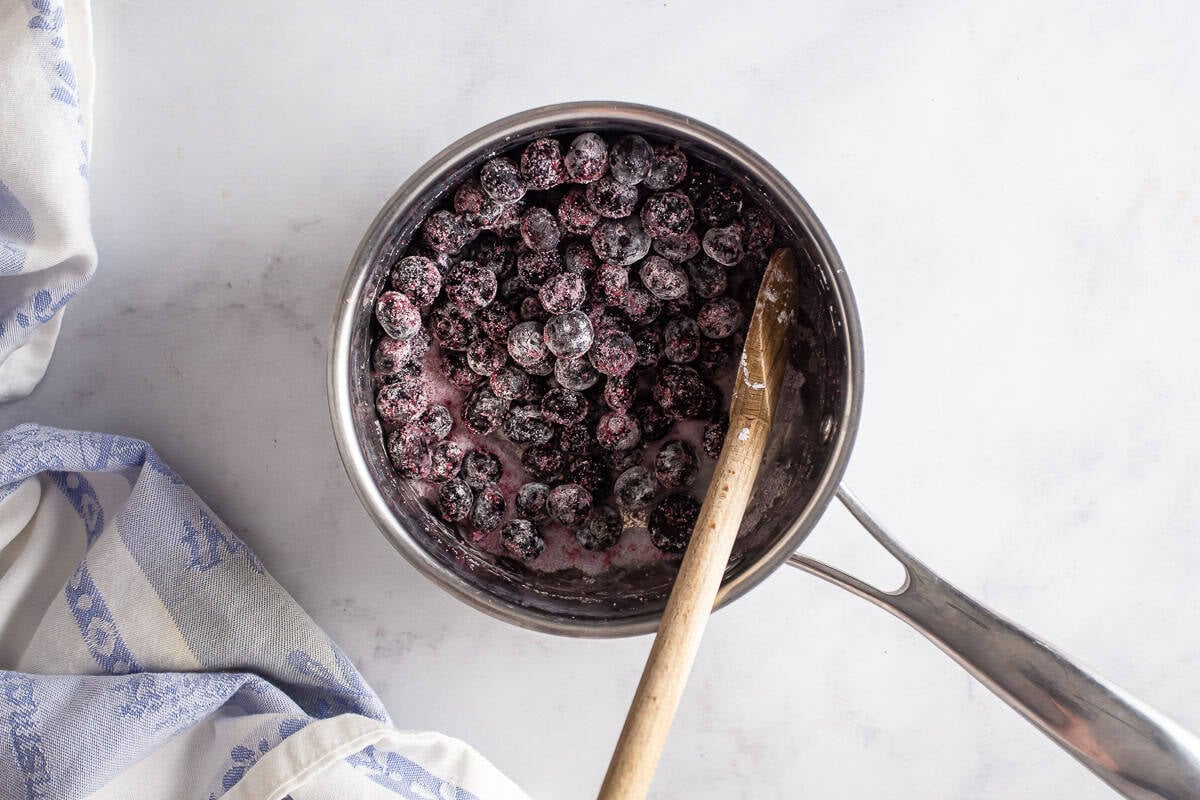
Step 2: Cook
Place the pot over medium-low heat and cook, stirring often, until the blueberries start to release their juices.
As the mixture heats up, the berries will soften and burst. Keep stirring to help the syrup thicken evenly and to prevent sticking.
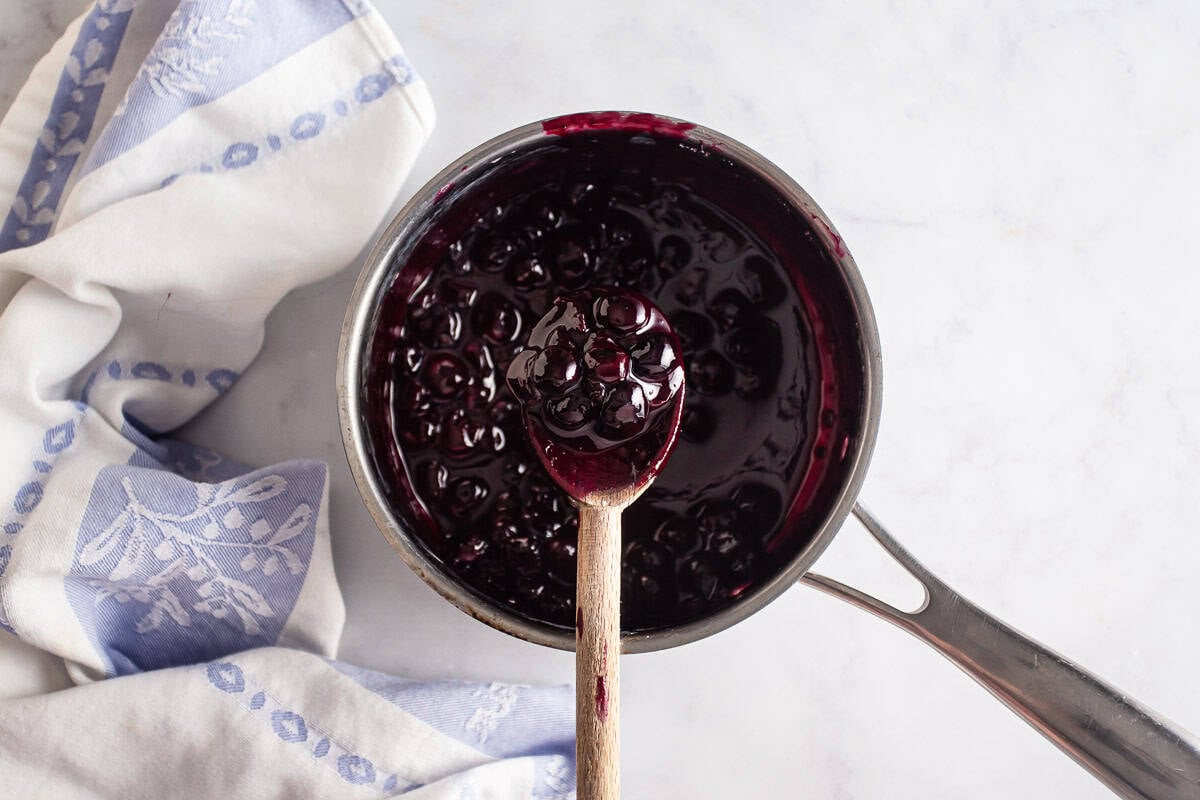
After about 10 minutes, most of the berries will have burst, and the mixture will look thick, shiny, and syrupy.
Take the pot off the heat and stir in the lemon juice.
Step 3: Cool
Pour the syrup into a heat-safe jar or bowl and let it cool a bit before serving.
Helpful Tips and Tricks
- Cook over medium-low heat so the berries have time to soften and release their juices without burning.
- Stir often, especially as the syrup starts to thicken.
- If you want a smoother syrup, mash the berries with a spoon as they cook, or blend the finished syrup and strain it through a fine-mesh sieve.
- For a chunkier syrup, stir gently and leave some berries whole.
- Taste the syrup after adding the lemon juice. Since blueberries can be more or less sweet, you might want to add a bit more lemon for balance.
Recipe FAQ
How do you store the leftovers?
Let the syrup cool completely, then move it to an airtight container.
Keep it in the refrigerator for up to one week.
Reheat the syrup gently in the microwave or in a small saucepan over low heat. If it gets too thick after chilling, just stir in a little water until it's the consistency you like.
Can you freeze this recipe?
Yes, blueberry syrup freezes well.
Put the cooled syrup in a freezer-safe container, leaving some space for it to expand. Freeze for up to three months.
Let it thaw overnight in the refrigerator, then warm it gently before serving.
Can I use frozen blueberries?
Yes! Frozen blueberries work well in this recipe. You can add them right to the pot without thawing.
Can I make this syrup less sweet?
Yes, you can use a little less sugar. Just remember that sugar helps balance the tartness of the berries and makes the syrup glossy.
Why is my blueberry syrup too thick?
The syrup gets thicker as it cools. Warm it gently and add a splash of water if you want to thin it out.
Why is my blueberry syrup too thin?
It might just need another minute or two on the stove. Keep cooking over medium-low heat, stirring often, until it looks glossy and syrupy.
Can I strain the syrup?
Absolutely. For a smooth blueberry syrup, blend it first if you like, then strain it through a fine-mesh sieve.
More Blueberry Recipes
- Classic Blueberry Pie Recipe
- Blueberry Cobbler
- Blueberry and Cream Cookies
- Blueberry Buckle
- Blueberry Crisp
- Simply Perfect Blueberry Muffins
Get my whole list of Blueberry Recipes here!

Ingredients
- 3 cups blueberries, fresh or frozen
- ½ cup granulated sugar
- ¼ cup cornstarch
- 1 tablespoon lemon juice, or to taste
Instructions
- Place the blueberries, sugar, and cornstarch in a medium pot and toss to combine.
- Cook, stirring, over medium-low heat until most of the berries have burst and the mixture is syrupy (approx. 10 minutes).
- Stir in the lemon juice, and transfer to a heat-safe vessel to cool.