Blackberry Pie
As an amazon associate I earn from qualifying purchases.
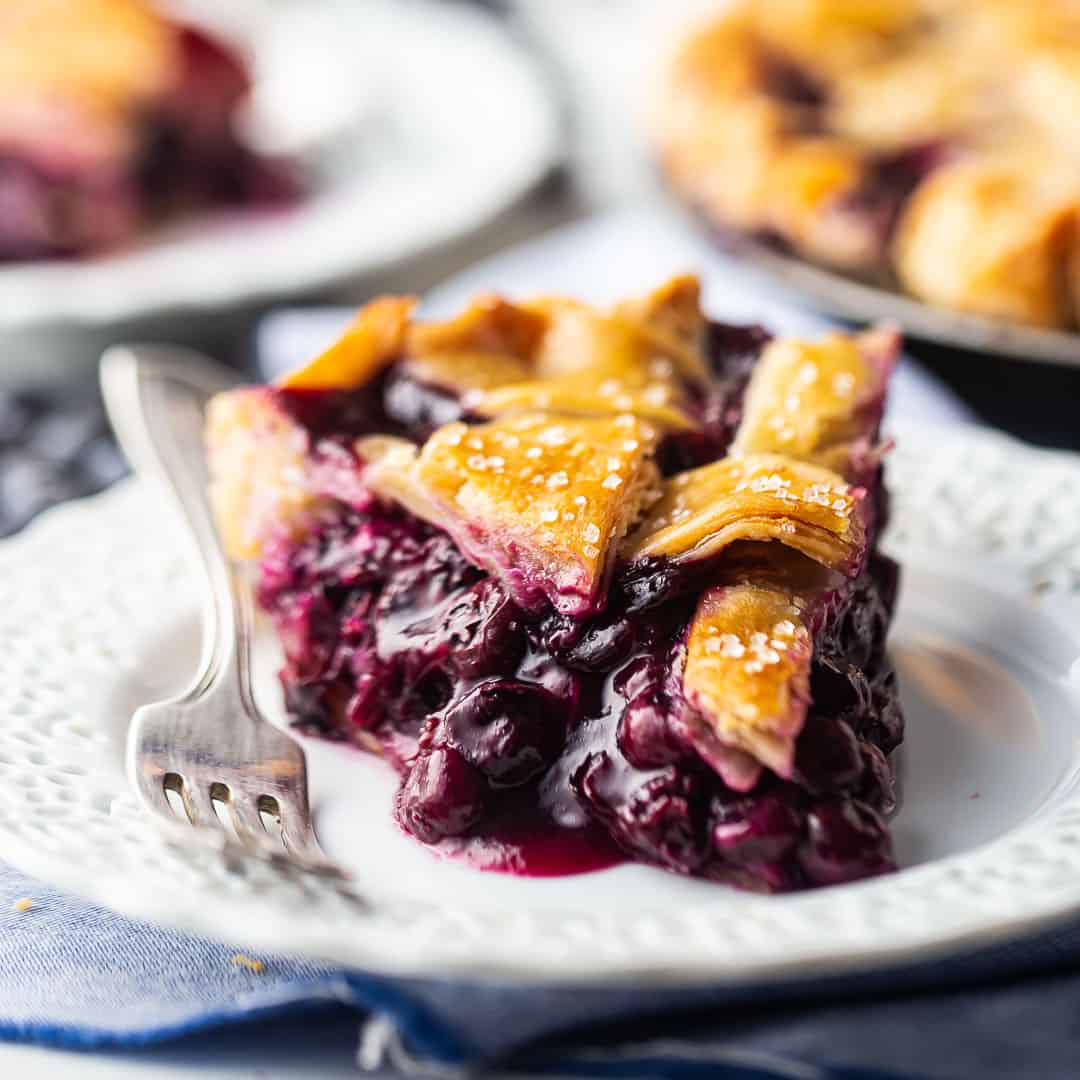
There is nothing more comforting than a slice of warm Blackberry Pie on a warm, sunny, summer day. This classic dessert bursts with ripe berries and is wrapped in a tender, buttery, homemade crust. Whether you go for a double crust, lattice top, or crumb topping, this recipe gives you everything you need for a bakery-quality pie right from your own kitchen.

Table of Contents
- Here's Why You'll Love This Recipe
- Ingredients You'll Need
- In Photos: How To Make Blackberry Pie
- Homemade Blackberry Pie Recipe FAQ
- More Homemade Pie Recipes
Blackberry pie is a traditional fruit pie made with fresh or frozen blackberries, sweetened and thickened into a syrupy filling, and baked inside a flaky pie crust. The natural tartness of blackberries is balanced by sugar and brightened with a touch of lemon, while the crust provides a crisp, golden contrast to the soft, jammy center.
Here's Why You'll Love This Recipe
- This recipe works beautifully with either fresh or frozen berries, making it a treat you can enjoy all year round.
- The filling is naturally thickened using apple core and lemon peel, which lend a luscious texture without artificial thickeners.
- You can choose your favorite topping for this pie! A double crust, classic lattice, or buttery crumb.
- It bakes up golden, juicy, and bakery-quality every time.
Ingredients You'll Need

- Pie dough: Enough for a double crust. Homemade or store-bought, this is the base of your pie.
- Blackberries: Fresh or frozen. Juicy, sweet-tart, and full of flavor.
- Granulated sugar: Sweetens the filling and balances the natural tartness of the berries.
- Cornstarch, flour, or tapioca starch: Your choice of thickener to help the filling set up nicely.
- Kosher salt: Enhances flavor and balances sweetness.
- Apple core and peel: Adds natural pectin to thicken the filling.
- Lemon peel and seeds: Also rich in pectin and adds a bright citrus note.
- Lemon juice: A touch of acidity to brighten the flavor.
- Unsalted butter: Dotted over the filling for richness.
- Egg wash: Helps the crust bake to a golden, glossy finish.
- Clear sparkling sugar: Optional, but adds a lovely crunch and sparkle on top.
In Photos: How To Make Blackberry Pie
Step 1: Make the Filling
In a small pot, combine half the blackberries with the sugar, cornstarch (or your choice of thickener), and salt.

Tie the apple core and peel, along with the lemon peel and seeds, in a piece of cheesecloth and add it to the pot.


Step 2: Cook The Filling
Cook over medium-low heat, stirring, until the berries release their juices and the mixture becomes syrupy.

Step 3: Complete The Filling
Remove from the heat, stir in the lemon juice, and allow the mixture to cool completely.
Once cooled, fold in the remaining uncooked blackberries for texture and freshness.


Step 4: Assemble the Pie
Roll out half the pie dough to about 3 inches wider than your pie dish and fit it into the pan. If making a single-crust or crumb-topped pie, trim and crimp the edge.
Spoon the cooled blackberry filling into the prepared bottom crust and dot with cubed butter.


Step 5: Apply Top Crust Or Topping
For a Double Crust:
Roll the second half of the dough, lay it over the filling, trim the excess, and crimp the edges.
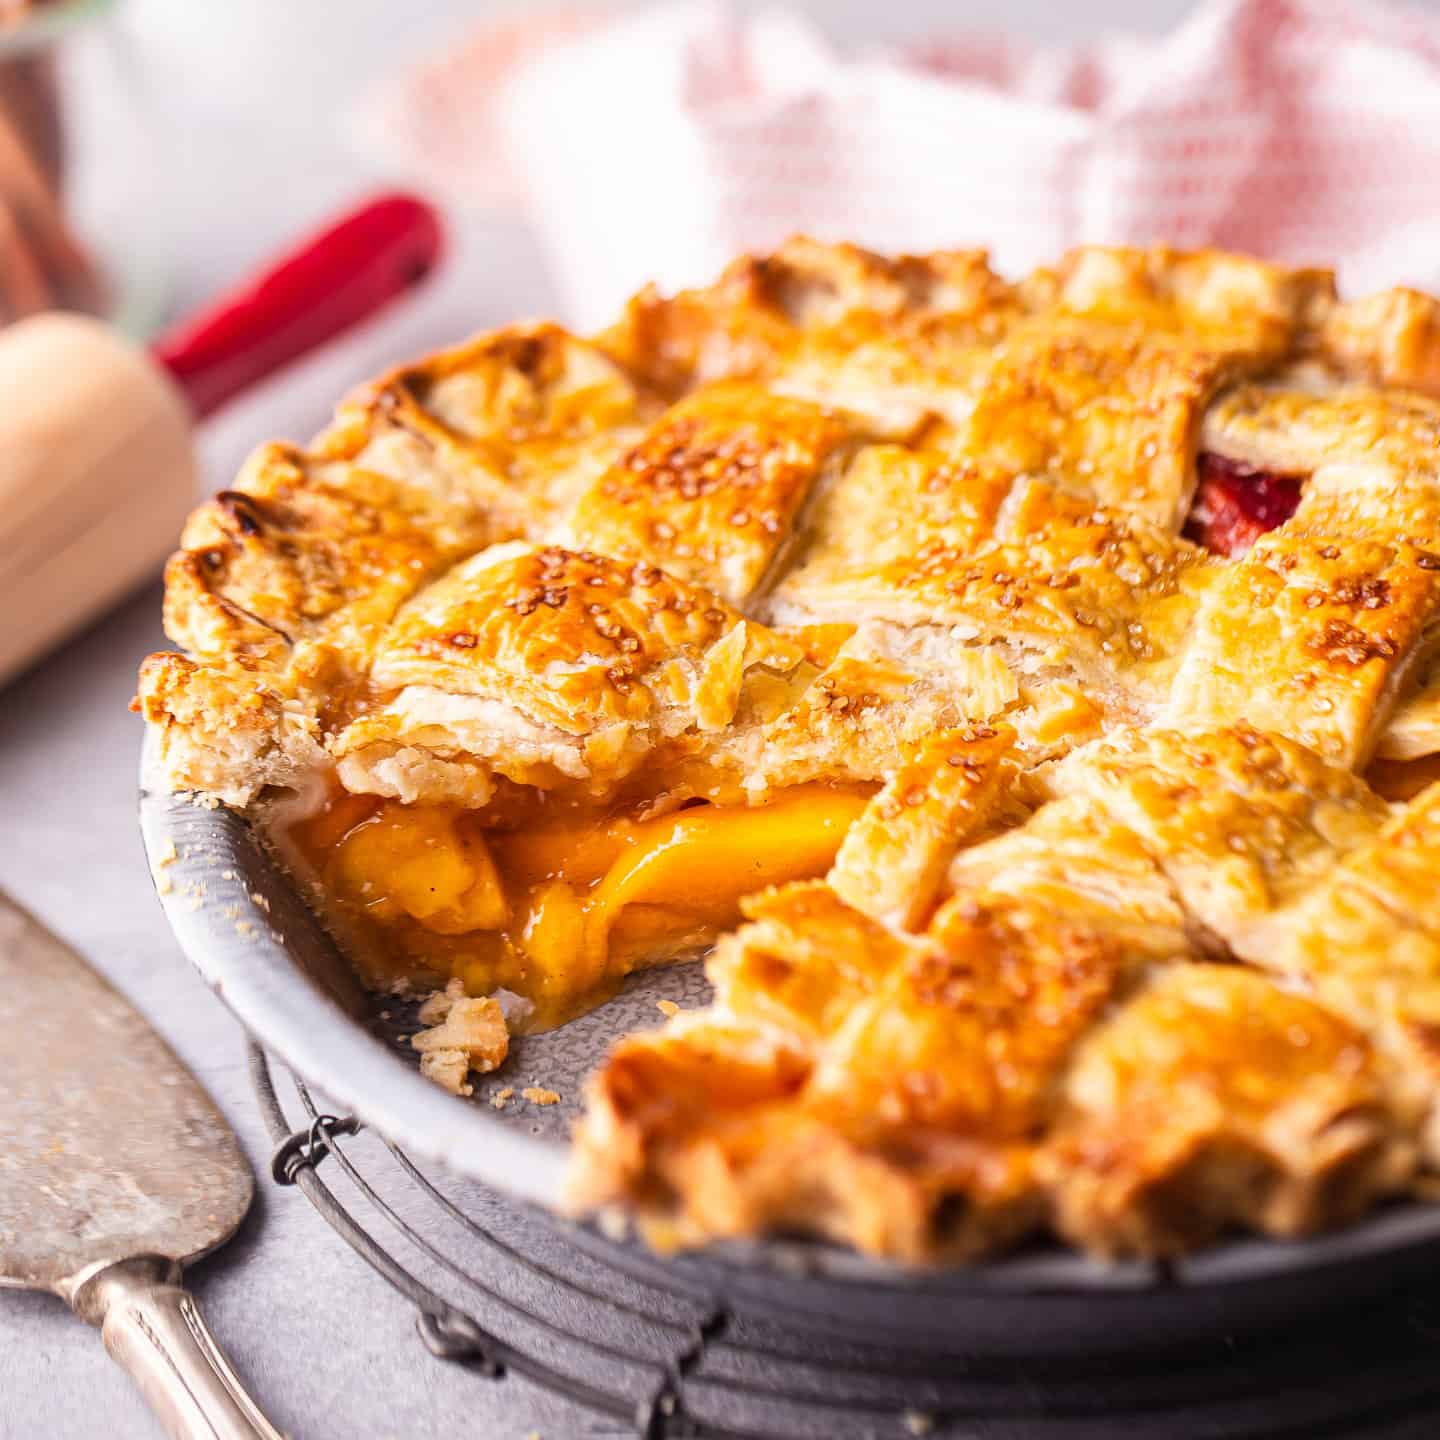
For a Lattice Top:
Roll out and cut the dough into strips, then weave into a lattice pattern over the filling. Trim and crimp the edges. Click here for more info and a helpful video tutorial: How to Make a Lattice Pie Crust.
For a Crumb Topping:
Sprinkle your favorite streusel over the filling instead of a top crust. Check out my favorite recipe here: Basic Streusel Recipe.
Step 6: Egg Wash
If using a double crust or lattice top, brush with egg wash and sprinkle with sparkling sugar for added sweetness and crunch.
Refrigerate the assembled pie while you preheat the oven to 425°F.

Step 7: Bake
Bake at 425°F for 20 minutes.
Then reduce the oven temperature to 350°F and continue baking for 45 to 55 minutes more, or until the crust is golden and the filling is bubbling.
Cool the pie for at least 2 hours to allow the filling to set before slicing and serving.
Helpful Tips and Tricks
- The apple core and lemon peel add natural pectin, helping the filling set beautifully.
- Letting the filling cool before adding the rest of the berries keeps them plump and juicy.
- Chilling the assembled pie helps prevent a soggy bottom crust.

Homemade Blackberry Pie Recipe FAQ
Yes! Just be sure to cook the filling as directed so the extra moisture can reduce.
Cornstarch gives a clear finish, flour is easy and reliable, and tapioca is great for a glossy, firm set.
Keep it loosely covered at room temperature for up to 2 days, or refrigerate for longer freshness. You can also freeze the baked pie for up to 2 months.
Absolutely. The cooked filling can be refrigerated for up to 3 days before assembling your pie.
Whether it's for a summer gathering, holiday celebration, or just because, this blackberry pie is sure to steal the show. Flaky, juicy, and kissed with a hint of lemon, it's everything a fruit pie should be.
More Homemade Pie Recipes
- The Ultimate Atlantic Beach Pie Recipe
- Strawberry Rhubarb Pie
- Simply Perfect Apple Pie
- Mississippi Mud Pie
- Chocolate Pudding Pie
- Derby Pie

Ingredients
- 1 batch pie dough
- 36 ounces blackberries, fresh or frozen, divided
- 1 cup granulated sugar
- ¼ cup cornstarch, or ½ cup all-purpose flour or tapioca starch
- ⅛ teaspoon kosher salt
- 1 apple core & peel
- 1 lemon peel & seeds
- 1 tablespoon lemon juice, juice of half a lemon
- 3 tablespoons unsalted butter, cubed
- egg wash, 1 egg beaten with 2 teaspoons water
- 1 ½ tablespoons clear sparkling sugar, optional garnish
Equipment
Instructions
- Place half the blackberries, sugar, cornstarch (or all-purpose flour or tapioca), and salt in a small pot and toss to combine.
- Tie the apple core & peel and lemon peel & seeds in a piece of cheesecloth, and add to the pot.
- Place the pot over medium-low heat and cook, stirring, until the berries have released their juices and the mixture is syrupy.
- Remove from the heat and allow to cool.
- When the blackberry pie filling has cooled, stir in the remaining uncooked blackberries, along with the lemon juice.
- Roll half the pie dough out to about 3 inches wider than the baking dish and slip it into the pan (for an open-faced or crumb-topped pie, trim, roll, and crimp the crust).
- Transfer the filling to the unbaked bottom crust.
- Dot the filling with butter.
- For a double crust: Roll the second half of the pie dough out to about 3 inches wider than the pie pan and place it over the filling. Trim excess dough, roll & crimp the edge.
- For a lattice-top pie: Roll the second half of the pie dough out to about 3 inches wider than the pie pan. Cut into strips and arrange in a lattice pattern over the filled pie (Step-by-step tutoral here: How to Make a Lattice Pie Crust). Trim excess dough, roll & crimp the edge.
- For a crumb-topped pie: Top with streusel crumb topping (find the recipe here: Basic Streusel Recipe).
- For a double crust or lattice-top pie: Brush with egg wash, and sprinkle with clear sparkling sugar.
- Place the unbaked pie in the refrigerator and preheat the oven to 425 degrees F.
- Bake the pie for 20 minutes at 425 degrees F, then lower the oven temperature to 350 degrees F and bake until evenly browned and bubbling (approx. 45 to 55 minutes).
- Cool for at least 2 hours before slicing and serving.
Notes
- Use ½ batch Simply Perfect Pie Crust if making a single crust or crumb-topped pie.
- For more info on how to make flaky pie crust, click here: Simply Perfect Homemade Pie Crust.
- For an easy tutorial on how to make a lattice-topped pie, click here: How to Make a Lattice Pie Crust.
- For my favorite crumb topping recipe, click here: Basic Streusel Crumb Topping.