Basic Macaron Recipe
As an amazon associate I earn from qualifying purchases.
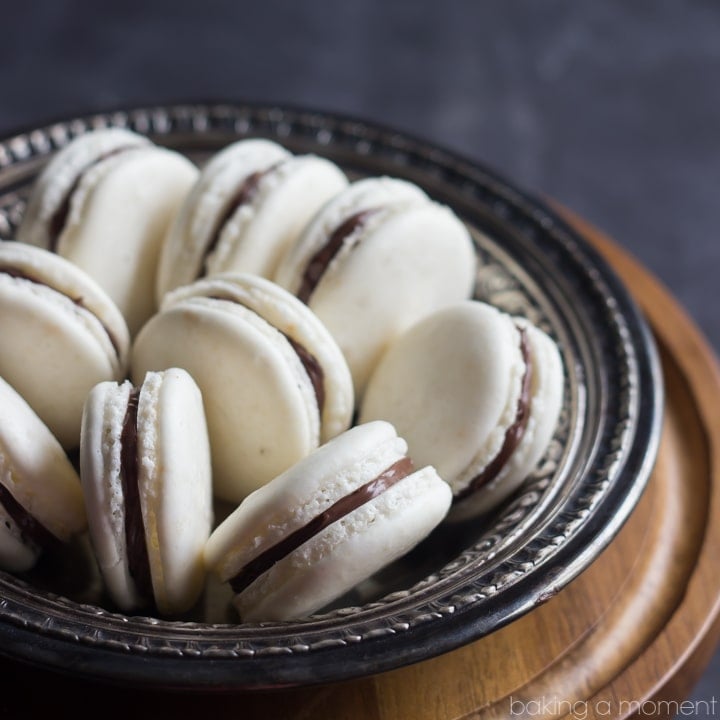
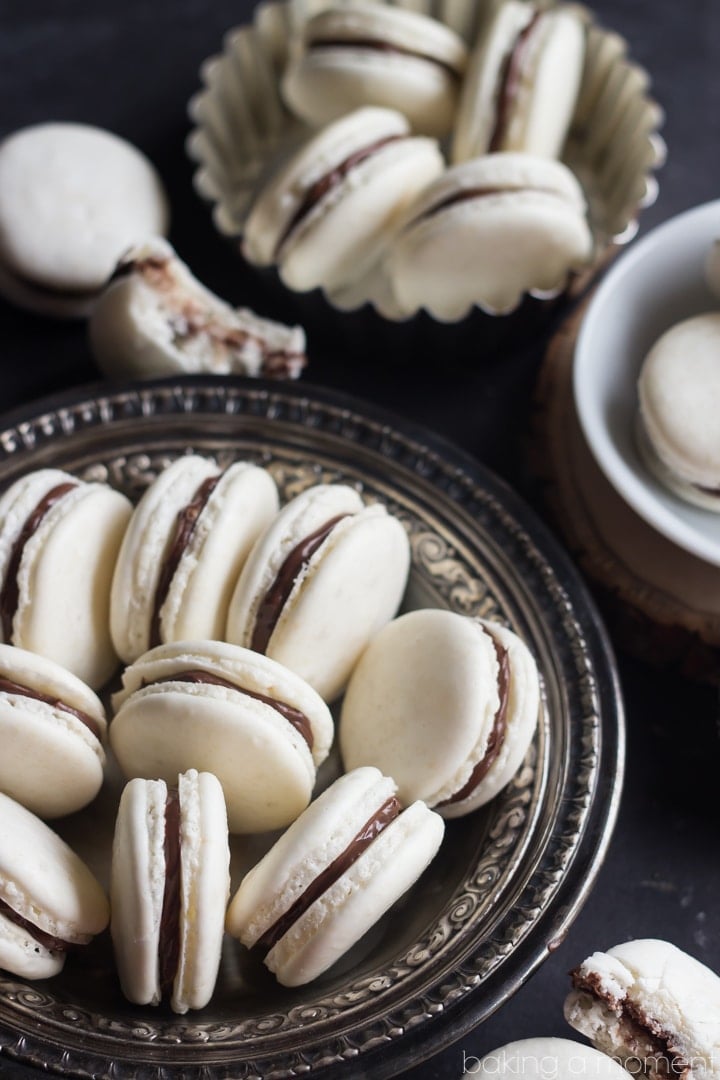
You can totally do this! Follow my simple instructions and video tutorial, and you'll be enjoying freshly made French macarons from your own home kitchen! This basic recipe for classic almond shells couldn't be more simple. (Naturally gluten-free.)
I feature recipes for French macarons pretty regularly here, because they are a little bit special, gift-able, and infinitely adaptable. There are so many different flavor possibilities, and it's a lot of fun to come up with different kinds of shell + filling pairings. You can just let your imagination run wild; there are tons of different ways you can make them uniquely your own.
But for all the different ways you can make macarons, one thing always remains the same, and that's the feedback I get from you guys. Over and over again I hear things like, "I just love macarons, but I'm too scared to make them," or "they look delicious but I don't think I am experienced enough to tackle that challenge." Well, I have been listening, and I am here to tell you that yes, they can be a little bit finicky at times, but you can totally do this!
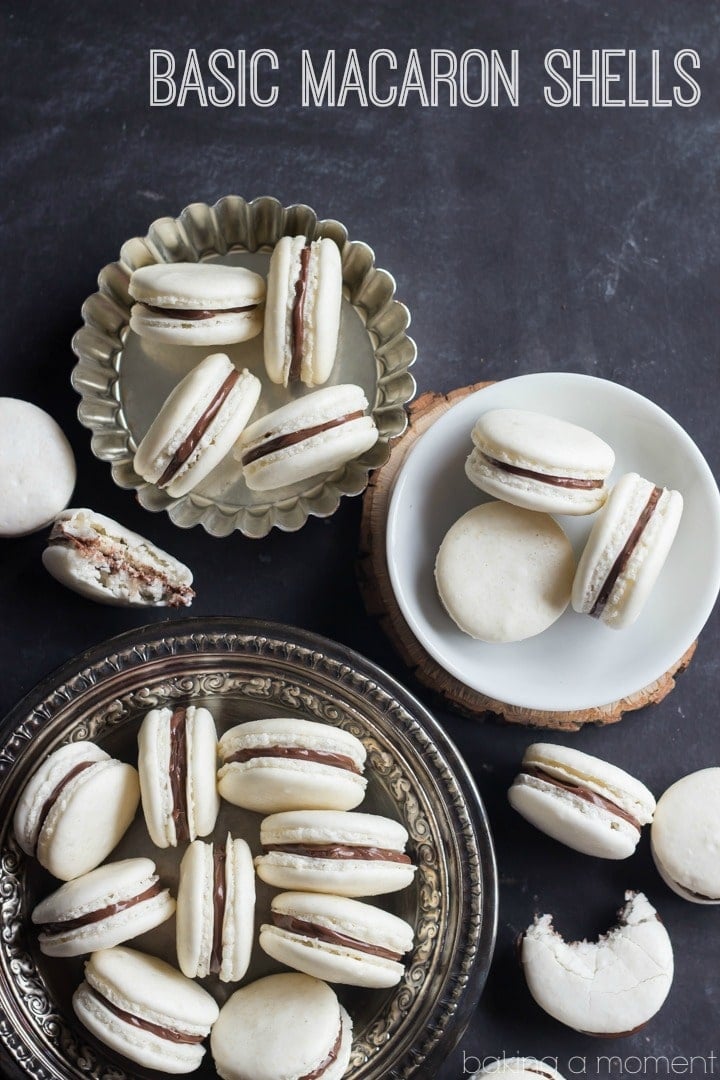
The macarons you see here are not perfect. If you look closely you will notice that some of them are lopsided. The edges aren't as neat as they could be. There are some air bubbles. But if I can make them in an oven that looks like this, then you should have no trouble! And even if you do, I'm going to let you in on a little secret: lopsided macarons with air bubbles still taste every bit as good as the pretty ones!
So, are you in? Let's do it!
Just like with a lot of other pastries, you'll have the best results if you weigh your ingredients, because that's a lot more accurate than spooning/packing things into a measuring cup. But that's easy enough to work around, and the main idea is nothing you aren't already familiar with. Basically, you have dry ingredients and wet ingredients, and you mix them together. The dry ingredients consist of ground almonds, powdered sugar, and a pinch of salt. The wet ingredients are egg whites and granulated sugar, with a pinch of cream of tartar to help keep the meringue from falling flat. It's really that simple.
1) Use room temperature egg whites from whole eggs. (I have tried using pasteurized, liquid egg whites and have not been happy with the result.)
2) Make sure your mixing bowl and whip are really clean and you haven't pierced any yolks when separating the eggs. (Any small trace of fat will prevent the whites from whipping up well.)
3) If you choose to tint your shells, use either gel paste![]() or powdered color
or powdered color![]() , and add it to the meringue before you begin folding in the almond mixture. (Liquid food coloring is not recommended.)
, and add it to the meringue before you begin folding in the almond mixture. (Liquid food coloring is not recommended.)
4) Don't over- or under-mix the dry with the wet. (Stop folding when the batter drops from the spatula in one long ribbon- or maybe even a few strokes before. Remember that the process of filling your piping bag will work the batter even a little bit more, so I like to err slightly on the side of less folding.)
5) Pipe the rounds a little smaller than you want your finished shells to be. (The batter will spread as it sets.)
6) Handle them gently. (Some recipes recommend rapping them forcefully on the counter to force out air bubbles, but when I have done this in the past, it's caused the shells to crack in the oven. Personally, I prefer bubbles over cracks.)
7) Dry times may vary based on the humidity level in the air. For me, here in the northeastern U.S., 45 minutes is usually good. (You'll know they're ready when you can feel a thin, dry membrane on their surface.)
8) Bake them at a low temperature so they don't brown. (Bake times can also vary, but you can reach your hand in the oven at around the ten minute mark and give them a feel. Pull them when they're set and let them cool on the baking sheet.)
9) When they're fully cool, fill them with something delicious. (I prefer fillings that are a little less sweet. The shells themselves are quite sugar-y, so fillings like dark chocolate, salted caramel, and tangy curd are particularly good, in my opinion ;))
10) Eat them the following day. (One of the best things about macarons is the way the filling and the shell kind of meld together into a soft, almost chewy blend of flavors. They need several hours to overnight for this to occur.)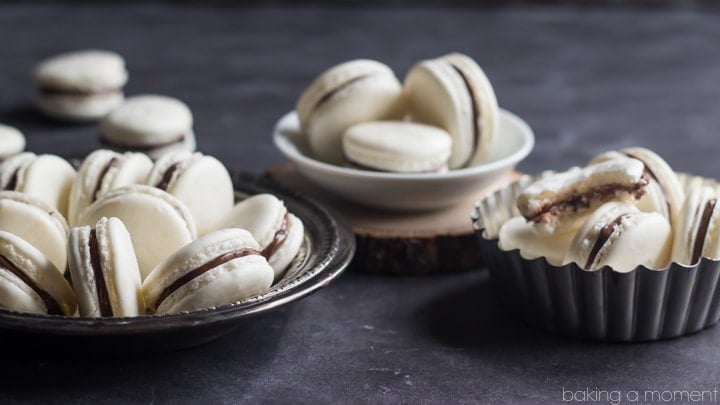
Here are some of my most used (and loved!) macaron-making tools:
Chocolate Walnut Macarons with Salted Caramel Filling
Hazelnut Macarons with Pumpkin Maple Cream Cheese Filling
Coffee Macarons with Nutella Filling
Blueberry Mascarpone Macarons
Strawberry Rose Macarons
Orange Walnut Macarons with Spiced Cream Cheese and Cranberry Filling
If you still aren't feeling brave enough to take on macarons, hopefully this video will help. As you can see, it's just a handful of simple ingredients and all the hard work is done in a matter of a few short minutes.
Or, you can watch the Live recipe demo in the recipe card below, which offers a little more in-depth insight with regard to technique:
Let me know if you still have questions, and I'll do my best to answer them.
This post includes affiliate sales links.

Ingredients
- 120 grams egg whites, (about 4 large eggs)
- 170 grams almond meal, (also called "almond flour")
- 200 grams powdered, (also called "confectioners" or "icing" sugar)
- ⅛ teaspoon (0.13 teaspoon) kosher salt
- ¼ teaspoon (0.25 teaspoon) cream of tartar
- 70 grams granulated sugar, (also called "caster's" sugar
- gel paste or powdered food coloring, optional
Instructions
- Set the egg whites aside to come to room temperature.
- Measure the almond meal, powdered sugar, and salt into the bowl of a food processor. Process the mixture finely, then sift, discarding any large bits. Set aside.
- Measure the granulated sugar in a small bowl.
- Add the cream of tartar to the whites, and mix on medium-high speed, using the whip attachment.
- When the whites hold soft peaks, start adding the granulated sugar, very slowly, while continuing to whip.
- When all the granulated sugar has been incorporated, continue to whip until stiff. Add color, if using.
- Add the almond meal mixture to the meringue, and fold together, until the batter drops from the spatula in a long ribbon.
- Transfer to a piping bag fitted with a large round tip, and pipe 1 ½-inch diameter rounds onto parchment-lined baking sheets.
- Allow to dry for 45-60 minutes, or until thin, dry membrane forms on the surface.
- Preheat the oven to 300 degrees F, and bake the macarons (one sheet at a time) until set (approximately 10-15 minutes). Do not brown.
- Allow to cool on the baking sheet, then carefully peel from the parchment and sandwich with filling.

Hello there
Just a quick question
Can I sub regular flour for almond flour
Please reply ASAP
Thank you sooo much
Hi there! I have not tried so I can't say for sure, but please feel free to experiment. Good luck!
I want to try this without using eggs. Have some pointers that might help me. I have a full-egg replacement powder that has worked wonders for me for pudding fillings but i’ve never tried using it for white’s replacement.
Sorry, I'm not familiar with the product so I can't really advise.
Thanks. Ill let u know how it goes then 👍🏻
This is literally the best base recipe for macarons that I have ever used.
Thank you so much
I'm so happy you've found success with it!
where can i see this video tutorial?
About halfway down the post, then it moves to the lower right side of the screen as you scroll down.
With this recipe I finally got feet on my macarons! I just discovered your blog and I’m amazed! Yours site is fantastic! I’m an RN by day and an intermediate level home baker in my free time and I can’t wait to try more of your recipes! Baking has helped so much with my depression and chronic illness I fight daily. I hope to one day be as knowledgeable and confident in my baking as you are! Thank you!
Aw, it's my pleasure Gesina! I'm so happy you had success with this recipe, and SO happy that baking is such a source of joy for you. It really can be therapeutic, don't you think? What a great way for you to decompress from what I'm sure is a really stressful job. Thanks so much for introducing yourself! And for the positive feedback!
Your video and recipe were just what I needed, and my first attempt was a huge success!!! I'm beyond excited and I can't wait to make more! Thanks so much ?
Hooray! So happy they worked out for you Sarah! Now if you're anything like me you'll be hooked and you won't be able to stop, lol! Congratulations and thanks for the good report!
I was making my macaroons and was wondering why the domes of them deflate
Do they deflate before or after being baked?
Thanks for sharing. Can I not put so much sugar in it?dav
Hi there! No, I'm sorry, I would not recommend cutting out the sugar. Macarons can be fussy and the ratio of ingredients is pretty important.
Hi, Can I substitute the cream of tartar for something else? I dont have any and have no way of easily getting some.
Hey Jennifer! You can try adding a few drops of lemon juice- that should do the trick!
This is my first time making macarons so I need more specifics if thats ok. How much lemon juice? Thanks for responding.
Just a few drops should do, Jennifer!
Thank you for a great recipe! I used it and made some amazing batches my family loves!
Hooray! I'm so glad to hear it Brenna! Thanks so much for reading and for the great feedback 🙂