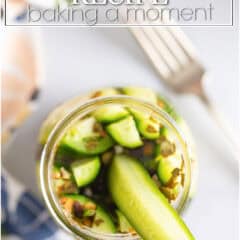
Dill Pickle Recipe
As an amazon associate I earn from qualifying purchases.
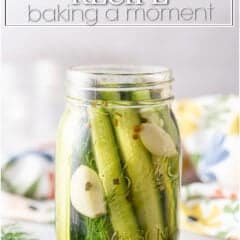
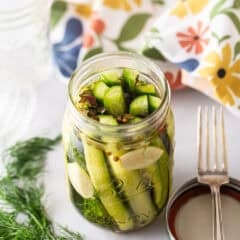
Sweet, tangy, garlicky, and loaded with fresh dill flavor, these Homemade Dill Pickles are so easy to make! They're crisp, crunchy, and packed with the classic garlic-dill flavor you know and love. Make them as quick refrigerator pickles, or process them in a water bath for longer storage. Once you see how simple it is to make pickles at home, you may never want to buy a jar again.
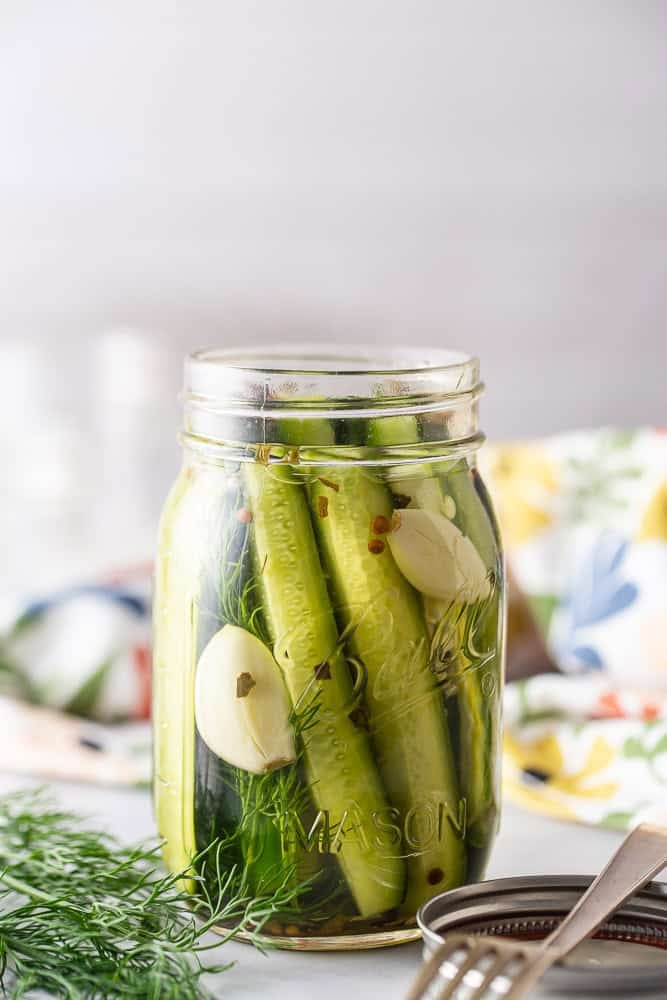
Table of Contents
- Here's Why You'll Love This Recipe
- Ingredients You'll Need
- In Photos: How To Make Homemade Dill Pickles
- More Canning Recipes
There is just something so satisfying about making your own pickles.
You start with fresh cucumbers, a few simple aromatics, and a quick vinegar brine. After a little time in the jar, those cucumbers transform into crisp, flavorful dill pickles that are perfect for snacking, sandwiches, burgers, charcuterie boards, and more.
This dill pickle recipe is simple, flexible, and full of bright, briny flavor. You can keep the jars in the fridge for quick pickles, or use the canning method to stock your pantry.
Here's Why You'll Love This Recipe
- These homemade dill pickles are crisp, tangy, and full of flavor.
- The recipe uses simple ingredients you may already have on hand, and it only takes about 15 minutes of prep time.
- You can make them mild and garlicky, or add jalapeno for a little heat.
- They're great for beginners because the brine is easy to make and the steps are straightforward.
- Best of all, you can make them as refrigerator pickles or canned pickles, depending on how you want to store them.
Ingredients You'll Need
The recipe card at the bottom of the post contains the full list with all of the amounts. Refer to that when you're cooking.
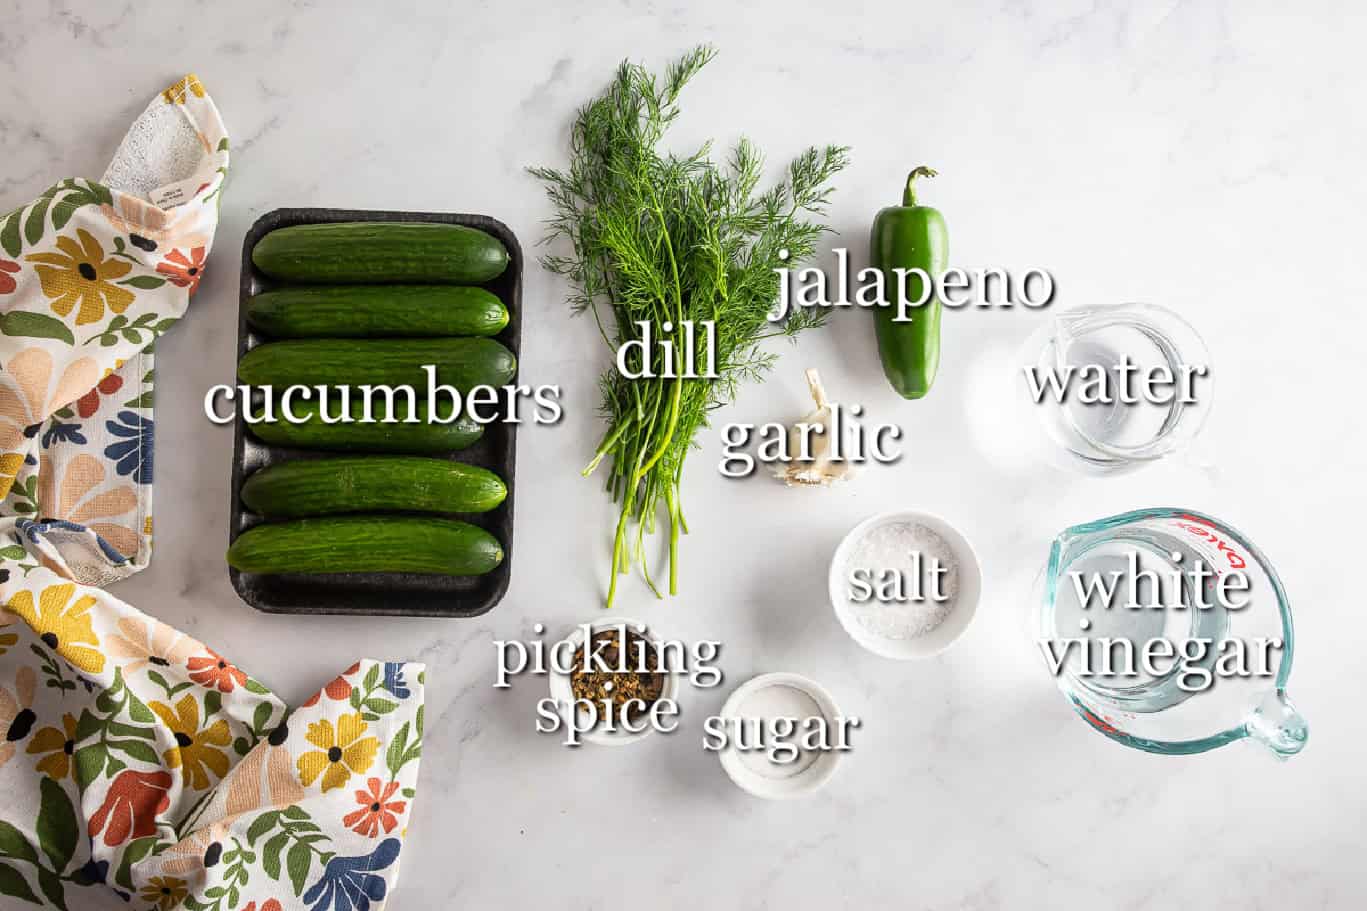
- Small cucumbers: Choose small, firm cucumbers (like pickling or Kirby cucumbers). They stay crisp and fit well in jars.
- Fresh dill: Both dill sprigs and dill heads work well. Skip the dry dill. It doesn't pack the same punch.
- Garlic: Use fresh garlic, not jarred, for the best flavor.
- Jalapeno pepper: Optional, but great if you want a spicy kick. Leave it out for classic dill pickles.
- Water: If you are on city water or it has a distinct "flavor" to it, I recommend using bottled water.
- White vinegar: Adds acidity and gives the pickles their bright, sharp flavor.
- Kosher salt: Seasons the brine and helps preserve the pickles. Avoid table salt, as it can make the brine cloudy or too salty.
- Granulated sugar: A small amount balances the vinegar and salt. These pickles are not sweet.
- Pickling spice: Adds extra flavor with spices such as mustard seeds, coriander, bay leaves, and peppercorns. Can be omitted if you prefer.
In Photos: How To Make Homemade Dill Pickles
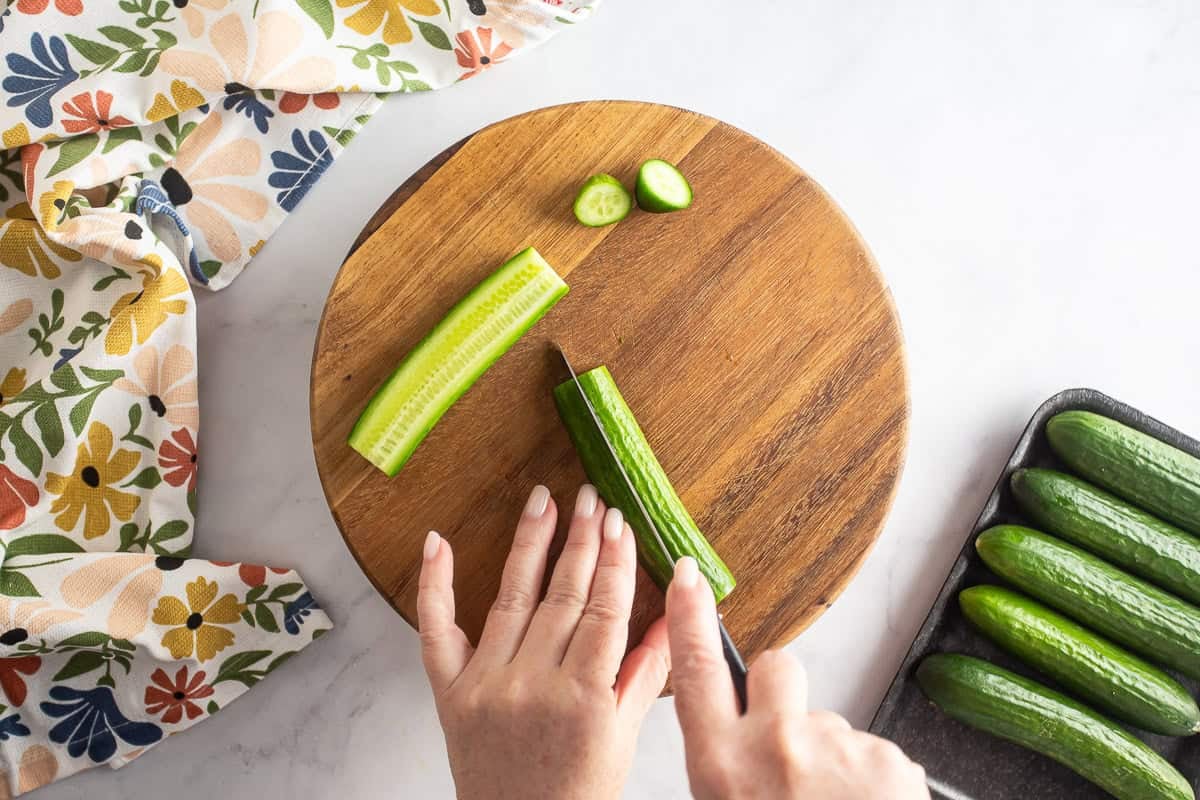
Step 1: Prep
Start by sterilizing your jars. Boil the jars and lids for 10 minutes to do this.
Cut the cucumbers into spears by quartering them lengthwise.
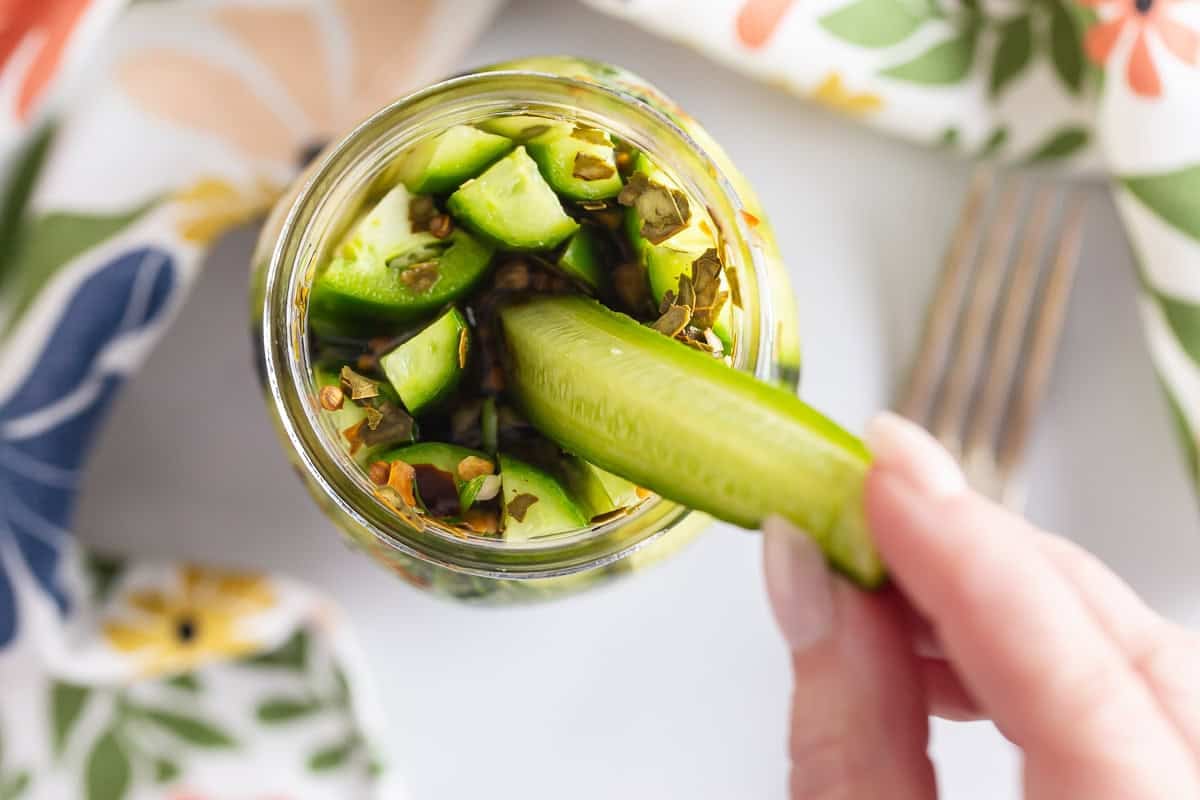
Step 2: Add To Jars
Pack them into the sterilized jars with fresh dill, garlic, and jalapeños, if using.

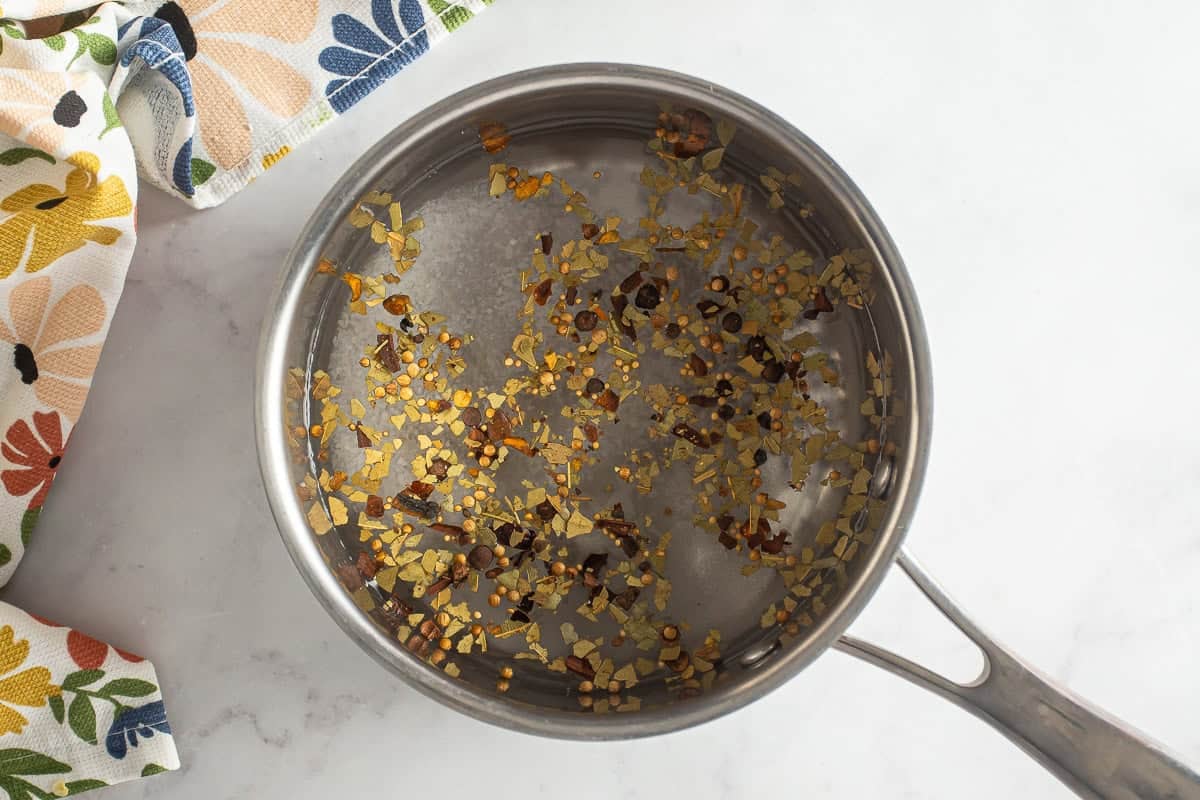
Step 3: Make Brine
Next, make the brine. Combine the water, vinegar, kosher salt, sugar, and pickling spice in a small pot over medium-low heat.
Heat the mixture until the salt and sugar dissolve completely.
Step 4: Add Brine To Jars
Pour the hot brine over the cucumbers, leaving about half an inch of space at the top of each jar.

Put fresh lids on the jars and screw on the rings.
Now you can either refrigerate the pickles or process them for canning.
Step 5: Choose Your Own Adventure
Refrigerator Pickles
For refrigerator pickles, just put the jars in the fridge after adding the lids.
They will keep in the fridge for about one to two months.
The flavor improves as they sit, so try to let them chill for at least a day or two before eating.
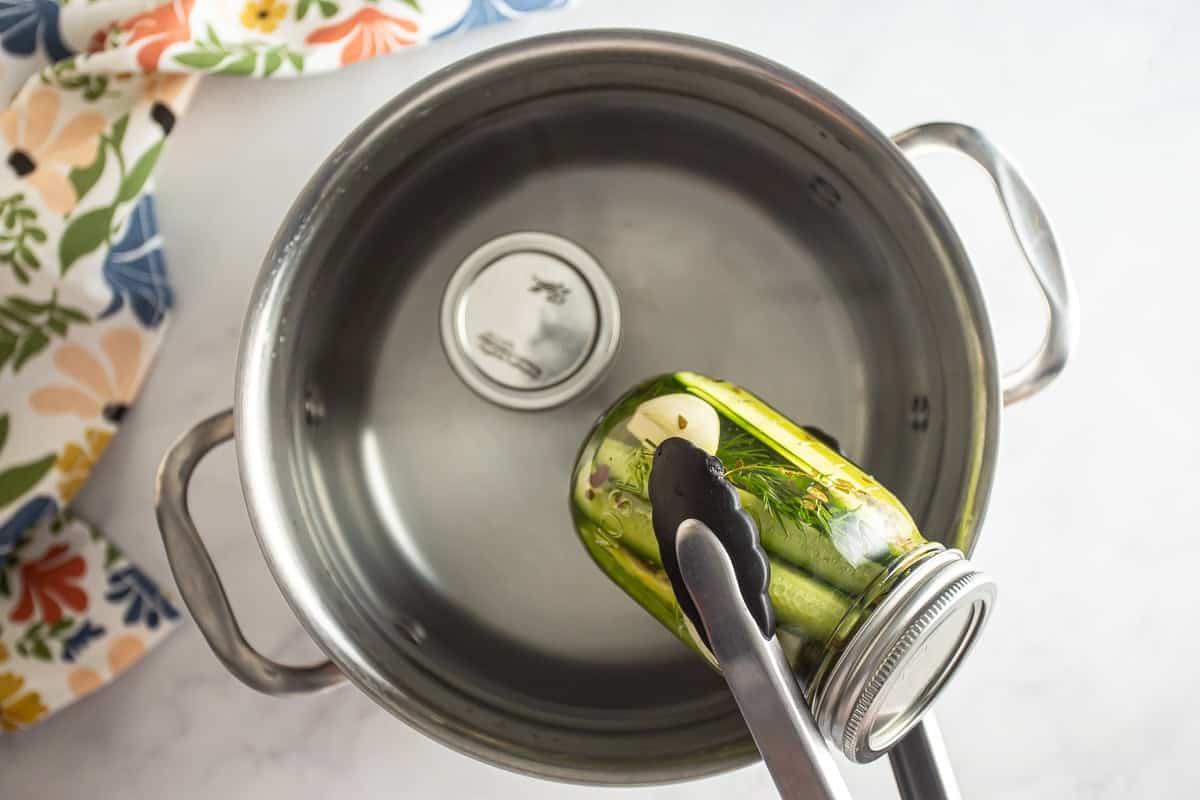
Canned Dill Pickles
To can the pickles, bring a large pot of water to a boil.
Submerge the filled jars completely in the boiling water and process them for 10 minutes.
Carefully remove the jars from the water bath and let them cool to room temperature.
As the jars cool, the buttons on the lids should pull down. This means the jars have formed a safe, airtight seal.
Canned pickles can be stored at room temperature for about one to two years. Once you open a jar, keep it in the fridge.
Helpful Tips and Tricks
- Use the freshest cucumbers you can find. Firm cucumbers make the crispiest pickles.
- Choose small cucumbers if you can. They have fewer seeds and a better texture for pickling.
- Don't skip the headspace. Leaving a half-inch at the top helps the jars seal properly when canning.
- Always use fresh lids when canning. This helps create a reliable seal.
- Let the pickles sit before serving. Even refrigerator pickles taste best after the flavors have time to develop.
Ingredients
- 1 pound small cucumbers
- 1 bunch fresh dill
- 4 cloves garlic
- 1 jalapeno pepper, halved (optional)
- 1 ¼ cup water
- ¾ cup white vinegar
- 1 ½ tablespoons kosher salt
- 1 ½ tablespoons granulated sugar
- 1 tablespoon pickling spice
Instructions
- Quarter the cucumbers lengthwise and place them in sterilized jars,* along with the dill, garlic, and jalapeno (if using).
- Stir the water, vinegar, salt, sugar, and pickling spice together in a small pot over medium-low heat until the salt and sugar have dissolved.
- Pour the hot liquid over the cucumbers, leaving ½-inch of space at the top of the jar.
- Place fresh lids on the jars and screw on the rings.
- If making refrigerator pickles, place the jars in the refrigerator. They should keep for about 1 to 2 months.
- To can the pickles, bring a large pot of water to a boil, then submerge the jars fully and boil them for 10 minutes. Remove from the water bath and cool completely. (The "buttons" on the lids should suction down; that's how you know you have a safe, airtight seal.) Keep canned pickles at room temperature for approximately 1 to 2 years. Refrigerate the pickles once the jar has been opened.