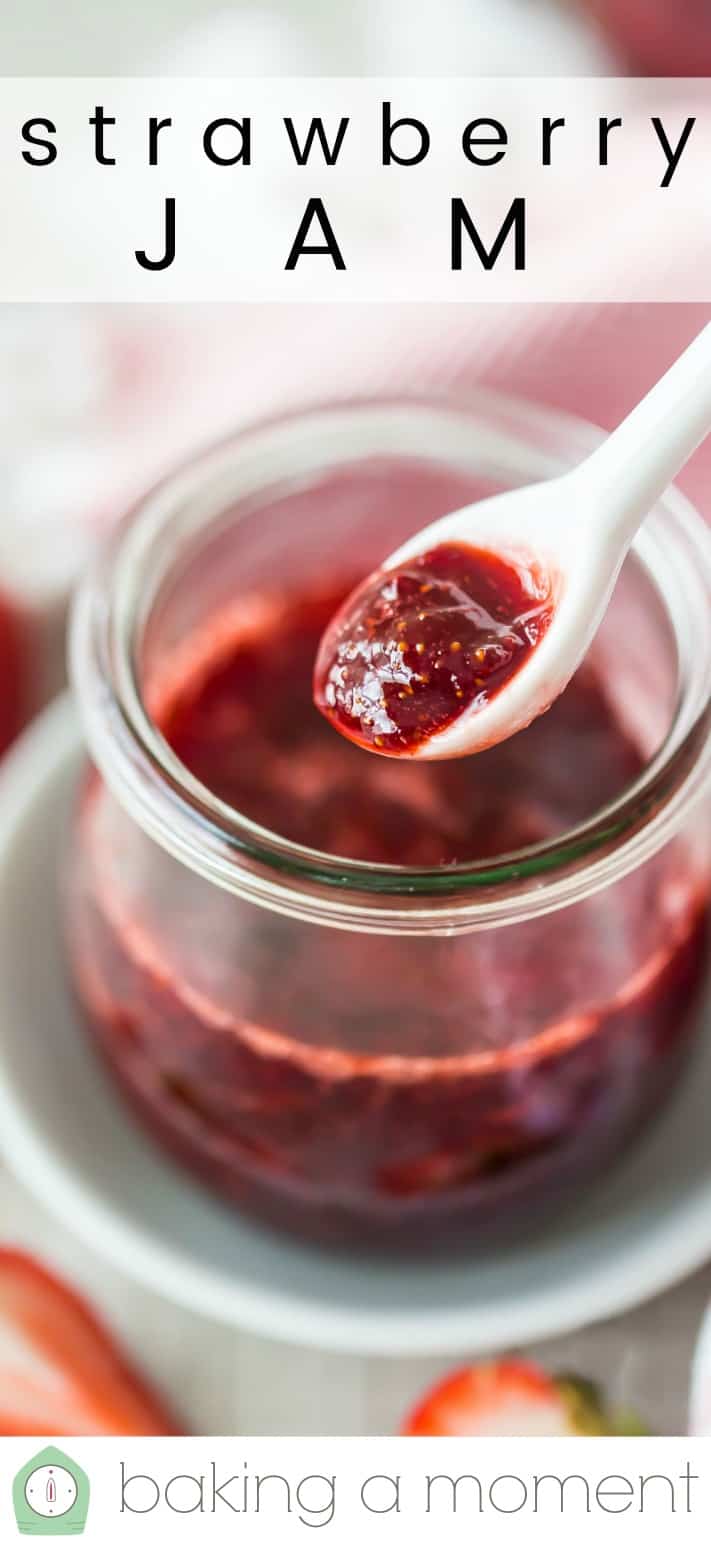
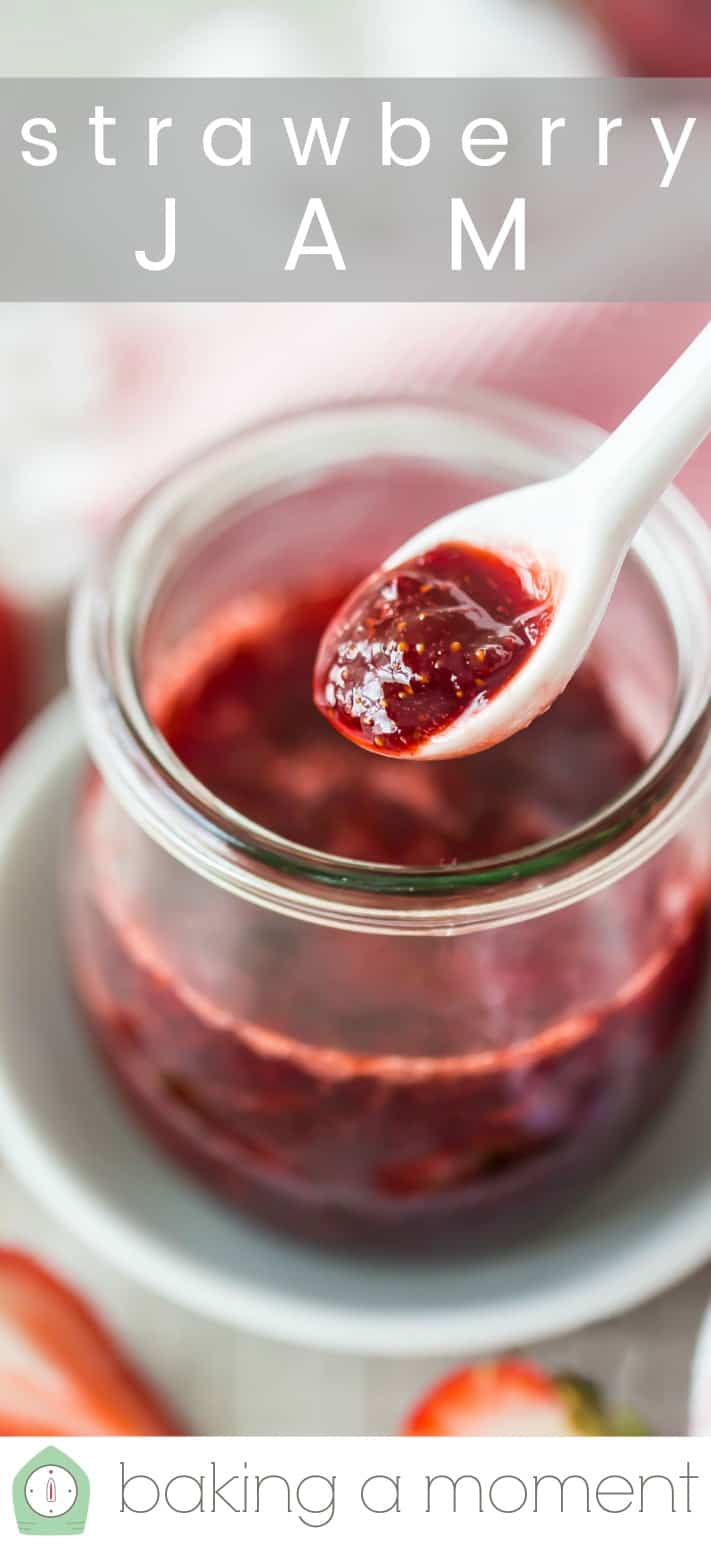
Strawberry Jam
As an amazon associate I earn from qualifying purchases.
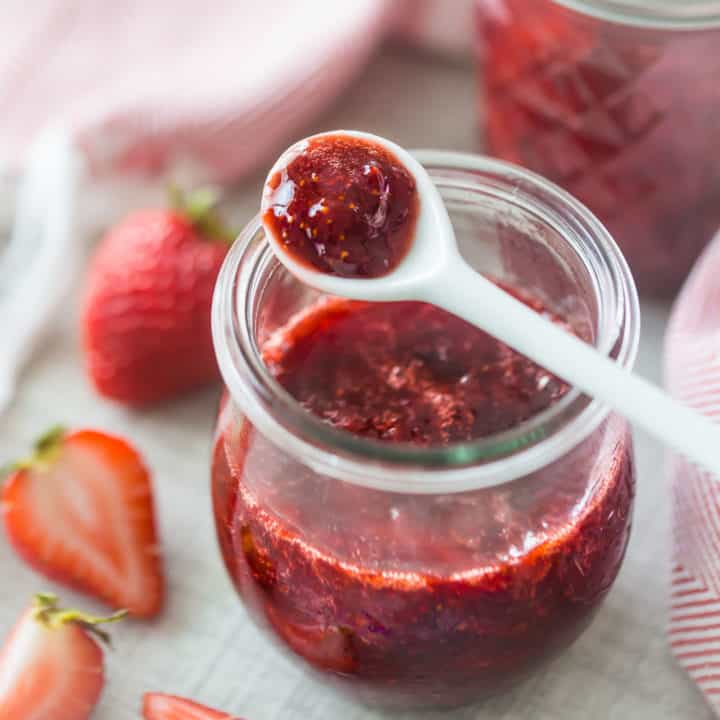
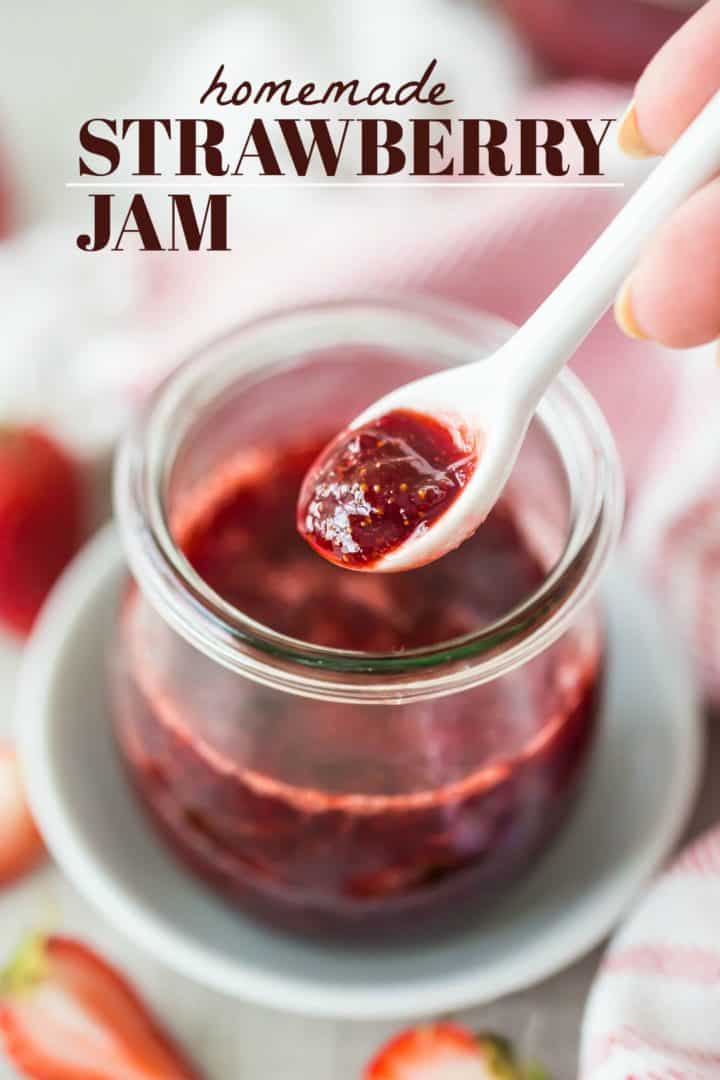
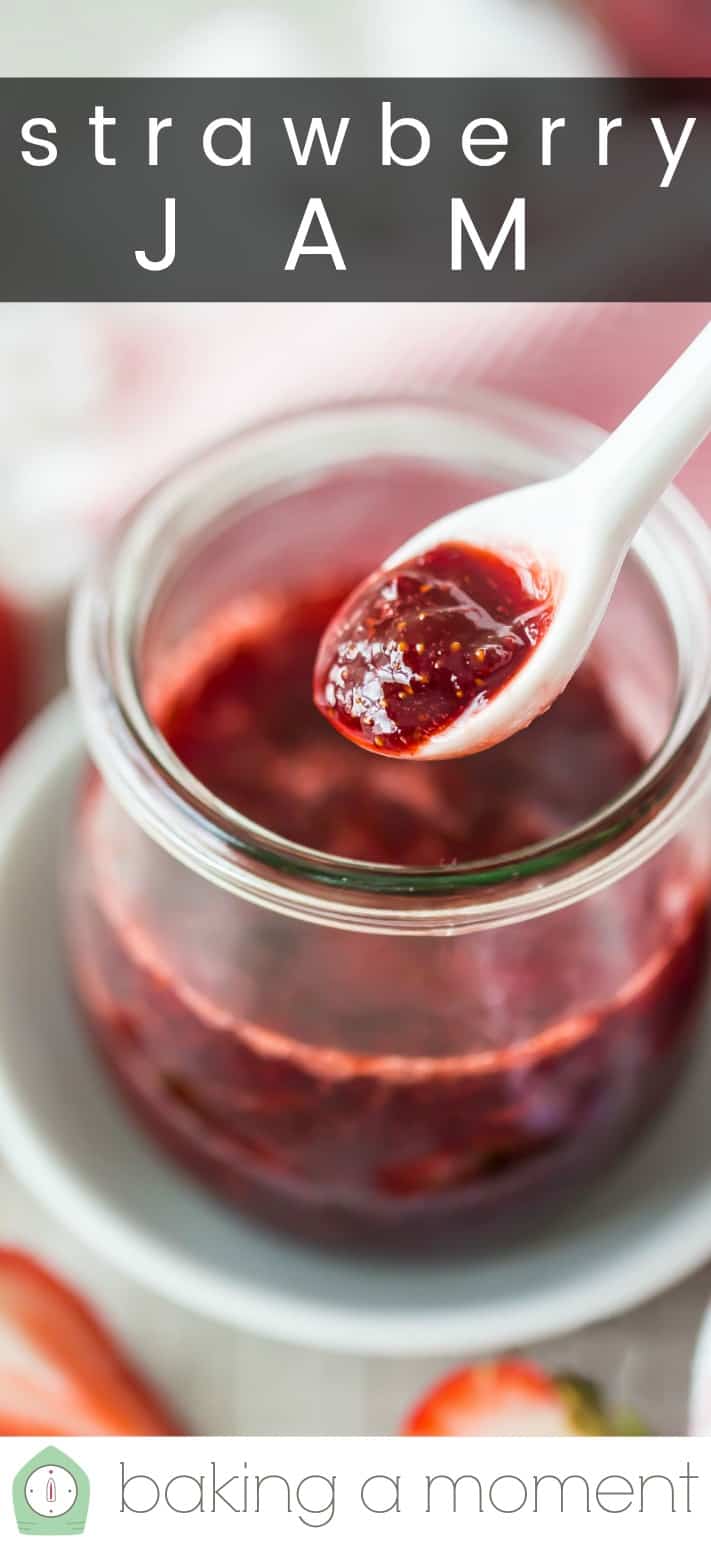
How to make homemade strawberry jam from scratch- no pectin & just 3 simple ingredients! With instructions for canning, refrigerator, or freezer jam.
Hey there!
It's been a few days since my last post. We were traveling over the weekend, up to Hudson river valley to spend time with my brother- and sister-in-law and our nieces over Father's Day weekend. It was such a nice time, but you know how hard it can be to get caught up after a long weekend away!
Plus, I really wanted this tutorial to be perfect. I spent a lot of time on this strawberry jam recipe, trying to anticipate your every question or problem, and make sure I was armed with all the best answers!
I think you are going to love it. It's so simple to make, and you only really need 3 ingredients (although I've got a couple of additional suggestions for you that will guarantee your success!).
I know that homemade jam sounds complicated and overwhelming, but I promise you it is easy. Just follow the steps and you will have the most delicious, sweet, and flavorful result. It's like an explosion of summer in your mouth!
WHAT IS THE DIFFERENCE BETWEEN JAM, JELLY, AND PRESERVES?
Sometimes the terms may seem interchangeable, but jelly is actually in its own category because it is made from fruit juice rather than whole fruit or puree. Because of this, jelly is clear.
Jam and preserves are another category. Technically preserves are a kind of jam. Jam is made with pureed fruit so it is not clear. It has more of an opaque appearance. And preserves will also have nice chunks of fruit in it.
Strawberry preserves are my favorite, so that is what I made for you today. It's slightly quicker than regular jam because you don't have to puree the fruit first. But if you prefer to do that, you totally can (use a blender, food processor, or food mill on the raw fruit, and then begin the cooking process).
IS STRAWBERRY JAM HEALTHY?
Just like I mentioned in my balsamic vinaigrette recipe, there are so many different definitions of "healthy" these days, it's hard to say exactly! It really depends on your lifestyle. I can tell you for certain that this strawberry jam is:
- Gluten-Free
- Dairy-Free
- Vegetarian, and
- Vegan
But it is not:
- Paleo or
- Keto
If you want more nutritional info on this homemade strawberry jam, check out the nutrition section in the recipe card below.
HOW TO MAKE STRAWBERRY PRESERVES
The number one ingredient in this recipe is strawberries. Of course!
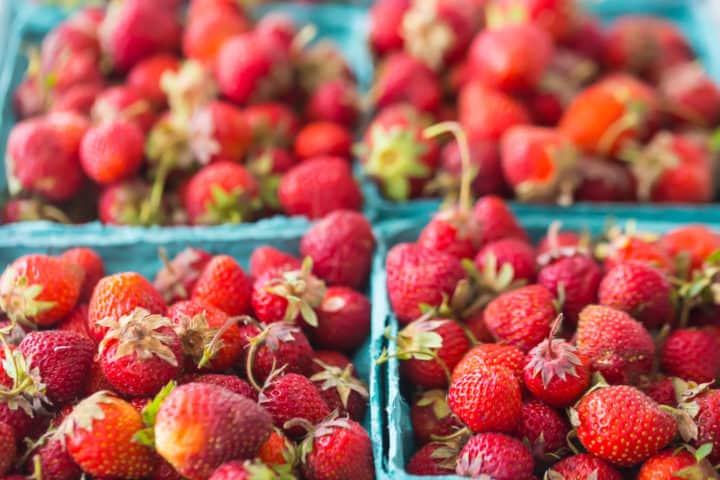
We went berry picking over the weekend so I had TONS of organic berries.
WHAT KIND OF STRAWBERRIES TO USE
My berries were fresh and very tiny.
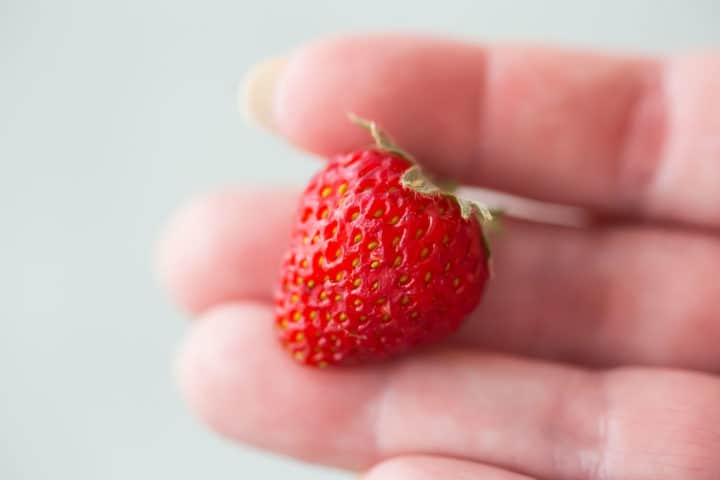
So cute, right?
But you can use regular fresh strawberries from the supermarket too. Or even frozen berries!
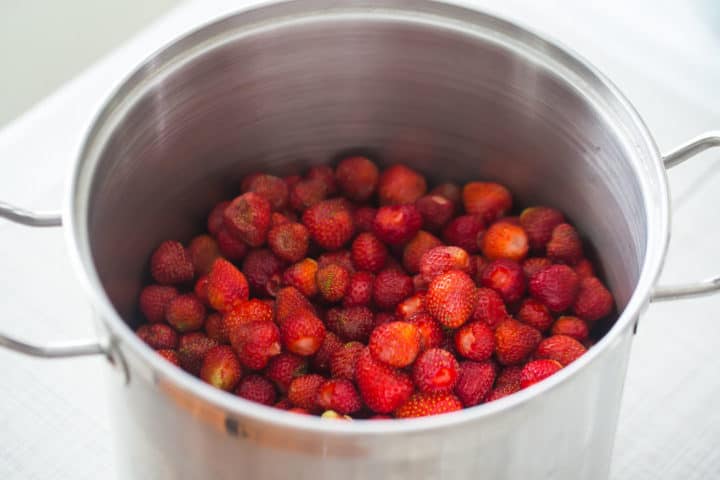
Just remove the leaves and stems from the berries and chuck them into a large, heavy-bottomed pot. If your berries are big you can halve or quarter them, but mine were so little I didn't bother.
HOW TO MAKE JAM WITHOUT PECTIN
You can make strawberry jam with just 3 simple ingredients:
- Berries
- Sugar, and
- Lemon Juice
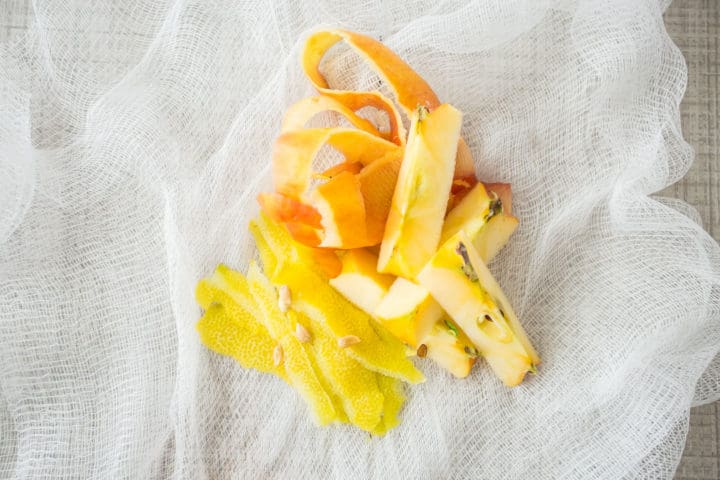
But as you may know, sweeter fruits are a little lower in natural pectin and this can make it more difficult to set or "gel." So, in order to make up for that, you can toss in an apple or lemon peel, an apple core, and/or lemon seeds. All of these things contain lots of natural pectin and they act as a sort of "insurance policy" for your homemade jam.
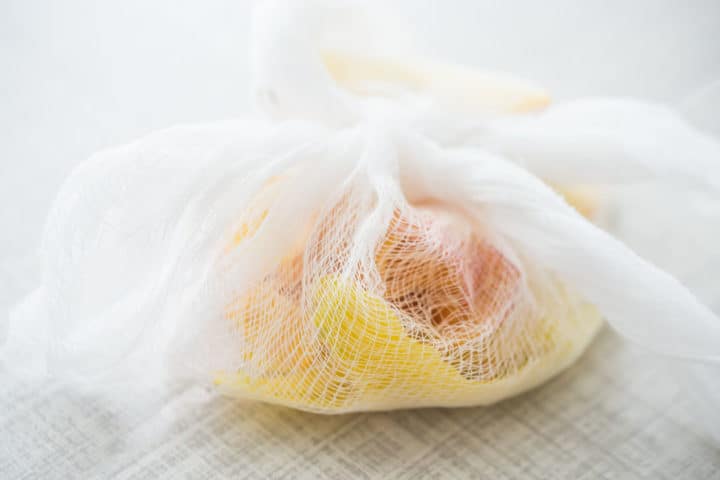
These items are completely optional, but if you choose to add them, just tie them up in a square of cheesecloth to make a little sachet.
To start the jam, simmer the fruit on low heat for about 20 minutes. You want to go really slow at this stage, to really draw out the pectin.
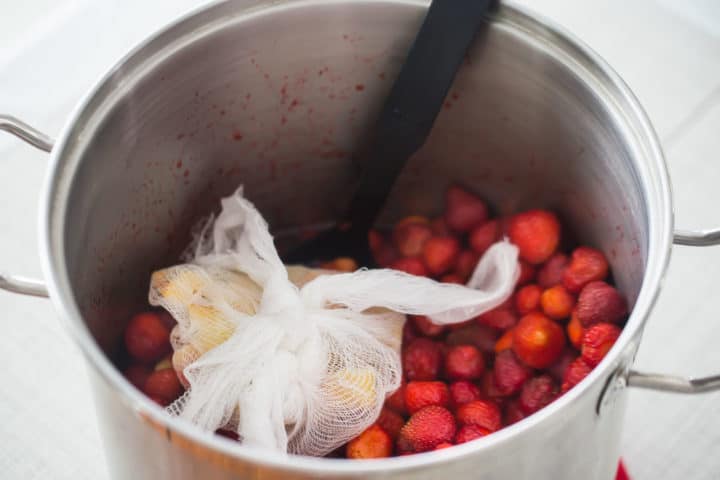
You'll notice that the berries give up a ton of juice as they soften.
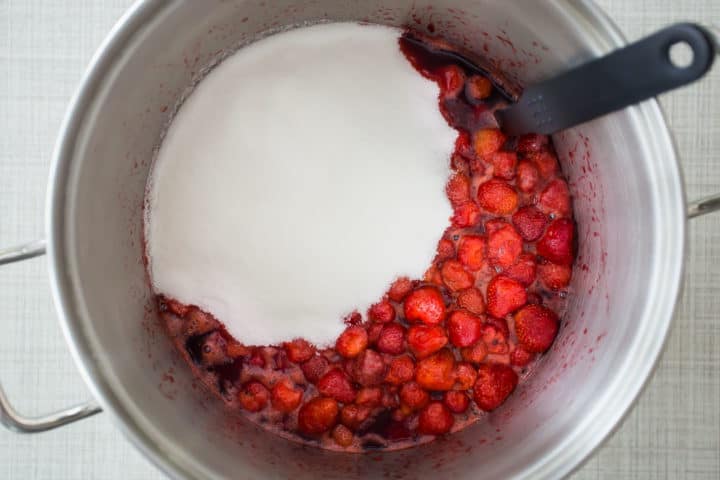
Next, add in the sugar. I was really happy with the level of sweetness in this jam (and I like my desserts to be a bit less sweet), but if you'd like to experiment with less sugar you can.
Turn the heat up to high and bring the mixture to a rapid boil.
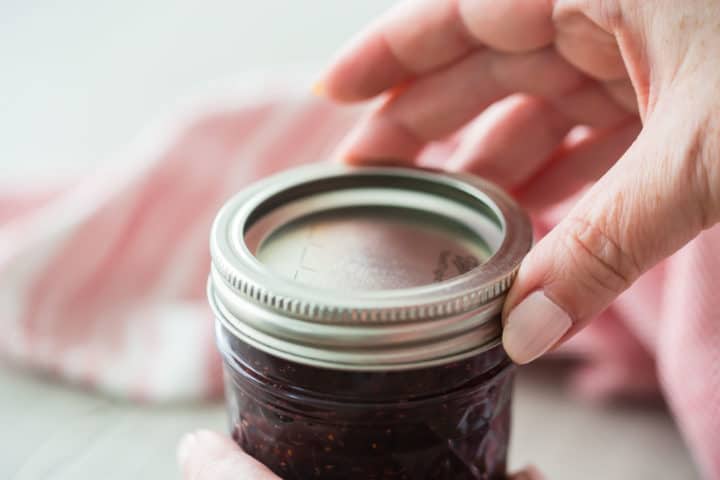
It's going to need about 30 to 40 minutes at a rolling boil, so while that is going, you can sterilize your jars. Just submerge them in boiling water for 10 minutes, along with the lids. (The lids have a gummy substance around the outside rim. This needs to be softened up in hot water, in order to adhere to the jars properly.)
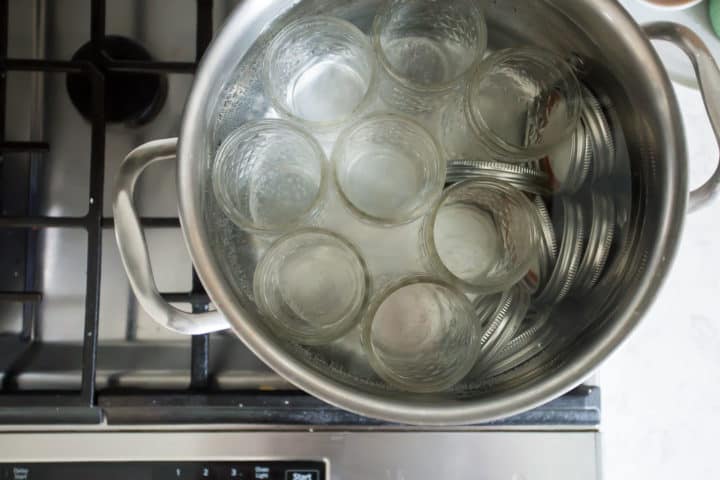
*You only need to do this step if you're planning on canning the jam. If you don't want to bother with all that, just be sure to store your jam in the refrigerator or freezer.*

HOW TO KNOW HOMEMADE JAM WILL SET PROPERLY
As your jam boils, you will notice lots of steam rising up from the pot. This is the natural moisture that fresh berries contain, evaporating into the air. As the moisture boils away, the mixture reduces in volume and becomes thicker. It will thicken up even more as it cools.
The key to a jam that sets properly, or "gels," is just boiling it long enough to become very thick. But it will thicken even more as it cools down, so sometimes it can be hard to know when it's really ready.
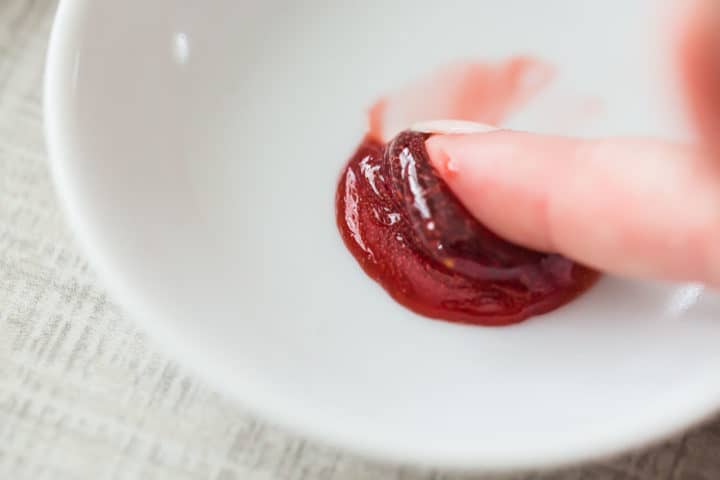
Place a small saucer in the freezer to chill it. When it is very cold, spoon a few drops of jam onto it and allow it to chill in the fridge for about 5 minutes. Then, give it a little nudge with your finger. If you see wrinkles forming on the surface, then your jam has reduced enough to be thick (and not runny) when cooled.
Be sure to stir the jam frequently as it boils, so it doesn't burn on the bottom!
You may also notice that the jam takes on a slightly darker color as it thickens. If you see it getting darker and thicker, and reducing in volume, you know you are on the right track to a nice, thick, spreadable jam.
All in all, your jam will want to boil for about 30 to 40 minutes, at 210 degrees F. Once it's done, remove the sachet of lemon/apple and stir in the lemon juice.
HOW TO PROCESS JARS OF HOMEMADE JAM IN A WATER BATH
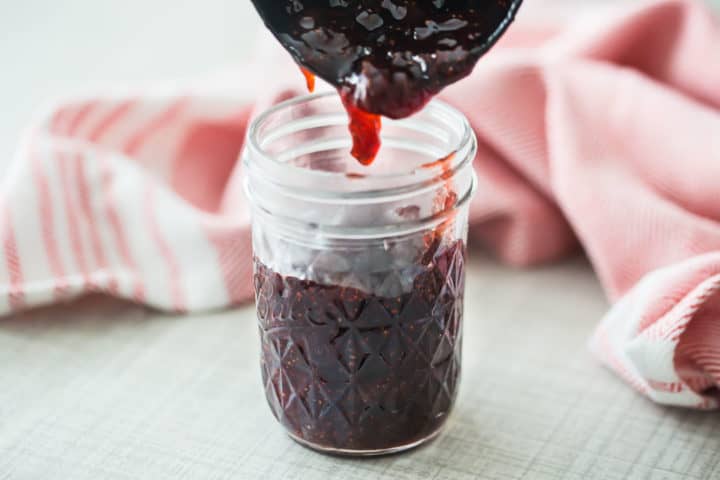
If you choose to can your jam, you'll want to first ladle it into the sterilized jars.
Wipe the rims of the jars clean with a damp cloth and then screw on the lids.
Then just lower them into a pot of boiling water and allow them to sit, submerged, for 10 minutes.
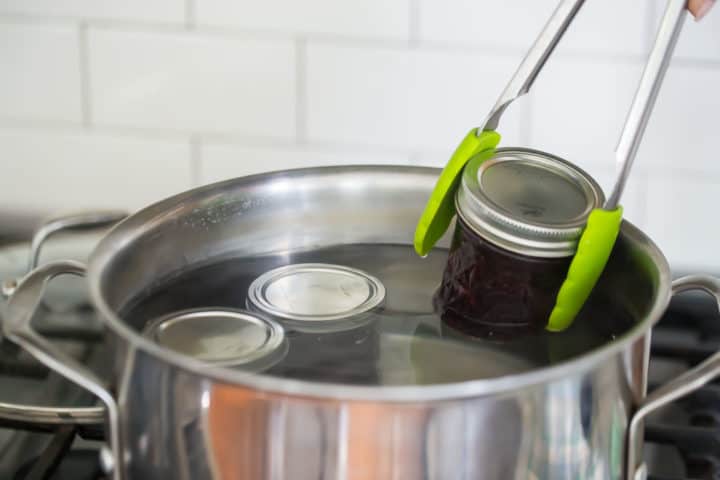
Make sure the jars are fully submerged under the boiling water, then take them out and allow them to cool.
You'll notice that as they cool, that little "button" on the lid will suction itself down. This is how you know you've done it right!
If it still pops up and down after the jars have fully cooled, just re-submerge in boiling water for another 10 minutes.
USES FOR HOMEMADE STRAWBERRY JAM
There are SO many uses for this jam! Here are a few suggestions:
- As a topping for scones, biscuits, or croissants
- A filling for donuts
- Layer it into a trifle, with cubed pound cake and whipped cream
- Spoon it into a tart shell and top with fresh fruit, pastry cream, and/or whipped cream
- Use it as a filling in between layers of white cake, vanilla cake, or chocolate cake
- Sandwich it in between your French macarons
- Drizzle it over vanilla ice cream
- Spoon it over angel food cake
- Top your waffles with it
- Swirl it into your baked French toast
- Spread it on graham crackers for a yummy snack
- Dab it in the center of a square of puff pastry to make turnovers
- Spoon it over cheesecake
- Give it as a gift
This last one is probably my favorite. I love giving homemade gifts and this jam is perfect in a Christmas stocking or as a hostess gift or party favor.

HOW LONG DOES STRAWBERRY JAM LAST
If you process your jars in a water bath, they will keep (unopened) at room temperature for about a year. Once opened, leftovers will keep in the fridge for about 6 to 8 months.
If you choose not to process the jars, be sure to keep the jam in the refrigerator or freezer. It will last for about 6 months in the fridge, and 1 year in the freezer.
WHAT TO DO IF YOUR JAM IS RUNNY
If you crack open a jar of jam only to find that it hasn't set quite right or seems a little runny, all is not lost. You can just pop it back in a pot and boil it a bit longer, then repeat the canning process again with clean jars.
Just be sure to use a fresh lid. Canning jars always come with lids. The jars are re-useable but the lids are not. You can buy extra lids here: canning lids.
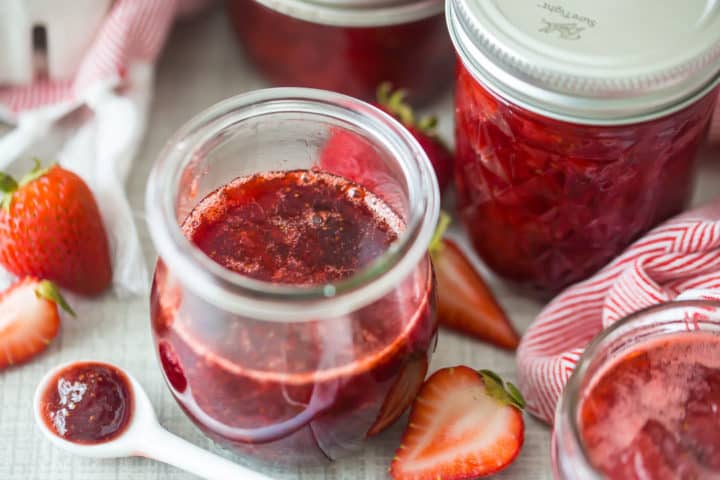
And here are links to some of the jars I've used in the pics:
- 8-ounce quilted jelly jars
- Wide-mouth half-pint jars
- 4-ounce mini Mason jars
- Weck mini tulip jars
- Weck mold jars
Enjoy!
As an amazon associate I earn from qualifying purchases.

Ingredients
- 4 pounds (1814.37 g) fresh strawberries
- 1 apple,, peel & core only (optional)
- 1 lemon,, peel & seeds only (optional)
- 3 ½ cups (700 g) granulated sugar
- 1 tablespoon lemon juice
Instructions
- Remove the leaves and stems from the strawberries and place in a large, heavy-bottomed pot.
- Tie the apple peel, apple core, lemon peel, and lemon seeds up in a piece of cheesecloth, to make a sachet, and add it to the pot (optional).
- Cook the berries with the sachet (if using) over very low heat for 20 minutes, or until a lot of juice has been released and foam is beginning to form on the surface.
- Add the sugar and bring to a rapid boil.
- Continue to boil over high heat for 30 to 40 minutes, or until the mixture reaches 210 degrees F and has become thick and syrup-y.
- Test the jam by placing a few drops of the hot liquid on a cold saucer and allowing it to chill for 5 minutes in the refrigerator. (If the chilled jam wrinkles when nudged with a fingertip, you know it will set properly.)
- Remove the sachet (if using), and stir in the lemon juice.
- Transfer the cooked jam to sterile jars, screw on the lids, and submerge in boiling water for 10 minutes to process.*


I have read this recipe slowly. Where does it sayhow to make the jam to keep in the freezer
Hey Kathy! If you want to freeze the jam just pop it in the freezer once it's cooled down. You don't have to bother boiling the jars first for freezer or refrigerator jam.
Hi Allie, I want to say thank you so much for posting such a detailed recipe! I can't wait to try that😊 Although I have one question, you mentioned that using frozen berries is possible, will there be any difference in the process, taste, or texture? Thank you in advance❤
No, not really. If your berries are very wet they may need to simmer and reduce a little longer, but everything else should be exactly the same. Good luck!
hello
I have made this jam and it is the best jam ever! If you dont have any cheesecloth is it necessary or could
you just tie up the peels with some twine and add to the pot??
thank you
Michele
Super easy to make and delicious! I'm glad I didn't have to use pectin.
Hello again
I made the jam and I have to say I can never buy store bought again. Absolutely delicious! I Used it for a a jam tart.
So simple but the best recipe!...thanks for sharing!!!!
My pleasure Michele! I'm so happy you enjoyed!
hello
if not processing jars ...how long does jam need to cool before refrigerating?
thanks!!
Michele
Hey Michele- I'd cool it until it no longer feels warm to the touch. It's never a good idea to put anything hot in the fridge- it lowers the temperature and puts the other foods in the danger zone. Good luck!
Hi. Thanks for the great recipe! Just a question, what would cause the strawberry jam to darken during the cooking process. Tastes great though!
Hey Laura! Well, just like any other food, strawberries do get brown as they cook. Similar to searing a steak or caramelizing onions, if the strawberries get very hot very quickly, they can brown. If you aren't loving the look or taste of that, be sure you're using a heavy-bottomed pot like the kind I've linked in the recipe card (it will provide a more even, gentle heat), and cook the berries on the lowest possible heat, stirring often. Hope that makes sense!
Thanks for sharing the recipe, Allie! Where did you get the spoon you feature in the picture with the weck tulip jar?
Hey Kelli! I've had that spoon for a long time so I'm not sure it's still available, but I bought it at Crate & Barrel. Thanks for reading!