Perfect Tart Crust Recipe
As an amazon associate I earn from qualifying purchases.
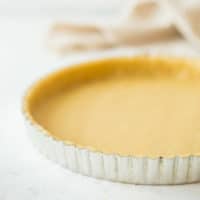
Perfect Tart Crust: Buttery, just a little sweet, and tender as can be. This easy-to-make, basic dough will complement any filling!

Fall is in full swing now, my friend! Soon we will be knee-deep in pies and tarts!
I figured, why not get ahead of it and post one of the most valuable recipes in any good baker's arsenal: Tart Crust!
I've been using this recipe for years, and it's a component of many tart recipes on this website. Check out this Salted Honey Nut Tart, these Lemon Cheesecake Tarts, and this Rhubarb Tart, and you'll see what I mean!
Tarts are fun to make, mainly because they're so versatile. You can fill a tart crust in so many delicious ways!
But the pastry dough is step one. You want a recipe that's easy to make, tender and a little crunchy, buttery, and not too sweet, to provide the perfect contrast. And this recipe is IT!

What is tart crust?
When you make a tart, the crust can be almost as important as the filling! You want to ensure that you have a sturdy base that provides a flavor contrast and a little texture.
This tart crust is definitely its own kind of thing. It is buttery, a little sweet, and has a shortbread-like mouthfeel.
It's very different from pie crust. Pie crust, while buttery and not too sweet, tends to have a flaky texture, while tart crust is more like a cookie.
And honestly, the tart crust is WAY easier to make! This dough comes together in about 10 minutes flat.
You gotta love that!
Ingredients and Substitutions
Flour:
All-purpose flour is my go-to, but you can swap it out for any kind of whole-grain option if you like. You may need slightly less if you go that route.
A gluten-free flour blend that can sub 1:1 for regular flour should also work just fine, if you'd like to make a gluten-free tart crust.
Powdered Sugar:
Sugar adds sweetness (obvs!) but it also aids in browning and keeps things moist, since it's hydrophilic.
I like powdered sugar for this recipe because it does something wonderful to the dough! My theory is that the small amount of cornstarch it contains provides a little extra structure without any gluten. So it yields a really silky, easy to work with dough that doesn't bake up tough.
Salt:
Salt carries the flavors and intensifies them. The end result won't taste salty, but it will make everything so much more flavorful!
I like kosher salt best because it doesn't have any additives (table salt usually contains iodine and that can leave a bitter taste), so the flavor is pure, and it's very inexpensive and easy to find.
Butter:
I like to use unsalted butter because it lets me control the amount of salt in the dish.
For a vegan or dairy free tart crust, use a plant-based butter that can substitute for dairy butter 1:1.
This recipe works best if you use cold butter.
Egg Yolk:
I recommend adding an egg yolk to this recipe. It adds richness and a bit of added structure. If you used the white too, the final result could be a little tough.
If you need to make an egg-free or vegan tart crust, try whisking a tablespoon of cornstarch together with 3 tablespoons of warm water.
Heavy Cream:
Cream moistens the dough and adds a rich flavor. There are certain flavor compounds that are only carried by fats, so higher fat foods like cream will really intensify the flavors of everything you make.
For a vegan substitution, try using coconut cream. Start with a can of unsweetened coconut milk, and chill it overnight in the fridge. Then, open the can and scoop off the solidified cream from the top, leaving the thin, watery liquid below. This can be whipped up just like dairy cream!
Vanilla:
Vanilla extract adds a subtly sweet flavor without being at all sugary.
For a more pronounced flavor, try using vanilla bean paste. You could also split a vanilla bean down the center lengthwise, scrape out the seeds, and add those.
- Almond extract
- Lemon extract or citrus zest
- Orange blossom water
- Coconut extract
- Cinnamon
Or anything else you have on hand!
How to make tart crust step by step
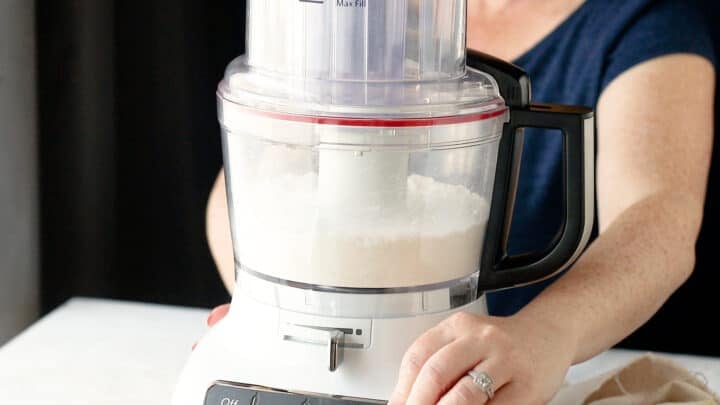
I like to make this tart crust recipe in the food processor, but if you don't have one, that's totally fine! It can also be made by hand in a stand mixer, or the old-fashioned way, with a lot of arm strength!
Start by combining the dry ingredients: flour, powdered sugar, and salt.

Just give the flour mixture a few quick pulses to get them combined.
Next, add the butter. Make sure it's cold!
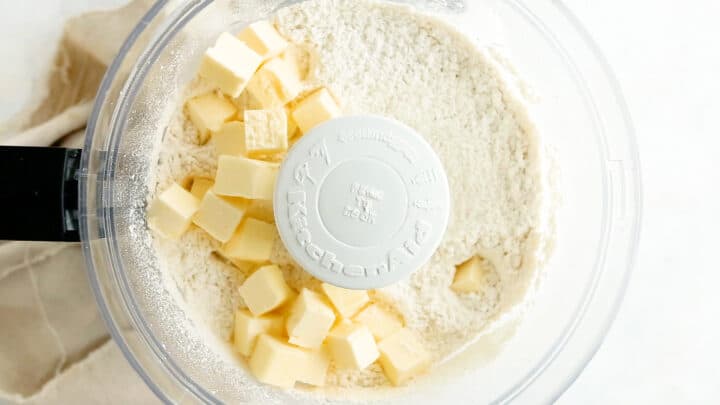
If you're using a food processor, pulse it a few times until you have something that resembles a coarse meal.
This can also be done with a stand mixer fitted with a paddle attachment on low speed or by hand with 2 knives (or one of my favorite tools: the pastry blender).
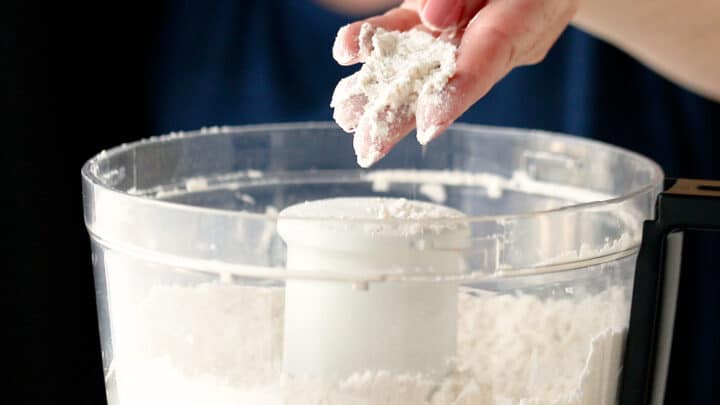
Once the butter is cut into the dry ingredients, you can add the liquids. An egg yolk and a little cream, plus a dash vanilla extract.
Pulse those in, and as soon as the dough has gathered itself into a ball, stop mixing. If the dough is overworked, the tart crust could come out tough and it could also shrink a lot as it bakes.
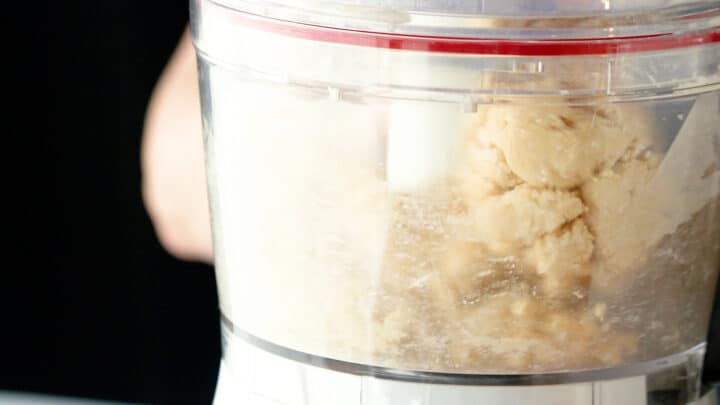
Wrap the pastry crust tightly in plastic wrap, and allow it to chill for about an hour in the fridge. This will help it to stiffen it up a little, and make it easier to roll out.
Frequently asked questions
What size pan can this tart crust recipe be baked in?
You can use this recipe for just about any size tart tin (within reason!).
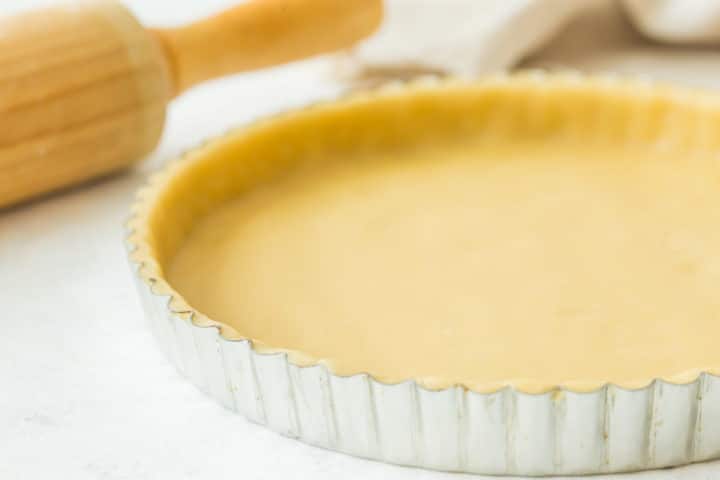
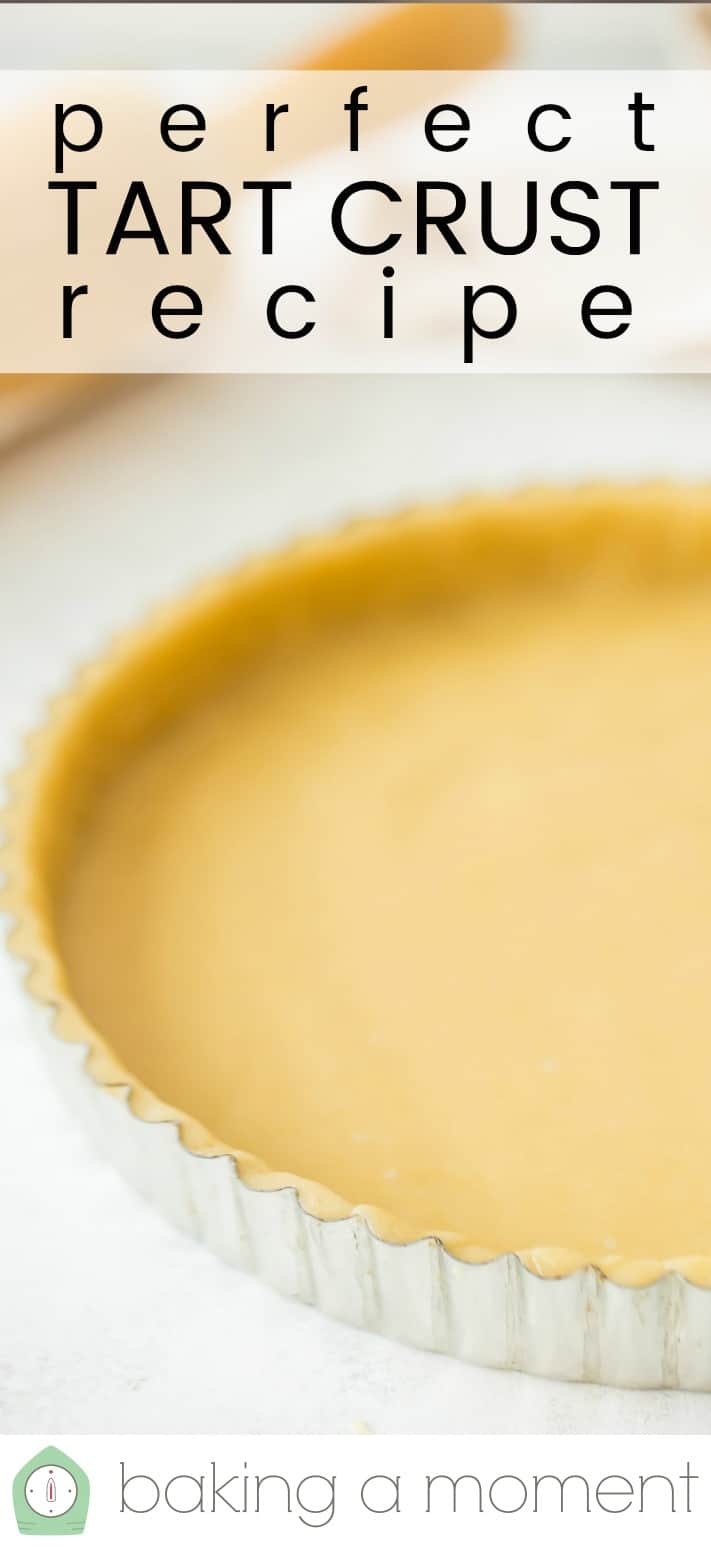
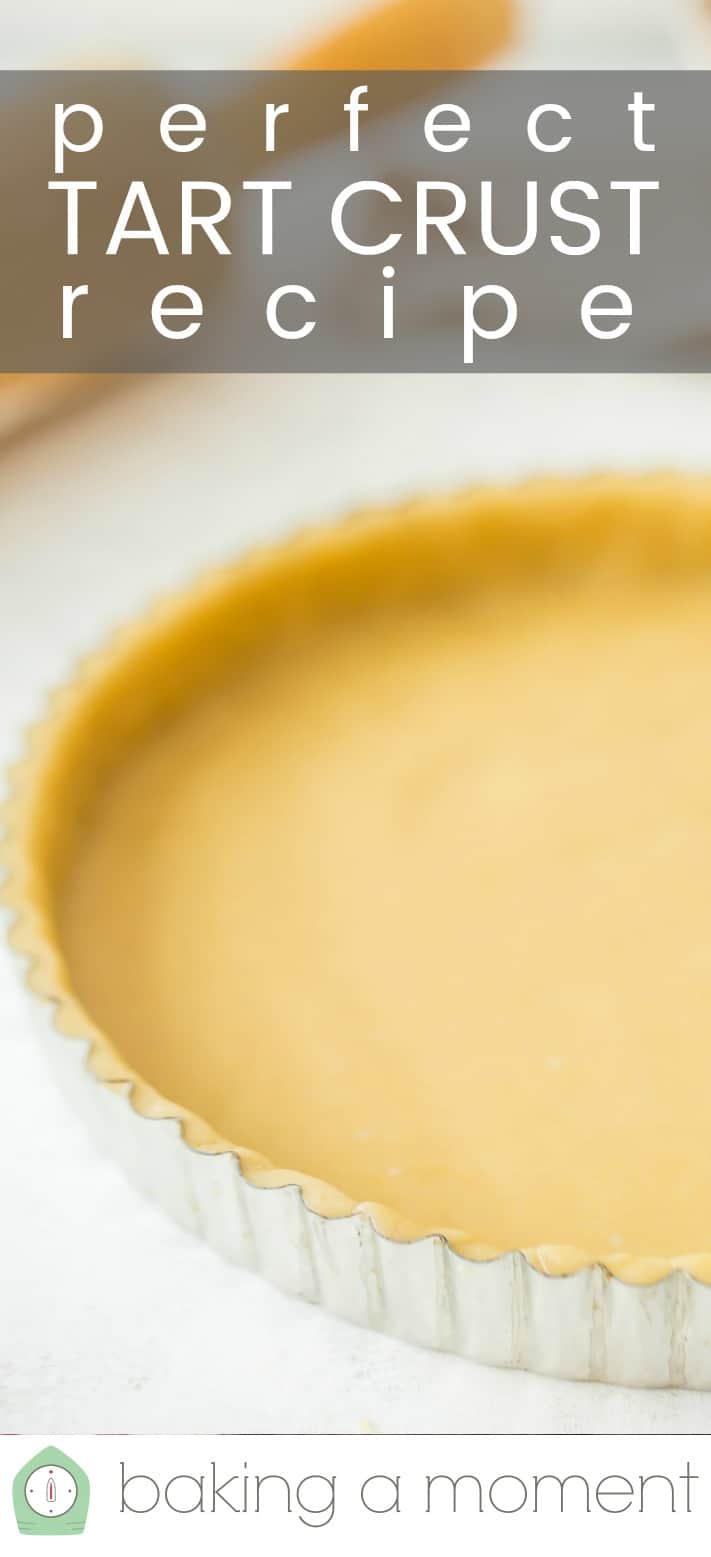
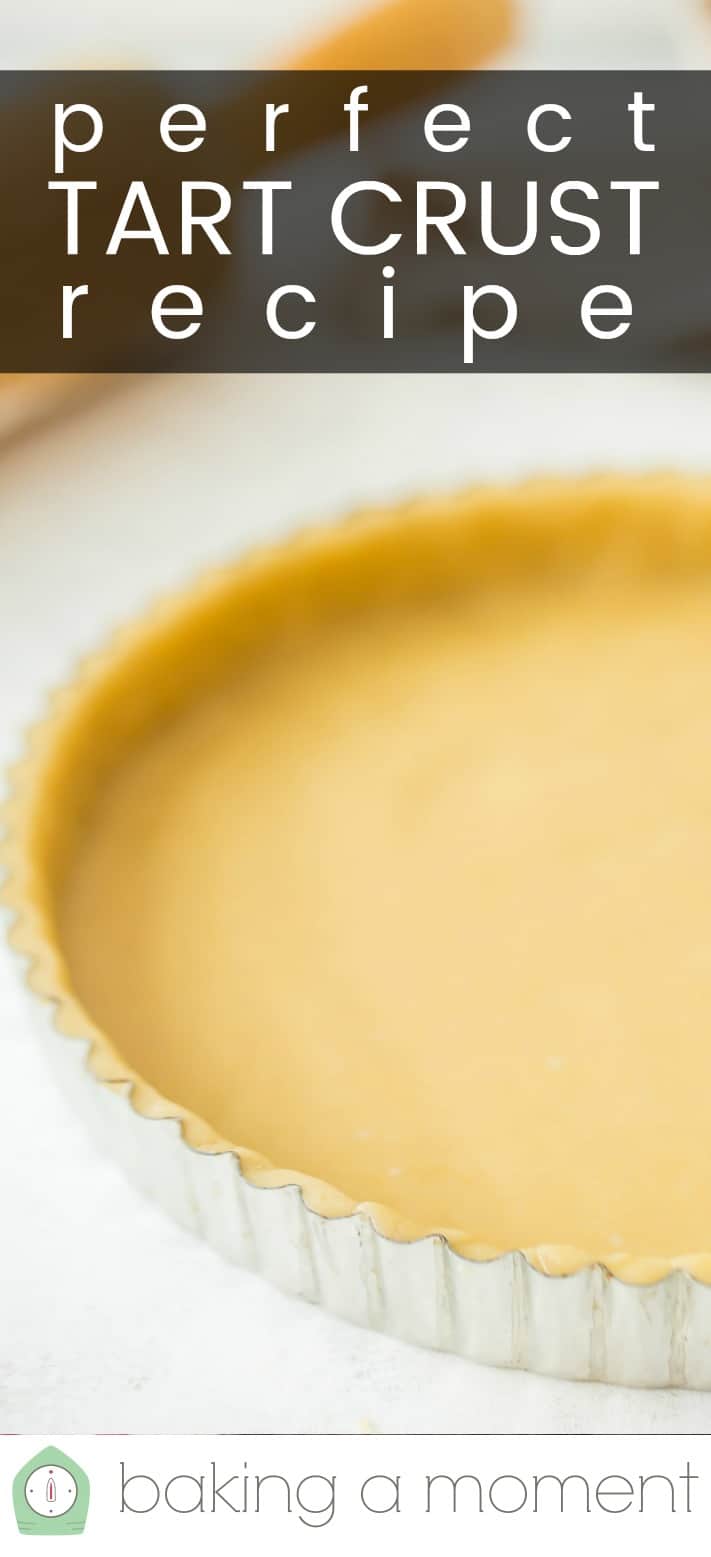
For the pictures and video you see here, I used a standard-sized 9-inch round tart pan with a removable bottom.
But it will also work with an 8-inch round pan, a rectangular tart pan, or even a set of 6 mini tarts.
Just roll the dough out to just an inch or two wider than the diameter of your tart pan so that it can come all the way up the sides of the pan.
This is typically about ⅛-inch thick, but if it's a little thicker or thinner, that's totally ok!
How long should the tart crust bake?
It depends. If you have a tart recipe, follow it. Sometimes tarts are baked filled, and sometimes just the pastry shell is baked without the filling (this is called "blind baking).
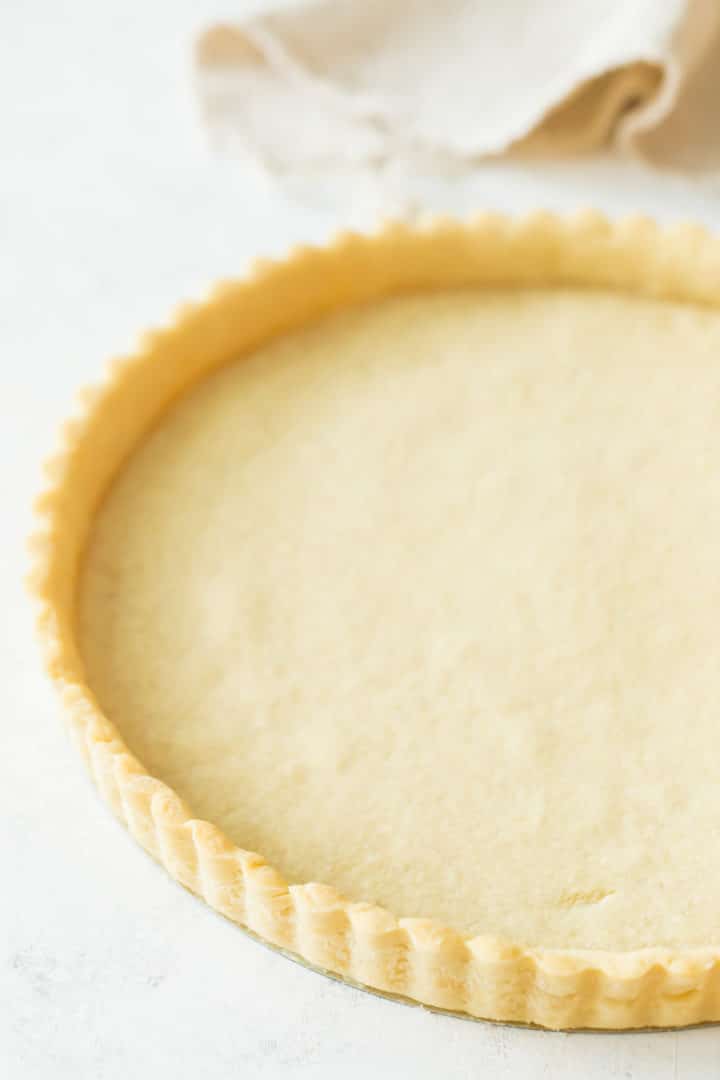
Just to give you an idea, the blind-baked tart shell you see here was baked for 20 minutes at 375 degrees F.
If you blind bake your crust, you might want to prick the bottom with the tines of a fork. This will prevent it from getting air trapped underneath and poofing up as it bakes. Sometimes it's a good idea to place dry beans or pie weights in, too, for the same reason. I didn't do either of these things for what you see in these pics, and it was totally fine, but if you're finding this to be a problem for you, give these solutions a try!
Can this tart crust recipe be made ahead?
I would recommend making the sweet tart dough at least an hour ahead, so that it has time to stiffen up a little in the fridge.
If you chill it much longer than that, it might become a little too stiff to work with easily. Of course, this is an easy fix: just leave it at room temperature until it gets a little softer.
You can also pre-bake the shell (unfilled) if your tart recipe allows that. It will keep in a zip-top bag for a few days at room temperature, about a week in the fridge, and around a month or two in the freezer.
When you're ready to assemble your tart, thaw the pre-baked crust at room temperature and fill it!
Expert tips
- Use cold butter. Cold butter results in a more tender crust. When the cold pastry hits the hot oven, steam is released, and that creates countless little air pockets that provide the loveliest texture!
- The heavy cream helps bind all of the ingredients together. Be sure to use cold heavy cream, not melted butter.
- Chill the dough for about an hour. This will make it easier to roll the dough out with a rolling pin and helps to prevent shrinking when baked.
- Place the chilled dough on a lightly floured surface. Sprinkle a bit of flour on the top and bottom of the tart crust disc. Carefully roll the dough out evenly. If it cracks, the dough is too cold from the fridge. Allow it to warm up a bit at room temperature before trying to roll it again.
- Or, roll out the dough between two sheets of parchment paper. This is my go-to method because it doesn't require any additional flour, which can make the final result too dry or tough.
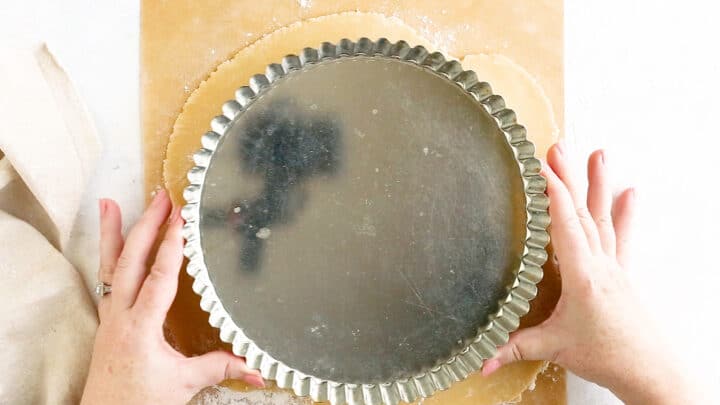
- Watch the video in the recipe card below to see my easy way to transfer the rolled out dough to the pan and trim away the excess!
- Once you have the crust transferred to the tart pan, chill it again before baking, so you're sure to get that tender mouthfeel.
- You'll know your tart crust is done baking when it's set in the center and starting to turn a little golden around the edges.
Next time you've got the itch to make a beautiful tart, try this perfect tart crust recipe! It's the perfect base to complement just about any filling!
This post contains affiliate sales links.
Ingredients
- 1 ½ cups (187.5 g) all-purpose flour
- ⅓ cup (40 g) powdered sugar
- ¼ teaspoon (0.25 teaspoon) kosher salt
- ½ cup (115.77 g) (1 stick) unsalted butter, cold
- 1 large egg yolk
- 2 tablespoons (30 g) heavy cream
- ½ teaspoon (0.5 teaspoon) vanilla extract
Instructions
- Place the flour, sugar, and salt in the bowl of a food processor, stand mixer, or in a medium mixing bowl.
- Pulse/stir/cut in the butter with a pastry blender, until the mixture resembles coarse meal.
- Add the egg yolk, cream, and vanilla, and process/mix/stir until the dough gathers itself into a ball and pulls away cleanly from the sides of the bowl.
- Wrap the dough tightly in plastic wrap, and chill for 1 hour.
- On a lightly floured surface, roll the dough until it's an inch or two wider than your tart pan.
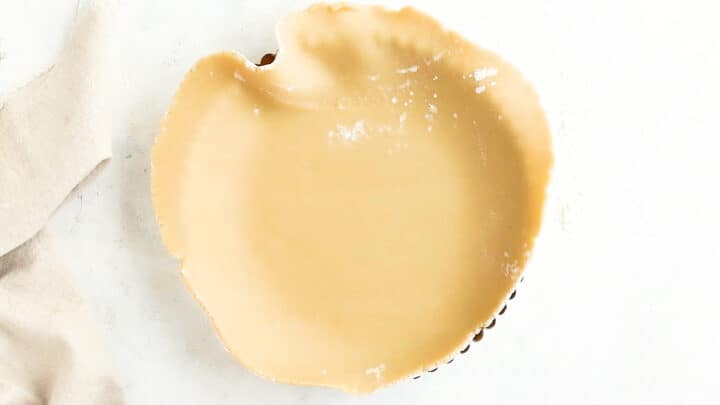
- Press the dough gently into the pan(s), trimming away any excess.
- Baking instructions will vary based on the filling you are using.*


I find 375 too high for baking the empty shell. 21 minutes at 350 is perfect.
I used another tart shell recipe before this. Disaster. Was a sticky mess. This recipe came to my rescue! I blind baked and then filled with cream and topped with fruit for an easy Valentine's treat. Thank you Allie!
What size rectangle pan would it fit?
Hi Julie! You can roll this dough as thick or as thin as is needed to fit whatever kind of tart pan you have, within reason of course! A 14-inch long pan, for example, should work no problem. As would a 9-inch square, or an 8, 9, or 10-inch diameter round pan, or even a set of 6 mini tart pans. Hopefully this makes sense and is helpful!
I've made it twice this Thanksgiving and will continue to use this recipe for other tarts! Delicious!
Holly, This is what we love to hear! Thank you for leaving a review! Happy Holidays!
Bake at what temperature and for how long?
Hey Denise! Would you mind having a quick look at the FAQ section? The answer to your question is there. Thanks!
I can't believe you are not simply posting this information as part of the recipe. Why send people on a wild goose chase for basic recipe info? I don't see an FAQ section so your reply to Denise is extra annoying.
The FAQ section is towards the bottom. You would have scrolled past it to leave your comment. I did post it, you just didn't bother to read. Here it is again: Every tart recipe is different. Some tarts get baked with the filling in them, some get baked empty (aka: blind baking) and some are partially baked, then filled and baked again. If you fill it with apples the apples would need a longer time to bake than if you filled it with berries. There are no two tart recipes that are exactly the same. So the baking temperatures and times depend on what kind of filling you are adding. If you read the notes all this is explained and I wouldn't have to keep typing it out for every person who asks the same question again and again. With hundreds of thousands of visits to this site every month I would be doing nothing but repeating myself over and over again. I would like to have some time to create new recipes for you. Wouldn't you like that too?
I made this twice and it shrank into the middle and down the sides both times, do you have any advice or help on why this is happening?
Yes, that can happen if there is maybe too much liquid in the dough, or if you overwork the dough it might want to spring back in on itself. I'd suggest using pie weights to keep things in place. You can get them on Amazon or you could also just use dry beans or rice. Hope this is helpful!
In addition to the pie weights, another trick is to allow the dough to overhang the edge, continue the bake stage, and trim it AFTER it bakes. The overhang aids in preventing the shrinkage because the dough can grip the edge. Personally, I recommend trimming it mid-bake after the dough has set a bit, which should minimize any potential edge crumbling/cracking during the trimming.
Great suggestion! Thank you!
There's no oven temperature or bake time listed
That info is in the head notes under the heading "How long should the tart crust bake?" Please give it a read.
I tried making the tart crust twice, but it turned out too crumbly both times. 🙁
You need to give the food processor a little more time to get everything blended. Also, when you rest it in the fridge for an hour it hydrates a ton. I've made this 3 times in the last week so my experience is right at the forefront of my mind right now!
What remo and how lngdo you cookie. I followed the whole recipe and when I was ready to bake it didn't see any info
Please refer to the info given under the heading "How long should the tart crust bake?" Thanks!
I made the tart crust for my Quiche Lorraine and your crust recipe came out PERFECT! I did add less sugar since I was going to use it for a savory dish, but OMG, it came out delicious! When you name your recipe, "Perfect Tart Crust", you were definitely right! The recipe is so easy to make and work with, I am lost for words to express. This recipe is my go-to for all my tarts. Thank-you so much for sharing this recipe that works!
Yay!! Thank you so much for the awesome feedback!
I made this for a lemon curd, tropical fruit, and whipped cream layered tart. The crust was perfect. Thank you for the easy to follow directions.
My pleasure Luann! Thank you for the positive feedback!
This was the first recipe that I tried making mini tart shells with and it was pure perfection!!! I am an experienced cook and baker and I cannot tell you how happy I was that I found this recipe. I am very critical on consistency and sweetness of baked goods and this is the ONLY recipe that anyone would or should ever need. I did not alter one thing, followed the recipe and one can just eat the tart shells without any fillings and won't stop at just one.
I added home-made mango, passion fruit and lime preserve to the tart shells and they got gobbled up at gatherings. Thank you so much for this wonderful recipe.
So glad you were pleased! TYSM for the positive feedback!
Made this for Thanksgiving with pumpkin filling..My very first tart. So delicious! Thank you for the recipe. I needed to add a bit more heavy cream as it was a bit dry with only 2 teaspoons. Will absolutely make it again!!! Yummmm.
I agree, 2 teaspoons for the heavy cream wasn't enough. I did 1 1/2 tablespoons and it was finally wet enough to not break. Also if you don't read the blog before hand, you won't know that you'll need to let the dough thaw for about 30 minutes after or it'll crack too much, and you'll need to chill it for another 30 minutes after getting it on the pan. Otherwise it's an amazing recipe! 10/10!
Hi! Thank you for this recipe! I have not tried it yet, but with all the fantastic reviews I can't wait to make and bake this! I do have a question: Can this be made savoury? I'm not sure how removing the powdered sugar would change the recipe, other than making it unsweetened...any thoughts? Thanks so much 🙂
Hey there! That's a good question- I haven't really tried that so I can't say for sure. I'm sure you can probably reduce or eliminate the sugar, but it could change the texture slightly and prevent it from browning in the oven. Definitely worth experimenting! Let me know what you find, if you would!
Thanx a lot I made tart it was awesome n soft crunchy thanx again you share delicious recipe