

Soft Homemade Dinner Rolls
As an amazon associate I earn from qualifying purchases.
These Homemade Dinner Rolls turn out fluffy and soft every time. You only need basic pantry ingredients, and you can prepare them the night before so you'll have fresh, warm bread ready for dinner.
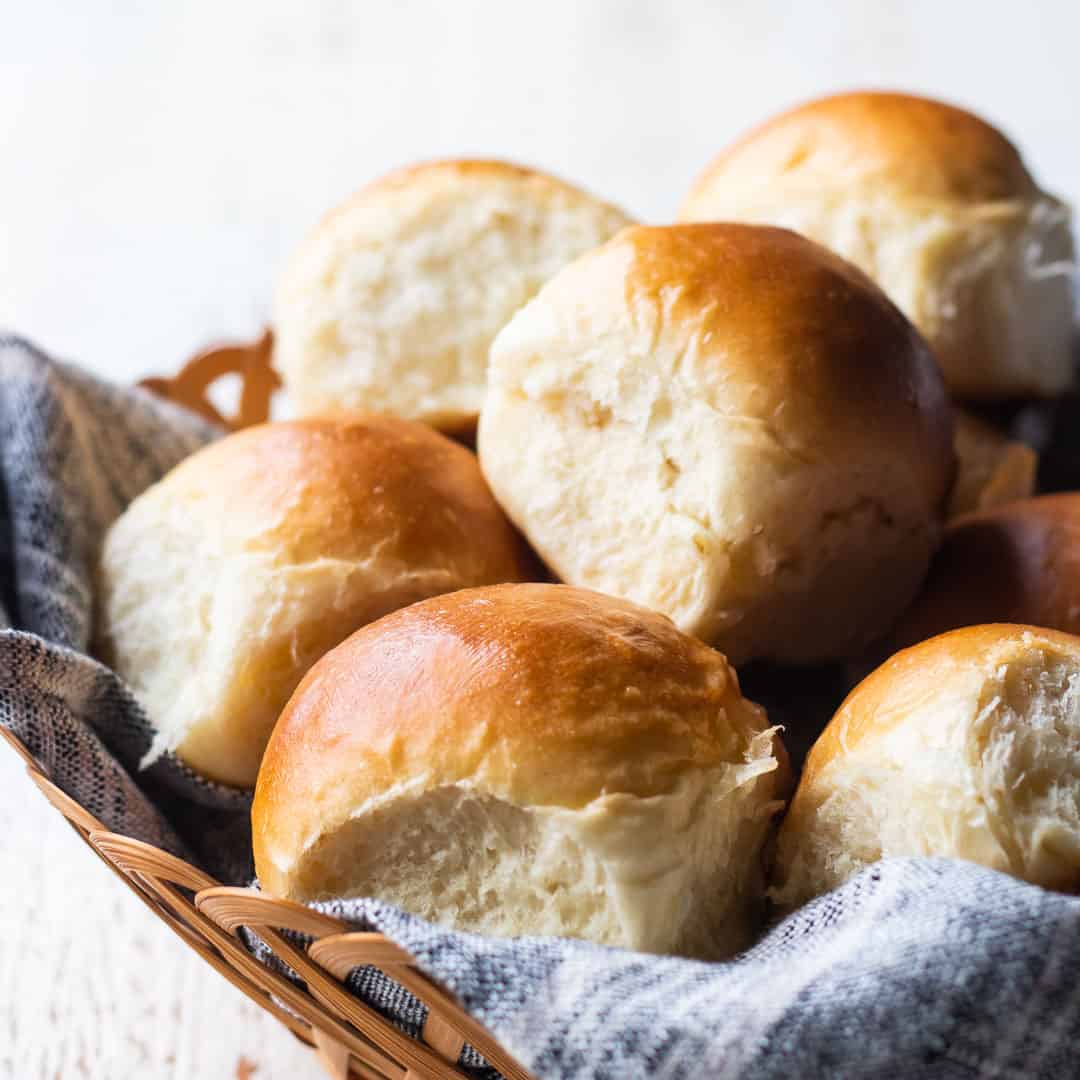
These rolls make an appearance at every family Thanksgiving, right next to pumpkin gooey butter cake, chocolate pecan pie, and sweet potato pie. They're soft, rich, and slightly sweet, and you can make them with simple pantry ingredients. There's nothing like homemade bread fresh from the oven!
Here's Why You'll Love This Recipe
- They're incredibly soft and fluffy. Milk, cream, butter, and eggs give the dough real richness.
- They're almost impossible to mess up. Just mix the wet and dry ingredients, combine them, and knead in flour until the dough feels right.
- You can make them the night before. Shape them, chill overnight, then let them rise and bake the next day.
- They freeze well, baked or unbaked, so you can always have some ready when you need them.
Ingredients You'll Need
The recipe card at the bottom of the post contains the full list with all of the amounts. Refer to that when you're cooking.
- Milk: Warm it gently to help activate the yeast and add moisture to the dough.
- Heavy cream: This makes the dough richer, along with the milk.
- Unsalted butter: Melt it for the dough's richness, and save a little extra to brush on top after baking.
- Granulated sugar: This gives a touch of sweetness and helps the yeast grow.
- Active dry yeast: Leavens the dough. You can substitute instant yeast, though the rise time may need to be reduced by 10 to 15 minutes.
- All-purpose flour: You can substitute bread flour if that's what you have on hand.
- Kosher salt: Balances the sweetness.
- Eggs: Add richness and structure.
In Photos: How To Make Soft Homemade Dinner Rolls
The method is as simple as stirring together a few liquid ingredients in one bowl, a few dry ingredients in another bowl, and then combining them. Then you just add eggs and keep kneading in flour until you get the right consistency. Easy peasy!
Step 1: Combine Liquid Ingredients
Let's start with the liquid ingredients.
Combine milk, cream, melted butter, and sugar in a bowl. The milk and cream should be warm but not hot (think of a baby's bath). If it's too hot, the mixture will kill the yeast, so be gentle!
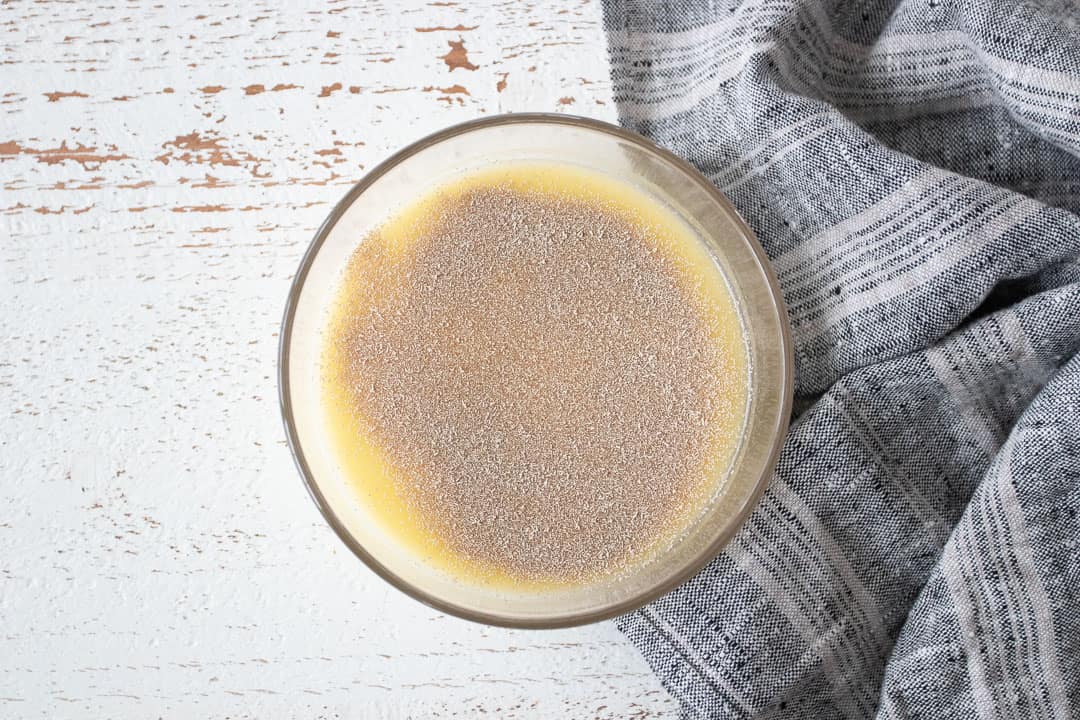
Sprinkle the yeast all over the surface of the liquid, and set it aside for a few minutes to dissolve.
Step 2: Mix Dry Ingredients
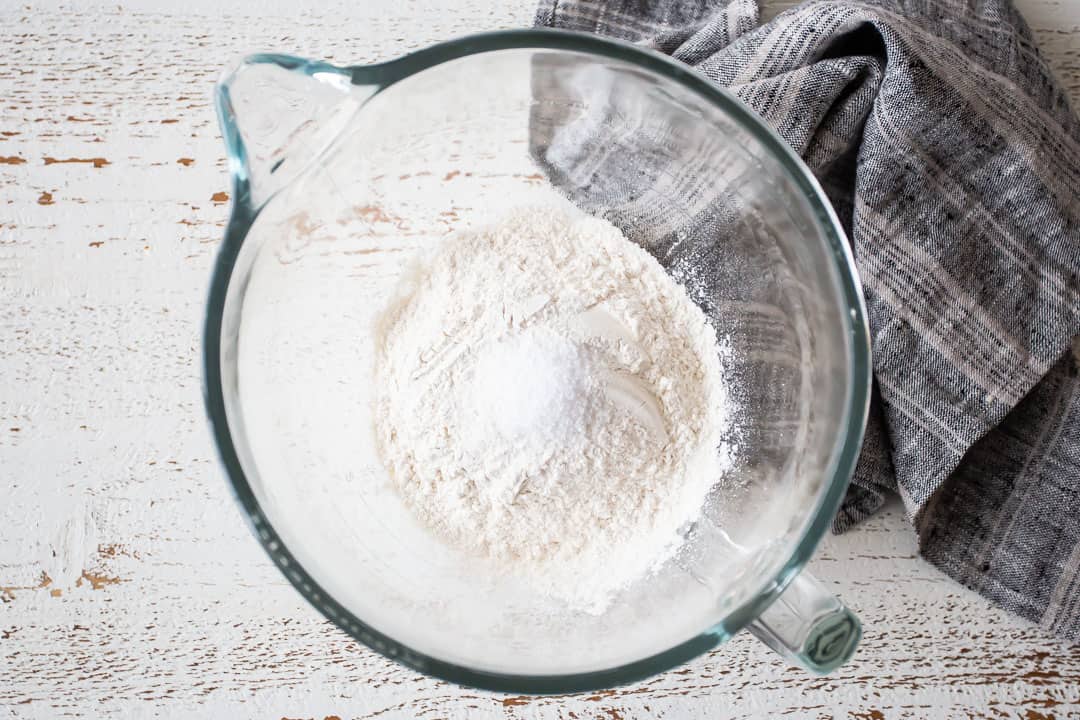
While that is doing its thing, whisk 2 cups of the flour together with the salt.
Step 3: Combine Wet & Dry Ingredients
Once the yeast has dissolved, pour the liquid mixture into the dry.
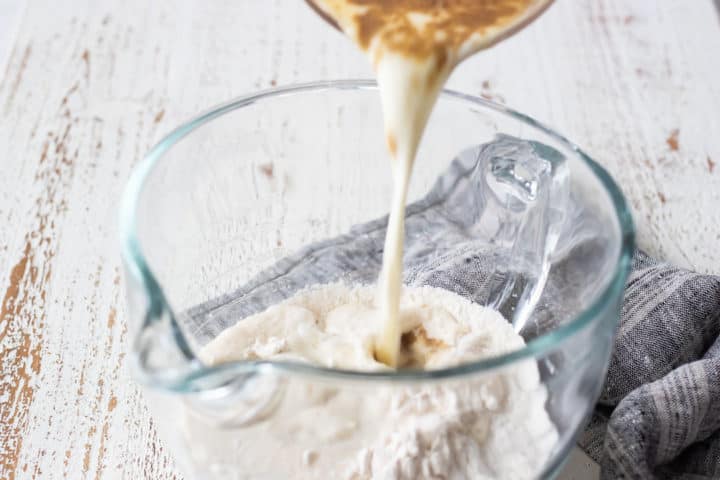
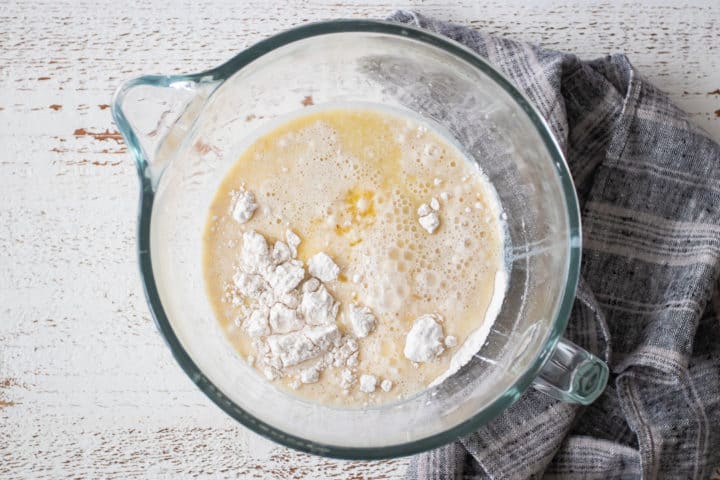
Stir everything together until it's well combined, then let the mixture rest for about 10 minutes.
Step 4: Add Eggs & More Flour
Next you can add the eggs! Eggs give an added richness to this bread that is so good.
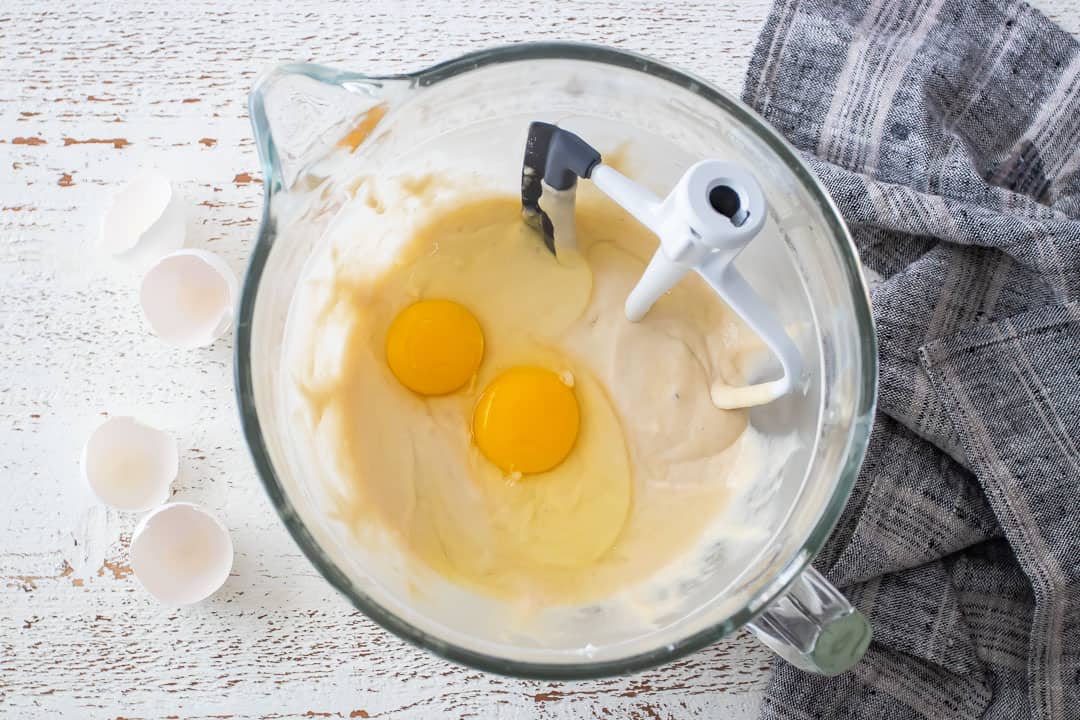
The last step to making this bread dough is to add more flour, until you get the right consistency. Add it in slowly (about ½ cup at a time), mixing well, until the dough gathers itself into a ball and pulls away from the sides of the bowl cleanly.
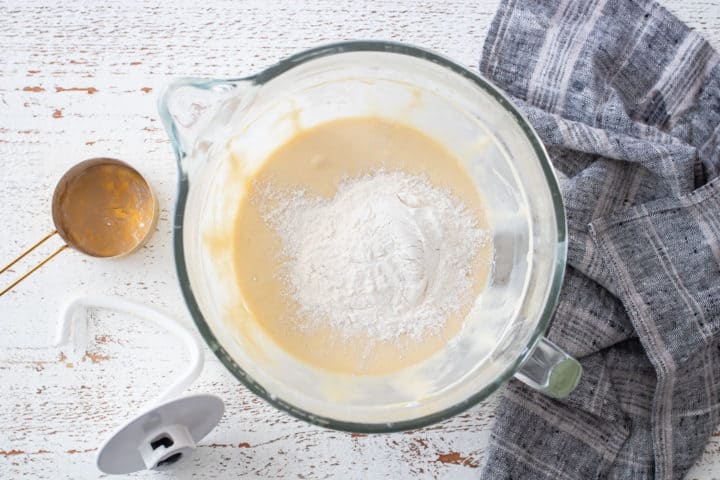

Keep in mind that you may not need all the flour! Or you may even need a little more flour than the amount listed in the recipe card.
Making bread is often more intuitive, and it's more important to get the consistency right than it is to follow exact measurements, particularly when it comes to flour.
Step 5: Shape Rolls & Let Rise
Now that the dough is made, you can shape the rolls. This part is fun!
Divide the dough into 24 equal portions. I like to use a digital kitchen scale for this. My rolls were around 1.75 ounces each, but yours may need to be a little bigger or smaller, depending upon how much flour you used.
Keep the dough balls covered with plastic wrap as you work.
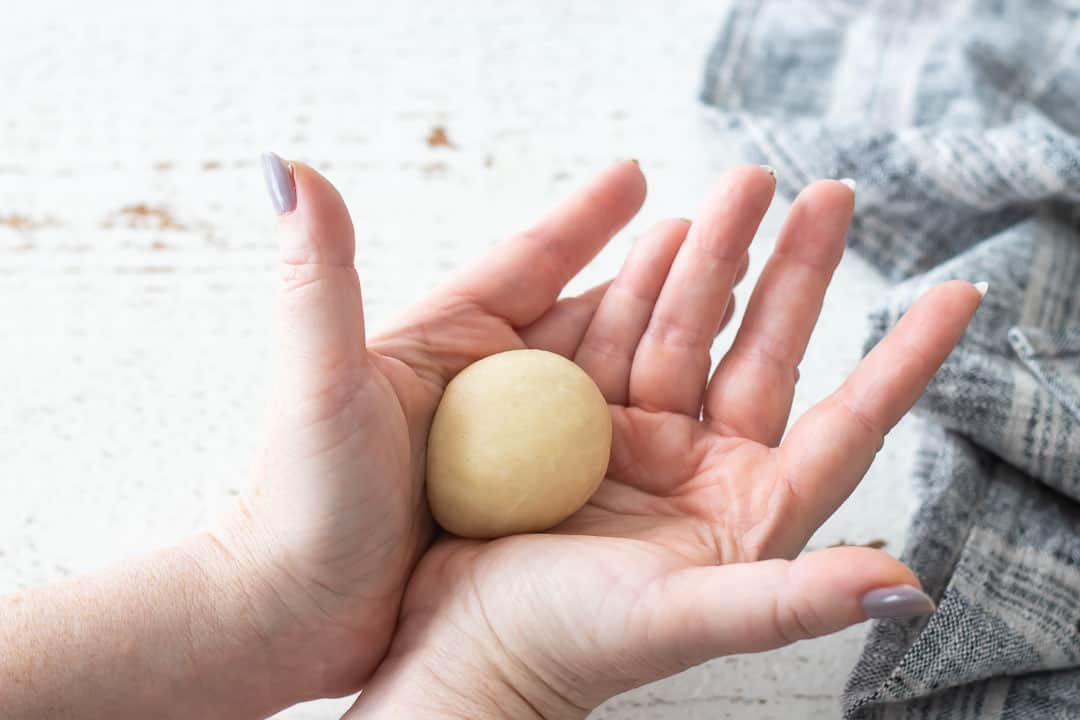
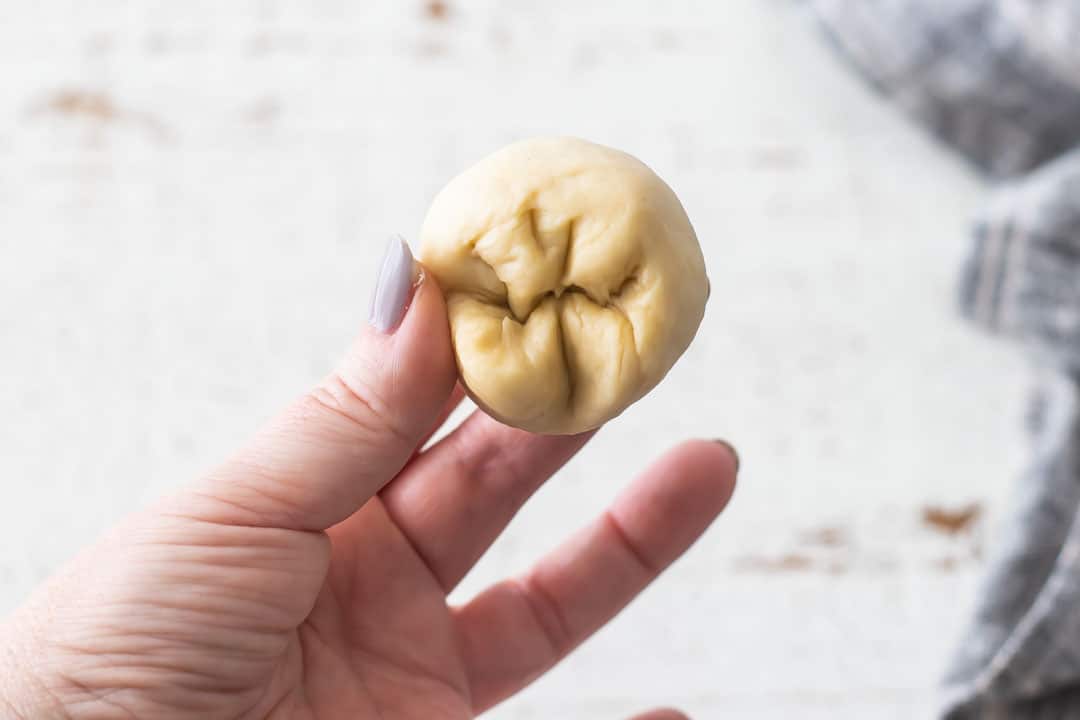
Grab a piece of dough and knead it around 3 times to smooth it out, then roll it into a tight ball with your hands. Try to stretch the dough over the top of the roll so it's nice and smooth.
It might look like this on the bottom.
Repeat this with all 24 portions of dough, evenly spacing them on a baking sheet or 9x13-inch pan that's been lined with a greased sheet of parchment.
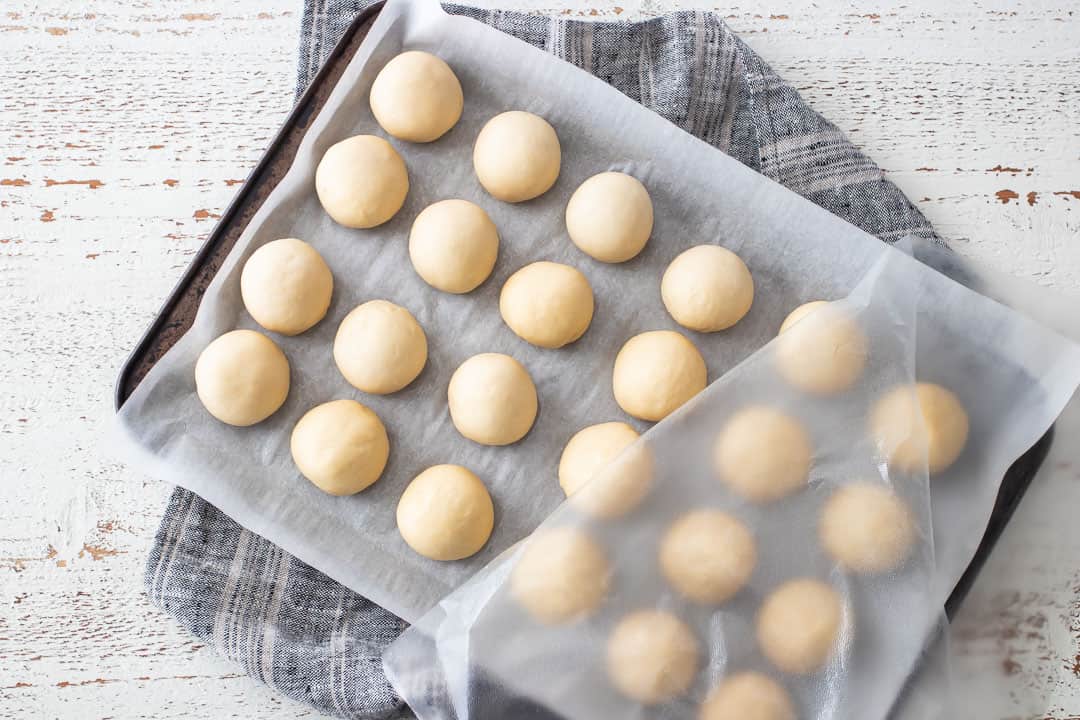
Then cover the rolls with a sheet of plastic wrap that's been misted with non-stick spray. Set them in a warm place to rise for about an hour.
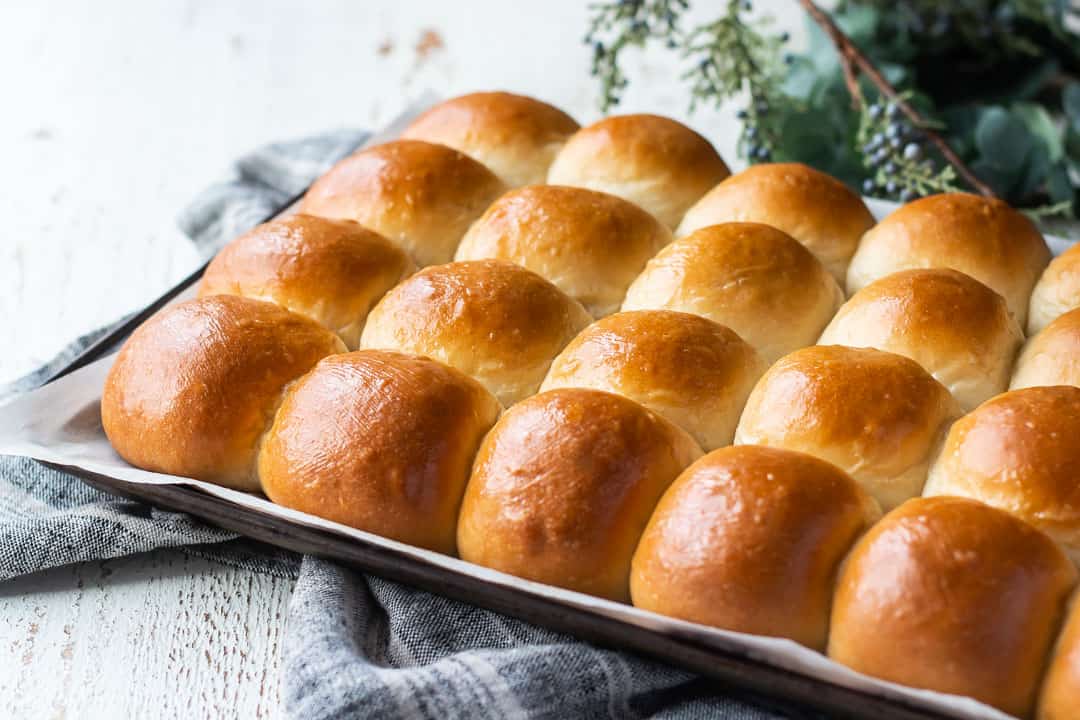
After one hour they should be doubled in volume!
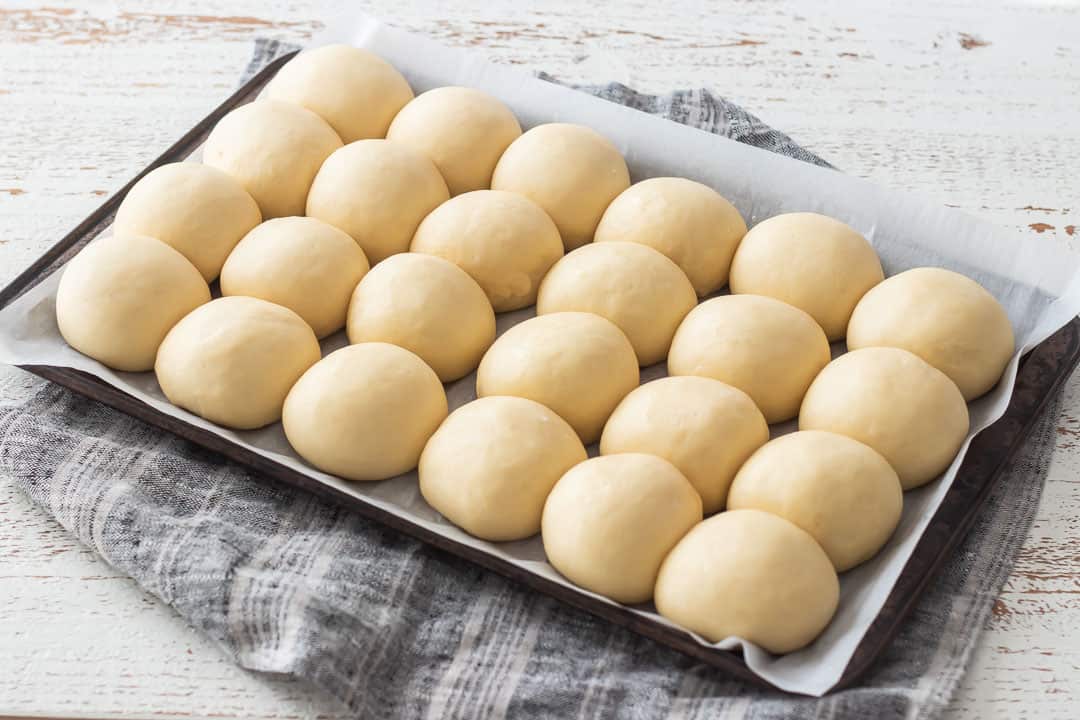
If your rolls don't look like this, don't proceed to the next step. Give them more time to proof; it might be too cold in your kitchen. And be sure to check the expiration date on your packet of yeast. Your yeast could be expired or you may have killed it if your liquids were too hot.
Step 6: Bake
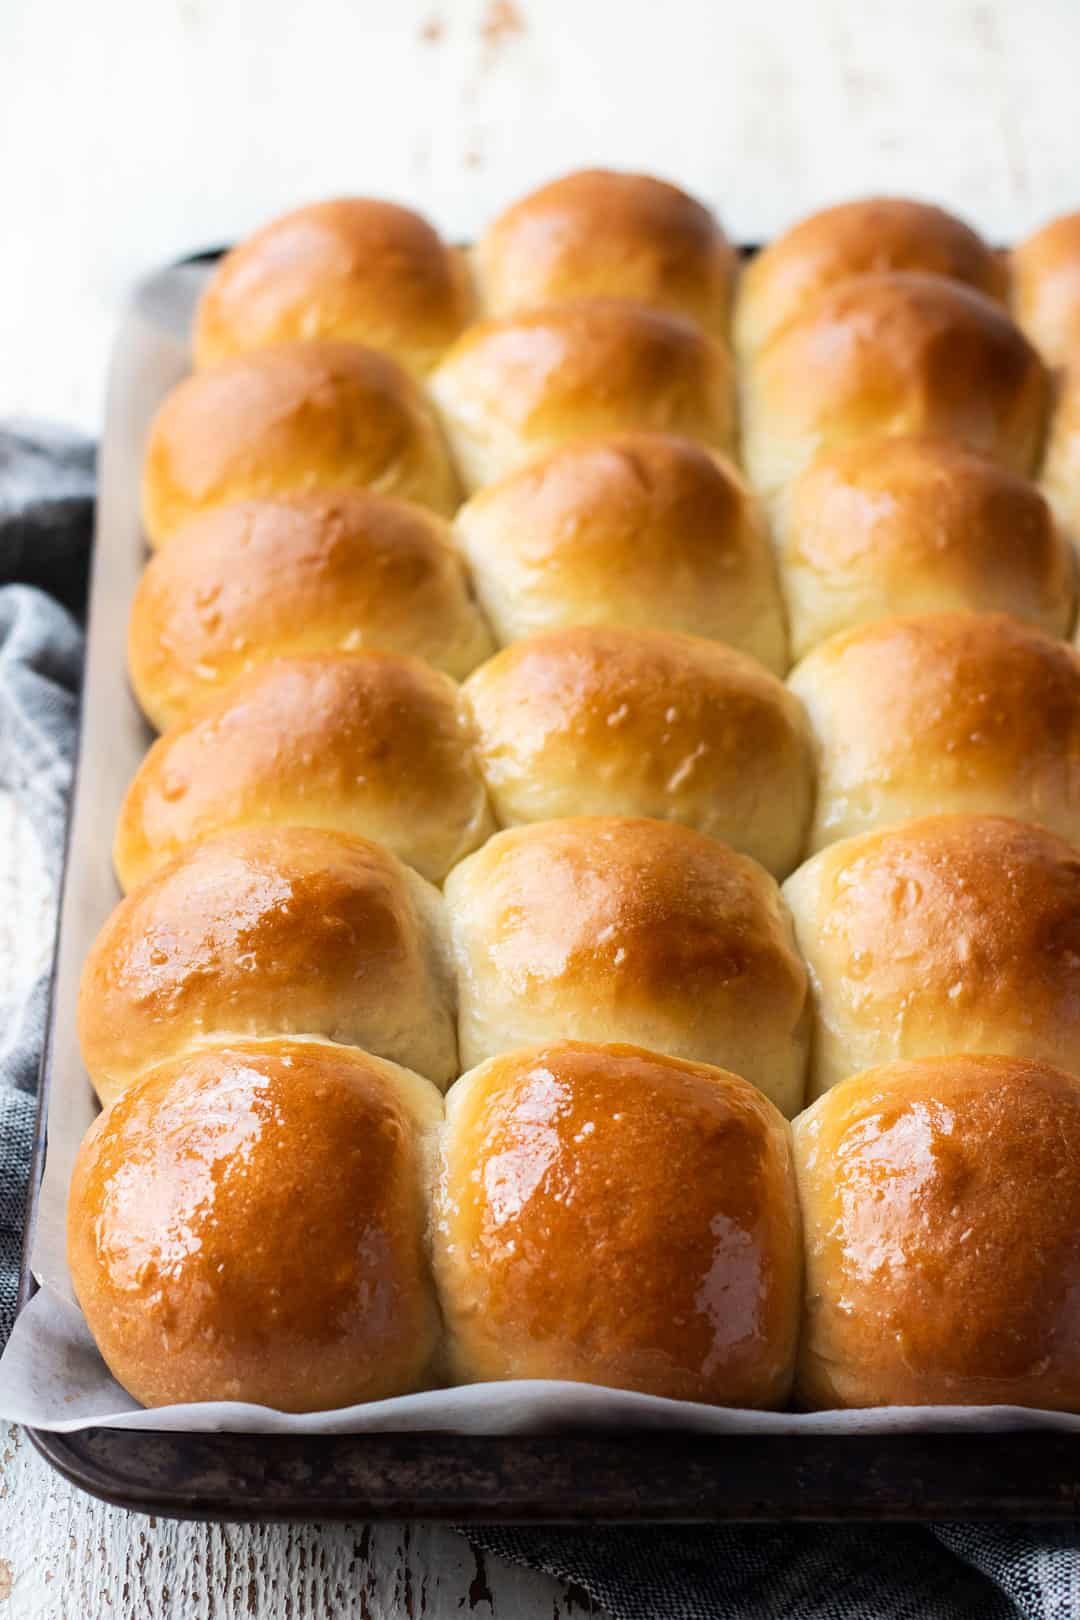
These dinner rolls will bake in the oven for around 18 to 22 minutes. You'll know they're done when they're really puffy and golden on their tops.
Recipe FAQ
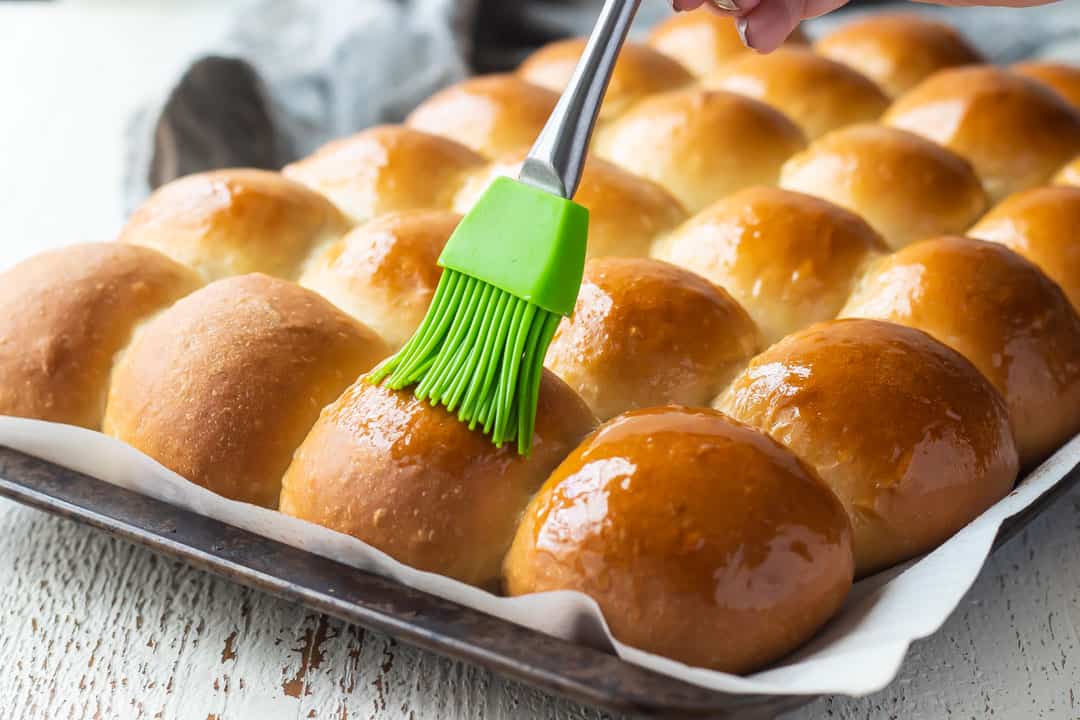
You can totally make these rolls the day before! Make the dough and shape the rolls, placing them in the pan and covering them with greased plastic wrap. Then pop them into the fridge to chill. This will retard the growth of the yeast. When you're ready to bake them, first allow them to come to room temperature and then rise. Once they're doubled in bulk they're ready for the oven! Brush them with a little more melted butter to give them a bright shine and added flavor. So yummy!
These dinner rolls are darn good at room temperature, but they're even better warm from the oven! I love them with a thick smear of salted butter. It's comfort food at its best! Place them in a basket or serving dish that's lined with a cloth napkin, blanketing the cloth over the rolls to keep them warm and moist. You can also use these dinner rolls for making sliders. They're perfectly sized and their mild flavor will complement all sorts of sandwich fillings.
Few things in life are better than warm bread. If you need to keep these warm for an extended period of time, just wrap them loosely in foil and place them in a warm oven (around 170 degrees F). This way, they'll stay warm as toast and so soft and moist.
These rolls can be kept in a cupboard or bread box (at room temperature) for 2 to 3 days. They'll stay good in the fridge for up to a week. Just be sure to wrap them well so they don't get stale or dry out.
You can freeze these rolls either before OR after baking them. Baked dinner rolls will keep (tightly wrapped) in the freezer for several months. Thaw them at room temp and re-warm them in a warm oven, as noted above.
If you'd like to freeze the unbaked dough, shape them and then freeze them on a parchment-lined baking sheet. Once they're frozen hard, they can be transferred to a zip-top freezer bag and they will keep in the freezer for up to a month.
When you're ready, remove them from the freezer and place them in a pan lined with greased parchment. Cover with greased plastic wrap and allow them to come to room temperature, and then double in bulk.
Then just bake them according to the recipe directions!
Helpful Tips and Tricks
- Trust your instincts with the flour. Bread dough is more about getting the right feel than following exact measurements.
- Watch your liquid temperature. If it's too hot, it can kill the yeast, so aim for warm, not hot.
- Making these for a crowd? If you're making these for a group, using a digital kitchen scale helps you portion the dough quickly and evenly.
- To store, keep the rolls at room temperature in a bread box or cupboard for 2 to 3 days, or wrap them well and refrigerate for up to a week.
Ingredients
- 1 cup (236.59 ml) milk, (I used 1%), warm but not hot
- ½ cup (118.29 ml) heavy cream,, warm but not hot
- 4 tablespoons (59.15 g) unsalted butter, (half a stick), melted, plus extra for brushing
- ¼ cup (50 g) granulated sugar
- ¼ ounce (7.09 g) dry active yeast*, (1 packet)
- 4 ½ cups (562.5 g) all-purpose flour, (you may need slightly more or less flour)
- 1 teaspoon kosher salt
- 2 eggs, (large)
Instructions
- Lightly mist a sheet of parchment with non-stick spray, and place it on a 10x15-inch baking sheet or in a 9x13-inch baking pan.
- Stir the milk, cream, melted butter, and sugar together in a small bowl, then sprinkle the yeast over the surface and set aside for 5-10 minutes to dissolve.
- Place 2 cups of the flour and the salt in a large mixing bowl and whisk to combine.
- Add the milk/yeast mixture to the flour mixture, and stir together until combined.
- Allow the mixture to rest for 10 minutes, then stir in the eggs.
- Stir in the remaining flour, ½ cup at a time, until the dough gathers itself into a ball and pulls cleanly away from the sides of the bowl. (You may need more or less flour depending on the humidity. Use as much or as little is needed in order to achieve the proper consistency.)
- Divide the dough into 24 equal portions (about 1 ¾ ounce each, roughly), and roll each one into a tight ball.
- Place the balls of dough on the prepared baking sheet, and cover with greased plastic wrap.**
- Allow the unbaked rolls to rise in a warm place for about 1 hour, or until nearly doubled in size.
- Preheat the oven to 375 degrees F, and bake the rolls for 18 to 22 minutes, or until the tops are golden brown and the dinner rolls are puffy.
- Brush with melted butter and serve warm.
Notes
Author

More Seasonal
Have a question about this recipe? Ask AI:

I made these for Thanksgiving and they really did come out so good. I should have made them a bit smaller, but it has given me an idea to make my own hamburger buns. They seem like they could be very versatile.
Absolutely! So glad you were happy with the recipe. And thanks for the 5-star review!
Delicious rolls. These came out so good, I was so pleased with the results. I did make them too large, but no one minded and it gave me a great idea for making hamburger buns. The ones they sell here are so big and dense, so if I make these a bit larger, I will have a great bun for a burger or sandwich and a size I like.
I have a ton of bread flour.
Is it possible to use bread flour for your roll recipe?
Yes! I think that should work just fine. Good luck!
Really soft and stayed fresh. Warmed up the next day and still had a wonderful texture. Put 1/2 batch in freezer. Thank you for your explanations and directions. I've really learned a lot from you.
First time I bake rolls! So easy and my boys kept asking for more! Loved it!!
Thanks for sharing!
I just made these to try out before Thanksgiving and see if I like. Wow these are amazing!! So good! I added a little garlic powder because I add garlic to everything lol. Also I froze the rest and am hoping I can just pull them out on Thanksgiving to thaw and bake. Thank you!!!
You're welcome! I'm so happy you liked them!
So good! Flavorful, soft, and fluffy.
I’ll be saving this recipe for Thanksgiving.
I added a little more salt because I used unsalted butter,
Mine only took about 40 minutes to double, which could be because my kitchen was nice and warm/steamy (beef stew!)
They were done after 16 minutes in the oven- my oven tends to run a little hot- and next time I think I’ll do 350 and see how that works out.
I've made your dinner rolls before many times, they were fantastic so soft, a big hit with the family. Sometimes I don't have heavy cream at home, is it possible to substitute heavy cream with milk in that recipe? Thanks again for a great recipe!
So happy you like them. I have not tried that so I can't say for sure, but it sounds like it would probably work.
Have you tried freezing the dough after shaping, then thawing in refrigerator overnight?
Hey Mari! There's info on this under the heading "Can you freeze them." If you still have questions after reading that, just let me know!
Sorry! I don't know how I missed that ;^) Thank you!
I made this recipe tonight. The rolls turned out with a wonderful texture, but lacked flavor. I followed the rd Joe exactly. Any tips? More salt?
You can add as much or as little salt as you like!
Thanksgiving is going to be good with these rolls
Yay!! Have a great holiday Loretta!
Can the dough be made in a bread machine?
I've never worked with a bread machine so I'm not really sure, but if it works in the same way a stand mixer would, or in the same way making the dough by hand would work, then I would think so!
I want recipes, not steps
I'm not sure what you mean, but there is a printable recipe card at the bottom of the post. If you don't feel like scrolling all the way down, you can just hit the "jump to recipe" button right at the top. You're welcome!
You are super rude, is it your first time reading a food blog? The recipe itself is always at the bottom, scroll or use "jump to recipe" button.