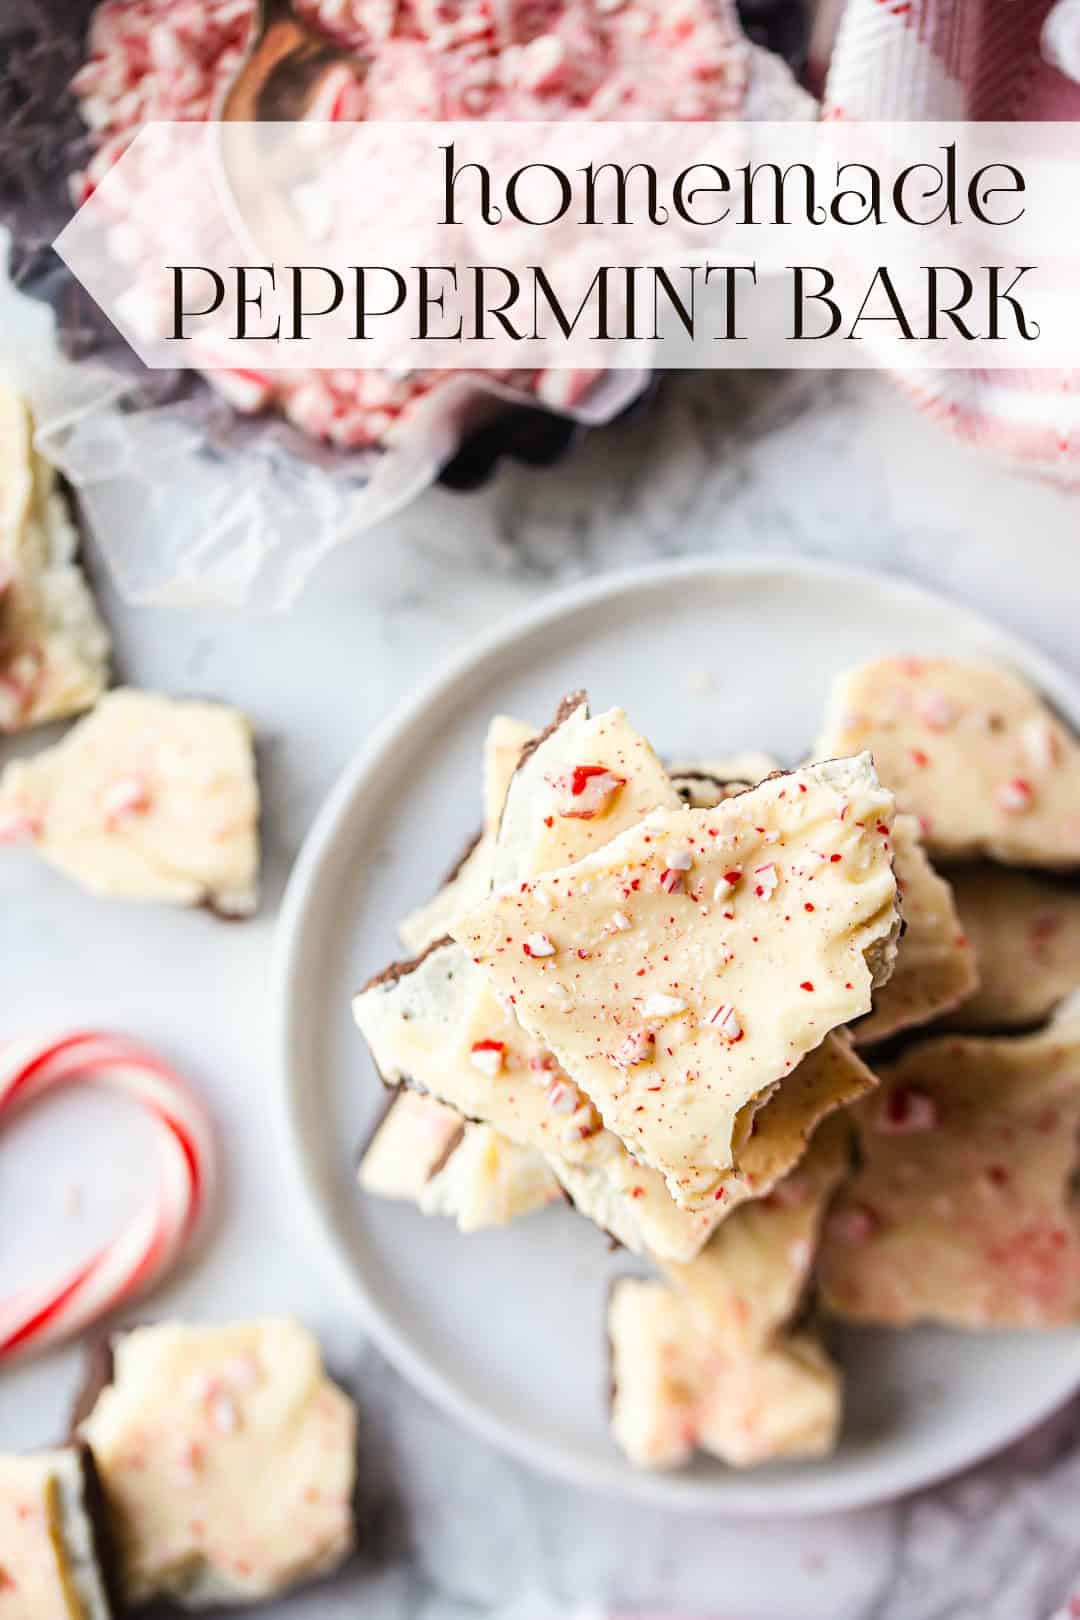
Peppermint Bark
Peppermint bark recipe! So easy & quick to make, & it makes a great gift! Layered dark & white chocolate, flavored with peppermint & crushed candy canes.

I'm back today with another great candy recipe for you!
You might remember last week I shared this stupid-simple peanut butter fudge, and I've also got these amazing Oreo balls and this homemade moose munch...
I love all of these for the holiday season especially. They're quick and easy to make, pretty shelf-stable, and they make great homemade gifts. I'll often pack up a little cellophane bags, add pretty ribbons and tags, and give them out to my kids' teachers, bus drivers, etc.
Who doesn't love a homemade treat?
And today we've got one more to add to the list: peppermint bark!
WHAT IS PEPPERMINT BARK?
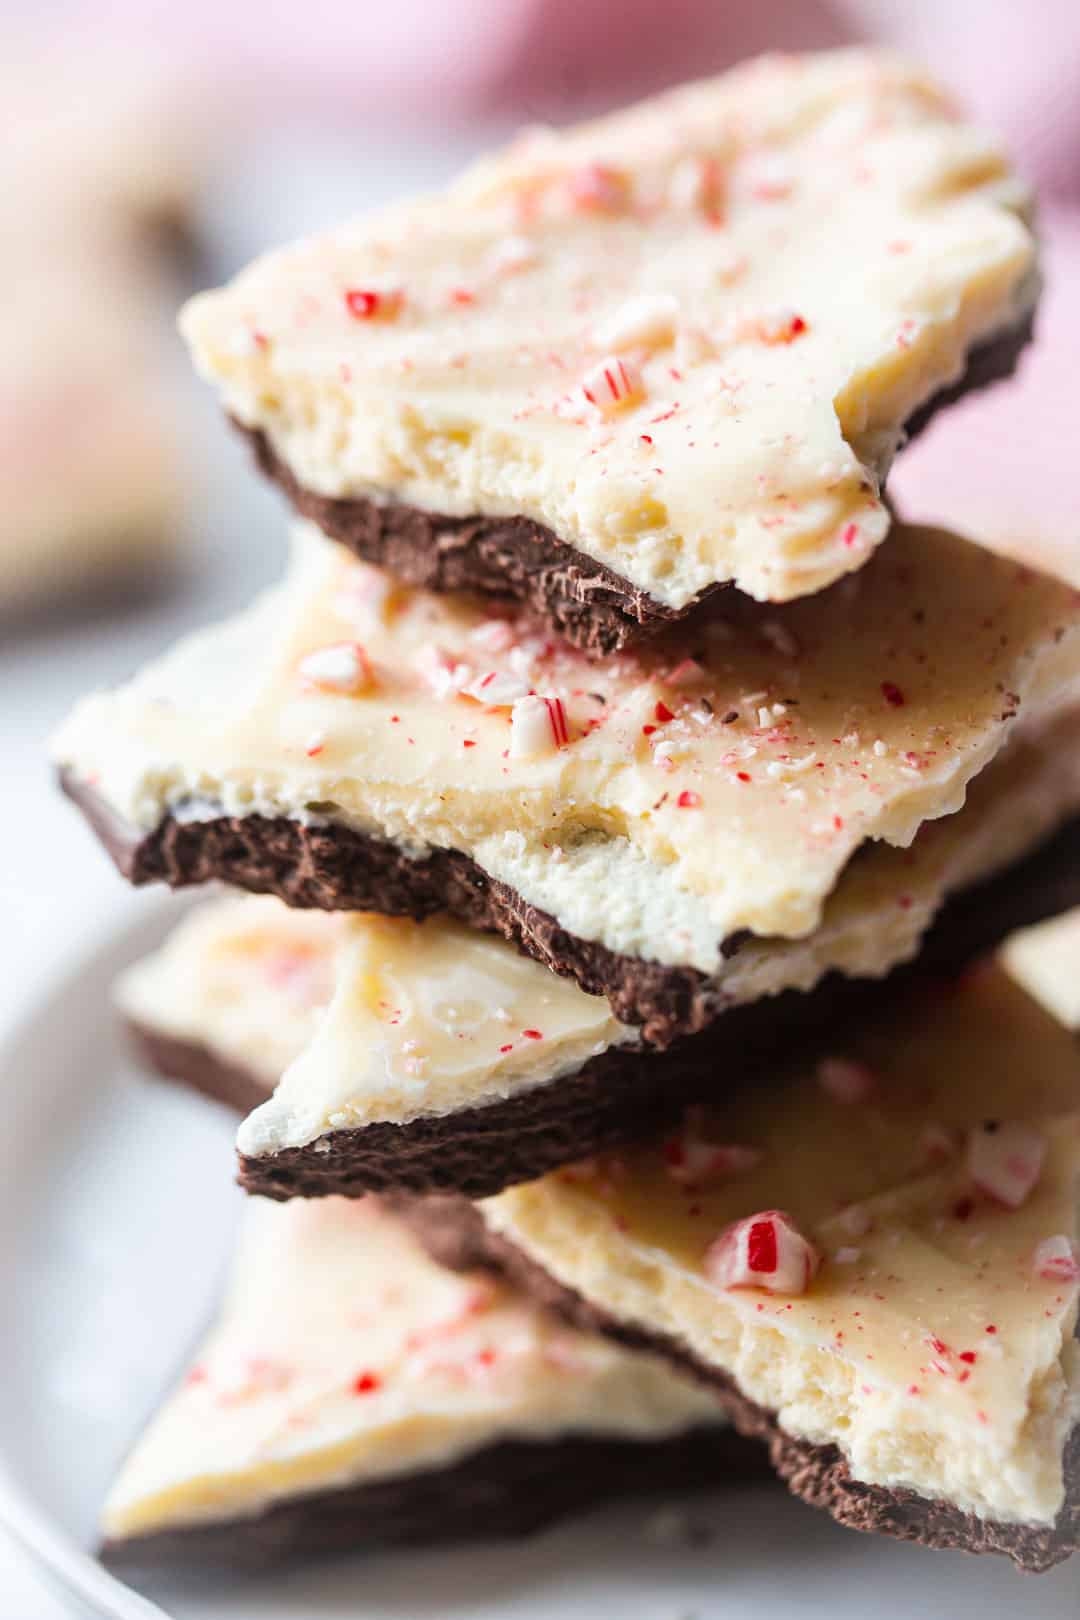
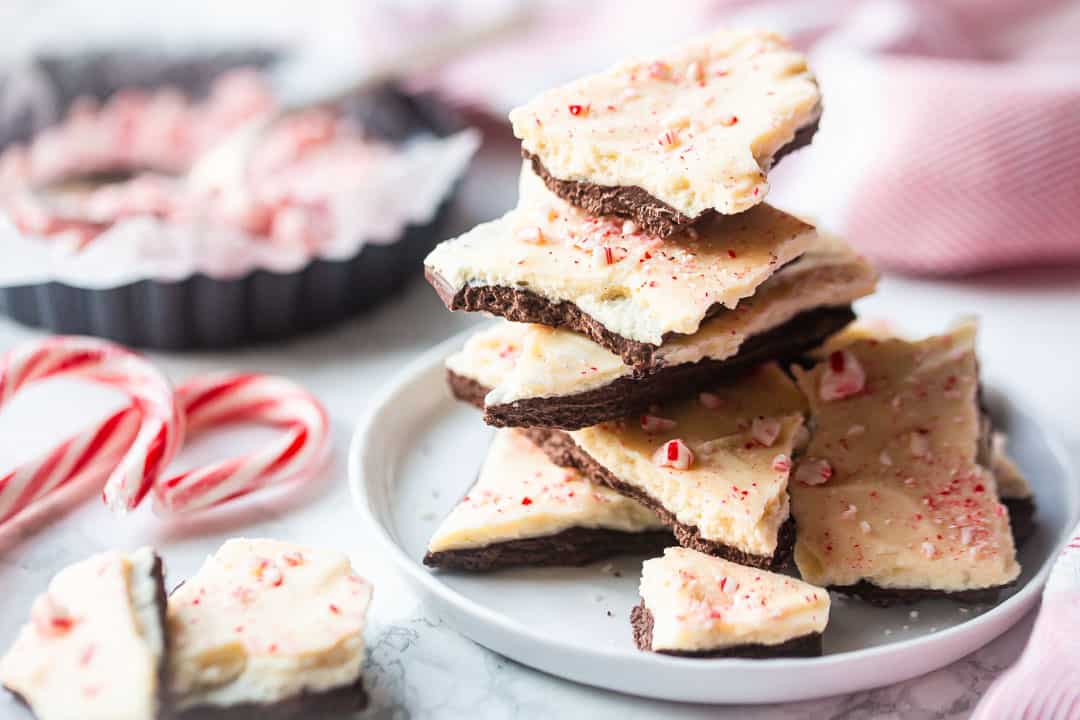
Peppermint bark is an easy candy treat that's made by layering chocolate, white chocolate, and crushed candy canes on a pan in a flat, even layer. Once it's all cooled and solidified, you can break it into shards and munch away!
The chocolate is infused with peppermint oil, so it has a cool, bracing flavor that just screams Christmas!
HOW TO MAKE PEPPERMINT BARK
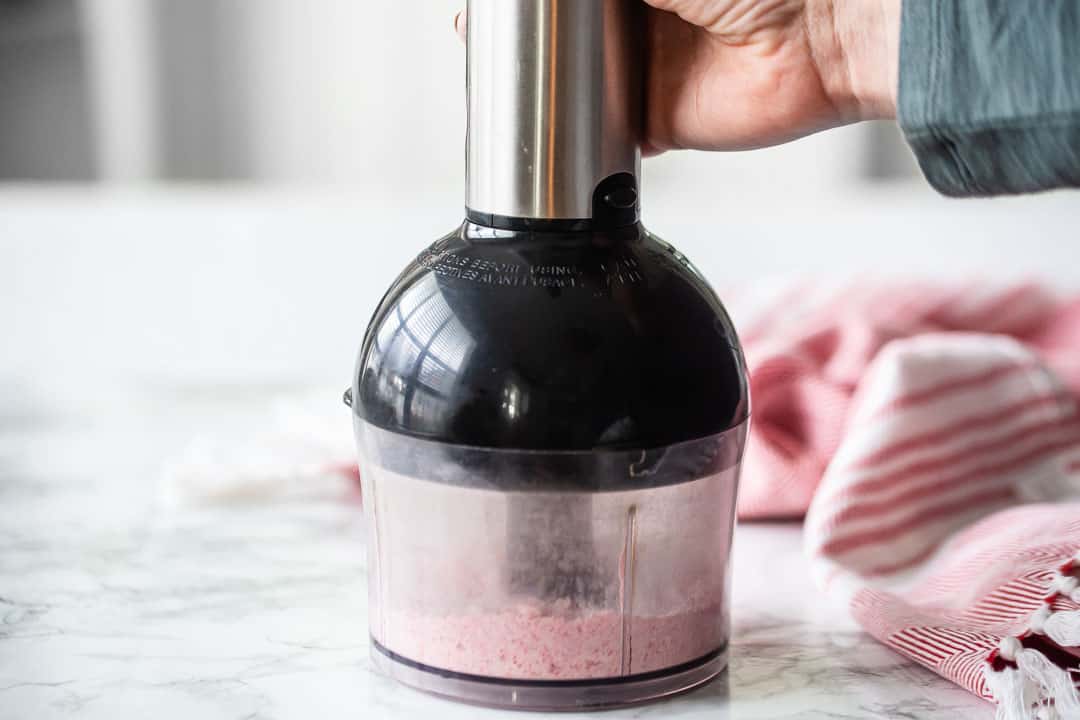
To make this easy recipe, start with the candy canes. I'm using regular size peppermint candy canes here, and I've just broken them into pieces and added them to the bowl of my mini-chopper.
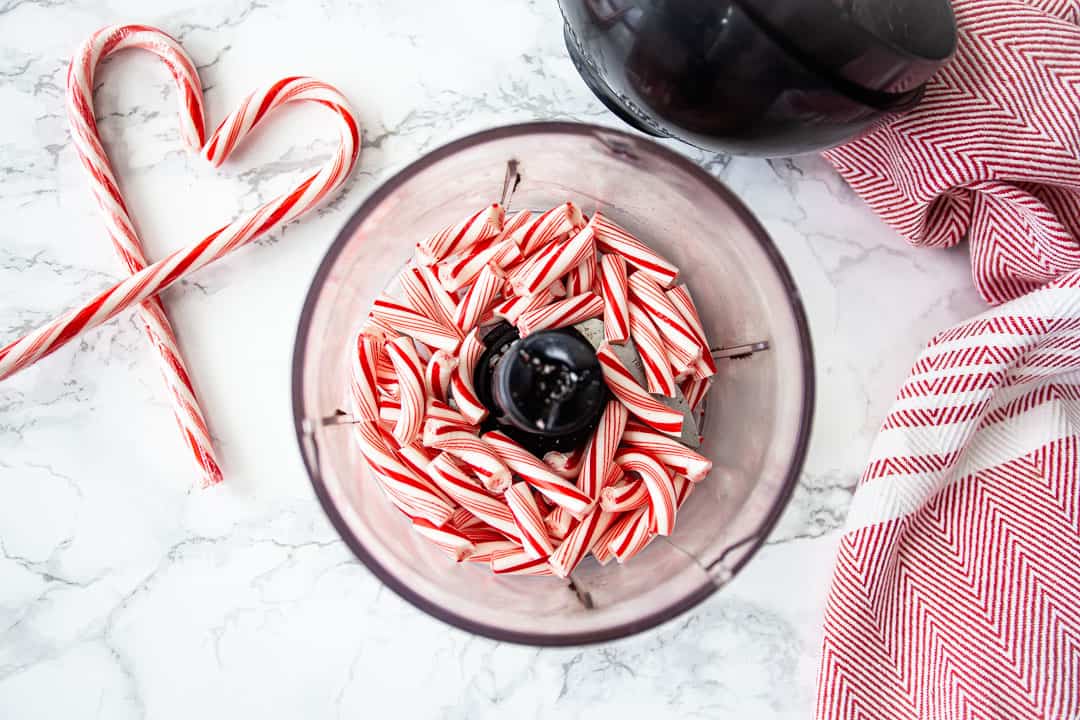
Pulse them up until they're finely chopped, then set them aside while you get going on the chocolate.
If you don't have (or don't want to use) a microwave, you can make this peppermint bark in a double boiler on the stove. But to keep things super-simple, I like to use my microwave.
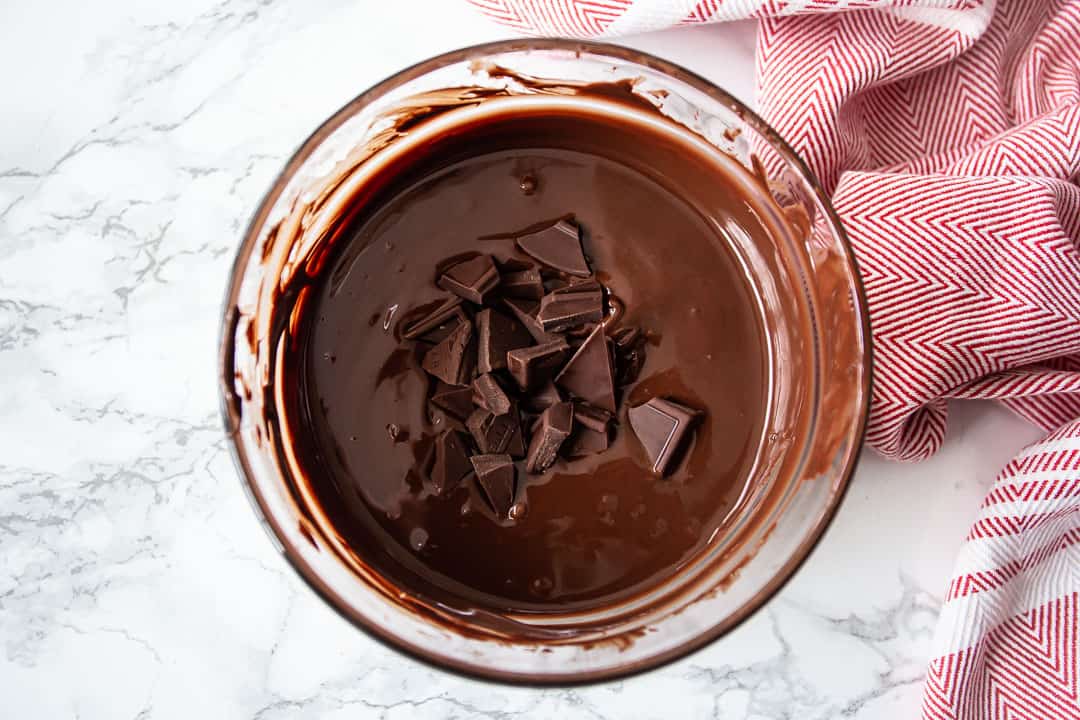
Start by breaking up your chocolate into small pieces. I like to use semisweet or bittersweet chocolate to balance the sweetness of the white chocolate, but you could also use milk chocolate if that's your preference.

I'd recommend steering clear of chocolate chips for this type of application, just because they often contain stabilizers to help them keep their shape, and we want a smooth melt here. That said, there are higher-end brands of chips that can work. If you know the brand you like melts well without seizing up, go ahead and use it.
Microwave the chocolate in short, 30-second bursts, stirring after each. At first it will be kind of annoying because the chocolate is barely melted and it's a pain to stir, but after about a minute it will start to loosen up.
Be careful to heat the chocolate as little as possible! If it gets too hot, it could burn and taste really bad. It will also lose temper, which just means it won't have that pretty shine and snap after it's cooled and solidified. You can learn more about what tempered chocolate is all about here: tempering chocolate.
You don't have to melt the chocolate all the way in the microwave. Remember that the residual heat in the bowl will be present for quite some time.
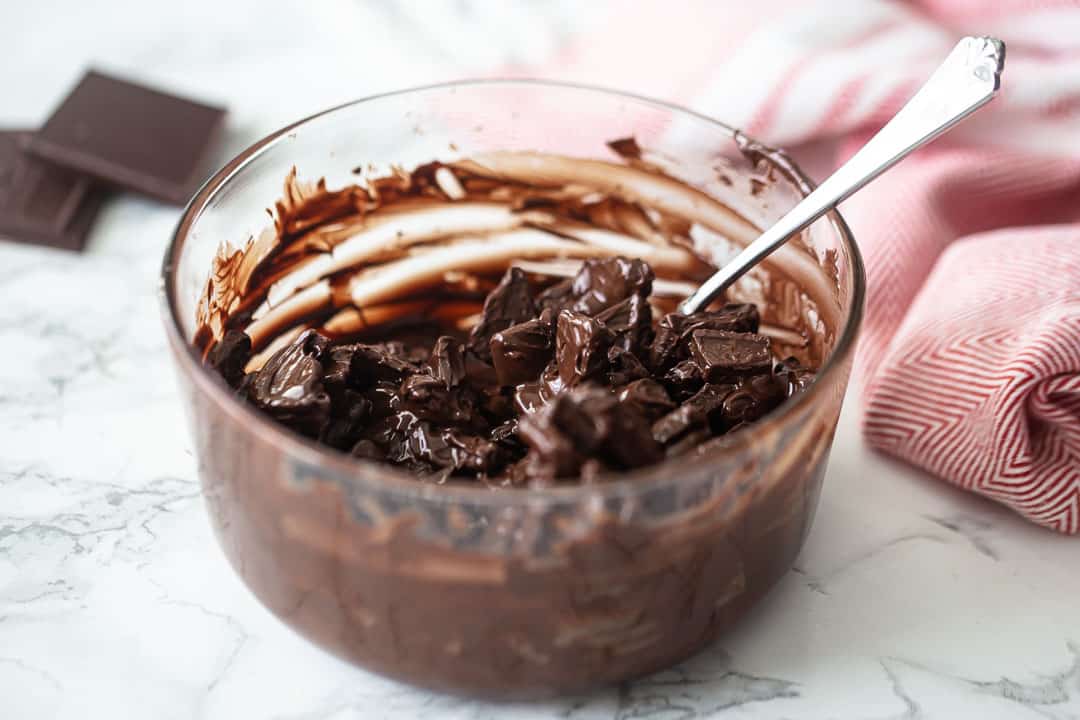
It's best to stop cooking the chocolate when there are still a few small lumps remaining. Then just stir it for another minute or so, and you'll notice those lumps will disappear just from the carry-over heat.
As an added "insurance policy," I like to hold back an ounce or two of chocolate, and add it to the bowl once the rest is completely melted smooth. This is called "seeding the chocolate." It's a chef-y trick that can help to bring the chocolate back into temper if it's gotten outside of that target temperature window.
Stir it and you'll notice it melts right in without any additional heat.
Now it's time to add the flavoring!
We are using peppermint oil for this. Sadly you cannot use extract. This small amount of liquid would cause the chocolate to seize up and harden.
I just used organic peppermint essential oil. I found it in the vitamins section of my regular supermarket, but you can also order it online: peppermint oil. Besides using it for baking & candy-making, it's also great for digestive issues, headaches, itching, and muscle pain.
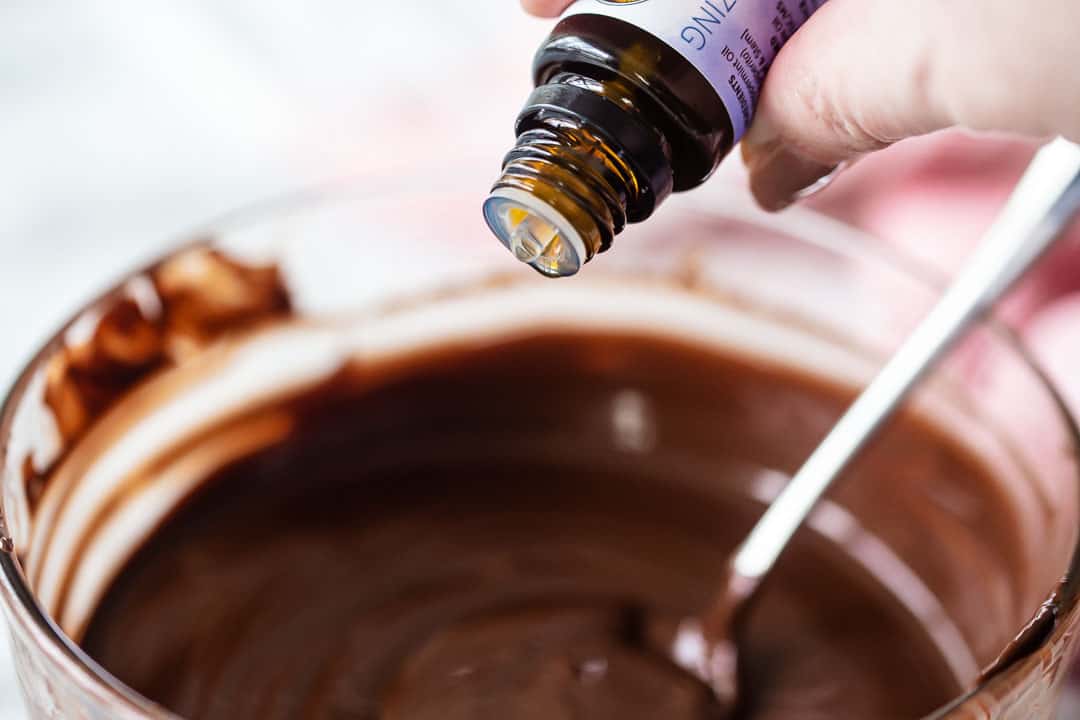
Just stir a few drops into your melted chocolate. It smells so good!
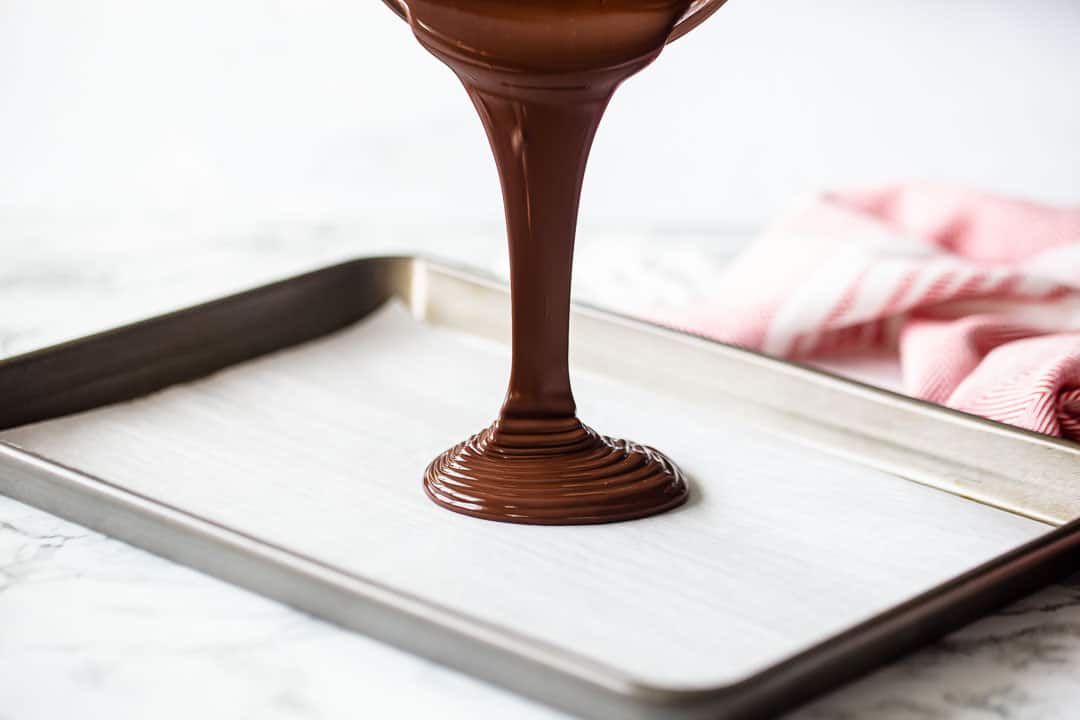
Then pour the mixture onto a parchment-lined baking sheet.
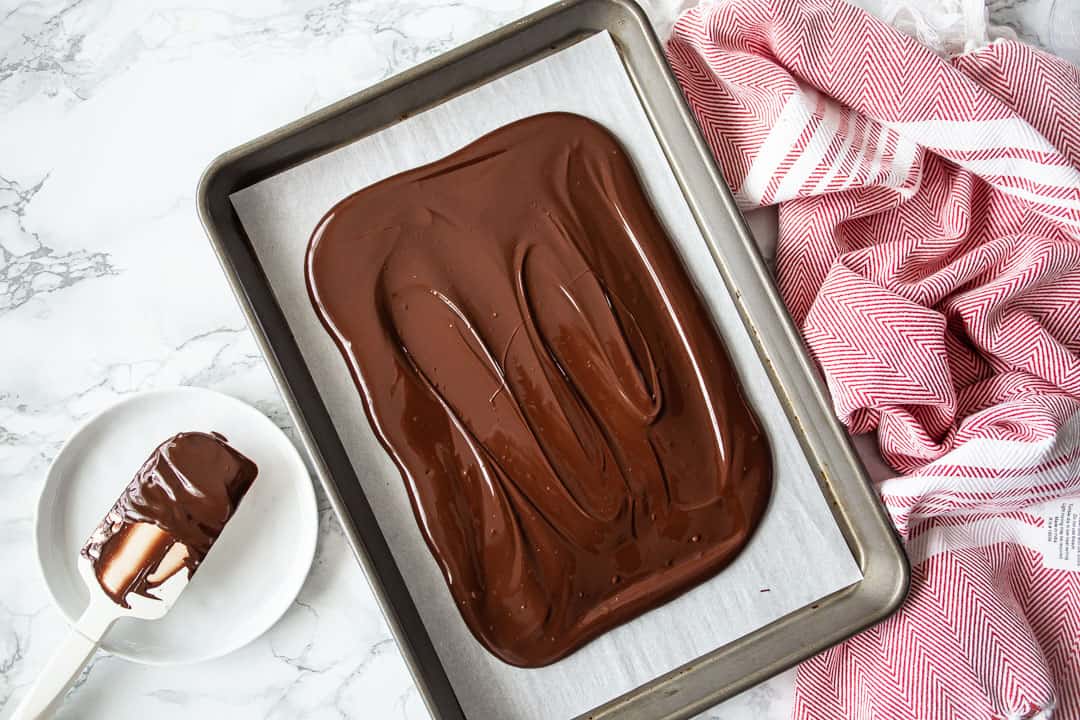
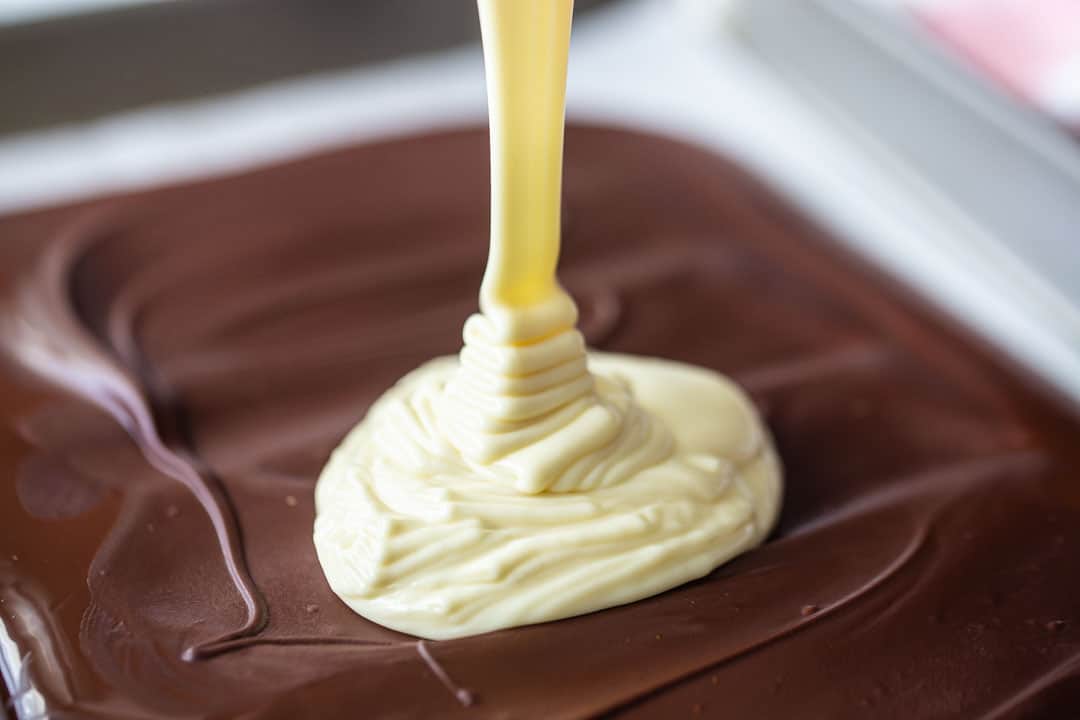
Smooth it all out into an even layer, let it cool a bit, and then we are going to repeat that same process with white chocolate.
(If you want to speed up the cooling process, just pop the pan into the freezer for 5 to 10 minutes.)
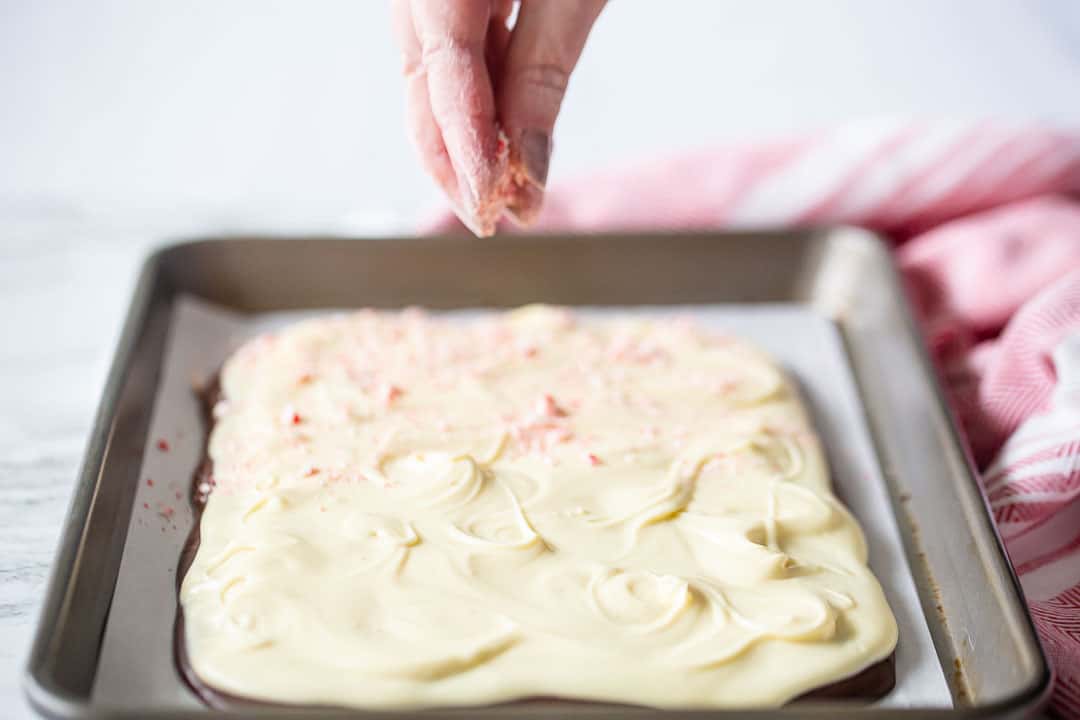
While the white chocolate is still wet, sprinkle on the crushed candy canes.
I love the added crunch you get from the candy canes! Smooth chocolate loves crunchy, minty candy canes!
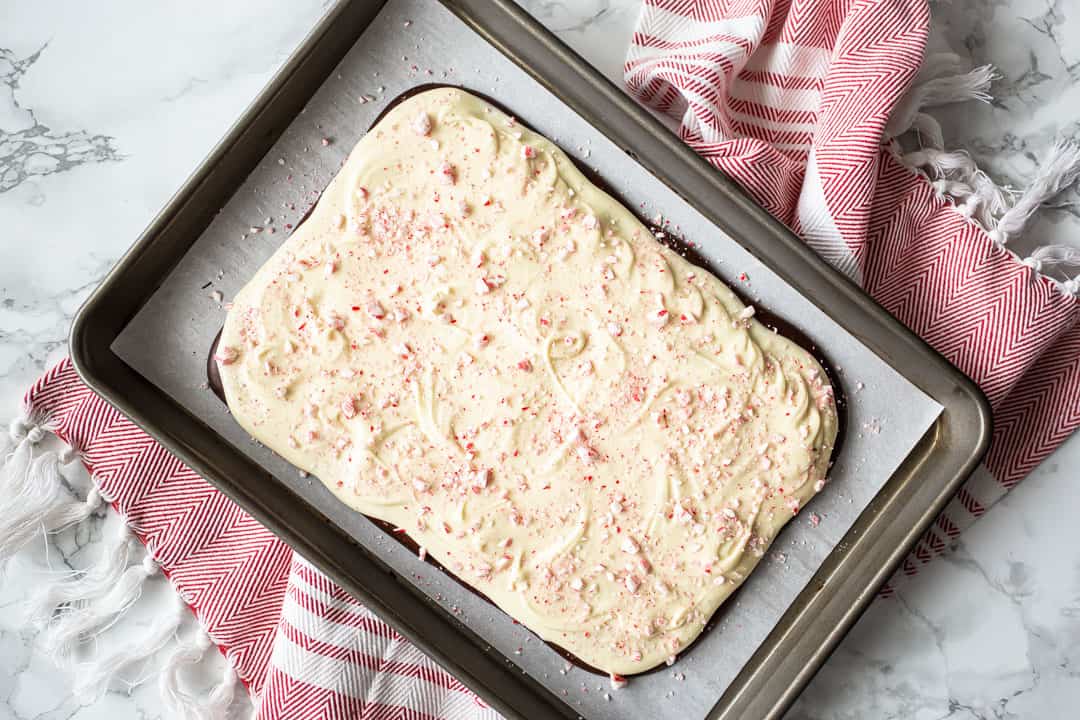
Allow the bark to cool completely and harden.
Once it's solid, it can be broken or cut into pieces and enjoyed!
HOW TO STORE PEPPERMINT BARK
This treat can be kept at room temperature for a few weeks or even months.
Just keep it covered and don't let it get too warm, or it could melt!
IS PEPPERMINT BARK GLUTEN-FREE?
That's another thing I love about this recipe!
It's gluten-free, nut-free, and egg-free, and if you use dairy-free chocolate, it's also vegan.
So if any of your gift-recipients have any issues at all, you can rest assured that this is something they can (and will!) enjoy.
WHY DID MY PEPPERMINT BARK SEPARATE?
When buying your white chocolate, make sure it's good quality and contains cocoa butter rather than palm kernel oil or coconut oil. This way it will bond to the dark chocolate layer below, instead of separating when you go to break it into pieces.
CAN YOU FREEZE HOMEMADE PEPPERMINT BARK?
You can, but I don't know that you would really need to since it's candy. It will last for several months at room temperature.
But if you do want to freeze it, just be sure to wrap it very tightly to keep any moisture out.
As an amazon associate I earn from qualifying purchases.

Ingredients
- 4 peppermint candy canes, (regular sized), approx.
- 12 ounces (340.2 g) semisweet chocolate
- a few drops peppermint oil
- 12 ounces (340.2 g) white chocolate
Instructions
- Crush or finely chop the candy canes, and set aside.
- Break the semisweet chocolate into small pieces and melt all but 1 or 2 ounces in the microwave* in short, 30-second bursts, stirring, until only a few small lumps remain.
- Stir the melted chocolate until smooth, then stir in the remaining 1 or 2 ounces of unmelted chocolate until completely melted in.
- Stir in a few drops of peppermint oil and pour the mixture onto a parchment-lined baking sheet.
- Smooth the bark into an even layer and allow it to cool until firm.**
- Break the white chocolate into small pieces and melt in the same manner as above.
- Stir in peppermint oil, pour over the dark chocolate, and smooth into an even layer.
- While the white chocolate is still wet, sprinkle with crushed candy canes.
- When the bark is completely cool and hardened, break or cut it into smaller pieces.


Mmmmmmm! I LOVE making chocolate bark! My favorite kind to make this time of year is doing the chocolate and the white chocolate and then feathering it so it looks pretty, and then making 'reindeer' by using a red Smartie or M&M for the nose, two half mini marshmallows with a dot of chocolate for eyes, and a half a pretzel for antlers. We also do snowmen with mini marshmallows and pretzels for arms. It's such a cute, fun way to decorate chocolate bark 🙂
Oh my gosh that sounds totally adorable! What a cute idea!