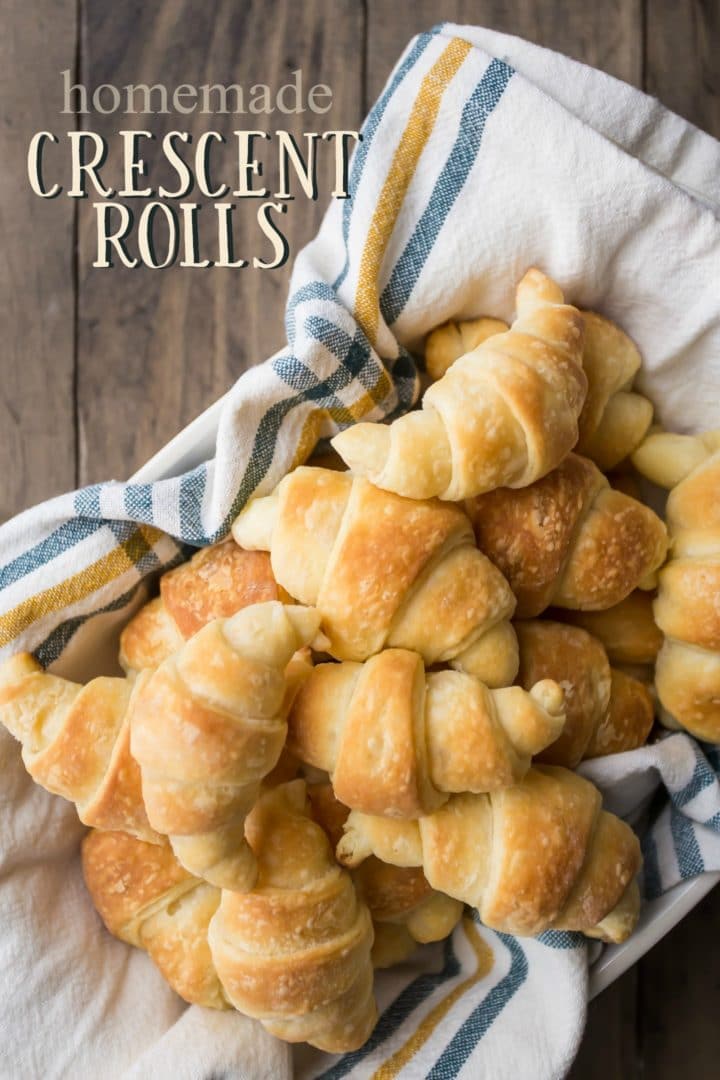
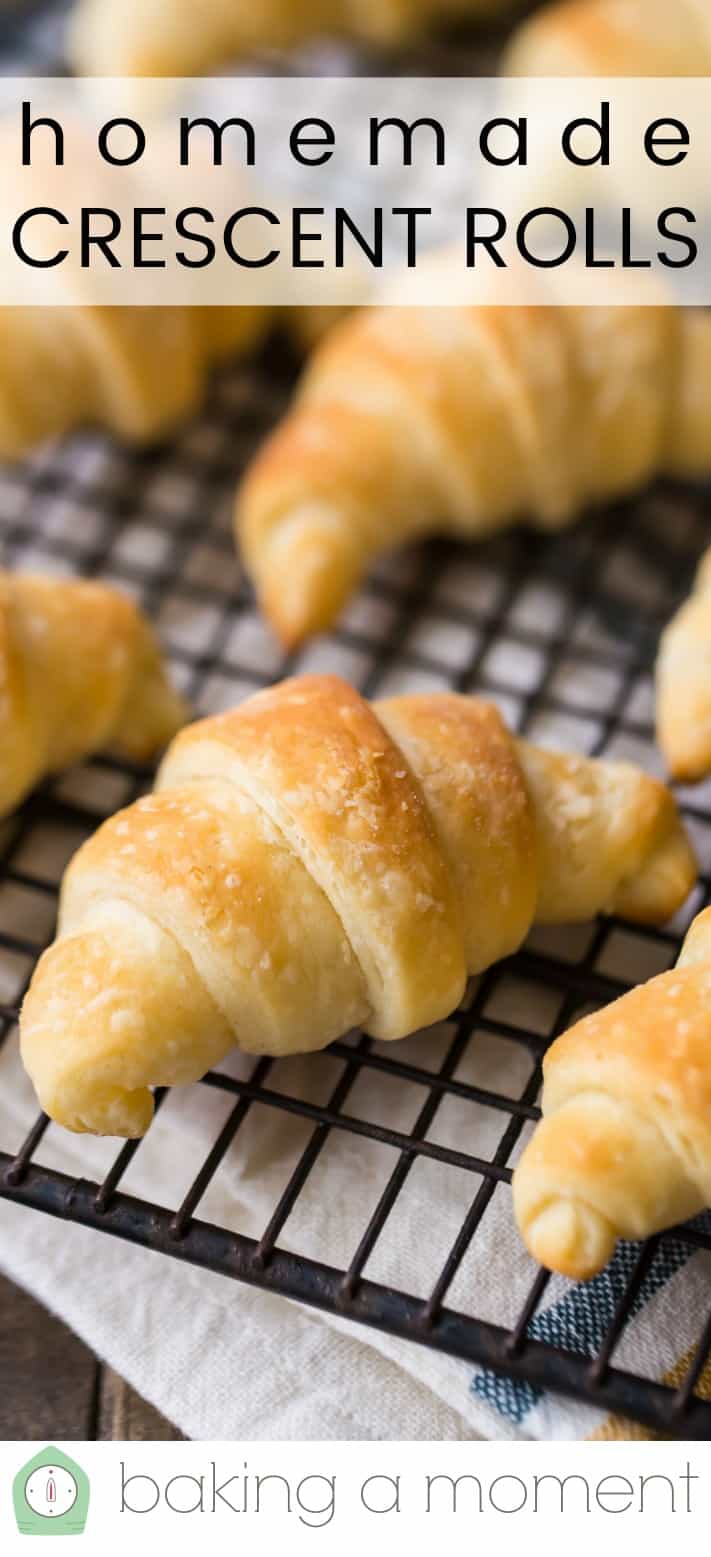
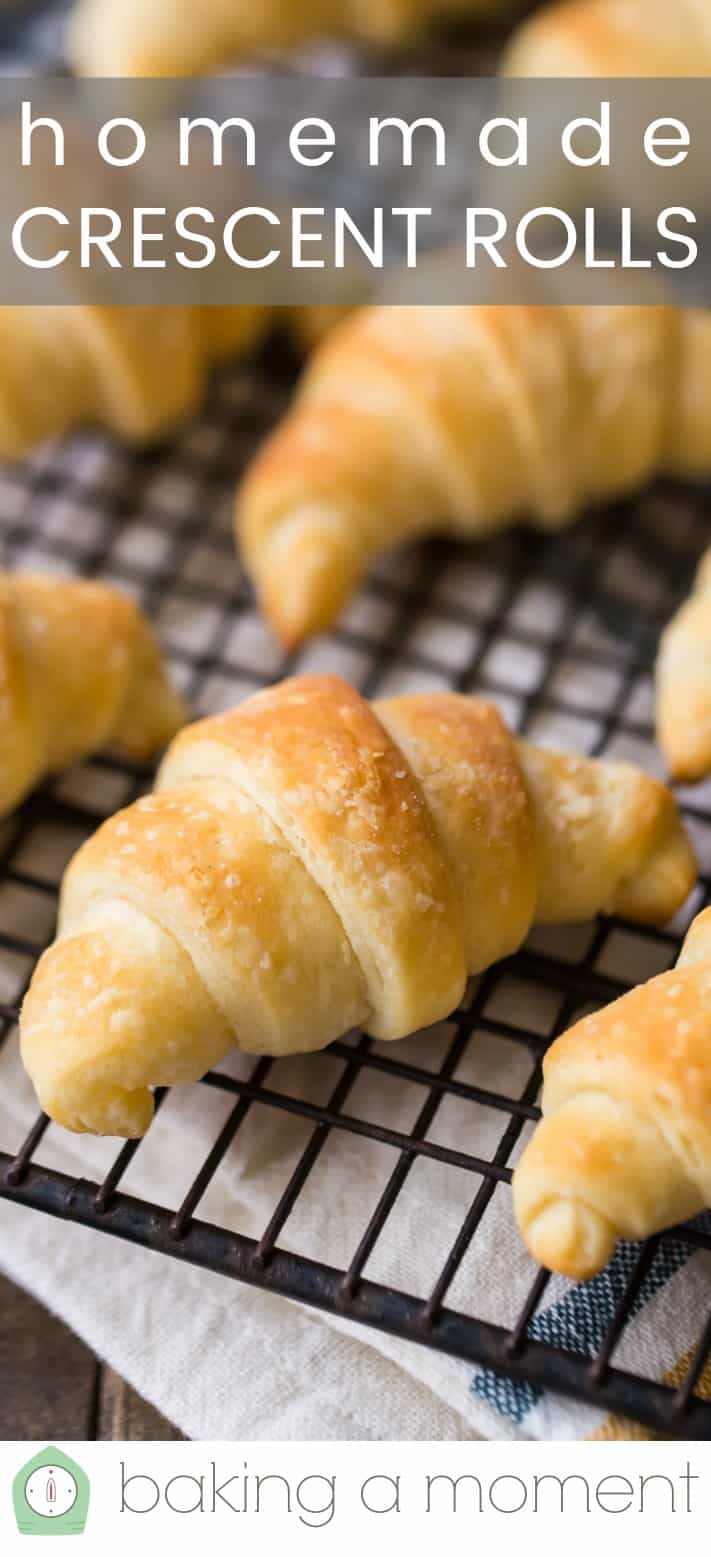
Homemade Crescent Rolls
As an amazon associate I earn from qualifying purchases.
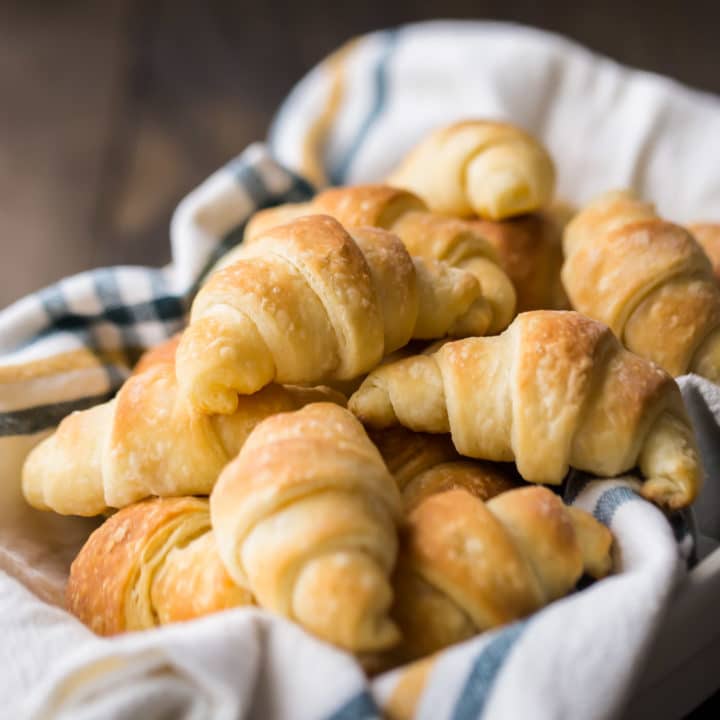
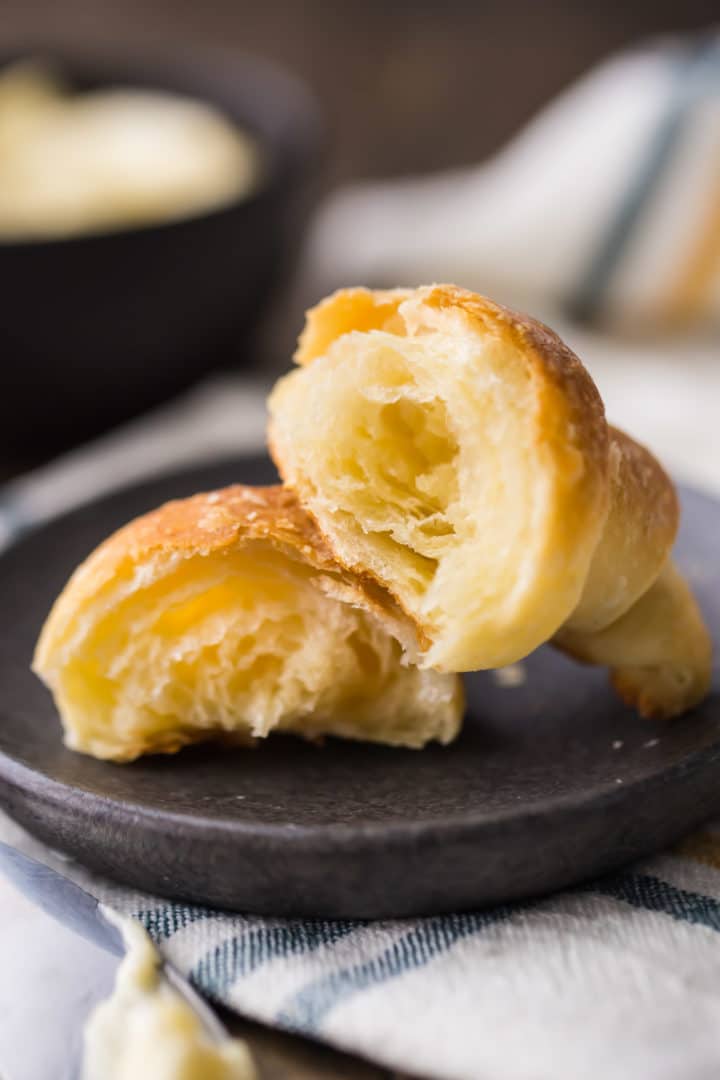
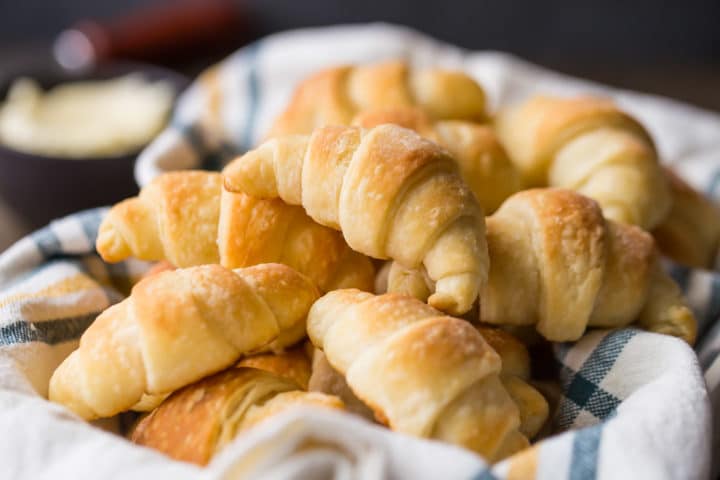
Light, flaky, and soft homemade crescent rolls! Made with just a few simple ingredients. These will take your dinner to the next level!
Who doesn't love crescent rolls?? Am I right?
There is just something so irresistible about those light, fluffy, flaky dinner rolls. They have a little hint of yeasty sweetness, and they're so buttery and delicious.
Having any kind of homemade bread to pass around the dinner table truly makes any meal so much more special. My family always enjoys my homemade wheat bread, challah, and these beautiful stenciled bread rolls. But they really go crazy for homemade crescents!
I don't blame them for a second! But have you ever thought about making them homemade?
I'm here to tell you that it's so worth it! Everything tastes better when it's made from scratch, and dinner rolls are no exception!
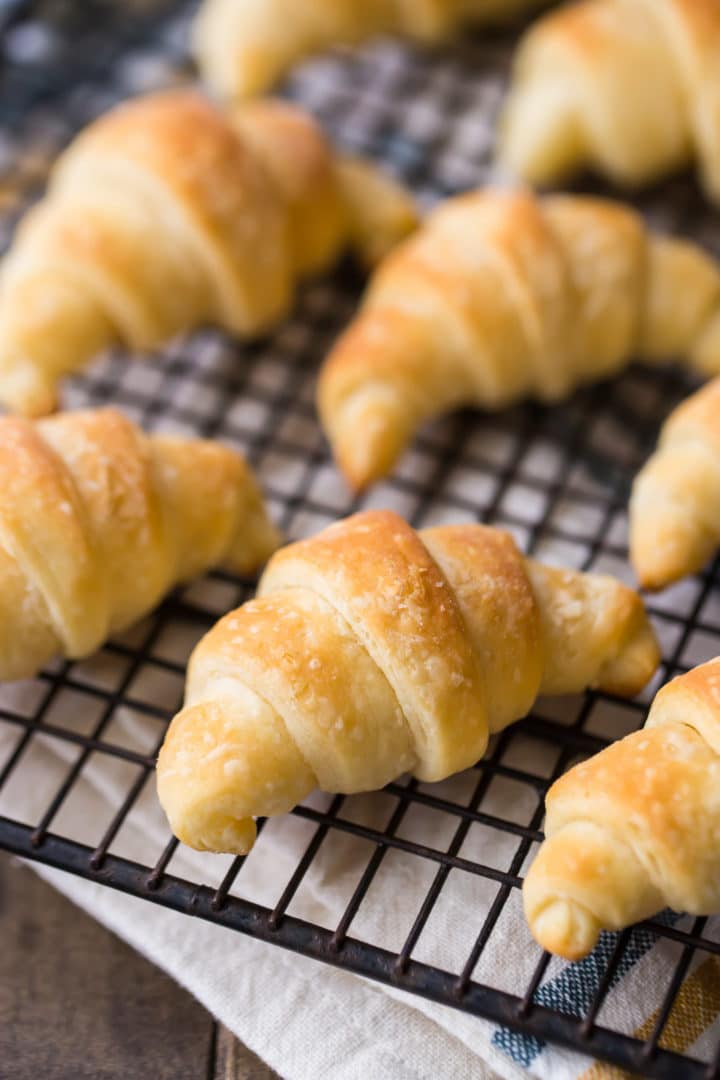
This recipe bakes up soft, puffy, and so incredibly delicious! And it's actually pretty easy to make, with just a few simple basics.
There's a little bit of downtime for chilling the dough, but other than that you're looking at only around 45 minutes of active time 'til crescent roll heaven!
HOW TO MAKE HOMEMADE CRESCENT ROLLS FROM SCRATCH
This dough is really easy to make. You don't even need a mixer! And it only has a few basic ingredients.
Start by placing the flour, sugar, yeast, and salt into a large mixing bowl. Whisk all those dry ingredients together, just to get them combined.
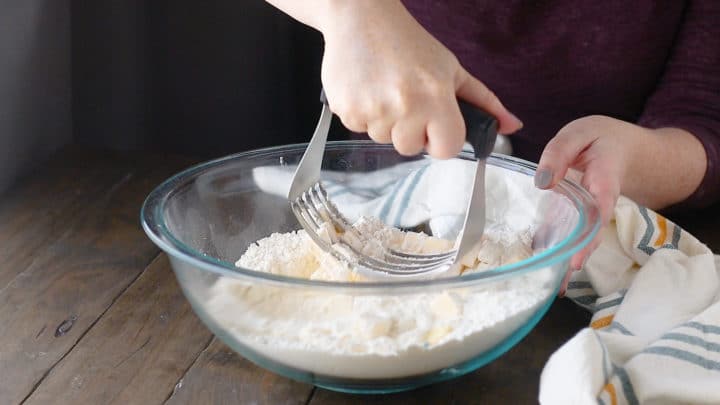
Next, add your cold butter. Cut the cold butter in until only pea-sized pieces of butter remain. I like to do this with a pastry blender, but if you don't have one, you can do it the old-fashioned way with 2 knives. Or you could use a food processor.
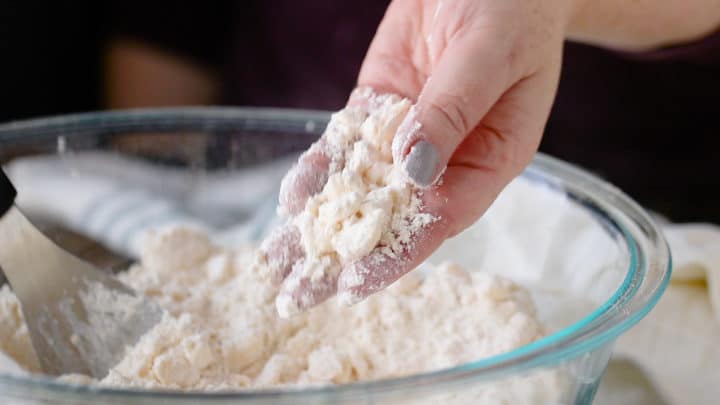
Whichever method you use, just be sure that the butter stays nice and cold! This is really a really important detail. Cold butter will allow your crescent roll dough to form all those flaky layers!
Once the butter is all worked in, add the liquid ingredients. Milk, water, and egg get whisked together and added to the dry mix.
Stir everything until the dough comes together into a ball, then wrap it in plastic and let it chill in the fridge.
WHAT IS THE SECRET TO FLAKY CRESCENT ROLLS?
This is the best part of this whole recipe. I absolutely love the results you get with this special technique!
It's a little extra, but I promise you it is SO worth the effort!
Once your dough is made and nicely chilled, just roll it into a long rectangle shape, and fold it into thirds, like a letter. Turn it 90 degrees, and repeat a few more times. You can do this step maybe 3 to 5 times.
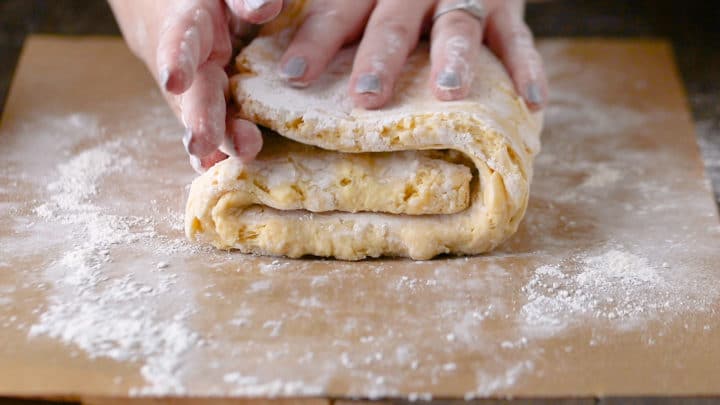
Every time you do, you're creating hundreds of layers of dough and butter. When this gets baked, you'll have the flakiest homemade dinner rolls ever!
This step is called lamination, and it's a pastry chef's secret weapon for recipes like this one. I do this with my pie crust, Danish, and homemade puff pastry, and the results are amazing. Take a look at the video below (within the recipe card) to see just what this looks like.
You don't have to do it, if you're short on time. You can just make the dough, roll it, cut it, and shape it into crescent rolls and they will still come out fantastic. But if you can spare a few minutes for that extra step, you will be rewarded with the most incredible flaky layers.
HOW TO SHAPE CRESCENT ROLLS
Once your crescent roll dough is made, laminated, and chilled, it's time for the fun part: shaping the bread rolls!
Start by dividing the dough into 3 equal portions. This will just make things a little easier to manage.
Roll out a portion of dough into a long rectangle shape. You want to get it pretty thin! The thinner you roll your dough, the more flaky layers your crescent rolls will have.

Once your rectangle of dough is about ⅛-inch thick, trim away the rough edges, and cut it into long, kinda skinny triangles. (Ideally, you want the triangles to be about 2 inches at the wide end, and about 4 inches long. But please don't get too hung up on these dimensions!)
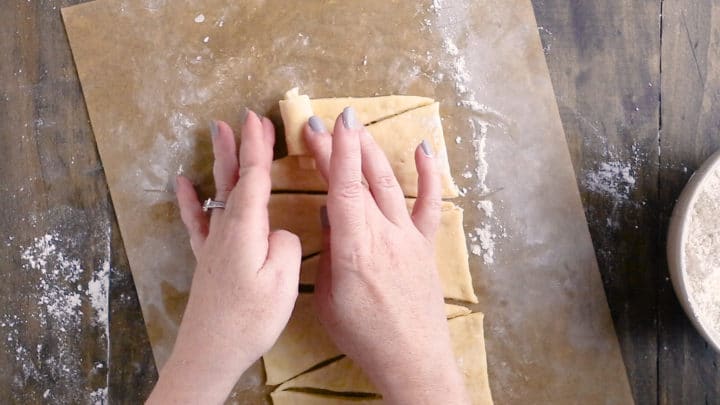
To shape the crescents, start at the wide end of a triangle and roll your way along, all the way to the point. Make sure the point is tucked under the roll, and then just bend the roll into a curved crescent shape. I have a little video within the recipe card, so you can see just what I mean!
Pop these onto a parchment-lined baking sheet, let them proof, and bake!
CAN HOMEMADE CRESCENT ROLLS BE MADE AHEAD?
One of the reasons I love this recipe so much is because it can easily be made ahead.
Follow all the steps of the recipe, right through to the one where the dough is cut and shaped into crescents. When you've got all your little crescents shaped and laid out on the baking sheet, cover them loosely with plastic wrap and pop the whole tray into the fridge.
The unbaked crescent rolls can be kept in the fridge like this overnight, or up to 24 hours.
A few hours before you're ready to serve them, take the trays out of the fridge and let them come to room temperature. Then just continue on with the proofing and baking steps of the recipe.
HOW LONG WILL HOMEMADE CRESCENT ROLLS KEEP?
Once baked and cooled, just slip any leftover crescent rolls into a zip-top bag to keep them fresh. They will keep at room temperature for a few days, or in the fridge for around a week.
You could also freeze them. They'll last in the freezer for several weeks to a month. When you're ready to have some, just warm them gently in the oven (on the lowest setting) for about 10 or 15 minutes.
Your friends and family are going to love these homemade crescent rolls! They truly make the whole meal- so soft and light! And everyone will be so impressed that you made them from scratch.
This post contains affiliate sales links.

Ingredients
- 2 ¾ cups (343.75 g) all-purpose flour
- 3 tablespoons (36 g) granulated sugar
- 2 teaspoons (6.22 g) dry active yeast*
- 1 ¼ teaspoons (7.5 g) kosher salt
- 1 cup (227 g) unsalted butter,, cold
- ½ cup (122 g) milk
- ¼ cup (59.15 g) water
- 1 (44 g) egg, (large)
Instructions
- Place the flour, sugar, yeast, and salt in a large mixing bowl and whisk to combine.
- Cut in the butter with a pastry blender (or two knives), until only pea-sized pieces remain.
- Whisk the milk, water, and egg together in a small bowl, and add to the flour/butter mixture.
- Stir together until the dough gathers itself into a ball.
- Wrap the dough in plastic wrap and chill for at least 30 minutes.
- Dust the work surface with flour, and roll the dough out to a rough rectangle shape, about ½-inch thick.
- Fold the dough into thirds, like a letter.
- Turn 90 degrees, roll, and fold again.
- Repeat about 3 to 5 times, wrap the dough in plastic wrap, and chill for at least 30 minutes.
- Divide the dough into 3 equal portions.
- Roll each portion out into a long rectangle, about ⅛-inch thick, 16-inches long, and 5 inches wide.
- Cut the dough into skinny triangles, and roll each triangle, starting at the wide end and tucking the pointy end under the roll.
- Place the crescents on parchment lined baking sheets, cover loosely with plastic wrap, and allow to rise for 1 hour or until puffy and nearly doubled in size.**
- Preheat the oven to 400 degrees F, then bake the crescent rolls for 10 minutes or until puffed and golden.
Notes


How would you use these if prepping a day ahead in a recipe . Like either pigs in a blanket or a stuffed crescent roll meal, but I wanted to prep the crescent rolls today the dough how would I do it in a recipe?
Hey Veronica! This dough will keep in the fridge for up to 48 hours or in the freezer for up to 2 weeks. So I’d recommend working up to step 9. That would give you a great head start on any kind of use you might have for the dough. Hope this answers your question!
Loved the recipe, easy to follow, great results. My family loved them.