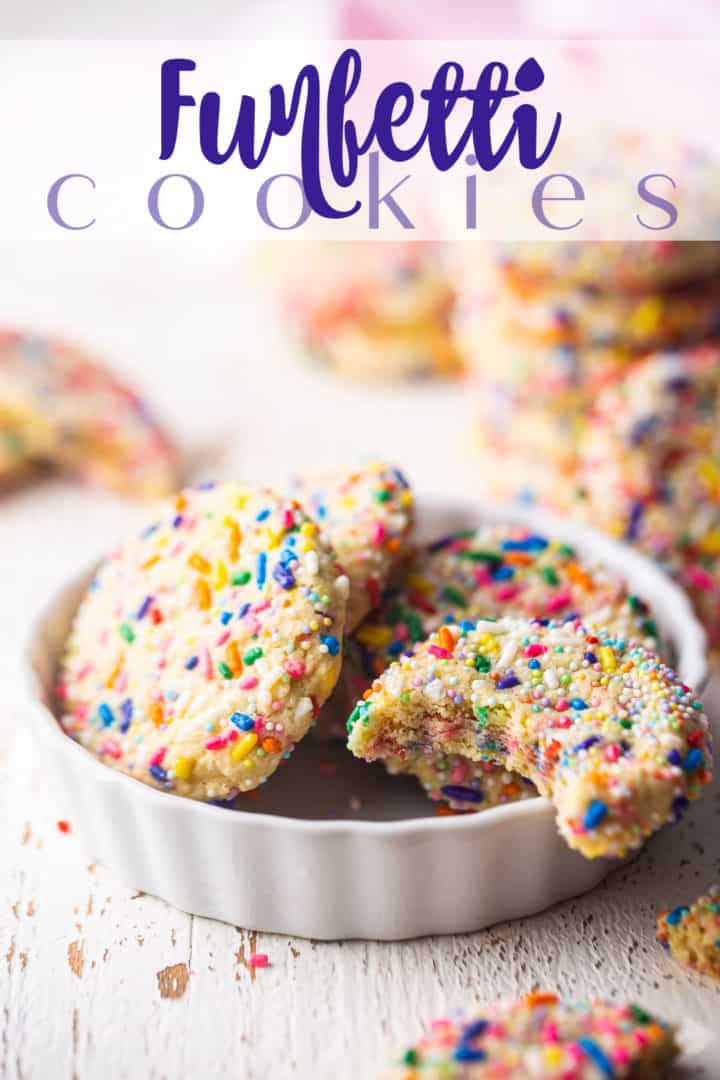
Funfetti Cookies
As an amazon associate I earn from qualifying purchases.
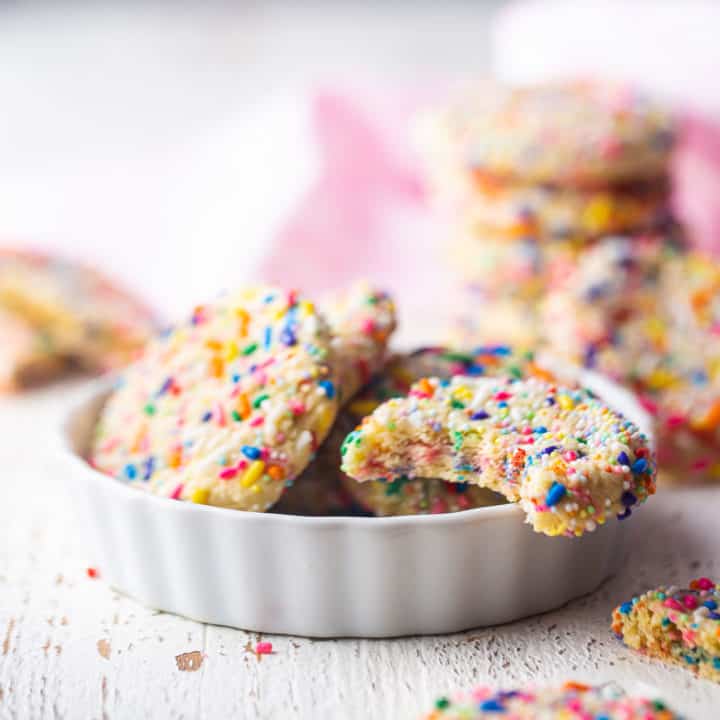
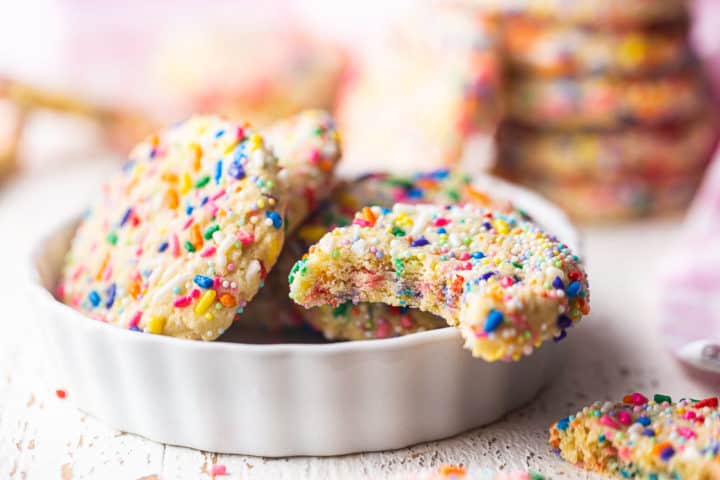
Funfetti Cookies: Such a colorful treat! They bake up pillow-soft, with lots of warm vanilla. Easy recipe; no cake mix needed!
Indulge me for a second and look out your window. Is it snowing? Is it sleeting? Is your backyard a disgusting-looking mud pit?
Ugh, February! I'm so sick of you. Spring can't get here soon enough.
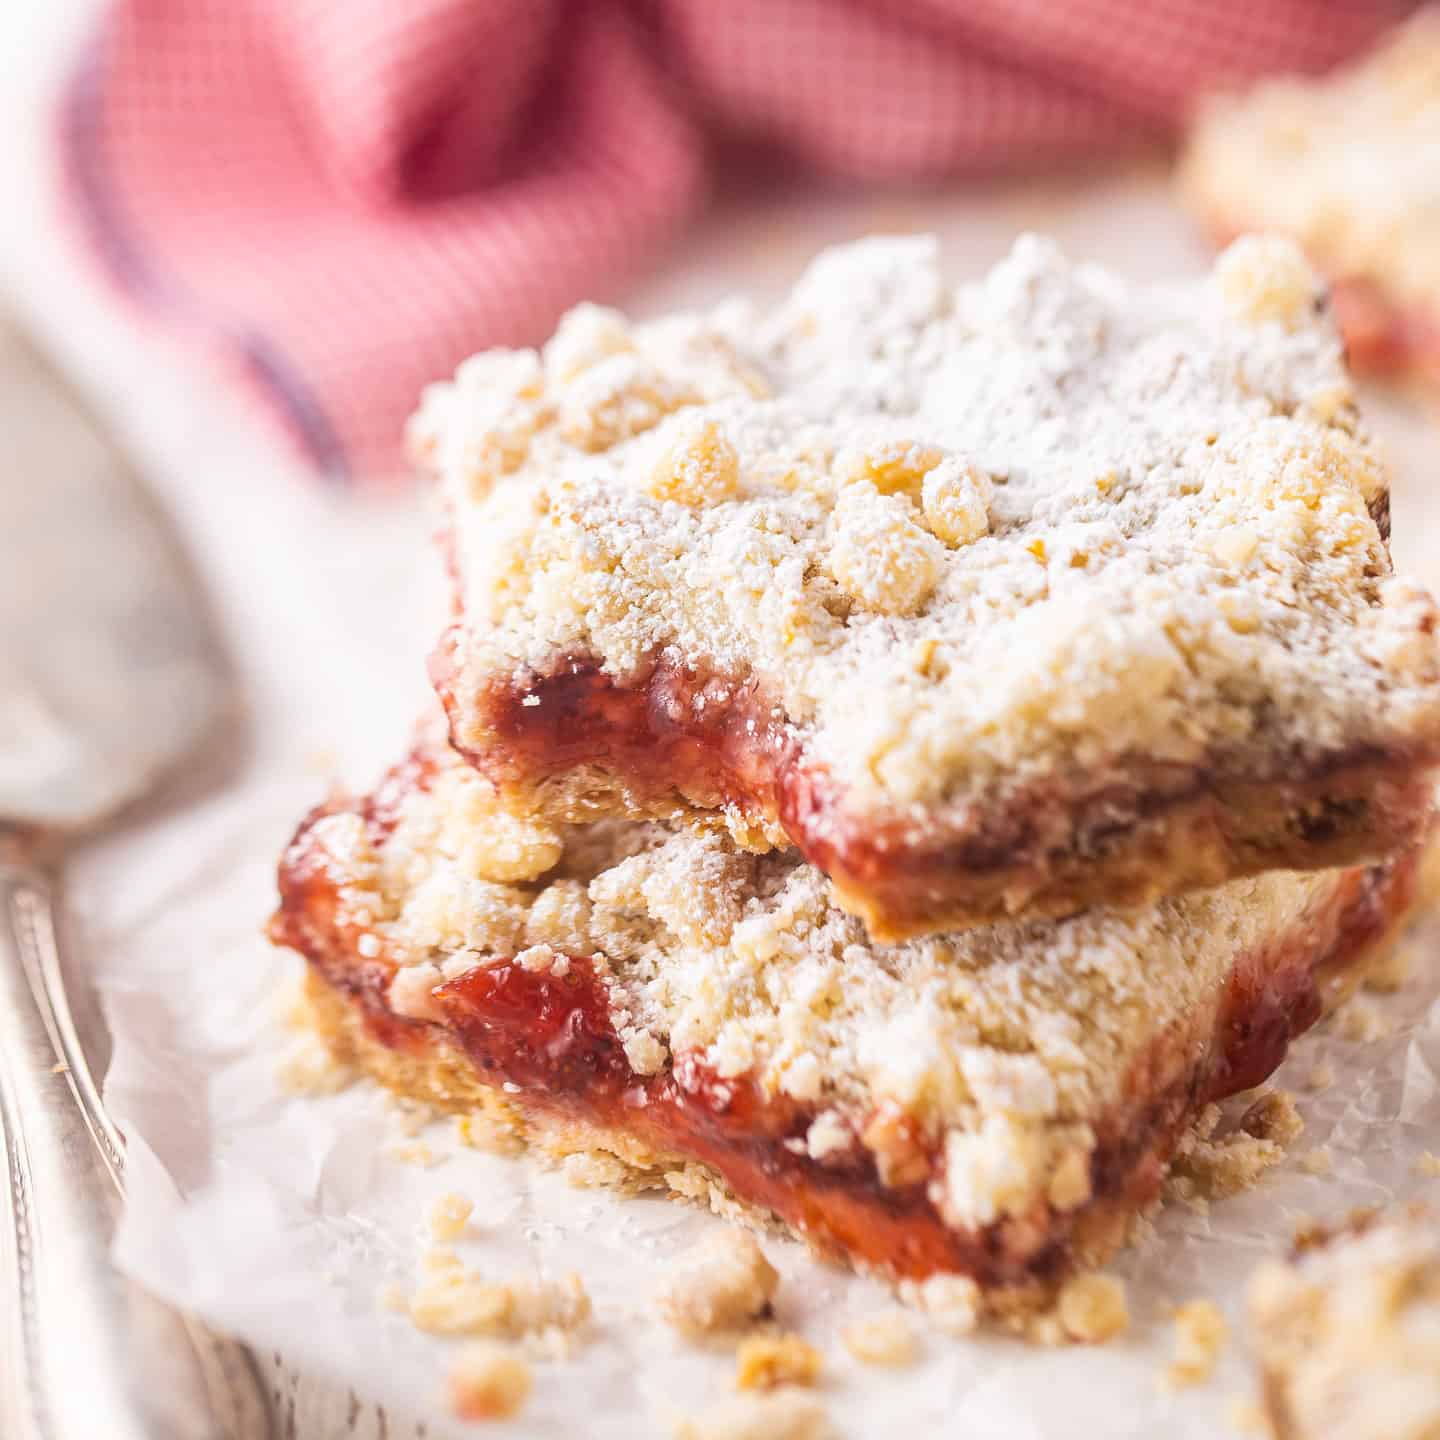
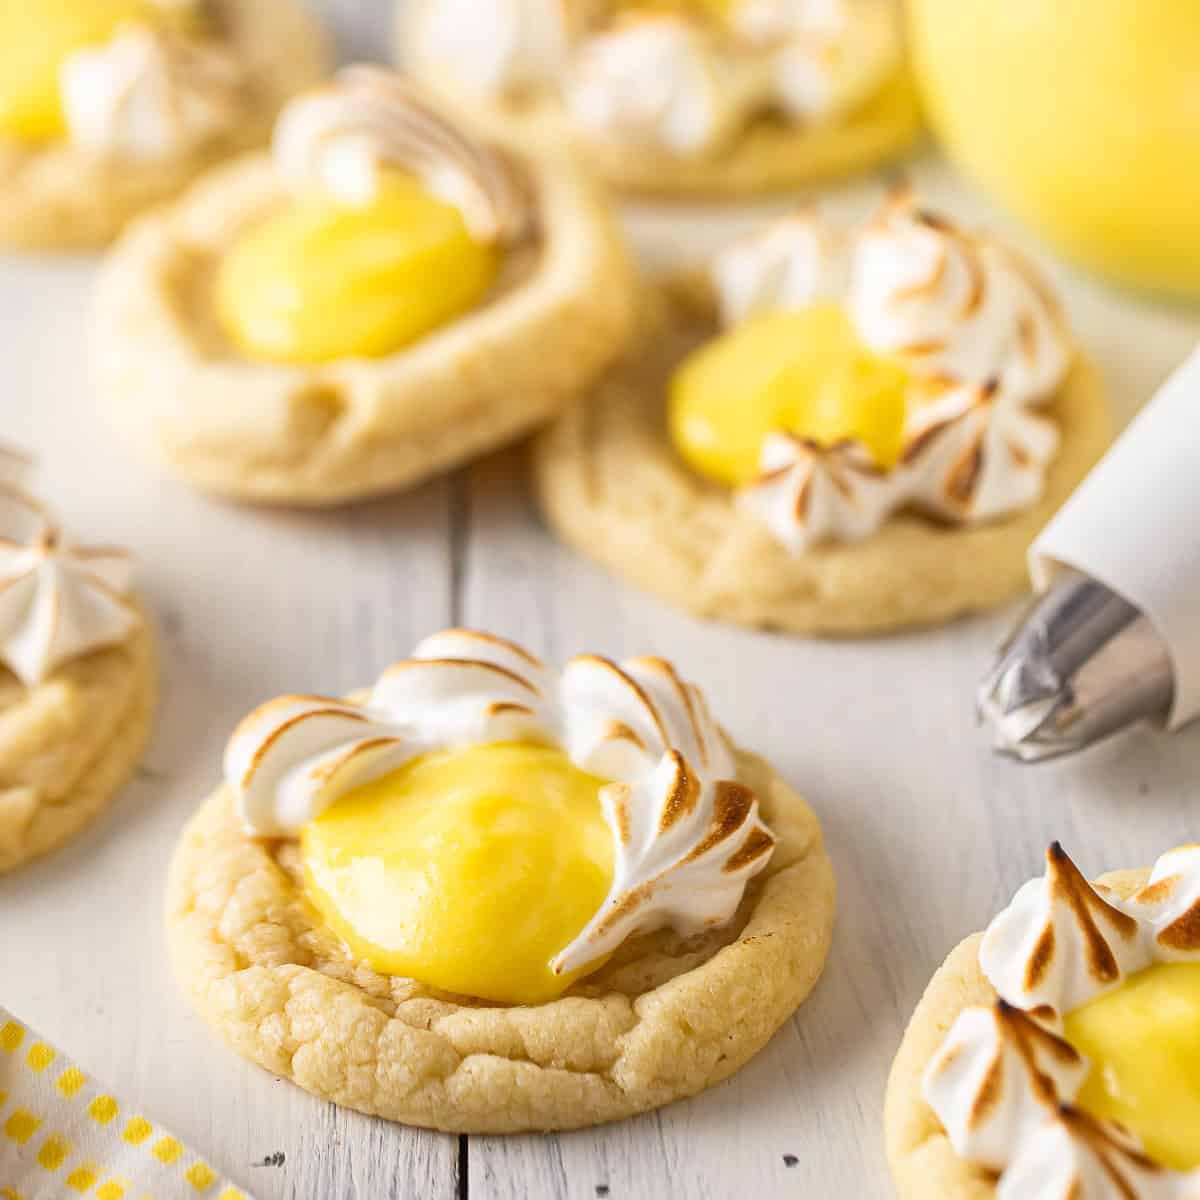
All this winter weather has had me wishing for something fun, bright, and colorful. Something like these jam thumbprint cookies, or these frosted sugar cookie bars, or these pretty pink meringue cookies. Only new, and different.
Are you with me?
How about funfetti cookies?
Seriously, can you look at these and not smile? I sure can't. They're just the most cheerful thing, and they taste even nicer than they look. Soft, buttery, and comforting, with lots of warm vanilla and a hint of sweet almond. Just what the doctor ordered, not to mention they whip up in less than 30 minutes and you'll only need to wash one bowl.
I'm telling you, I've got your back when it comes to chasing away those winter blues!
WHAT ARE FUNFETTI COOKIES?
I think it was back in the '80s when Pillsbury introduced a cake mix called "funfetti." It was a pretty simple idea, just to add rainbow sprinkles to a regular ol' vanilla cake. But boy did it cause a sensation.
People went crazy for it, and who can blame them? Nothing says party like an explosion of confetti and that's just what funfetti makes you think of.
Once the cake mix was unleashed, all sorts of offshoots started to crop up. Among them was the idea of a funfetti cookie recipe.
If you do a quick search you'll see that many funfetti cake cookies are made with actual cake mix. But you know me! I'm all about baking from scratch.
I've said it before and I'll say it again: baking from scratch is no trickier or more difficult than baking from a mix. In a lot of ways, it's even easier. If you know how to measure properly (if not be sure to check out this post: How to Measure Ingredients for Baking) and you have a stocked pantry (How to Stock your Baking Pantry), you will never have to buy another special baking mix again.
And you won't believe how much better baked from scratch tastes!
HOW TO MAKE FUNFETTI COOKIES
These cookies whip up in less than a half-hour and they'll make your whole house smell delicious!
Start by creaming the butter and sugar together until the mixture is really pale and fluffy.

This is a key step! You want to get lots of air into this cookie batter so that the cookies are light and tender. Don't skimp- give it a good 5 to 7 minutes on medium-high speed.
Once the mixture is doubled in volume and looking almost white, add in the egg, an additional egg yolk (the extra fat keeps the cookies softer), and the vanilla and almond extracts.
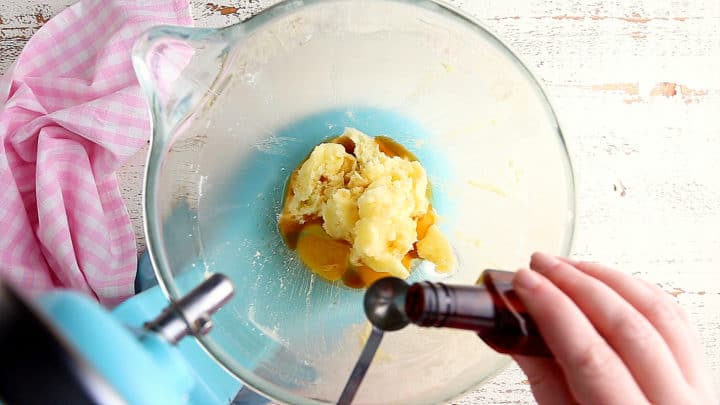
Stir these ingredients in until things look smooth and well-incorporated.
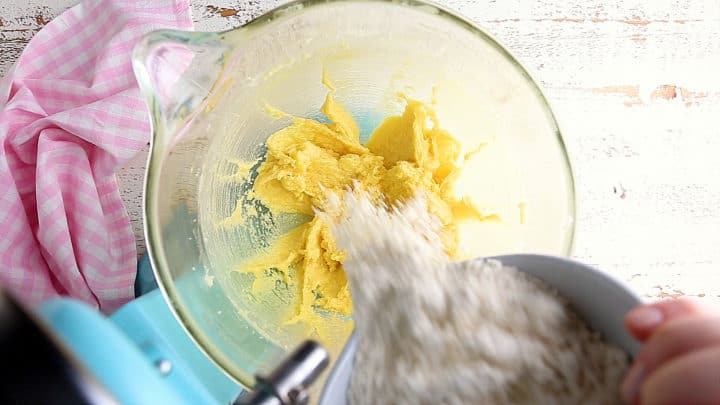
Next come the dry ingredients. Add in the flour, cornstarch (again, keeps the cookies soft), baking soda, and salt.
Stir these in until just barely combined. If you overwork the dough at this stage, the cookies could come out tough. It's totally fine if you still see a few streaks of flour here and there!
The final ingredient is the rainbow sprinkles. They give these cookies such a fun look and a little bit of extra sweetness and crunch.
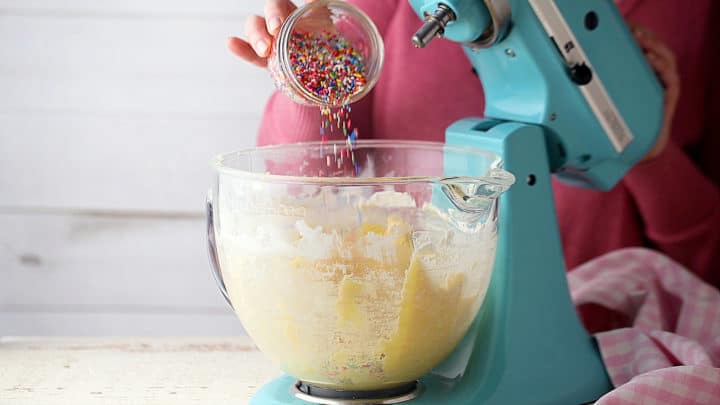
Stir them in and get to scooping!
I use a 1.5-tablespoon scoop for making cookies. It gives the perfect portion.

Roll the scoops of dough in more sprinkles for an extra-festive look.
Then pop them on a tray and bake!

You'll know your funfetti cookies are done when they're set around the edges but still quite soft in the middle. Don't forget- they'll continue to cook and firm up as they cool. If you like your cookies soft, you'll want to underbake them just a little. And also sign up for my free email series: 5 Secrets for Baking Impossibly Soft Cookies. 😉

ALTERNATIVE INGREDIENTS
I have not tested this recipe with any alternative ingredients, but I do think it could work well as a gluten-free and/or dairy-free recipe.
For gluten-free funfetti cookies, look for a gluten-free flour blend that subs 1:1 for regular flour.
If you'd like to make this dairy-free, use a dairy-free butter product that subs 1:1 for regular butter.
WHEN TO SERVE THEM
I'm thinking these cookies are good for just about any occasion. Any time you want something fun and special.
- Pink or Blue for a Baby Shower
- Red & Green for Christmas
- Orange & Black for Halloween
- Red, White, & Blue for July 4th or Memorial Day
- Pink & Red for Valentine's Day
- Pastels for Easter
- Green for St. Patrick's Day
- Team Colors for Game Day
TROUBLESHOOTING: "MY COOKIES AREN'T SPREADING!"
This is a common cookie-baking issue. Here are my best tips for baking cookies that are just the right thickness:
- Make sure the butter is softened. It should be room temperature.
- Really whip the butter and sugar together until very pale and fluffy. It should look nearly white. This takes a minimum of 5 minutes on medium-high speed. Seven minutes is even better!
- Measure the ingredients carefully and accurately. You don't want to pack flour into the measuring cup, and you don't want to be stingy with the baking soda. Here's a guide for how to measure ingredients properly: How to Measure Ingredients for Baking.
- Once the flour's gone in, be careful not to overwork the dough. Mix in the dry ingredients until just combined, then turn the mixer off. Overmixing will develop glutens that may cause the cookies to tighten up and not spread.
- Scoop the balls of dough to 1 ½ tablespoons. Any larger than that, and they may spread too much. Any smaller, they may not spread at all.
- Bake the cookies off right away. Don't chill the dough and don't let it sit too long, or it will dry out, tighten up, and the cookies won't spread.
- If all else fails, try upping the baking soda by ⅛ teaspoon.
A FEW MORE OF MY FAVORITE SOFT COOKIE RECIPES:
- Soft Ginger Cookies
- Soft Snickerdoodle Cookies
- Soft Chocolate Chip Cookies
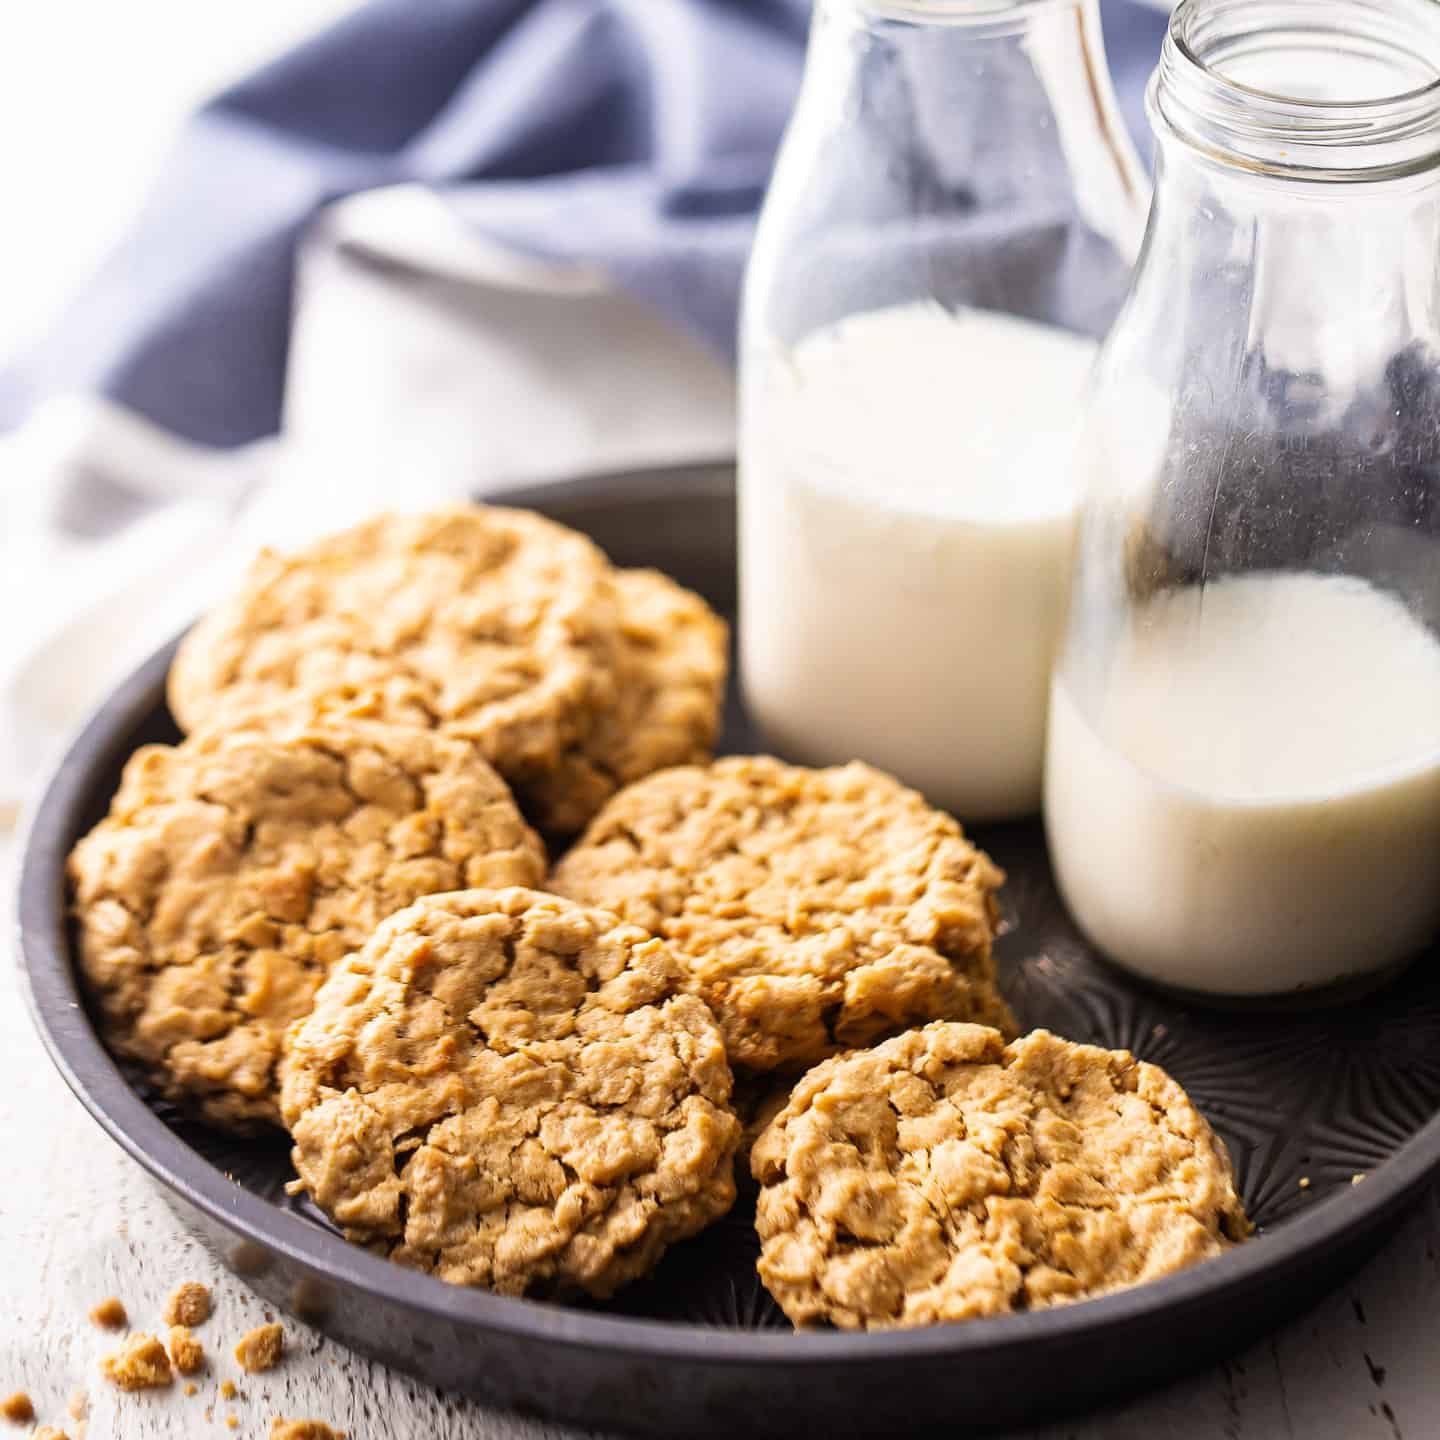
- Soft & Chewy Oatmeal Raisin Cookies
As an amazon associate I earn from qualifying purchases.

Ingredients
- ¾ cup (170.25 g) unsalted butter, (1 ¼ sticks), softened
- 1 ⅓ cup (200 g) granulated sugar
- 1 (44 g) egg, , large
- 1 (18 g) egg yolk
- 2 teaspoons (9.86 g) vanilla extract
- ½ teaspoon (2.46 g) almond extract
- 2 ¼ cups (281.25 g) all-purpose flour
- ¼ cup (32 g) cornstarch
- 1 teaspoon (4.93 g) baking soda
- ½ teaspoon (2.46 g) kosher salt
- ½ cup (80 g) colored sprinkles,, plus more for coating.
Instructions
- Preheat the oven to 350 degrees F and line baking sheets with parchment paper.
- Place the butter and sugar in a large mixing bowl and beat on medium-high speed until very pale and fluffy (5 to 7 minutes).
- Add the egg, egg yolk, vanilla, and almond extract and stir together until combined.
- Scrape the bottom and sides of the bowl with a silicone spatula, then add the flour, cornstarch, baking soda, and salt.
- Stir together until just barely combined.
- Mix in the sprinkles until just combined, then use a 1.5 tablespoon cookie scoop to portion and drop balls of dough in additional sprinkles.
- Roll the balls of dough in sprinkles to coat them.
- Place the unbaked cookies on prepared baking sheets, allowing 2 inches in between for spreading.
- Flatten the balls slightly, then bake until the edges are set and just barely beginning to turn golden (approx. 8 to 12 minutes).

I'm planning on making these tomorrow, can't wait. I also had to find a larger supermarket, because the sprinkles the first one carried were too ugly, haha. Yours look like edible cheerfulness!
Also, there seems to e a bug in the ingredients list. When I switch to metric, it says 44 eggs and 18 egg yolks. But you can leave that in, I find it hilarius and nobody is going to actually add 44 eggs! 😀