How to Measure Ingredients for Baking Accurately
As an amazon associate I earn from qualifying purchases.
Learn how to measure ingredients for baking the right way! When it comes to baking, properly measuring ingredients can make or break you! Read on to learn how to accurately measure dry ingredients and liquids, for the best possible result on all your cakes, cupcakes, cookies, bars, and pies.
Precisely measuring ingredients for baking is critical.
Baking is a scientific thing, unlike cooking, where you can easily add a splash of this and a dash of that for flavor.
But when you place that batter or dough in your oven, chemical reactions take place. And the ratio of ingredients plays a huge part in how the cake, cupcakes, cookies, bars, or pie turns out.
If you don't measure things accurately, it can really affect the result, and not in a good way!
Precision is key, and accurate measurements serve as the foundation for success. The slightest miscalculation can throw off the delicate balance of flavors and textures.
Each ingredient has a specific role, and measuring them with precision ensures that the final result is spectacular.
Whether it's the tender crumb of a cake, the perfect rise of a soufflé, or the flakiness of a pastry, the accuracy of measurements is the secret that transforms a recipe into a real masterpiece.
So here is what you need to know. And this doesn't just go for the recipes you find here on Baking a Moment. These are the universal truths for all recipes!
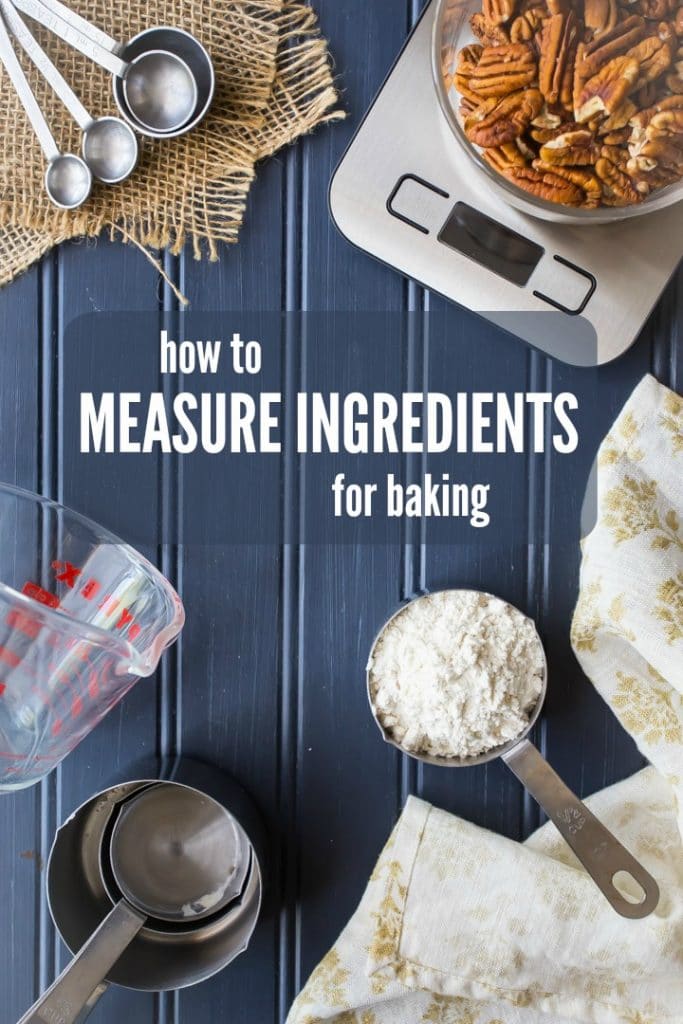
Table of Contents
- Measuring tools for baking
- How to measure dry ingredients
- Tips for measuring dry ingredients
- How to measure liquid or wet ingredients
- Tips for measuring liquid ingredients
- How to measure sticky ingredients
- How to measure butter
- Tips for measuring butter
- How to measure shortening and cream cheese
- More tips for measuring baking ingredients
- Metric vs. imperial measurement
- Measurement conversions
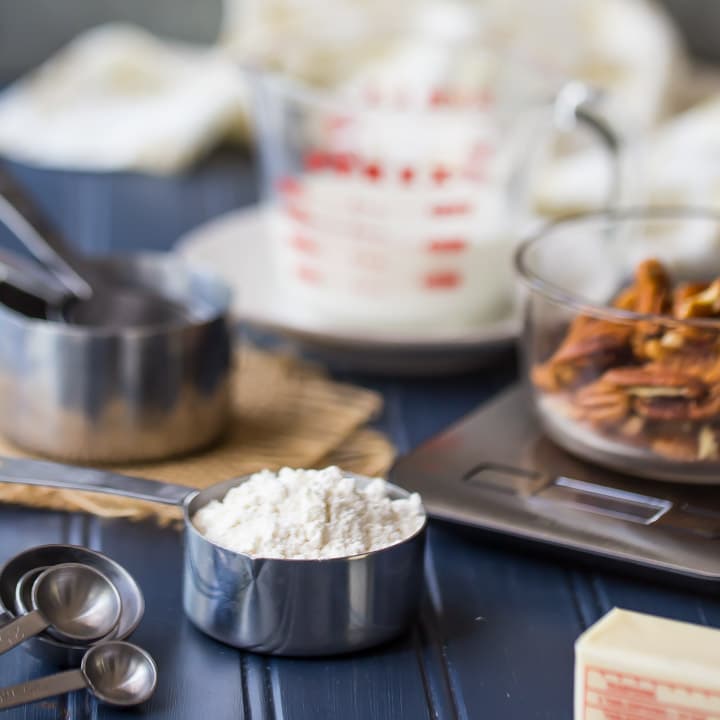
Measuring tools for baking
If you're looking at a recipe written in cups and teaspoons, you must have two kinds of measuring cups: one set for dry ingredients and one or two liquid measuring cups.
Dry measuring cups come in a nested set. Each set usually has a 1 cup, ½ cup, ⅓ cup, and ¼ cup measure.
Liquid measuring cups look like a pitcher, with a handle on one side, a spout on the other, and many little lines printed on the side.
You should also have a set of measuring spoons. Most sets have one tablespoon, one teaspoon, ½ teaspoon, and ¼ teaspoon. Use these for smaller quantities of both dry and liquid ingredients.
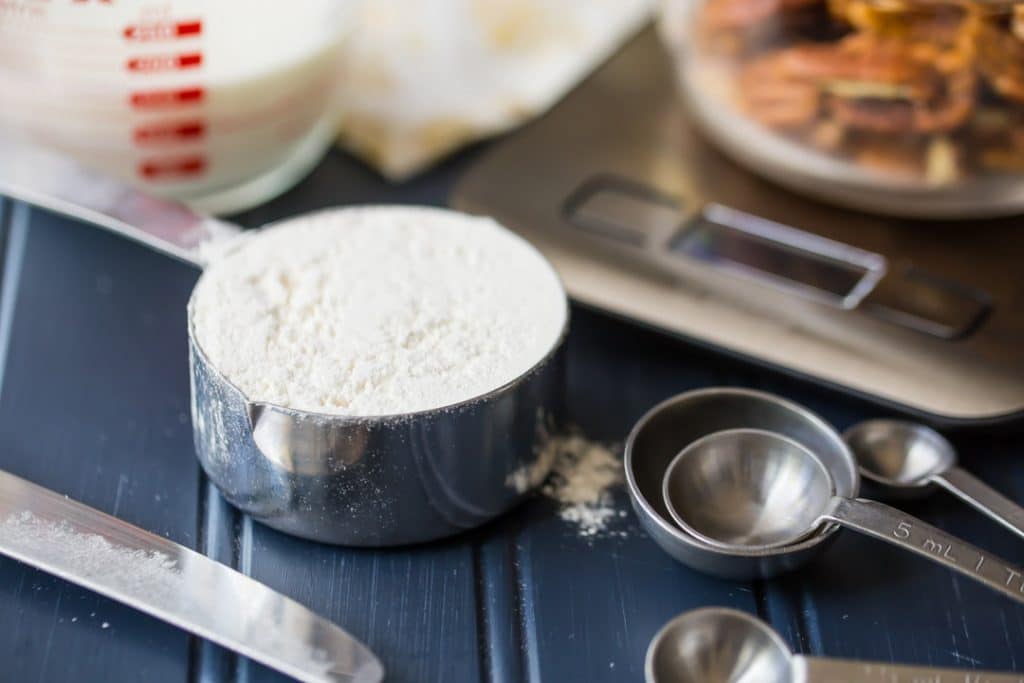
How to measure dry ingredients
Step 1: When measuring dry powders like flour, cocoa powder, granulated sugar, baking powder, baking soda, or salt, you want to use the spoon and level method. Place your measuring cup or spoon over a canister, sink, or sheet of parchment paper.
Step 2: Then, lightly spoon in the ingredient until it is overflowing at the top of the cup.
Step 3: Slide the straight edge of a knife or the side of a spatula over the top rim of the cup to level it.

Tips for measuring dry ingredients
- Spoon the ingredients in lightly, and don't pack them down.
- I also like to "fluff up" my flour before I measure it out from the canister because it tends to settle over time and become densely packed.
- Solid ingredients like peanut butter, Greek yogurt, or coconut oil are measured similarly, but you do want to push them in a little to ensure no air pockets are hidden inside the cup.
- Because of the unique texture of brown sugar, you always want to check the recipe to see if it says "loosely packed," "lightly packed," or "firmly packed." You can really stuff a lot of brown sugar in a measuring cup if you want to! So there is a big difference between "loosely packed" and "firmly packed," in terms of weight.
How to measure liquid or wet ingredients
Liquid ingredients include those like water, milk, or oil.
Step 1: Place your liquid measuring cup on a level and flat surface, like your kitchen counter.
Step 2: Crouch down a little bit so you are at eye level with the markings on the side of the cup, then pour in the liquid until it reaches the right level.
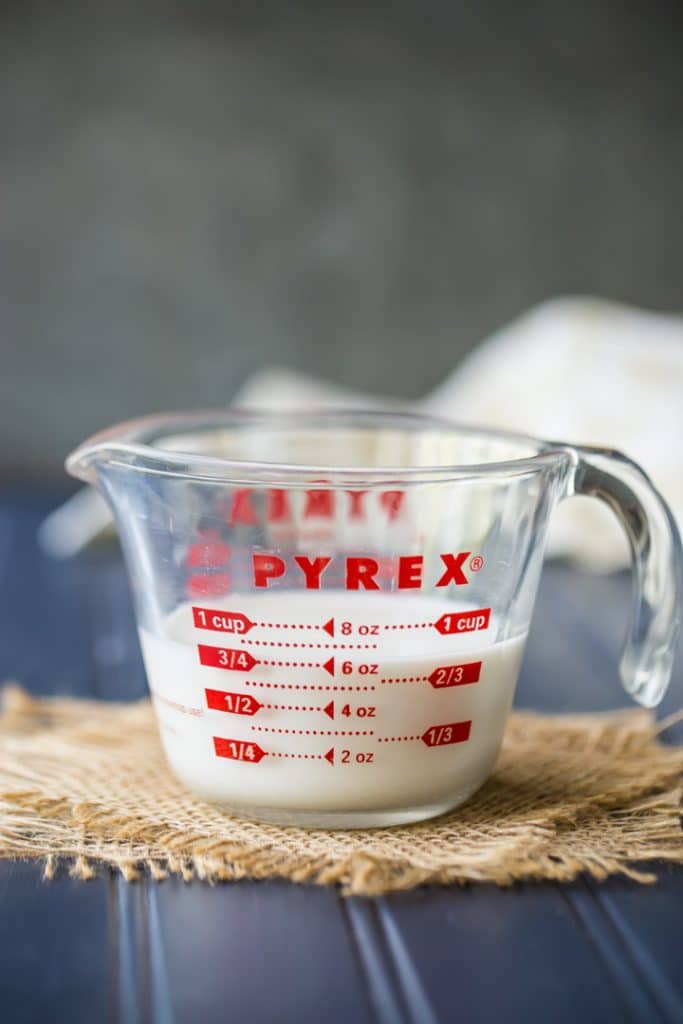
Tips for measuring liquid ingredients
- Always make sure you're at eye level with the markings because if you're viewing it from above or below, it can look different.
- Don't hold the cup up in the air because then it's not really level, and you won't get an accurate read.
- These instructions apply to any liquid of which you need ¼ cup or more.
- You can use measuring spoons if your recipe calls for one teaspoon of say, vanilla extract for example.
- Hold your measuring spoon over the sink and pour in the liquid until it reaches the brim. If you hold it over the mixing bowl, you could accidentally pour too fast and overflow the ingredients into the bowl. And it's pretty much impossible to get it back out when that happens!
How to measure sticky ingredients
Sticky ingredients such as honey, molasses, peanut butter, and maple syrup can be a bit tricky to measure since they can stick to your measuring tools. But don't worry. You can accurately measure sticky ingredients with ease.
Step 1: Spray your measuring cup or spoon with non-stick cooking spray.
Step 2: Add the ingredients to the top of the measuring cup. When you add the ingredient to your bowl, it will easily slide out of the measuring cup.
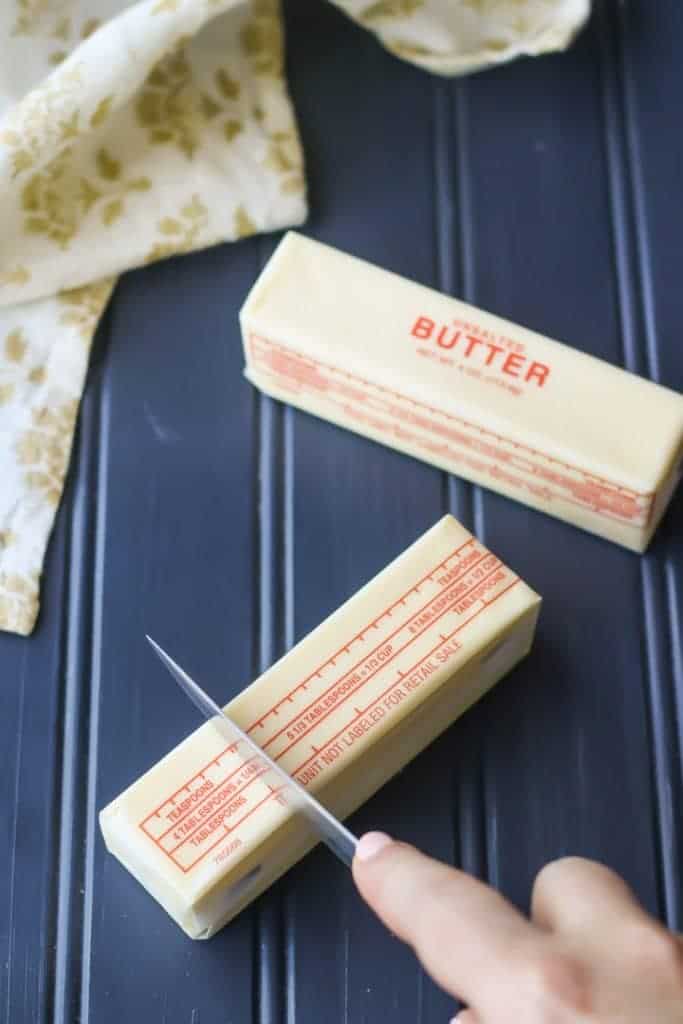
How to measure butter
Step 1: In the US, butter is sold in sticks. One stick is equal to ½ cup. There are measurements printed on the paper the butter is wrapped in. Every tablespoon of butter is marked off. (There are eight tablespoons in a stick of butter.) Keep the stick of butter in the wrapper.
Step 2: Use a sharp knife to cut through the butter and the paper it's wrapped in. Unwrap what you need and add it in. If there's anything left, you can just pop it back into the fridge.
Note: This also goes for cream cheese. I list all cream cheese measurements in ounces on this site. This is because cream cheese is sold in 8-ounce bricks (don't ever use the kind in a tub for baking!). There are also measurements printed on the side of the foil wrapper, so you can cut off what you need in just the same way.
Tips for measuring butter
- When a recipe calls for, say, "½ cup butter melted," that means you melt one stick of butter.
- If the recipe says, "½ cup melted butter," that means that you should pour melted butter into your liquid measuring cup until it reaches the ½ cup mark.
- The wording is different, and one stick of butter, when melted, may not be exactly ½ cup. Even if it's ½ cup when it's solid, it could be slightly less when it's melted.
How to measure shortening and cream cheese
As mentioned above, you can measure cream cheese or shortening that comes in block form just like stick butter. But if you have shortening, cream cheese, or sour cream not in block form, you can measure using cups.
Step 1: Spoon the cream cheese or shortening into your measuring cup.
Step 2: Pack it into the measuring cup.
Step 3: Level off the top with the back of a knife.
More tips for measuring baking ingredients
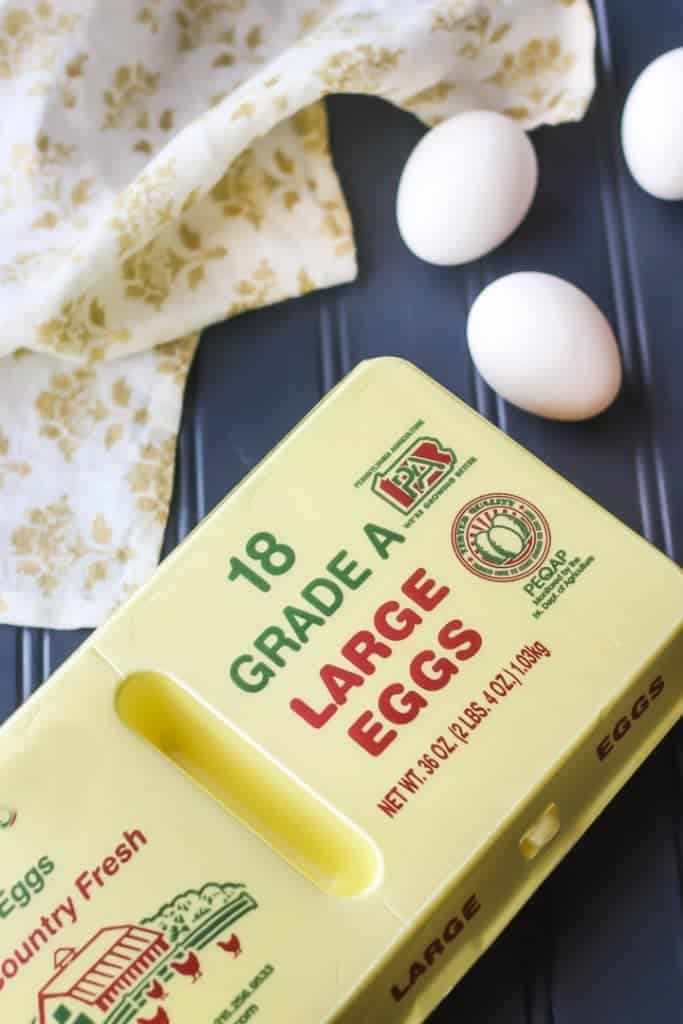
- When I'm writing a recipe, I always try to note using large eggs. If you're unsure about a recipe, go with large eggs; that is industry standard.
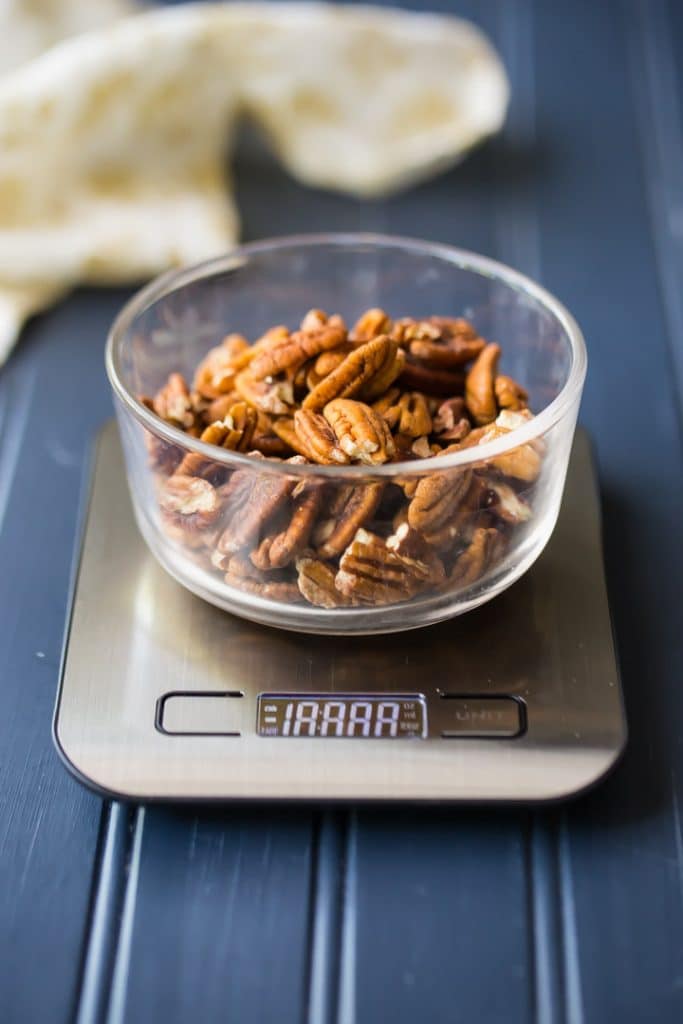
- When measuring chopped fruit or nuts, pay attention to the wording of the recipe. Two cups of strawberries might only be seven whole strawberries, but if they are finely chopped, you would need a lot more than seven strawberries to fill 2 cups. Pay attention to how a recipe is worded, ie, "2 cups strawberries, finely chopped," vs. "2 cups finely chopped strawberries."
- Measure chocolate chips by filling your cup to the top.
- Make sure you place your glass measuring cup on a level surface when measuring liquid.
Metric vs. imperial measurement
Most countries in the world use metric measurements.
But here in the US, we are stuck in the imperial rut. ("Imperial measurement" is another way of saying "cups and teaspoons." And "feet and inches," but this is a baking site, so that's not really relevant!) Rather than using weight measurements, we use volume measurements here in the United States.
I stick with cups and teaspoons because I am in the U.S., as are most of my readers.
Measuring by weight
Using weight is a more accurate measurement than measuring by volume. If we all measured by weight, there would be no need for this post! Regardless of whether something is melted, chopped, or packed into a cup, its weight is always going to be consistent.
Use a digital scale for the best results.
Why use imperial measurement
I write most of my recipes in imperial measurements because that is the standard in the U.S.
Except for my basic macaron recipe! French macarons are total divas, and they fuss and don't come out quite right unless you are extremely precise about it.
If you prefer to measure your ingredients by weight, I tip my hat to you.
It is the best way and how we did things at all the professional kitchens I've ever worked in.
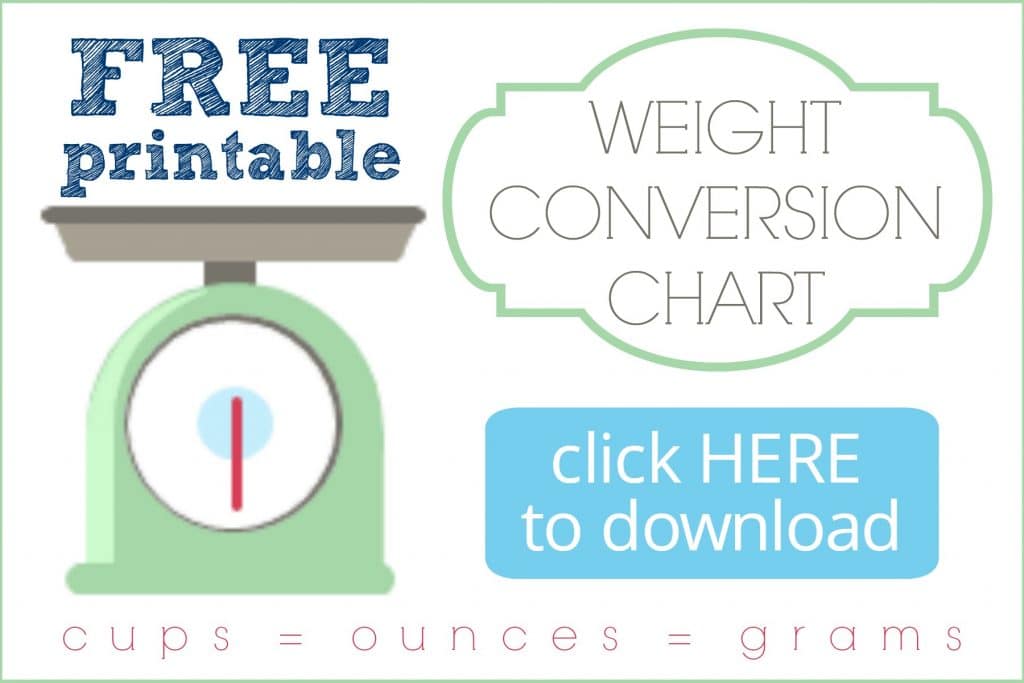
If you prefer to weigh your ingredients, I offer you this weight conversion chart. It's totally free! Just click the image above to download it, then print it out and tack it to the inside of your cupboard so you can reference it easily.
Measurement conversions
My conversion chart is a must! Print it and keep it in your kitchen for your reference.
Here are a few helpful conversions.
Converting teaspoons and tablespoons to cups
3 teaspoons = 1 tablespoon
4 tablespoons = ¼ cup
5 tablespoons + 1 teaspoon = ⅓ cup
8 tablespoons = ½ cup
10 tablespoons + 2 teaspoons = ⅔ cup
12 tablespoons = ¾ cup
16 tablespoons = 1 cup
Converting tablespoons and cups to ounces
1 tablespoon = ½ fluid ounce
1 cup = ½ pint = 8 fluid ounces
2 cups = 1 pint = 16 fluid ounces
4 cups = 2 pints = 1 quart = 32 fluid ounces
16 cups = 8 pints = 4 quarts = 1 gallon = 128 fluid ounces
Hopefully, now you know how to measure ingredients for baking accurately, and you found this article helpful.
If you have any questions or if I left anything important out, please let me know in a comment. I'll be sure to get back to you right away.
I'd love to hear your suggestions if you have any other baking topics you'd like to learn more about!
As an amazon associate I earn from qualifying purchases.


What do I do if my flour weighs differently than the recipe. My flour weighs 120gm for 1 cup flour, but some flours weigh more than that (140 gm/cup). Should I just use the weight given in the recipe (140 gm) So I would add more than one cup of my flour to get to 140gm.
Hey Laurel! I've just been googling around to double check here. Everything I'm looking at says 1 cup of flour = 120 grams. And I know that this is what the API I use for all my recipe conversions shows. So I'm really not sure what kind of flour would weigh so much more...??? I can't really speak for any other recipes other than the ones on this site, since I haven't tested them all. But if you're working with something from Baking a Moment, that is always going to be pretty accurate for 120 grams per cup. If it's something from another site or from a cookbook, then you'll probably want to check with the author to find out exactly what kind of flour they're using that would be so much heavier. Hope this is helpful!
This is also how my grandmother and mother taught me to measure ingredients as a child. It really does make a difference in the final product. So glad I found your website.
Thanks, me too!
Allie, I vaguely remember being taught how to properly measure flour back in my high school home economics class, but that was a looong time ago, so I thought I needed a refresher course. I’m so glad I found your informative site! I can’t wait to peruse the rest of it. Thank you for giving such easy-to-understand instructions for those of us who haven’t been to culinary school. I think you’re pretty awesome.
Thank you so much Debbie! I'm so happy you found this useful. Good luck to you and happy baking!
I love all your recipes. Love to read the details of how's and why's because it makes sense then. Most of us are sitting at home and eating all these sweet cakes and cookies and putting on weight. Can you also tell us how to make some cheesy/salty things. Thanks a lot for all your effort and a big God Bless you.
So happy you're enjoying Mazi! I have lots of cheesy/salty things as well- just click the "Bake" tab at the top and then scroll down to where it says "Savory."
Fantastic explanation! I knew all of this but wanted to find it written out to better explain it to my sons! I think this will be a great way to teach them (9&12yrs)!
I love hearing this! I just shared it with my almost 13-year old too. This is a lesson that will serve them for a lifetime. Thanks for the great feedback!
please my question is , What is the number of Egg that can be used in 1000grm of flour? thank you.
I'm going to need more specifics here, I don't even know what it is you're trying to make.
I already saved your page as a favorite, thanks so much for the great tips. Very practical Congratulations Allie saw for this wonderful site!
Thanks so much! I'm glad you find it useful.
Thank you
I really appreciate ur explanations, now i can measure accurately and come out with the desired result. Thank u
So glad it was helpful for you!
Really great & fantastic article. Just superb. Appreciate your thought. Thanks a lot.
So apparently I’ve been measuring my baking ingredients wrong all along! This was jam packed with helpful knowledge. I will definitely have to bookmark this for future reference. Awesome post! Thank you for sharing!
My pleasure Elisha! I'm so glad you've found it helpful. It's the littlest things that can make all the difference!
So many helpful baking tips! Thanks for sharing!
Fantastic post Allie. Loaded with great, easy to read and understand information. I'm bookmarking this one! Thanks.
So glad you like it Vicki! It's not as exciting as a recipe post, but measuring correctly can really make all the difference. Thanks for the sweet comment!