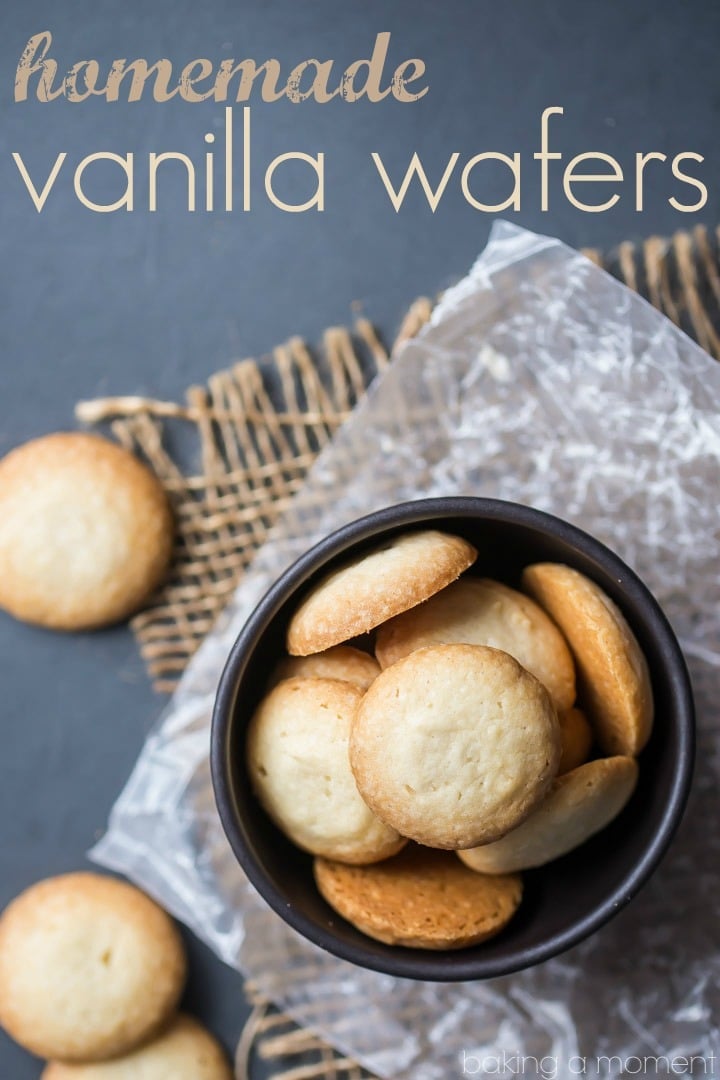
Homemade Vanilla Wafers
As an amazon associate I earn from qualifying purchases.
Homemade Vanilla Wafers are surprisingly simple to make, but the results are so good. They have crisp edges, a tender center, and lots of real vanilla flavor. After trying these, the boxed ones just don't compare.
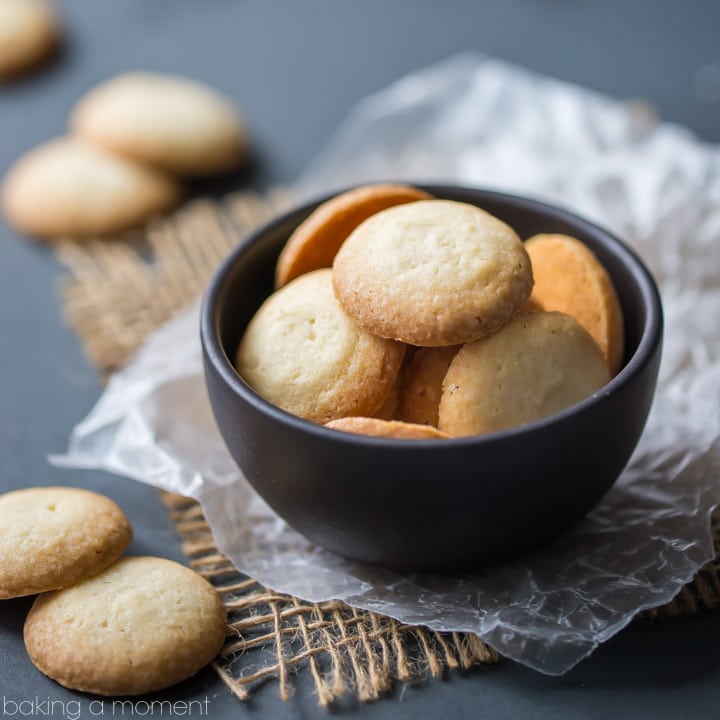
Table of Contents
- Here's Why You'll Love This Recipe
- Ingredients You'll Need
- In Photos: How To Make Vanilla Wafers
- Flavor Variations
- Serving Ideas
- Storage and Make-Ahead
- Recipe FAQs
- More Cookie Recipes
I've tried a few different vanilla wafer recipes, but none of them tasted all that much like the original. This one really nails it. It has the same crunchy texture but isn't at all hard. The cookies practically melt in your mouth, with a rich, buttery, and intensely fragrant vanilla flavor.
Best of all, the recipe is so simple. Just a handful of basic ingredients in the mixer, and you've got a batch big enough to make around 65 cookies. Now that's a lot of toddler snacks!
These cookies are really versatile. You can eat them on their own, make sandwich cookies with frosting, crumble them into parfaits, or use them as a homemade crust for banana pudding or cheesecake.
Here's Why You'll Love This Recipe
- Real ingredients, real flavor. Butter, milk, and vanilla give these a rich, bakery-style taste.
- The method is simple: just one bowl, quick mixing, and no need to chill the dough.
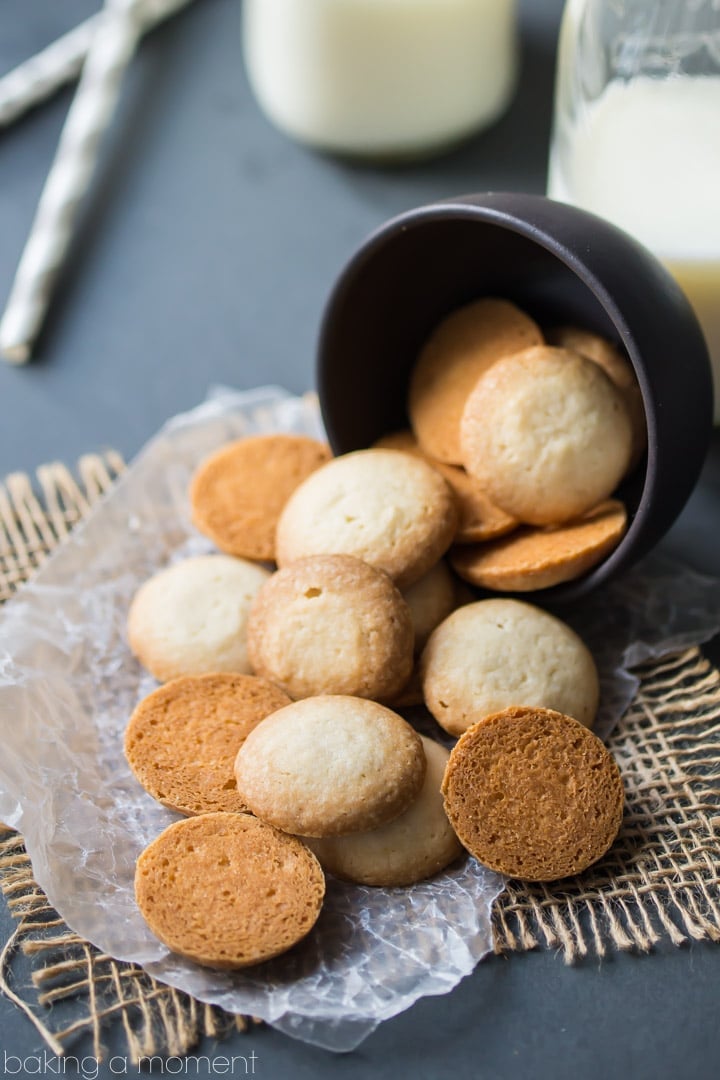
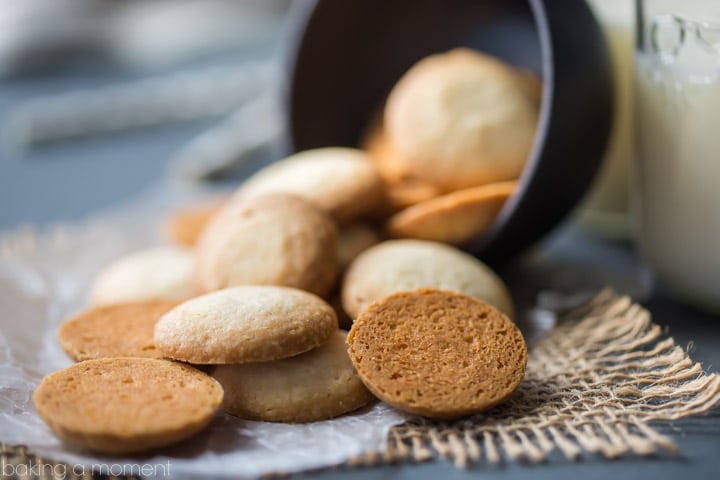
- Perfect texture. They have a light, crisp texture and a delicate sweetness.
- So versatile. Eat them straight up, or use them anywhere you'd use store-bought wafers.
Ingredients You'll Need
The recipe card at the bottom of the post contains the full list with all of the amounts. Refer to that when you're cooking.
- Unsalted butter: Unsalted butter gives the wafers their classic, rich, and crisp texture. If you only have salted butter, just use a little less added salt.
- Powdered sugar: Makes the cookies extra tender and gives them a melt-in-your-mouth feel.
- Granulated sugar: Creates crisp edges and the perfect sweetness.
- Milk: Loosens the dough just enough for piping and keeps the cookies from baking up dry. Whole milk is ideal, but lower-fat works.
- Vanilla extract: The star flavor. Use a good one since it really shows here.
- All-purpose flour: All-purpose flour gives the cookies structure but keeps them light. Be sure to spoon and level the flour so you don't use too much.
- Kosher salt: Balances the sweetness and brings out the vanilla flavor.
In Photos: How To Make Vanilla Wafers
Step 1: Prep your pans
Preheat your oven to 350°F (175°C). Line your baking sheets with parchment paper so the cookies come off easily and bake evenly.
Step 2: Cream the butter and sugars
Beat the butter, powdered sugar, and granulated sugar together for 3 to 5 minutes, until the mixture is pale and fluffy. This step is important for a light texture, so make sure to mix well.
Step 3: Add the liquids
Scrape down the sides of the bowl, then add the milk and vanilla. Mix just until everything is combined.
Step 4: Mix in the dry ingredients
Add the flour and salt, and stir until you don't see any dry spots. Try not to overmix, as this can make the cookies less tender.
Step 5: Pipe the cookies
Put the dough into a piping bag with a plain round tip (1A). Pipe 1-inch (2.5 cm) circles onto the baking sheets, leaving space between each for spreading.
Step 6: Bake
Bake for 20 to 24 minutes, until the bottoms and edges are golden. The cookies should be lightly golden at the edges, not dark on top.
Step 7: Cool and store
Let the cookies cool completely on the baking sheet so they can crisp up. Once cool, store them in an airtight container.
Helpful Tips and Tricks
- Softened butter matters: If it's too cold, you won't get enough air in the creaming step. If it's melty, the cookies can spread too much.
- Do not rush the creaming: Take your time with the creaming step. Mixing for 3 to 5 minutes gives the cookies the best texture.
- Pipe evenly: Try to pipe the cookies evenly. When they're all the same size, they bake more evenly. For perfect rounds, you can trace circles on the back of the parchment as a guide.
- Watch the bottoms: Check the bottoms of the cookies. They're done when the bottoms are golden, and the edges are lightly browned.
- Cool fully before storing: Let the cookies cool completely before storing. If they're still warm, they'll lose their crispness.
Flavor Variations
- Vanilla bean: For extra flavor and those nice vanilla specks, try using some vanilla bean paste instead of part of the vanilla extract.
- Citrus: Add a few pinches of finely grated lemon or orange zest for a fresh, bright flavor.
- Warm spice: A small pinch of cinnamon or nutmeg gives the cookies a warm, cozy flavor.
Serving Ideas
- Try layering them into banana pudding. It's a great combination!
- Crush the cookies to use as a base for pie crust or cheesecake.
- Dip halfway in melted chocolate and let set for a play on the half-and-half cookie!
- Use these cookies to make ice cream sandwiches with a thin layer of softened ice cream.
Storage and Make-Ahead
At room temperature, keep the cookies in an airtight container for up to one week.
To freeze, store the baked cookies in an airtight container for up to two months. Thaw them uncovered at room temperature to keep them crisp.
Recipe FAQs
Powdered sugar makes the cookies tender, and granulated sugar helps them get crisp and brown well.
Usually, the dough is too thick because of extra flour. Next time, spoon and level the flour. You can also let the dough sit at room temperature for a few minutes to soften.
A piping bag gives the classic wafer shape, but you can also use a spoon to make small mounds and gently flatten them. They'll look more rustic but taste just as good.
Let the cookies cool completely before storing, and keep them tightly sealed. Humidity can make them soft, so use an airtight container.
More Cookie Recipes
- Fluffernutter Cookies
- Ricotta Cookies
- Butter Cookies
- Blueberry and Cream Cookies
- Lemon Crinkle Cookies

Ingredients
- ½ cup (113.5 g) unsalted butter, (1 stick), softened
- ½ cup (60 g) powdered sugar
- ¼ cup (50 g) granulated sugar
- ¼ cup (61 ml) milk
- 1 ½ teaspoons (1.5 teaspoons) vanilla extract
- 1 ¼ cup (156.25 g) all-purpose flour
- ½ teaspoon (0.5 teaspoon) kosher salt
Instructions
- Preheat the oven to 350 degrees F and line baking sheets with parchment paper.
- Place the butter, powdered sugar, and granulated sugar in a large mixing bowl, and beat on medium speed until pale and fluffy (3 to 5 minutes).
- Scrape the bottom and sides of the bowl with a silicone spatula, then mix in the milk and vanilla until combined.
- Stir in the flour and salt, taking care not to overwork the dough.
- Transfer the dough to a pastry bag fitted with a 1A tip. Pipe 1-inch diameter circles onto the prepared baking sheets.
- Bake for 20 to 24 minutes, or until golden brown on the bottoms and around the edges.
- Cool completely, then store in an airtight container.

These are so good, and the recipe is perfect - I am sending this to my daughter. I made them to use with my grandmother's banana pudding recipe, although I'll tell her they are wonderful on their own. Thank you!
Nice! I'm so happy you like the recipe. Thanks for the good feedback!
Made these as recipe specified. Added a smidge more vanilla. They piped out perfectly and turned out great!
Better than store-bought and NO bioengineered ingredients!!
Thank you for a great recipe! These have a Hubby approved rating!
Awesome! So glad you both were happy with them!