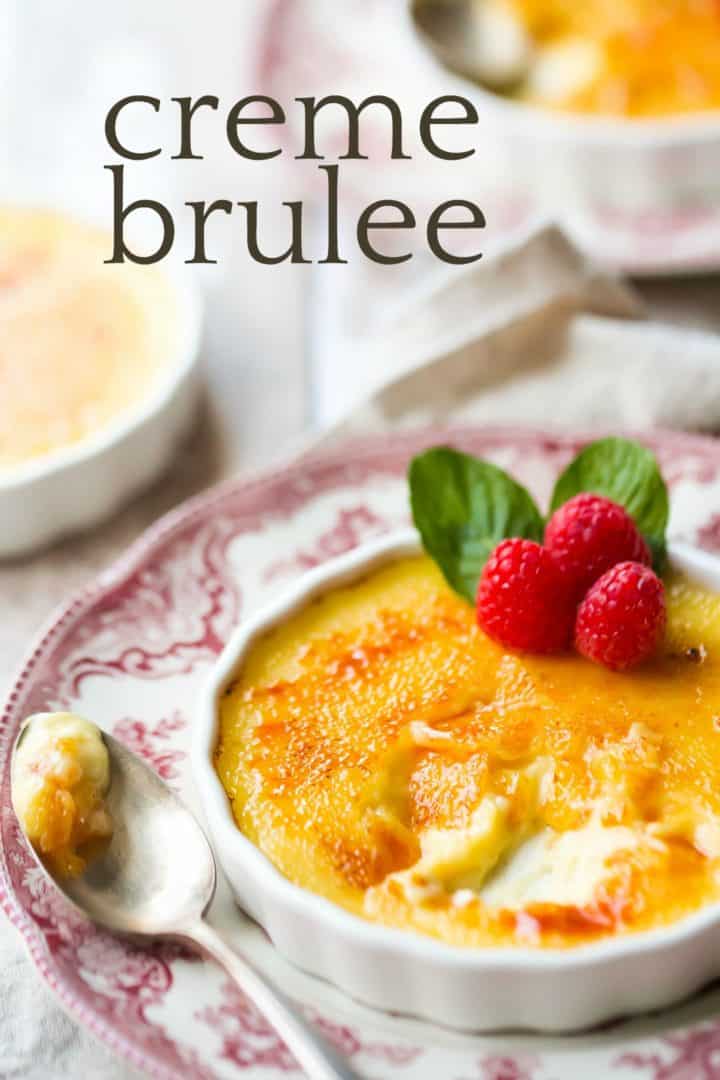
Creme Brulee
As an amazon associate I earn from qualifying purchases.
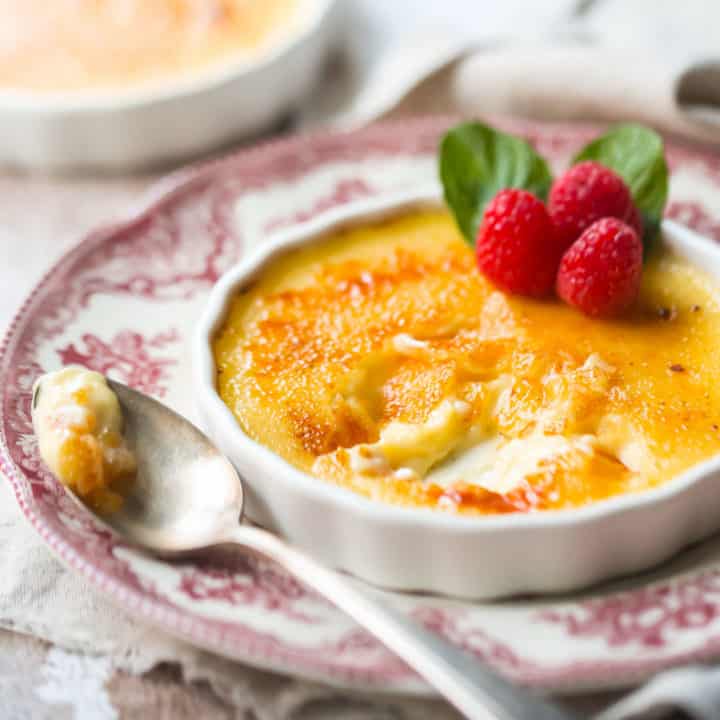
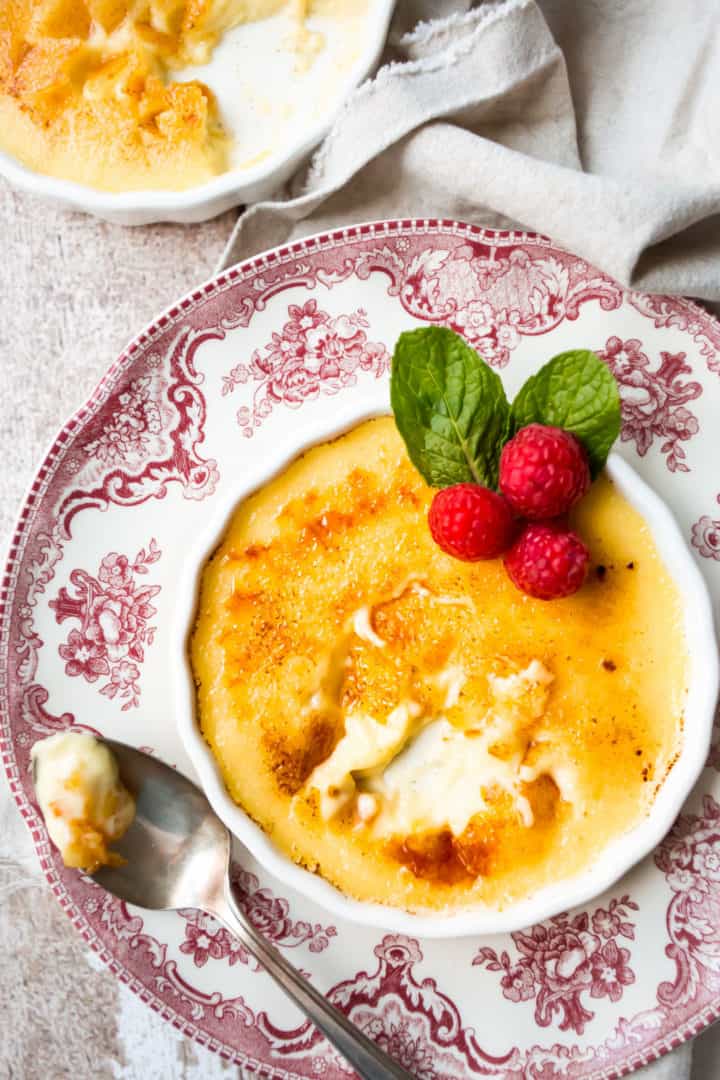
Creme Brulee: a classic dessert that's total perfection. Creamy vanilla custard, under a crunchy cap of caramelized sugar. Easy recipe; just 5 ingredients.
It's creme brulee day today! Yay!
I hope you're excited because I sure am. I absolutely ADORE creme brulee. It's so simple, but there is something so mind-blowingly delicious about that creamy, silky, rich vanilla custard, with its crunchy burnt sugar topping.
Whoever invented it deserves a freaking medal.
There are quite a few creme brulee recipes on this site, including this chocolate creme brulee, this pumpkin creme brulee, and this Irish coffee creme brulee. But I've been feeling like a classic creme brulee recipe is long overdue here, so I'm thrilled to be bringing it to you today.
WHAT IS CREME BRULEE?
Creme brulee is a classic French dessert that's simple as can be, but so incredibly delicious.
It starts with a silky, creamy custard, infused with vanilla beans, that's then topped with a layer of sugar and bruleed until caramelized.
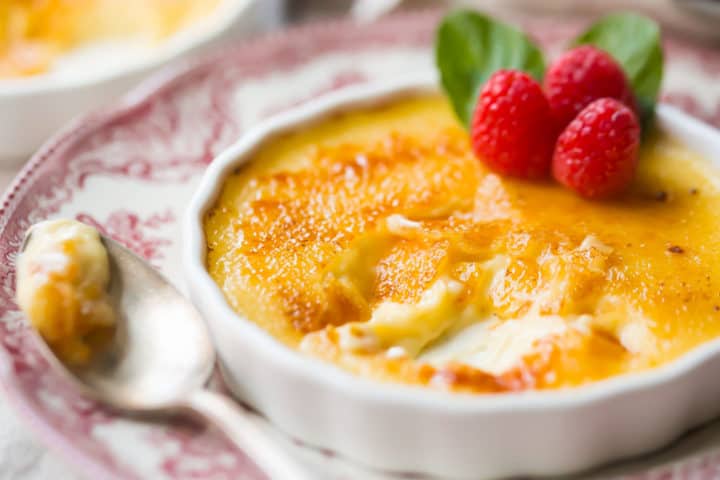
When it's served, you can crack the caramelized sugar topping and spoon out the smooth custard below. The combination of crunchy caramelized sugar and satin-y smooth vanilla custard will absolutely blow your mind!
HOW TO MAKE CREME BRULEE
I realize the name sounds fancy and French, but I promise you, creme brulee is one of the easiest desserts you will ever make!
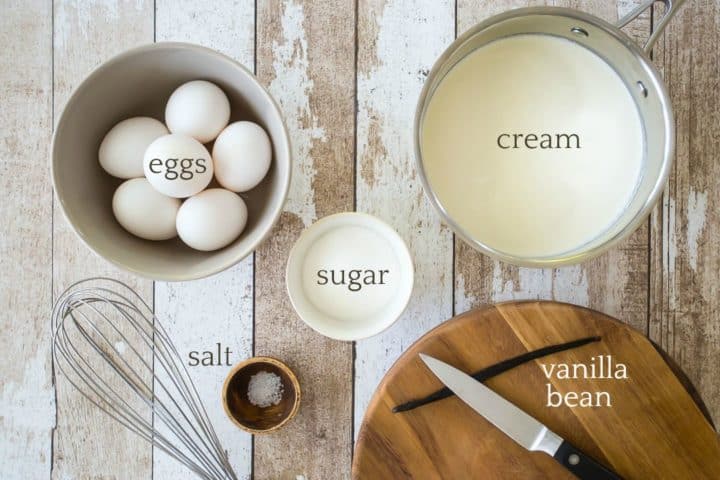
You'll only need 5 simple ingredients:
- Cream
- Vanilla Bean
- Egg Yolks
- Sugar, and
- Salt
THE VANILLA
I'm recommending vanilla beans for this recipe because the flavor they give is INSANE.
I don't use them for all my dessert recipes, because they are a little expensive. But when there is a recipe like this one, that has so few ingredients and where the vanilla is really the shining star, I feel like it's worth it to splurge.
I usually order my vanilla beans online. They're usually only about $15 for 5, and they last about a year if you're careful to keep them wrapped up really tightly. Here's a link: Vanilla Beans.
That said, if you're strongly opposed to using a whole vanilla bean, you can substitute a couple of teaspoons of vanilla extract. That should be the last ingredient that goes into your custard before baking.
THE CUSTARD
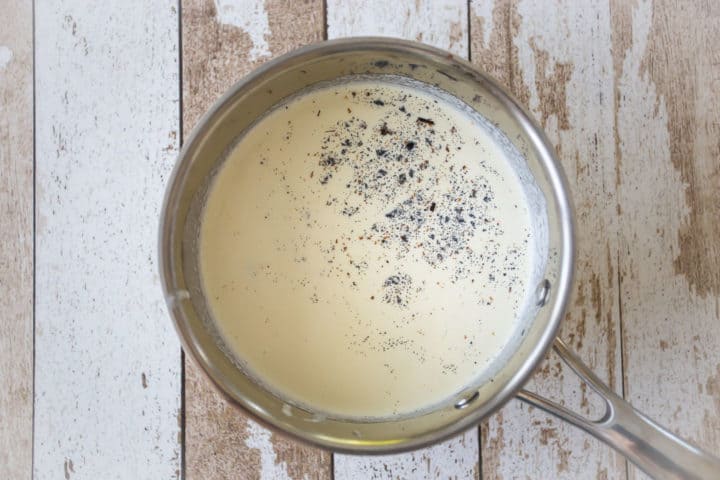
Split your vanilla bean down the center with a sharp knife, and scrape out the seeds.

Add the seeds and the pod to a small pot of heavy cream, then heat this on the stove over low heat.
While the cream is getting hot, separate the eggs. Save the whites for another use (maybe for this marshmallow frosting!); we are just using the yolks today.
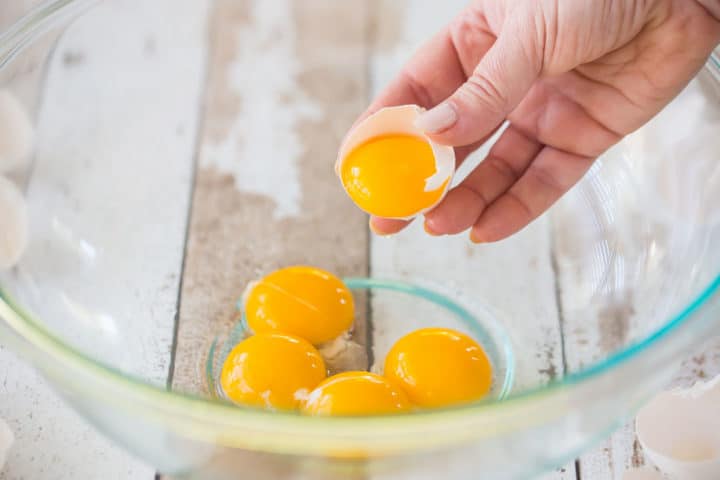
Add the sugar and salt to the bowl, along with the yolks, and whisk it all together.

By now the cream is probably getting hot. You don't want it to boil, but it should have a few small bubbles around the edges and there should be wisps of steam coming off the surface.

Slowly drizzle the hot cream into the yolks, while whisking. This is called "tempering," and it will prevent the eggs from scrambling. We want a nice, smooth custard here, so this simple step is so key!
Once all the cream has been added, you can transfer the mixture to your creme brulee dishes. Here is a link to the shallow dishes I have used: Creme Brulee Dishes. I love these because they allow for the PERFECT ratio of crunchy caramelized sugar to custard!
But you could also use little ramekins or even small mason jars. Just know that if your dishes are deeper, you may need to extend the bake time slightly.
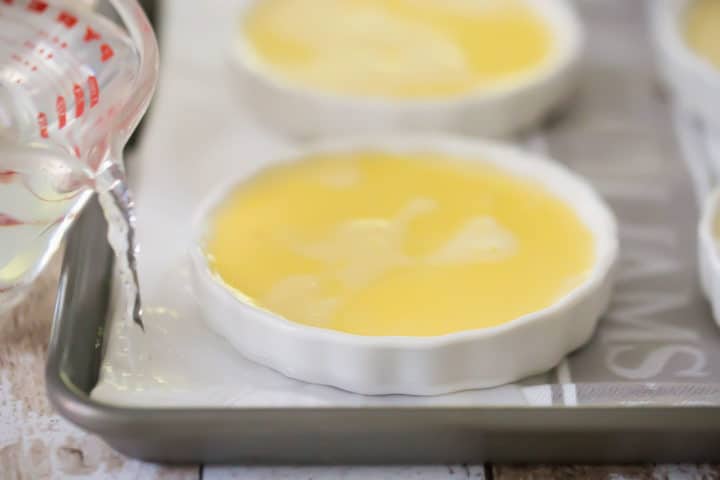
Place the dishes in a larger baking dish, lined with a kitchen towel, and then carefully pour hot water into the larger dish, until it comes about halfway up the sides of your creme brulee dishes. This is known as a "water bath" or "bain marie," and it will allow your creme brulee to bake gently and evenly.
When the custards are set around the edges, but still a bit wobbly towards the centers, take them out of the oven and allow them to chill in the refrigerator.
THE TOPPING
Just before serving, sprinkle a little extra sugar over the tops of your custards.
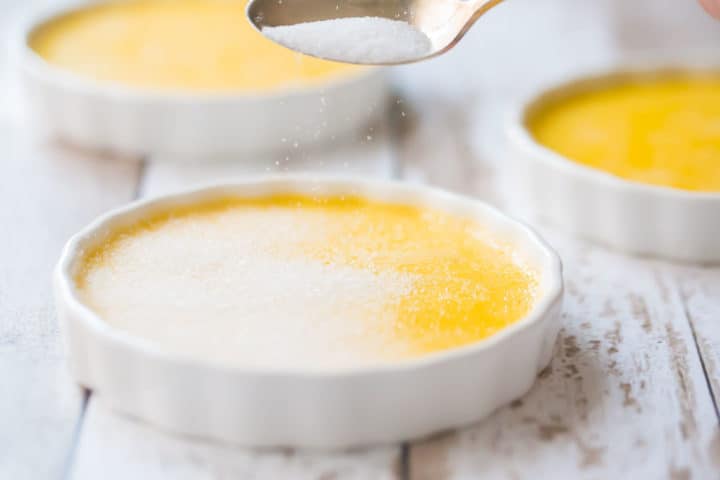
And now for the fun part: get out your kitchen torch and have at it! You'll see the sugar melt, bubble, and caramelize right before your eyes!
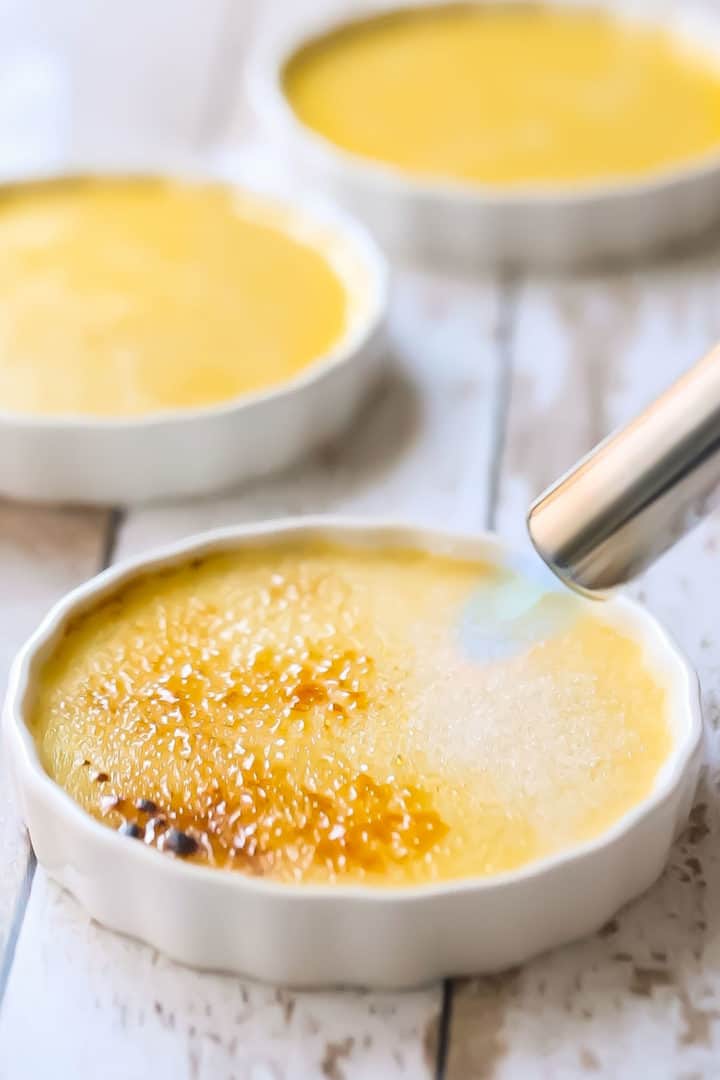
After just a few minutes, the sugar will harden like glass.
It's so much fun to break through that crunchy caramel and dig down into the smooth, creamy custard below!
HOW TO BRULEE WITHOUT A TORCH
I love my little kitchen torch and I use it pretty often. Here's a link to the kind I have: Brulee Torch.
But if you don't have or want one, you can just place your creme brulee under the broiler. Just be sure to keep a close eye on them, they can burn really fast!
IS CREME BRULEE GLUTEN-FREE?
If you're thinking about making this for someone with a gluten sensitivity, you can rest easy because this recipe is 100% gluten-free.
It does, however, contain dairy and eggs, so it's not vegan. If you just want dairy-free creme brulee, you could probably substitute coconut milk for the cream, but I don't know of any good substitute for the egg yolks that would make this recipe vegan.
WHY IS MY CREME BRULEE RUNNY?
If your creme brulee comes out runny, I'm sorry to say but it's most likely because it's undercooked.
You want to pull the custards from the oven when they're set around the edges, but still just a little bit wobbly towards the centers.
They will set up a little bit more as they cool, but if they come out of the oven runny, chilling them probably won't fix that. So it's important to nail that bake time exactly right.
CAN CREME BRULEE BE MADE AHEAD?
Creme brulee is a fantastic make-ahead dessert.
The custards can be made several days in advance, chilled in the fridge, and topped and bruleed just before serving.
Or, you can freeze them! Wrap them tightly and they should keep in the freezer for several weeks at least. Thaw them in the fridge or at room temp, top with sugar and torch, then serve!
As an amazon associate I earn from qualifying purchases.

Ingredients
- 2 cups (473.18 ml) heavy whipping cream
- 1 vanilla bean*
- 6 egg yolks , (large)
- ⅓ cup (66.67 g) granulated sugar
- 1 pinch kosher salt
- ⅓ cup (66.67 g) granulated sugar, (approximately) for bruleeing
Instructions
- Preheat the oven to 300 degrees F, and place the heavy cream in a small pot.
- Split the vanilla bean with a sharp knife, scrape the seeds out, and place the seeds and the pod in the pot with the cream.
- Heat the cream over low heat.
- Whisk the yolks, sugar, and salt together in a medium bowl.
- When the cream is hot and steamy, dribble it into the yolk mixture in a slow stream while whisking.
- When all the cream has been added, transfer the mixture to (6) 5-ounce creme brulee dishes or ramekins.**
- Place the unbaked creme brulee in a larger baking dish over a kitchen towel, and fill the larger dish with very hot water until it reaches about halfway up the creme brulee dishes.
- Bake for 30 to 40 minutes, or until set around the edges but still a little wobbly towards the center.
- Chill for 2 hours.
- Sprinkle about a tablespoon of granulated sugar over the tops of each creme brulee, then caramelize with a brulee torch (or under the broiler) until browned.


Fantastic
Your ramekins look like mini tart dishes! I have those, silicone ones I bought on clearance but never used yet. Would those work? Im dying to use them, but am not the best with making tart shells yet
I think that would probably work ok! Good luck!
I really like my cookies thick and soft and have struggled for a long time trying to make fat and soft chocolate chip cookies. It has always been hit and miss. So when I saw the ad to sign up for your emails and receive 5 secrets for baking impossibly soft cookies I did. Last week I finally was able to try them out and my cookies have never been so good. I was so excited when my cookies came out perfect!! I made 4 batches of various cookies and all of them were perfect. Your Monster Cookies are to die for. Thank you very much for the great tips. I look forward to all of your emails.
This is the best thing I've heard all day! Thank you so much Lynda- you've made all the effort I put into creating that series worthwhile. Big hugs to you!
I really like my cookies thick and soft and have struggled for a long time trying to make fat and soft chocolate chip cookies. It has always been hit and miss. So when I saw your ad to sign up for your emails and receive 5 secrets for baking impossibly soft cookies I did. Last week I finally was able to try them out and my cookies have never been so good. I was so excited when my cookies came out perfect!! I made 4 batches of various cookies and all of them were perfect. Your Monster Cookies are to die for. Thank you very much for the great tips. I look forward to all of your emails.
This is exactly what perfection looks like!!! YUM!