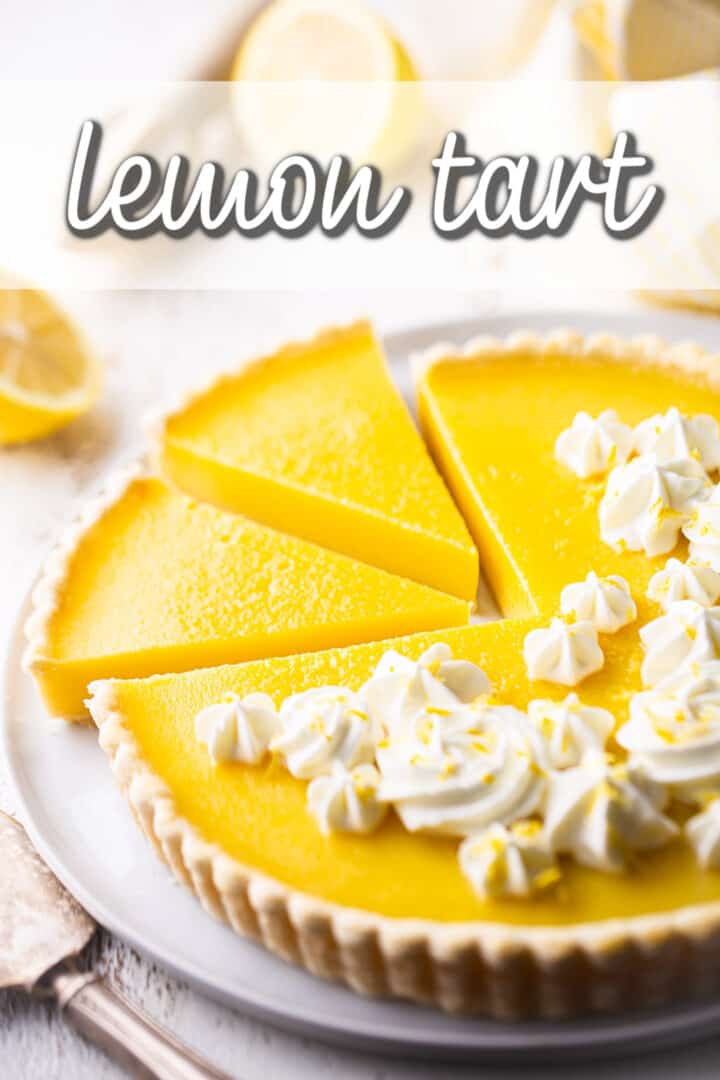
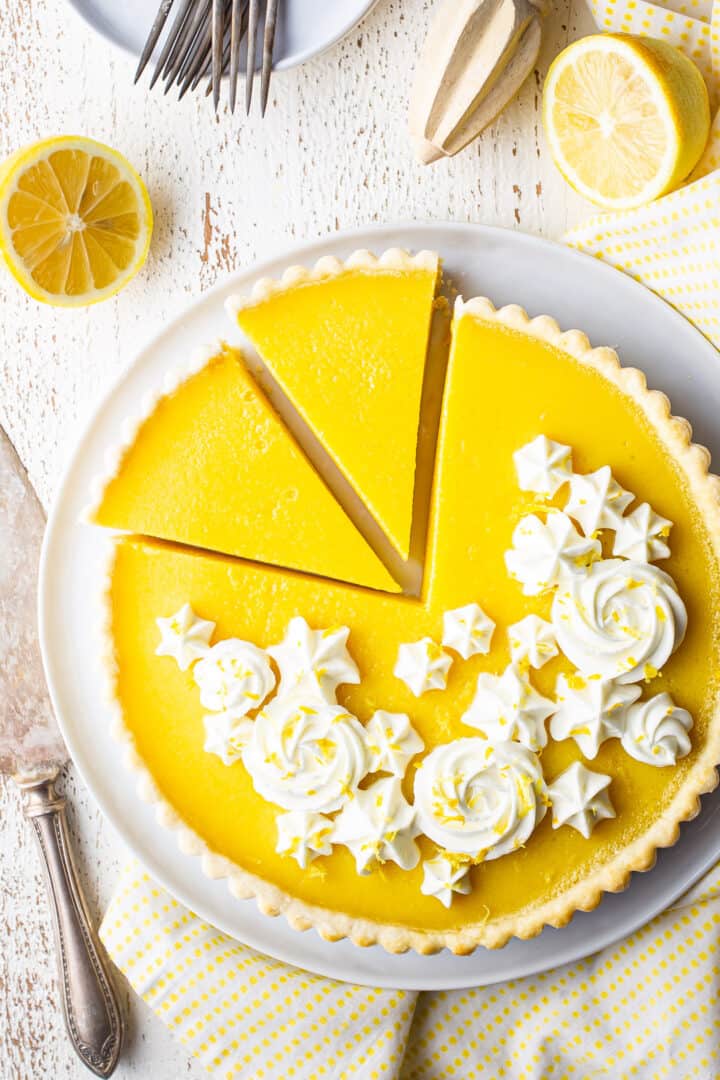
Lemon Tart
As an amazon associate I earn from qualifying purchases.
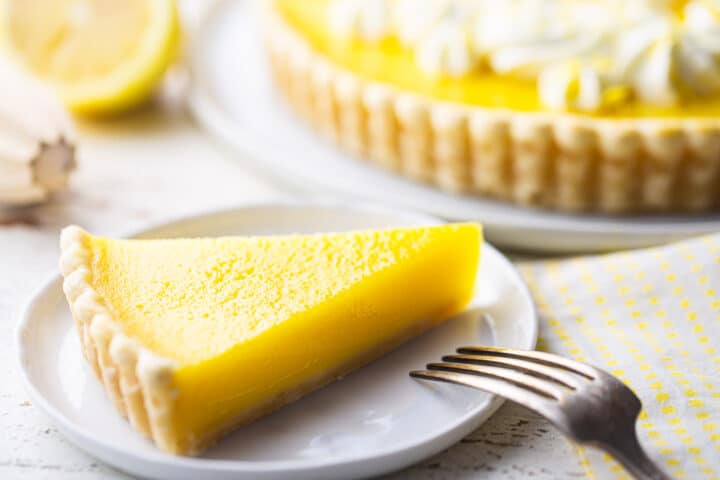
This Lemon Tart is elegant enough for special occasions, yet simple enough to make whenever you want something bright and cheerful. The crust is crisp and buttery, and the lemon filling is silky with just the right mix of sweet and tangy.
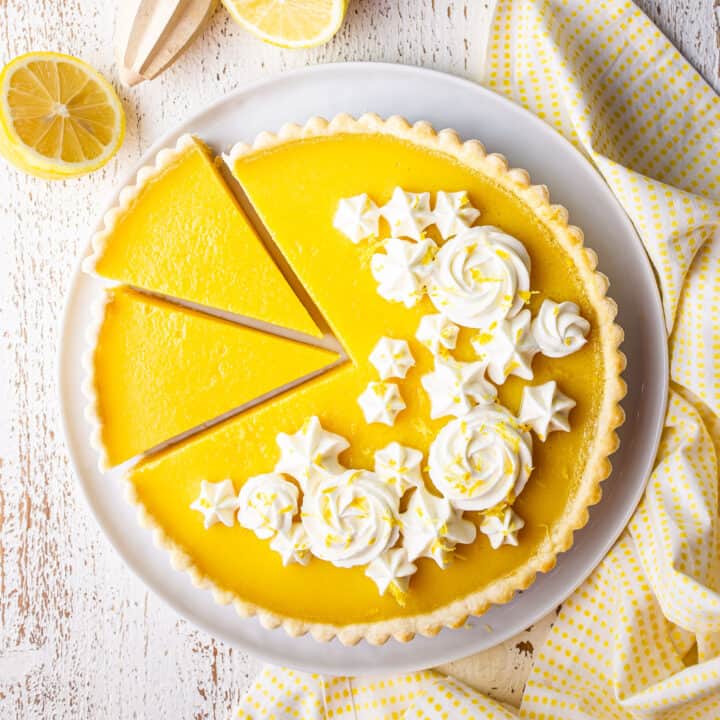
Table of Contents
- Here's Why You'll Love This Recipe
- Ingredients You'll Need
- In Photos: How To Make Lemon Tart
- More Tart Recipes
I've made tons of lemon recipes over the last few years. Homemade lemon curd, lemon pudding cake, lemon bars, and lemon poppyseed muffins are always a big hit with my friends and family.
And this lemon tart recipe went over big at the ladies' night I hosted last week. We couldn't stop eating it! It was so tangy and bright, lip-puckeringly good, and everyone thought it was so fancy!
Little did they know I whipped it up in less than half an hour!
This lemon tart recipe is similar to a pie but wider and flatter. And instead of a flaky pie crust, we use a pate sucree, which is almost like a sugar cookie or shortbread. So it's very tender and crumbly.
Lemon tart is also sometimes called "tart au citron." This tart slices beautifully, and the texture almost melts in your mouth.
Here's Why You'll Love This Recipe
- The lemon flavor in every bite is bright and bold.
- The filling is smooth, creamy, and wonderfully luscious.
- The buttery homemade tart crust is tender, crisp, and so delicious with the citrusy filling.
- This dessert is great for entertaining because it looks elegant and impressive, but is not complicated to make.
- You can make this tart ahead of time, so it's perfect for holidays, parties, and special occasions.
- Most of all, the balance of sweet and tart flavors is absolutely spot-on.
Ingredients You'll Need
The recipe card at the bottom of the post contains the full list with all of the amounts. Refer to that when you're cooking.
- Tart Crust: This recipe uses my favorite tart crust. It's easy to make with just a few simple ingredients. You can find lots more info on that here: Perfect Tart Crust Recipe.
- Sugar: I like white granulated sugar for the lemon filling, but feel free to experiment with another type of sweetener if you like.
- Flour: Flour will help to thicken the filling. I prefer all-purpose flour, but if you're looking for a gluten-free option, see below under the heading "Is this healthy?".
- Cornstarch: Cornstarch is also a thickener. Make sure you're using cornstarch, which is white, powdery, and flavorless, rather than cornmeal, which is yellow, gritty, and tastes like corn.
- Salt: Kosher salt is my favorite salt for baking. It has a pure taste, and it's inexpensive. In this recipe, salt carries and intensifies the flavors.
- Eggs: Eggs will enrich the flavor and texture of the filling and help it thicken and slice beautifully.
- Egg Yolks: Egg yolks provide an even richer taste. Separate the eggs and reserve the whites for another use (such as Swiss meringue buttercream or meringue cookies). Egg whites keep for a long time in the fridge; just keep them in an airtight container.
- Lemon Juice: Squeezed from fresh lemons, it will provide the most intensely bright, citrusy flavor. Just cut them in half and use a citrus reamer to work the juice out and into your liquid measuring cup. Strain out any seeds or pulp using a fine-mesh sieve as you add the juice to the mixing bowl. And feel free to swap out lemon for any other kind of citrus juice, such as:
- Orange
- Grapefruit
- Lime
- Meyer Lemon
- Yuzu
- Garnishes: I like to garnish this dessert with a little softly whipped cream and lemon zest, but these are completely optional.
In Photos: How To Make Lemon Tart
Step 1: Make the tart crust
Lots more info on this crust can be found in my Perfect Tart Crust Recipe post, but I'll give a quick how-to here as well.
Start by placing flour, powdered sugar, and salt in the bowl of your food processor. Pulse these ingredients together a few times, just to get them combined.
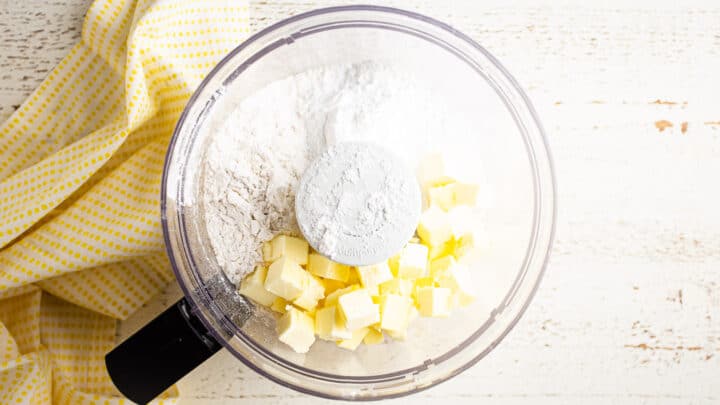
Next, add cold butter.
This can also be pulsed in until the mixture resembles coarse meal. A little crumbly, with pieces of butter no bigger than the size of a pea.

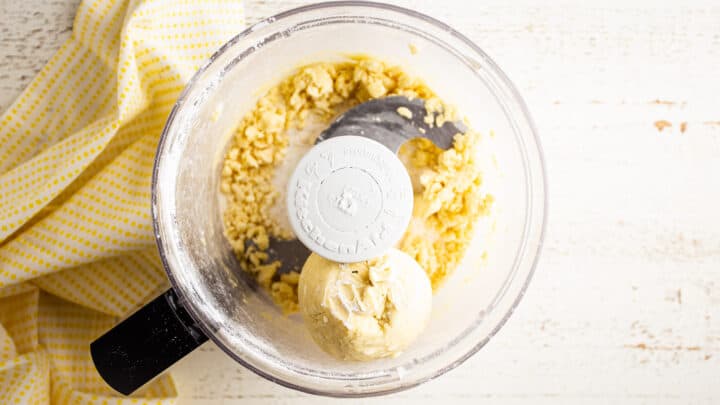
An egg yolk and some vanilla extract can be added next.
Then stream in the cream with the food processor running on low speed. As soon as the dough gathers itelf into a ball, pulling cleanly away from the sides of the bowl, you're done. You can stop adding cream.
Wrap it up tightly in plastic, and chill it in the fridge for about an hour.
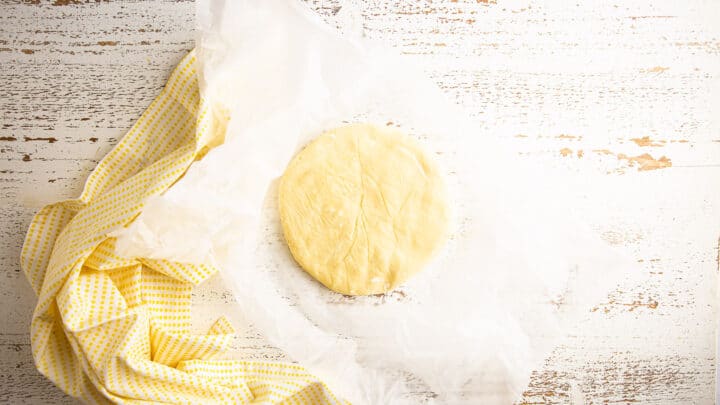
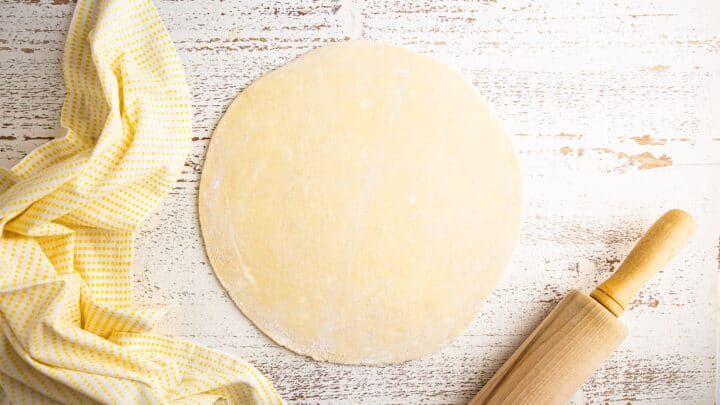
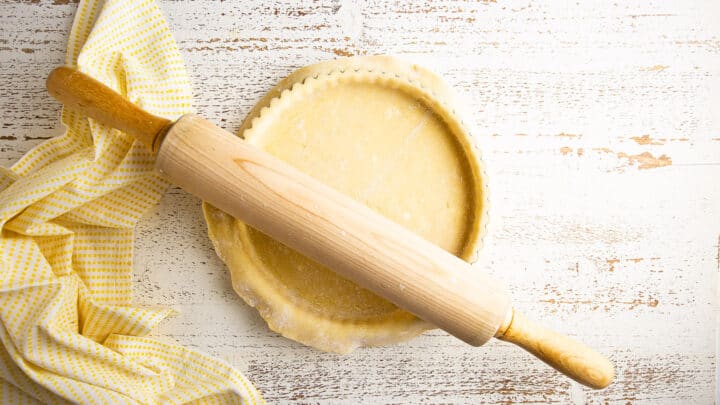
Lightly dust the work surface, dough, and rolling pin with flour, then roll out the dough to an even thickness. It should be just a little wider than your tart pan.
Gently place it into the pan, taking care not to stretch it or tear it.
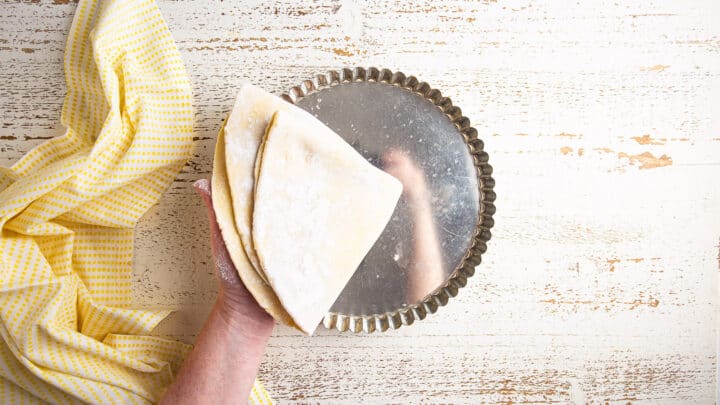
Work it down the sides of the pan, allowing any excess to drape over the sides.
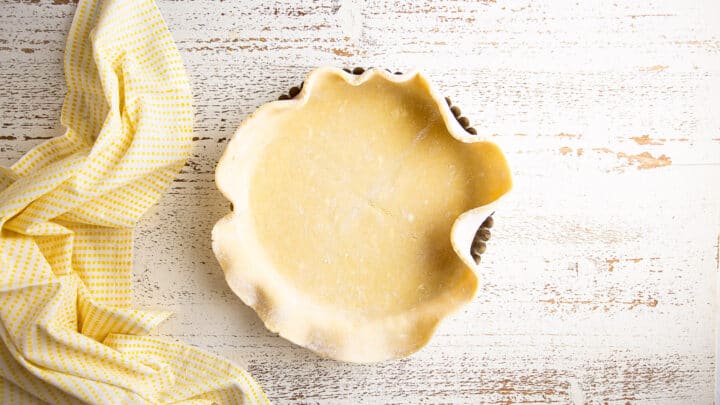
Then trim it. I like to just pass my rolling pin over it to cut away the excess.
Step 2: Make the filling
Whisk sugar, flour, cornstarch, and salt together in a large mixing bowl.
Then work in the eggs, and the egg yolks.
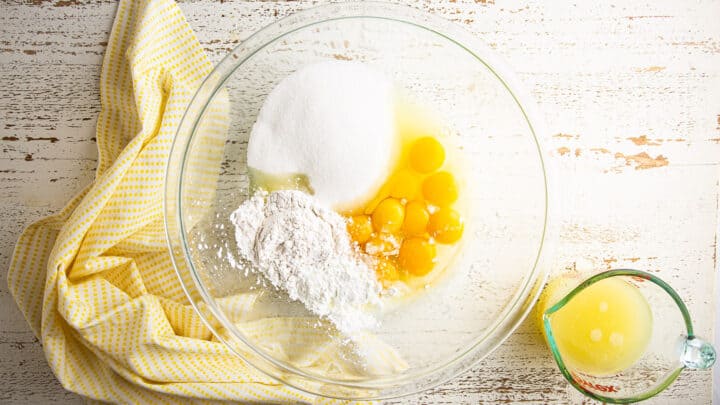
Finally, stir in the lemon juice and pour the filling mixture into the tart shell.
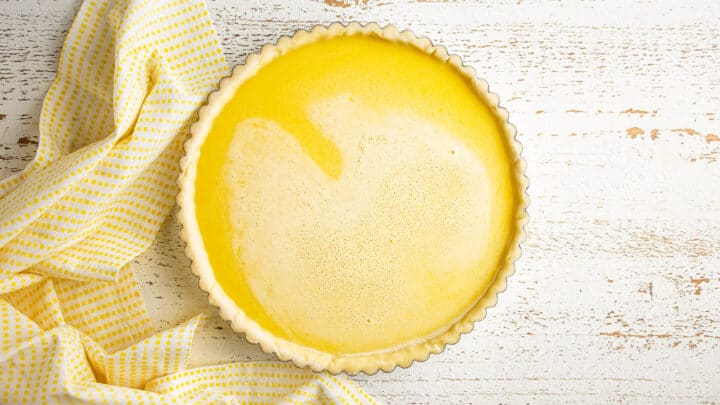
Step 3: Bake
This tart will bake at a slightly lower temperature until the edges begin to turn golden.
The filling should be set around the edges, but still just a little wobbly towards the center.
Allow it to cool completely before removing it from the pan, adding any garnishes, and slicing it.
Helpful Tips and Tricks
- If you'd like to make a gluten-free lemon tart, omit the flour in the filling and replace it with an additional ¼ cup of cornstarch. For the crust, substitute a gluten-free flour blend that can be swapped 1:1 for regular flour.
- For a dairy-free version, use a plant-based butter substitute that can be swapped 1:1 for dairy butter. And I think coconut cream (unsweetened) would make an excellent replacement for the cream.
- Store the tart, covered, in the refrigerator for up to 3 days. For the best presentation, add the whipped cream garnish just before serving.
- Use fresh lemon juice for the best flavor. Bottled juice does not taste as bright or vibrant.
- Keep the butter cold when making the crust. This helps create the best texture.
- Do not overwork the dough. Mix just until it comes together.
- Watch the tart closely near the end of baking. You want the center to still have a slight jiggle.
- Let the tart cool completely before slicing so the filling can fully set.
More Tart Recipes
- Chocolate Tart
- Pear Tart
- Cranberry Curd Tart
- Mini Raspberry Tarts
- Lemon Cheesecake Tarts
- S'mores Berry Tart

Ingredients
For the Tart Crust:
- 1 ½ cups (187.5 g) all-purpose flour
- ⅓ cup (40 g) powdered sugar
- ¼ teaspoon (1.5 g) kosher salt
- ½ cup (113.5 g) unsalted butter, (1 stick), cold
- 1 (18 g) egg yolk, large
- 2 tablespoons (10 g) heavy cream, (approx.)
- ½ teaspoon (2 g) vanilla extract
For the Lemon Filling:
- 1 ½ cups (300 g) granulated sugar
- ½ cup (62.5 g) all-purpose flour
- 2 tablespoons (16 g) cornstarch
- ½ teaspoon (3 g) kosher salt
- 6 (264 g) eggs, large
- 6 (108 g) egg yolks, large
- 1 cup (244 g) lemon juice, (from 4 to 5 lemons)
Optional Garnishes:
- ⅓ cup (79.33 g) heavy cream
- 1 tablespoon (8 g) powdered sugar
- lemon zest
Instructions
To Make the Tart Crust:
- Place the flour, sugar, and salt in the bowl of a food processor, stand mixer, or in a medium mixing bowl.
- Pulse/stir/cut in the butter with a pastry blender, until the mixture resembles coarse meal.
- Add the egg yolk, cream, and vanilla, and process/mix/stir until the dough gathers itself into a ball and pulls away cleanly from the sides of the bowl.
- Wrap the dough tightly in plastic wrap, and chill for 1 hour.
- On a lightly floured surface, roll the dough out until it's about an inch wider than your tart pan.*
- Press the dough gently into the tart pan(s), trimming away any excess.
To Make the Lemon Filling:
- Preheat the oven to 325 degrees F.
- Whisk the sugar, flour, cornstarch, and salt together in a large bowl.
- Whisk in the eggs and egg yolks.
- Stir in the lemon juice and pour the filling to the unbaked tart crust.
- Bake until the edges of the tart are beginning to turn golden and the filling is set around the edges but slightly wobbly towards the center (approximately 30 to 40 minutes).
- Allow the tart to cool completely before garnishing and serving.
To Garnish the Lemon Tart:
- Whip the cream and the powdered sugar together until it holds soft peaks.
- Pipe or dollop the whipped cream onto the tart.
- Sprinkle with lemon zest.


Gorgeousness & sunshiny, love this recipe!
I just copied this delightful recipe!! I’ve not made it yet, however, I WILL be!! Thank you for sharing. I’ll be certain to check back with you to let you know how wonderful it is!!
Thank you again & God Bless!
Tamara J. Weese