

Crusty French Baguette Recipe
As an amazon associate I earn from qualifying purchases.
Few things compare to the magic of a crusty French Baguette fresh from the oven. With its golden, crackly crust and tender, airy interior, this bread is irresistible served alongside a bowl of hot soup, piled high with sandwich fillings, or torn off piece by piece to enjoy with butter.
The best part? This recipe is made with just four simple ingredients, and most of the work is hands-off. A little patience goes a long way here, and the results are so worth it.
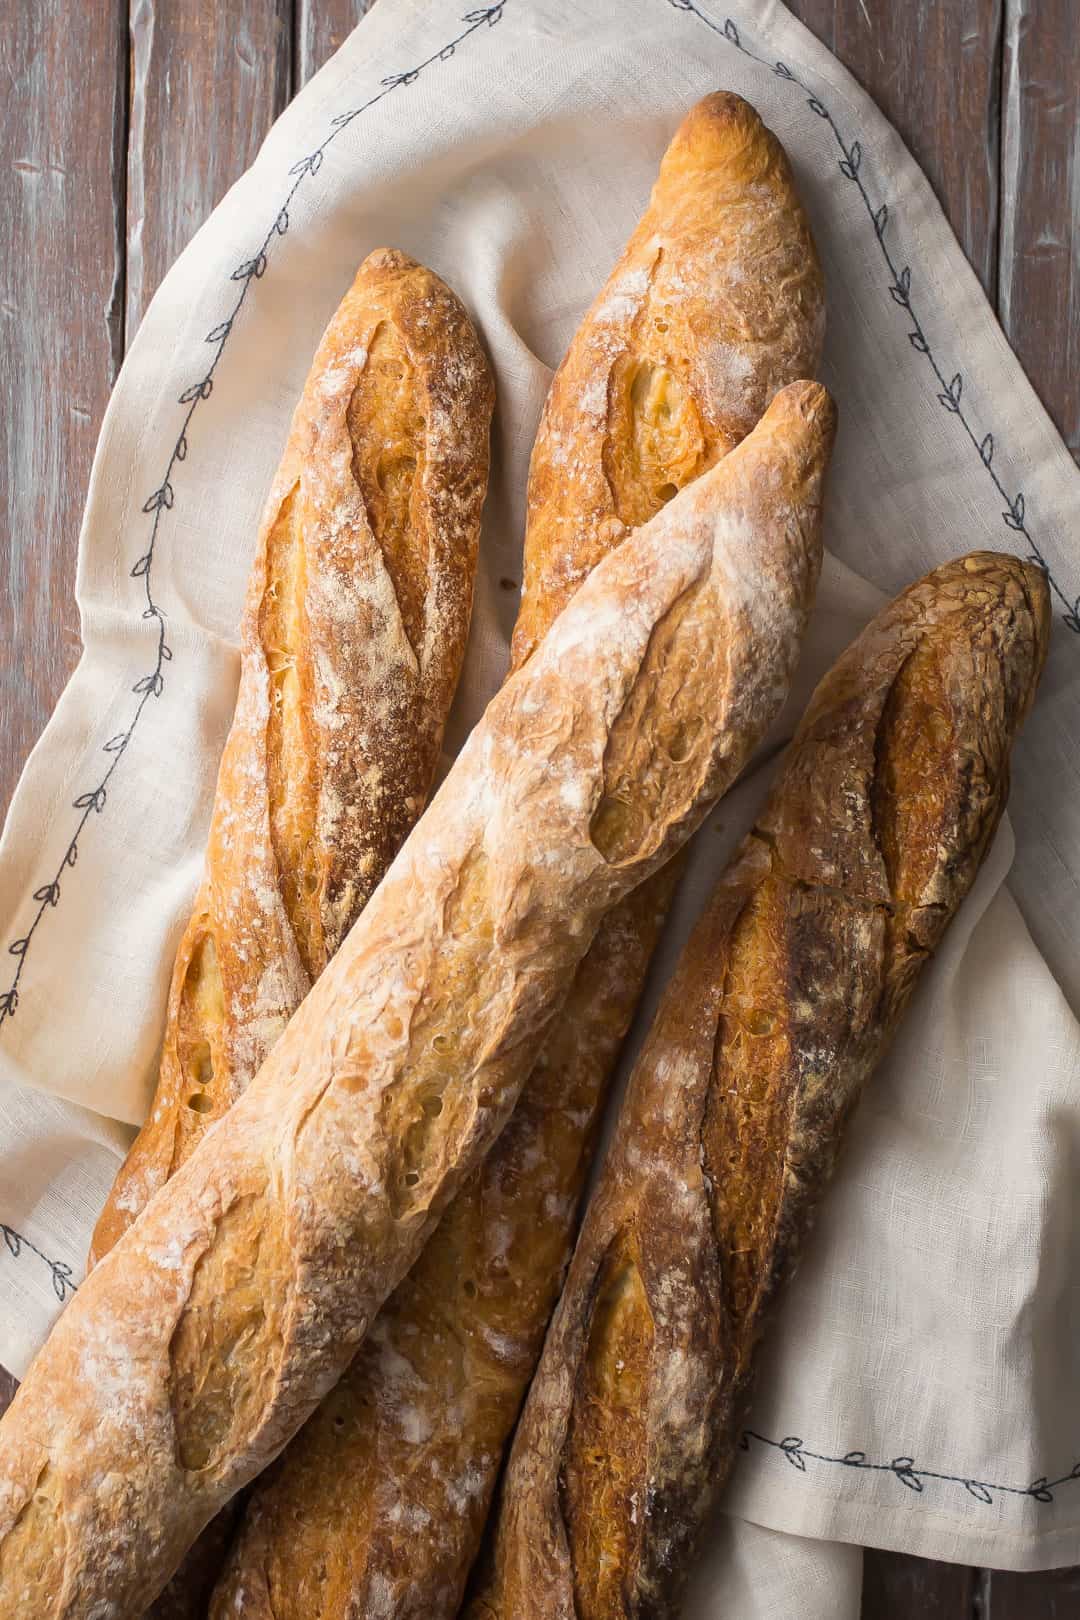
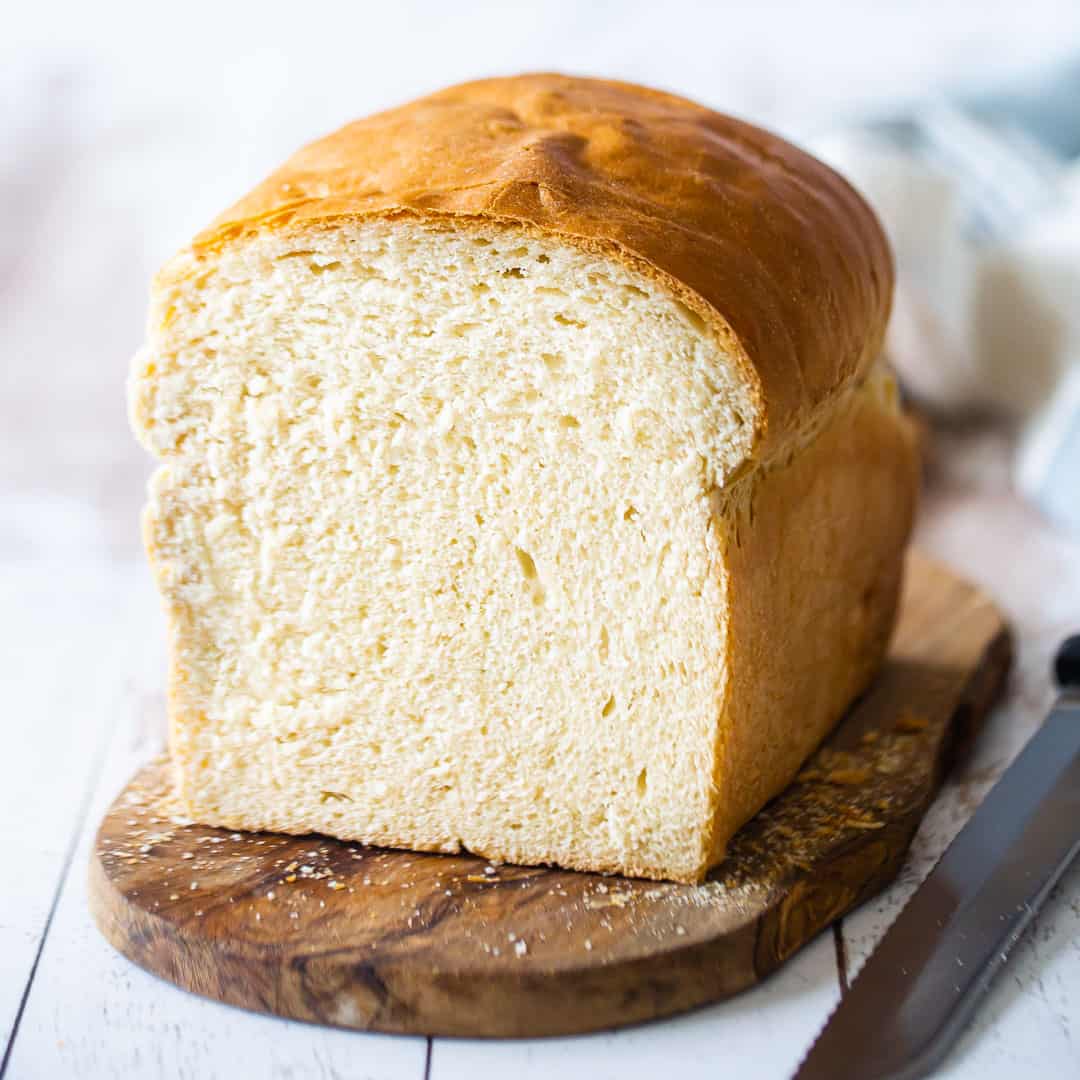
I am over the moon about that crunchy, splintery outer crust. See how it shatters? And the interior- soft, pillowy, and so airy. It's perfection.
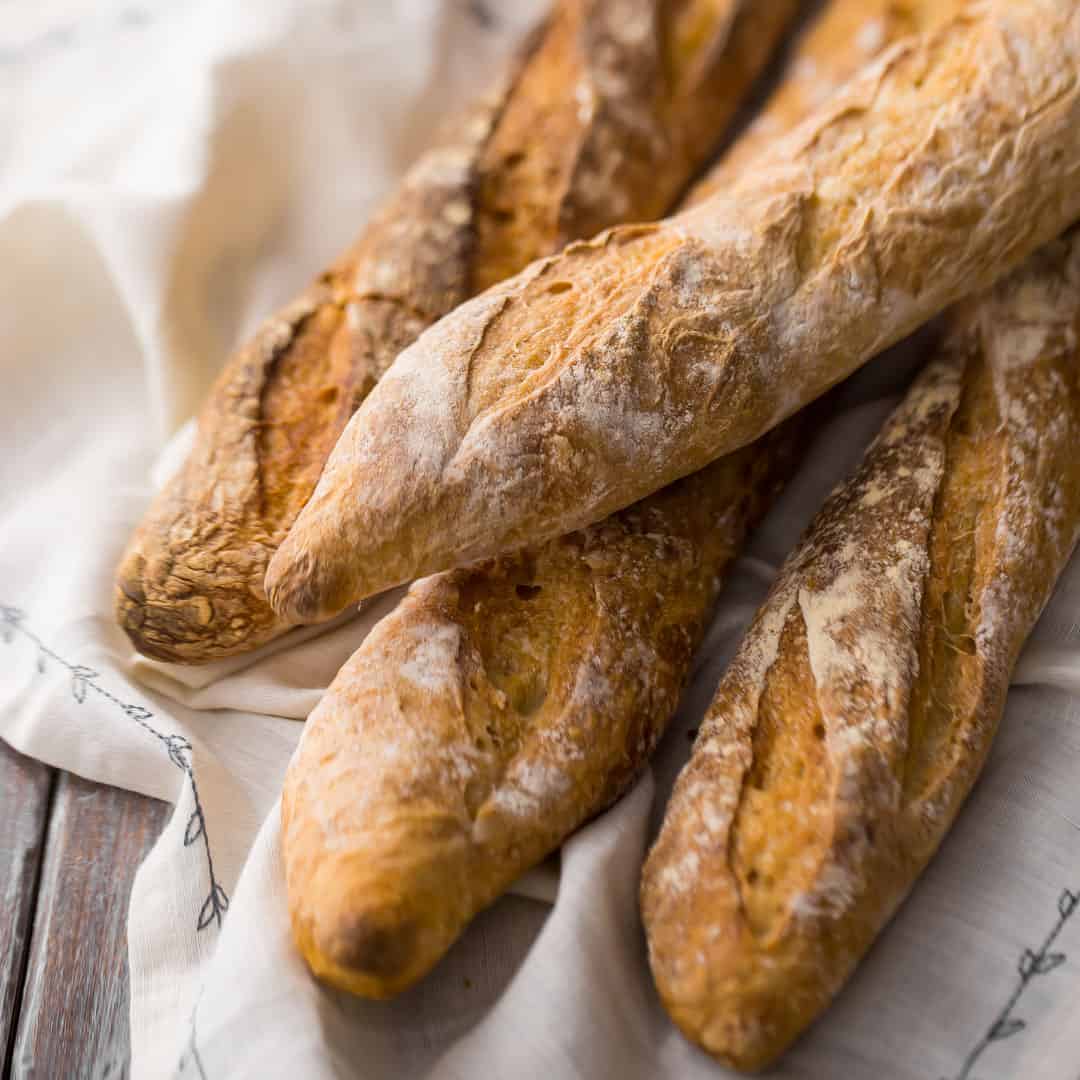
My family loves a good crusty French baguette. We eat this kind of bread with so many things! It's so chewy, yeasty, and good. I've always been a little afraid to try making it myself. Everything you hear suggests it's complicated and fussy, and only a French boulanger could ever get it right.
WRONG! Here's living proof that anyone can make a killer baguette.
Why You'll Love This Baguette
- Bakery-style at home: You don't need fancy equipment to get an artisan-quality loaf.
- Simple ingredients: Just flour, water, yeast, and salt.
- Crispy crust, tender crumb: For the perfect balance of crunch and softness.
- Versatile: Enjoy it as a snack, side dish, or as a base for sandwiches.
Ingredients You'll Need
The recipe card at the bottom of the post contains the full list with all of the amounts. Refer to that when you're cooking.
- Bread flour - Provides the higher protein content needed for that perfect chewy texture and airy interior.
- Kosher salt - Balances flavor and strengthens the gluten structure.
- Active dry yeast - The key to a good rise and light texture. Instant yeast can also be used.
- Water - Warm water helps activate the yeast, while cool water keeps the dough manageable.
- Additional flour - For dusting your work surface and shaping the loaves.
How To Make A Homemade French Baguette
Step 1: Start the Dough
Sprinkle the yeast over the warm water and let it sit until it becomes foamy. This ensures the yeast is active and ready to work.
In a large bowl, combine flour and salt. Make a well in the center and pour in the dissolved yeast. Slowly stir in cool water until you have a shaggy, stiff dough. You may not need all of the water. Cover and let the dough rest for 30 minutes.
Step 2: Fold and Rise
Turn the dough onto a lightly floured surface. Gently press it into a rectangle, then fold the sides into the center and flatten and rotate it. Repeat the process. Place the dough in an oiled bowl, cover it, and let it rise until it has doubled in size (about 1-2 hours).
Step 3: Shape the Loaves
Divide the dough into four equal portions. Shape each into a long, thin loaf, approximately 15 inches long, with tapered ends. Transfer to a parchment-lined baking sheet, cover loosely, and let it rise again until doubled in size (30-45 minutes).
Step 4: Bake with Steam
Preheat your oven to 450°F (230°C). Place a pan of water on the bottom rack to create steam, which helps form that signature crust.
Slash each loaf with a sharp blade, dust lightly with flour, and bake until golden brown and crusty, about 30-40 minutes. The baguettes should sound hollow when tapped.
Helpful Tips and Tricks
- Don't rush the rise: A slower rise develops more flavor and better texture.
- Use steam: That pan of water in the oven is the secret to a crisp, golden crust.
- Slash with confidence: Clean cuts help the bread expand properly in the oven.
- Cool before slicing: As tempting as it may be, let the loaves rest for at least 10 minutes to allow the crumb to set.

Classic French Baguette FAQ
This type of loaf is infinitely versatile! Slice it into ½-inch rounds and it's perfect as a base for bruschetta or crostini. Or it can be used as a dipper for your favorite party dip. And we love it toasted with garlic butter, for garlic bread. So good with a pasta dinner! Or just tear into it and eat it with a hot bowl of soup. So satisfying!
Baguettes are best when they're freshly baked, but they're still pretty darn great after a few days!
To store a French baguette, wrap it loosely and keep it at room temperature for 2 to 3 days. If you notice it's not as crusty after a while, just pop it in a warm oven (around 170 degrees-ish) for 5-10 minutes, and it should come out good as new.
A fancy French boulanger might not agree with me on this one, but I say go for it!
I do this a lot at my house. When the baguette is still fresh, slice it into thin rounds. I'll often cut on the diagonal so there is more surface area to spread yummy things on. Then, just slip the baguette slices into a zip-top freezer bag, and into the freezer they all go.
Whenever we want a slice of crusty French bread, we just pull out what we need.
The baguette slices thaw in just a few minutes at room temp. Alternatively, they can be warmed in the oven or toasted. It's super convenient!
Yes, but the texture won't be quite as chewy or airy. Bread flour is best.
No. A parchment-lined baking sheet works beautifully for this recipe.
This could be due to inactive yeast, cool rising conditions, or using too little water. Ensure your yeast is fresh and allow the dough plenty of time to rise.
Spritz the loaves with water right before baking, in addition to using a steam pan.
More Homemade Bread Recipes

Ingredients
- 3 ½ tablespoons (52.5 g) warm water
- 1 ½ teaspoons (4.67 g) active dry yeast*
- 3 ¾ cups (468.75 g) bread flour
- 2 teaspoons (12 g) kosher salt
- 1 ¼ cup (295.74 g) cool water, (you may not need all of the water)
- additional flour,, for dusting
Instructions
- Place the warm water in a small bowl and sprinkle the yeast on top. Set aside and allow the yeast to dissolve and become foamy.
- Place the bread flour into a large bowl and stir in the salt.
- Make a well in the center of the flour mixture, and stir in the dissolved yeast.
- Add the cool water, a little at a time, while stirring, just until a stiff, shaggy dough (watch the video below to see what this should look like) has formed (you may not need to use all of the water).
- Cover the bowl with plastic wrap and allow it to rest for 30 minutes.
- Transfer the dough to a lightly floured work surface, gently press it into a rectangle, and fold the short sides into the center. Flatten, turn 90 degrees, and repeat.
- Place the dough in a large oiled bowl, and cover with plastic wrap. Allow it to rise in a warm place until doubled in bulk (about 1 to 2 hours).
- Divide the dough into 4 equal portions, and shape each one into a long loaf (about 15-inches long and 1 ½-inches in diameter), with pointed ends.
- Place the loaves on a parchment-lined baking sheet, cover with oiled plastic wrap, and allow to rise until doubled in bulk (about 30 to 45 minutes).
- Preheat the oven to 450 degrees F, and place a pan of water on the bottom rack.
- Bake the breads until crusty and brown (approx. 30 to 40 minutes). The baguettes should give a hollow sound when tapped.
Notes
Author


Have a question about this recipe? Ask AI:
1.75 ounces of water ?????? What is that in cups
Bread making can sometimes be a little trickier, so I wrote this recipe measuring the ingredients by weight, just because it's more accurate. That said, you may not even need to use the full amount of water, so I wouldn't get too hung up on it. Just dribble in the water, stirring, until you get a shaggy dough like what you see in the video. (You can also just google "ounces of water to cups" for the conversion.)
Yep - perfect baguette - I miss my French baked baguettes - I ended up importing flour from France and making my own... with this recipe - pretty good - my husband approve - easy fast and delicious
I'm so glad! Thank you so much for the 5-star review!
Very easy to make and the short 2 minute video really helped to give confidence to give it a go. Turned out really well and doubled it all up now to make a second batch 😀
Awesome, so glad it was helpful to you. Thanks so much for the great feedback!
Out of all the baguette recipes I’ve tried, this is a true blu ribbon winner. Make these and you’ll never go to the baker ever again. You can stop looking now!
Thank you so much E!
Just made this, well just ate this. Followed recipe exactly. Best baguette I've had in 20 years.
That's wonderful to hear! I'm so pleased to know you enjoyed. Thank you so much for the 5-star rating!
Can you use fresh yeast instead of active dry yeast?
Sorry, I'm not sure. The answer is probably, but I'm not sure how the conversion would work.
My dough never developed as much volume as yours. I made the four loaves, when I probably should have made two. They were delightfully crispy on the outside, and the inside looked great, but...but they were too thin to be considered baquettes - more like really thick breadsticks 🙁
Hi ! I’m so excited to try this recipe. It was shared by a friend who loved it.
Is this recipe suitable for adding additional ingredients for flavour variations, such as rosemary or olives ? Would I need to consider any adjustments to the recipe ?
Secondly, I assume it’s safe to triple the measurement of ingredients if I would like to make a bigger batch with no adjustments to other steps ? Or would I have to increase resting time for example ?
Thanks!
Hey there! I'm afraid I have not tried any of the variations you're suggesting, so I can't say for sure. But feel free to experiment! I'd love to hear about the results. Good luck!
I have NEVER baked bread before. Cut recipe in half to make 2 loaves. Baked for 25 mins at 450 with pan of water at bottom of oven. We finished a loaf just "testing" it right out of the oven.....
Next time I will use some aluminum foil to create a couche form under a floured Silpat for my 2 loaves. That way I can use the Silpat for the loaf rise and then just pop it into the oven with no additional loaf handling.
Smart idea Ken! Thank you for sharing that. I'm very happy you were pleased!
Just made this and I was shocked at the results. I wanted to suggest a few tweaks that I'm going to try out today with this recipe. The first is making fewer loaves with the same amount of dough. This recipe makes four thin demi-baguettes, but I'd suggest if you'd like to have a wider baguette to try only rolling out two or three loaves instead. I noticed that the second proofing didn't do too much for the size of the bread, and when they baked they didn't really grow in the oven.
Second adjustment I'd make is to try not to use any oil for nonstick purposes, this one is tricky. I noticed that the crust of my bread didn't have that dry, dark brown layer that you see on most baked bread, and while I'm not sure exactly what resulted in that, my theory is that either the bread was coated in oil from the second proofing, or the steam wasn't effective. I think its the former, as they did have an slightly oily touch and a more golden color. All in all I really did like this recipe, and other some the two above complaints, the bread was PERFECT. The crust was incredibly crispy, and the interior had that airy and chewy crumb that you expect from a french baguette.
FYI at 450 in my oven these only took roughly 18 mins and they were cooked perfect, but I forgot to add the pan of water. They still came out great, and i'll try that next time
Hi, Thank you very much for the wonderful recipe. I baked a batch yesterday. It was almost perfect except that it got slightly burnt. I baked for 25mins. Tried again today and this time for 17 minutes. Every one in my family in Singapore thoroughly enjoyed the baguette. It goes well with garlic infused extra virgin olive oil. I never thought I would bake crunchy baguette at home. Thank you.
Could you please advise if you have a wholemeal baguette recipe?
I'm so glad you're enjoying the recipe Chitra! I don't have a wholemeal recipe but I do believe that some other readers have modified this one and given their measurements here in the comments section. Definitely give it a skim, I think you'll find the info you're looking for!
I was missing the traditional baguette from Paris. Thanks to your recipe, I have make it and it was so easy to make. It was crusty and great taste.. Thanks so much..
My pleasure Rizmi. I'm very happy you enjoyed. Thank you for the excellent feeback!
I tried this recipe and they came out a bit dense. I saw a noticeable deflation when I struck them (with a knife) and when transferred from the floured cloth to the baking tray. Any suggestions? I would like to get a better structure!
It's possible they may have over-proofed. Once the dough gets to be doubled in volume, it will begin to lose its strength and start to deflate. It's important to put them into the oven right at that moment when they've doubled. It's not an exact science as to how long they should rise. A lot of different factors can come into play, so it's important to keep a close eye on them as they rise. I'm so sorry you didn't get the result you were after but hopefully this info will be helpful to you next time.
Hey, This is a very well made video,. I love Crusty French Baguettes. Thanks for sharing!
Thank you! It's my pleasure!
The dough is wetter than "normal" bread recipes. I half bake, then freeze. When ready to use, I thaw, spray with water then bake at 450 until the crust looks good.