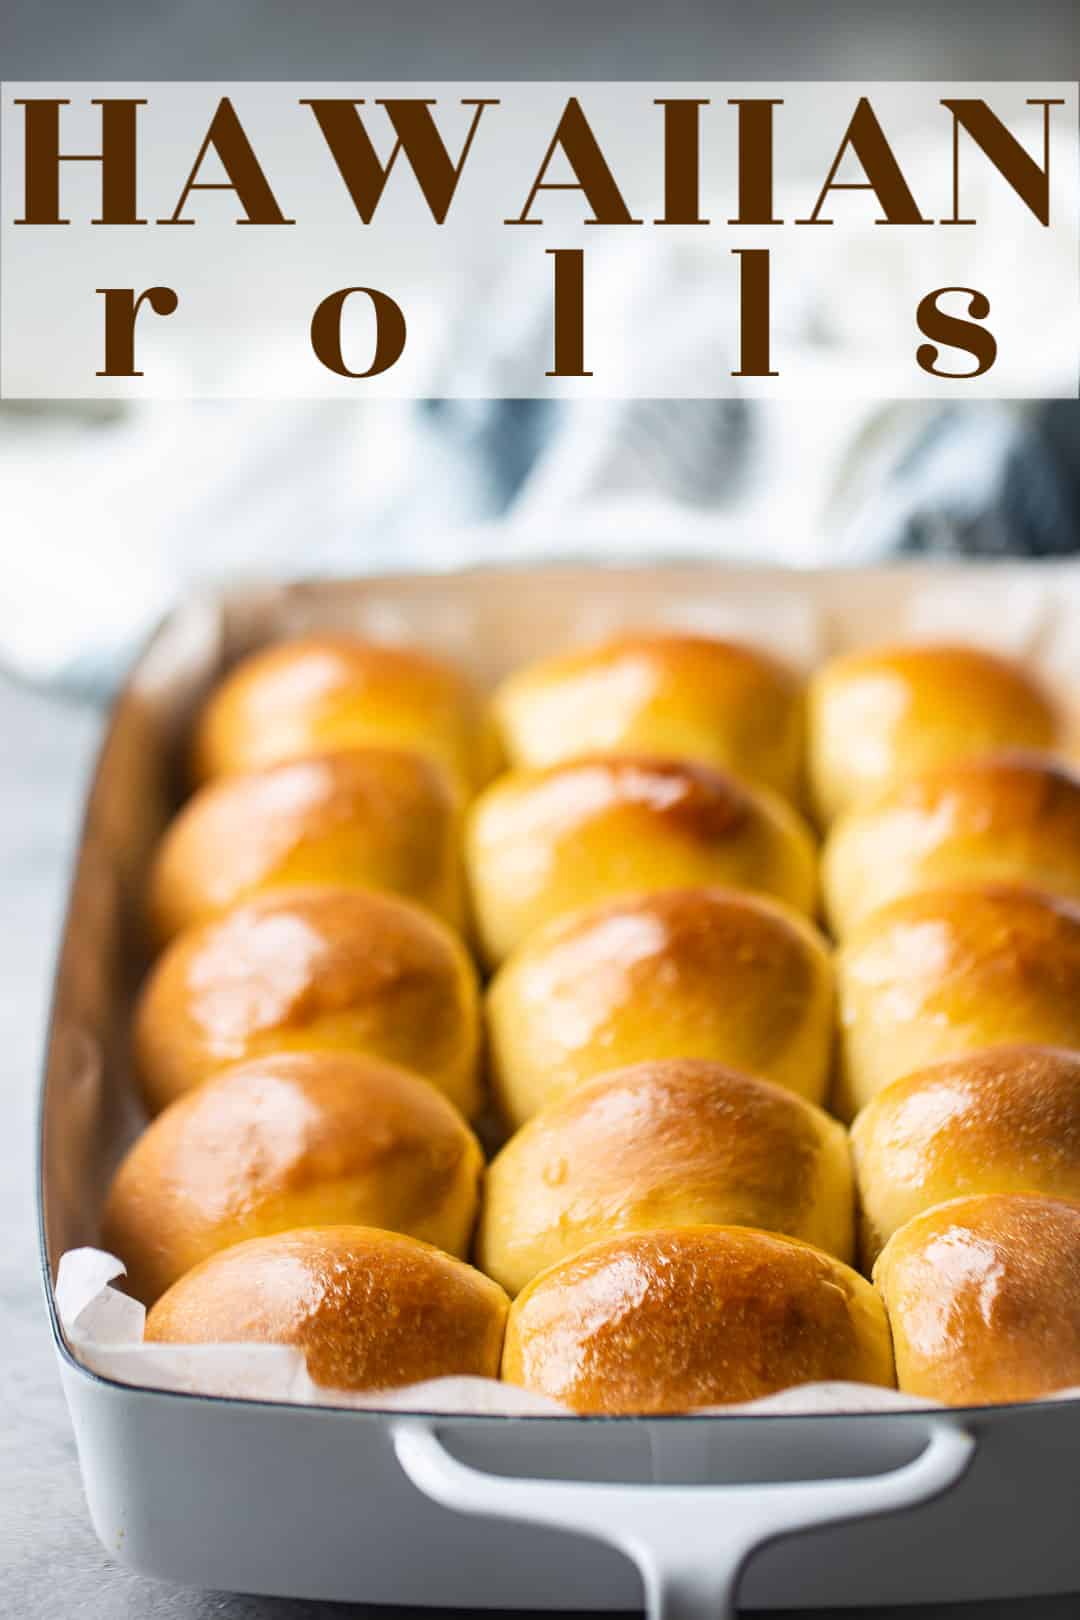
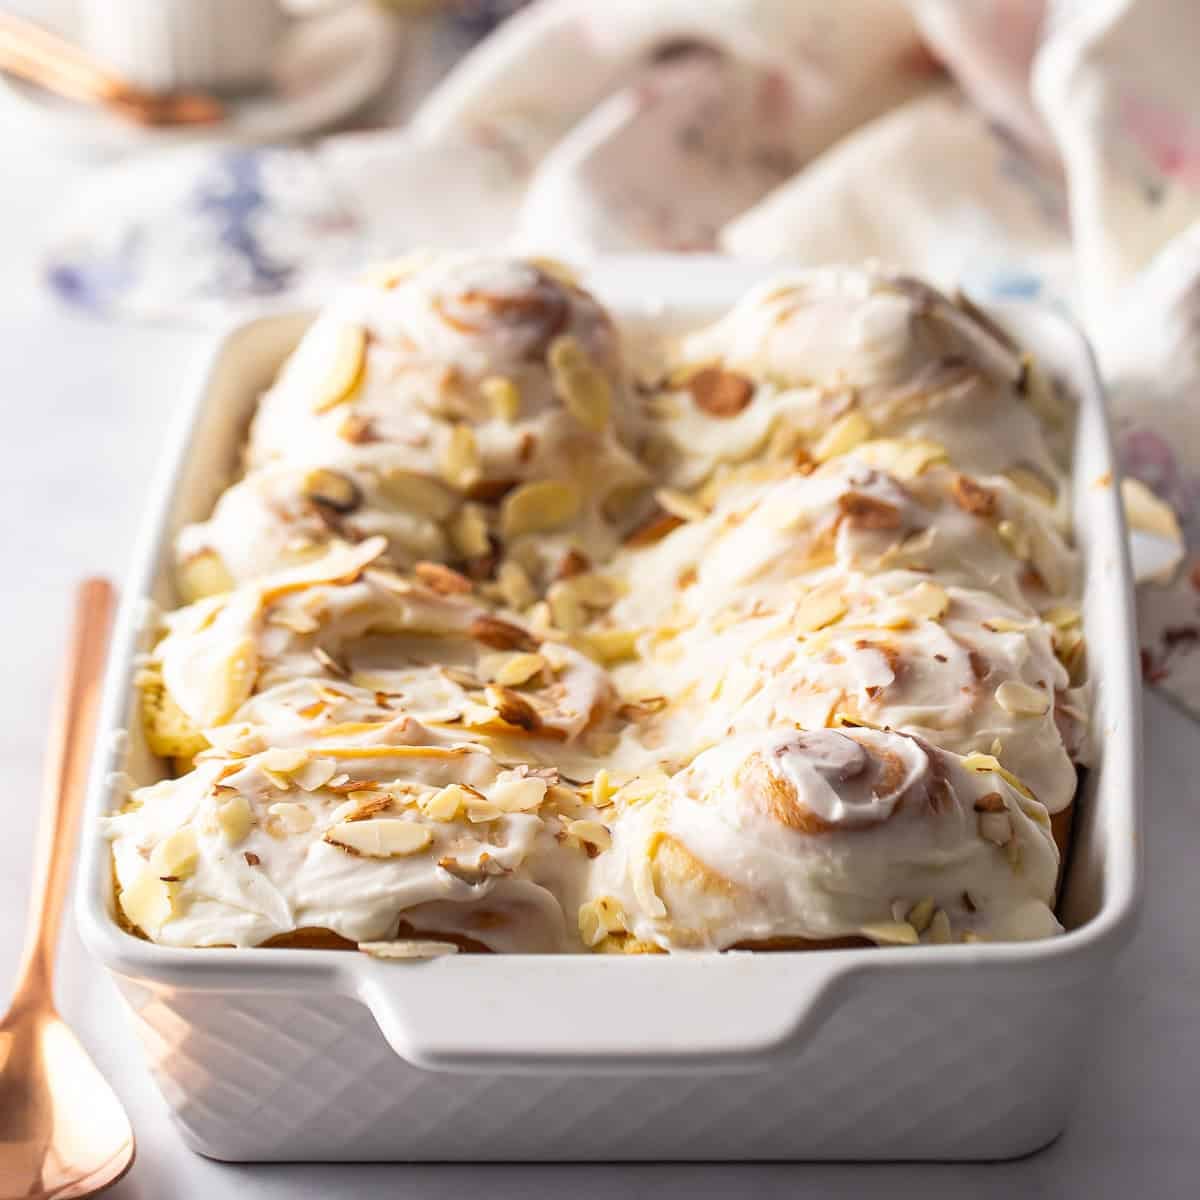
Hawaiian Rolls
As an amazon associate I earn from qualifying purchases.
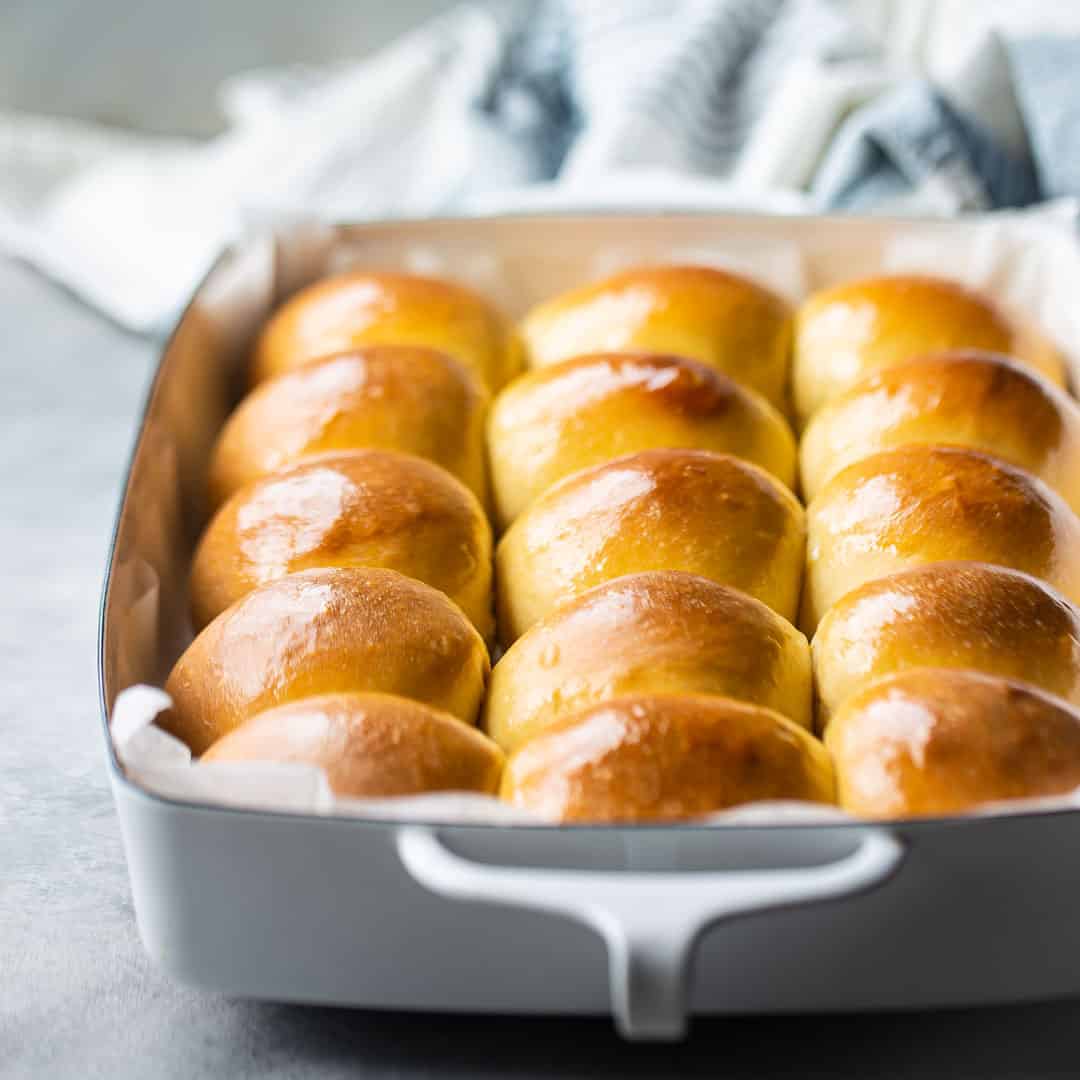
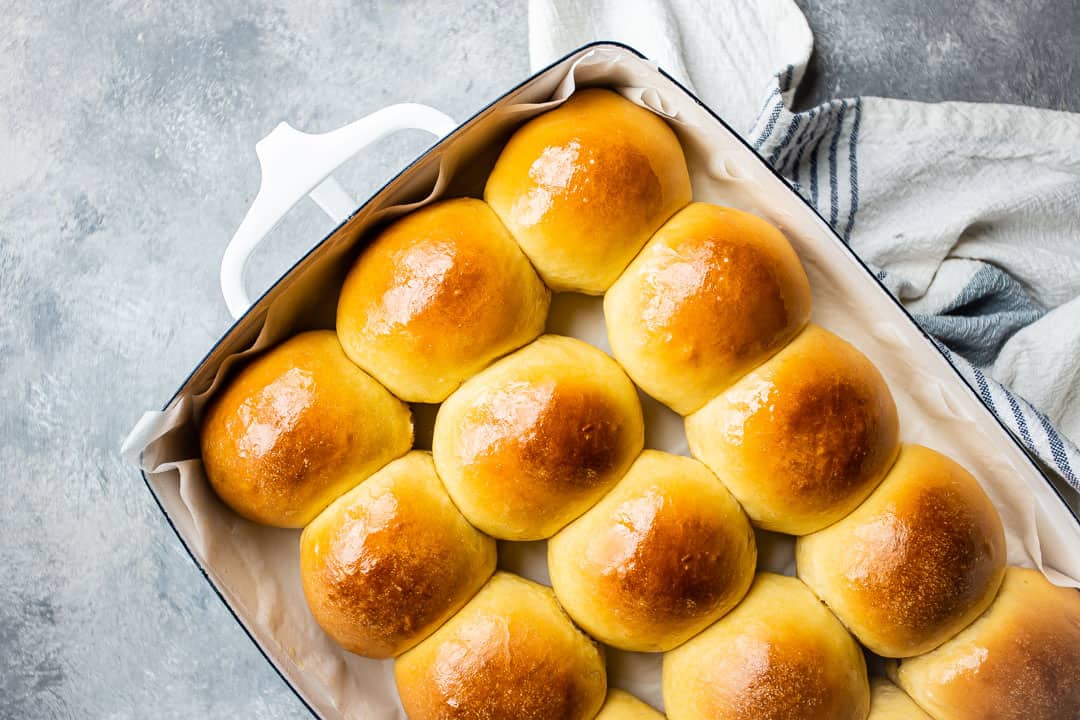
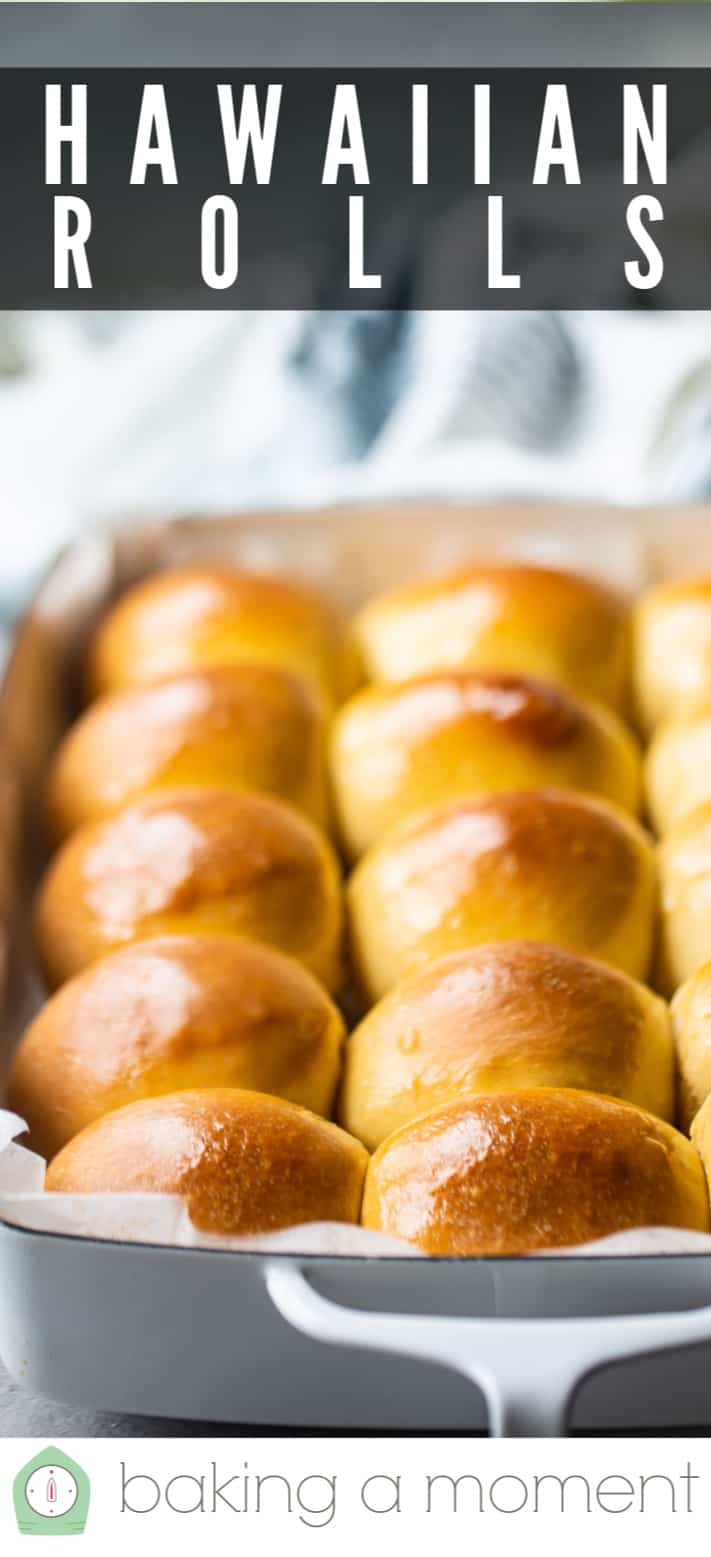
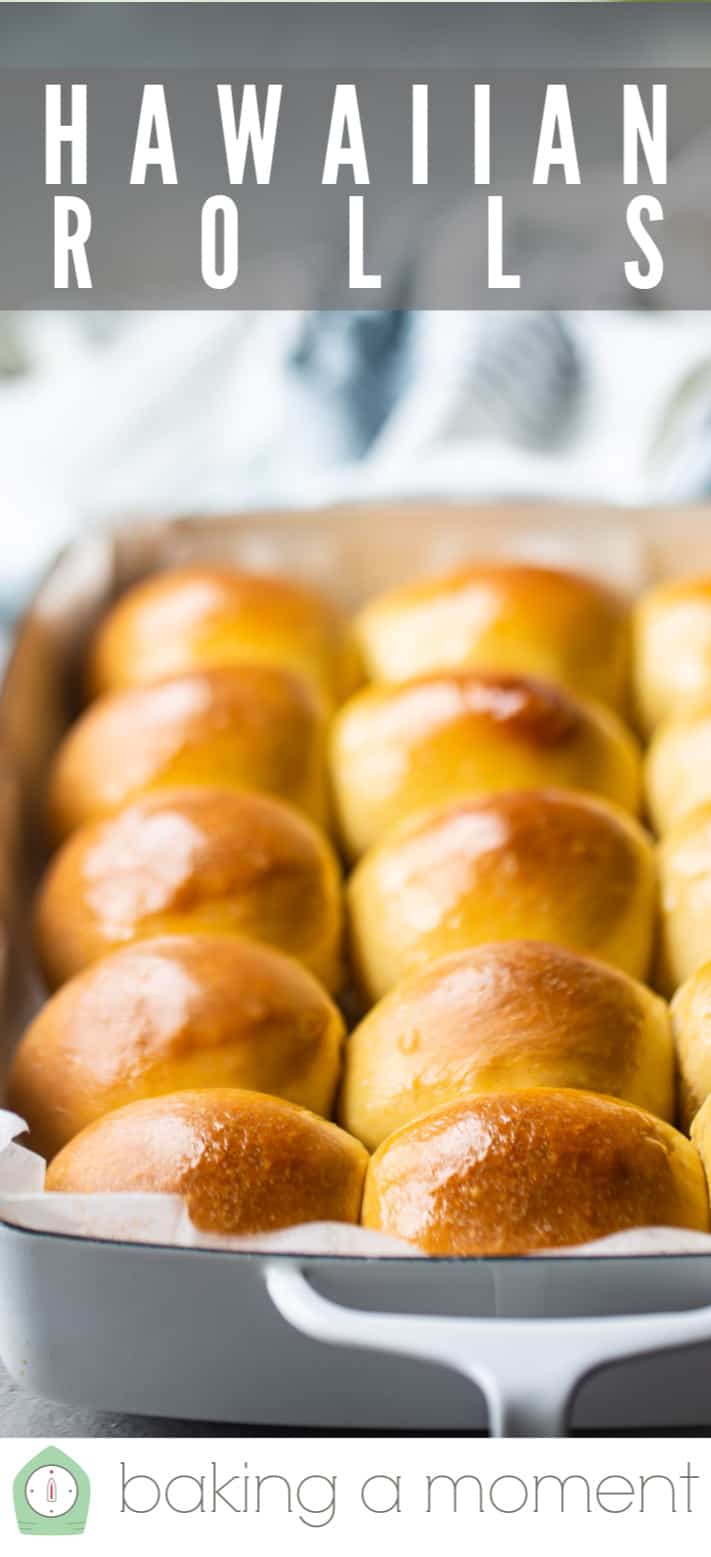
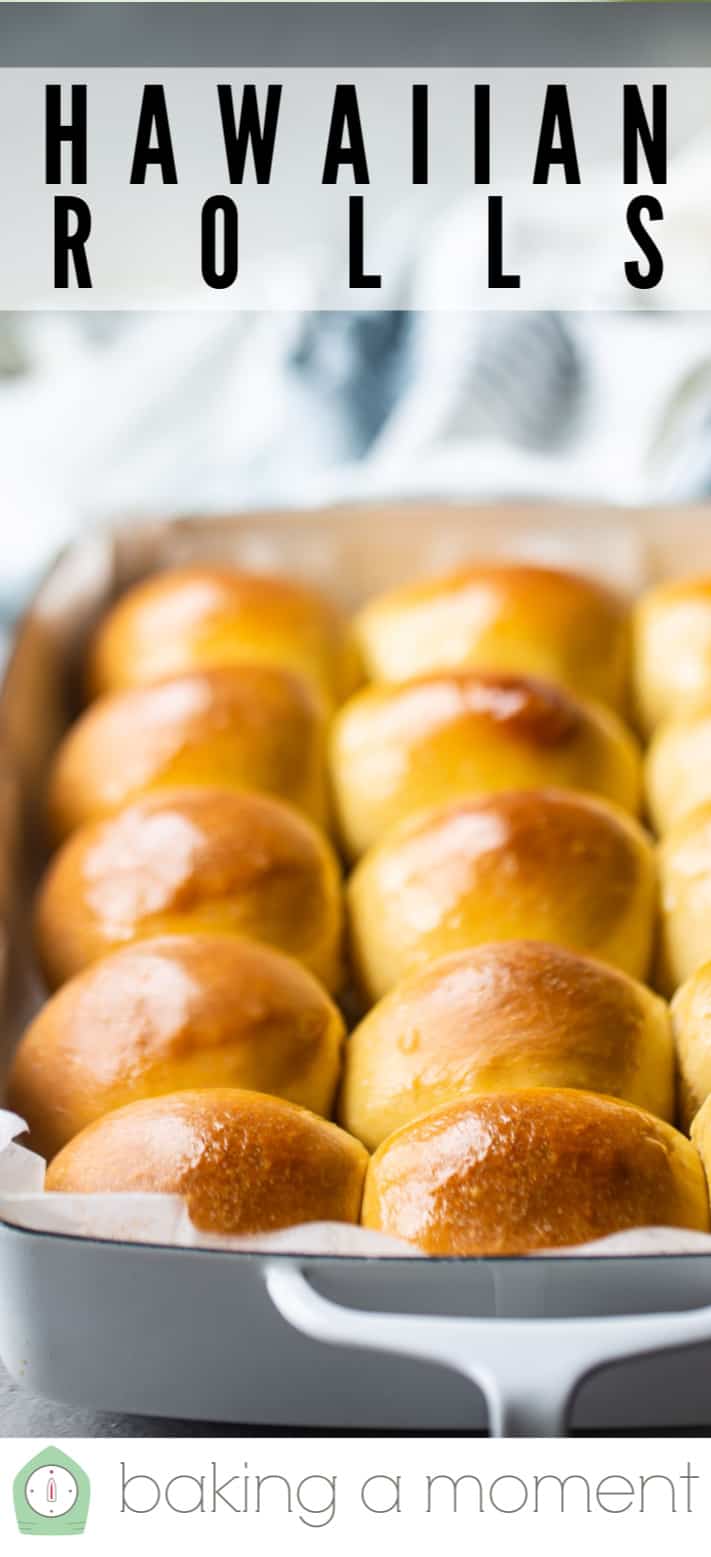
These homemade Hawaiian rolls taste even better than store-bought! Soft, yeasty, & a little sweet, with a pillowy texture that will keep you wanting more.
Is it just me or is everybody making bread right now???
It's crazy! But I love it!
I'm so happy to see people getting into their kitchens and getting elbow-deep in dough. I know the thought of it can be intimidating, but there's no better time than now.
We're all spending lots of time at home anyway, and bread-making is so meditative and therapeutic. It's a great way to slow down and calm yourself, plus you get such a delicious treat. Nothing is more comforting than homemade bread.
With the possible exception of chocolate chip cookies. Or cinnamon rolls. Or brownies.
But we are here to talk about bread right now!
And my new favorite bread recipe: Homemade Hawaiian Rolls!
You know Hawaiian rolls, right? They sell them in the deli section at the supermarket. King's Hawaiian Rolls are pillow-soft, light as air, and just a little sweet. They're perfect for making sliders or even just for slathering with butter.
But you know what's even better? When you make them yourself, from scratch.
This recipe is so easy to make and it all happens in just one bowl.
And honestly? The result is a thousand times better than store-bought. You won't be able to stop yourself from eating these! They are completely irresistible!
WHAT MAKES HAWAIIAN ROLLS SO GOOD
Hawaiian bread is so good because it's soft and stretchy, and it's got just a hint of tangy yeastiness, with a slight sweet flavor that just teases your tastebuds.
It gets its sweetness from a combination of pineapple juice and brown sugar, which in my opinion has always been a match made in heaven (hello pineapple upside-down cake!).
It also gets an extra-rich flavor from the addition of eggs and melted butter.
HOW TO MAKE HAWAIIAN ROLLS
To make this easy recipe, you're going to start by proofing the yeast.
Just stir the yeast together with a little bit of warm water. It should be warm, not hot, like a baby's bath.
Set it aside for about 10 minutes, until you notice little bubbles coming to the surface.
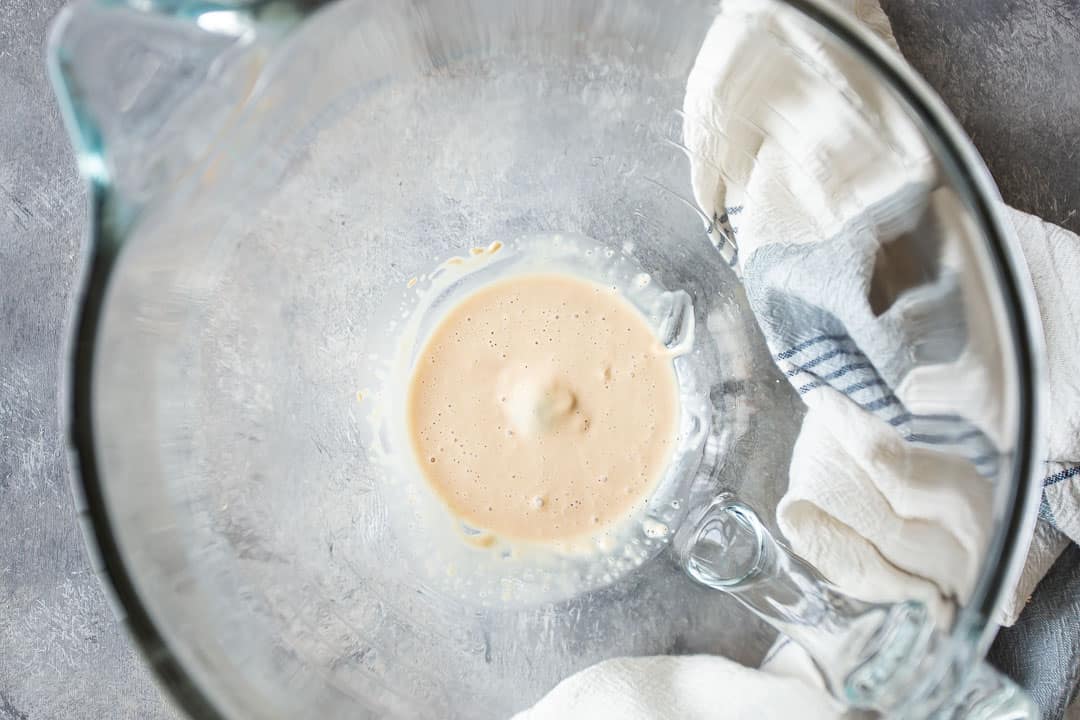
This is how you know your yeast is alive! If you don't see the bubbles, start again. Either your yeast was expired (always check the date!) or you may have killed it with too-hot water.
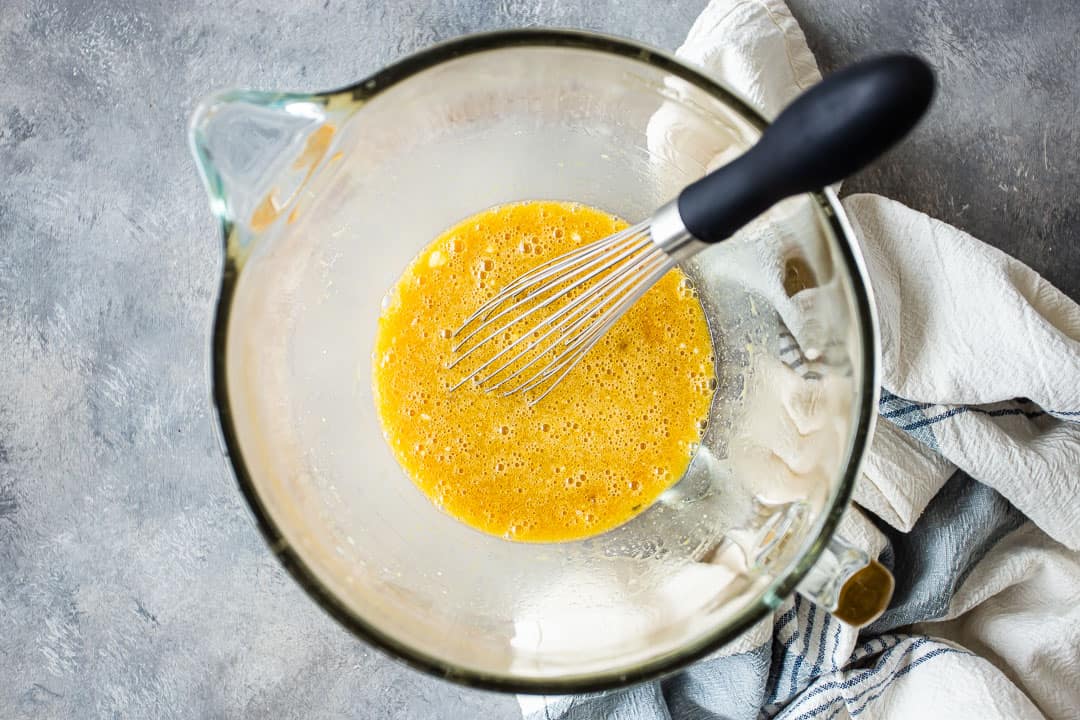
Once the yeast has proven, add in the pineapple juice, brown sugar, melted butter, eggs, salt, and vanilla.
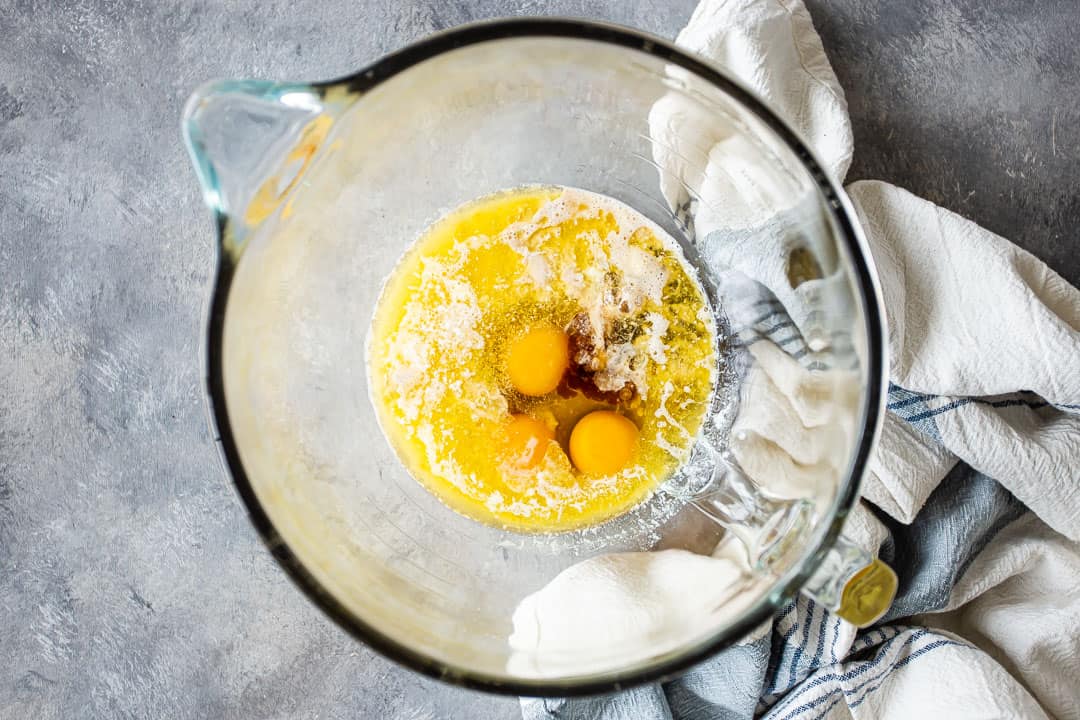
Whisk everything together just to get it combined.
Now you can start adding flour. Work it in about ½-cup at a time.
After about 4 to 4 ½ cups have gone it, you should start to see the dough gathering itself into a ball and pulling away cleanly from the sides of the bowl.
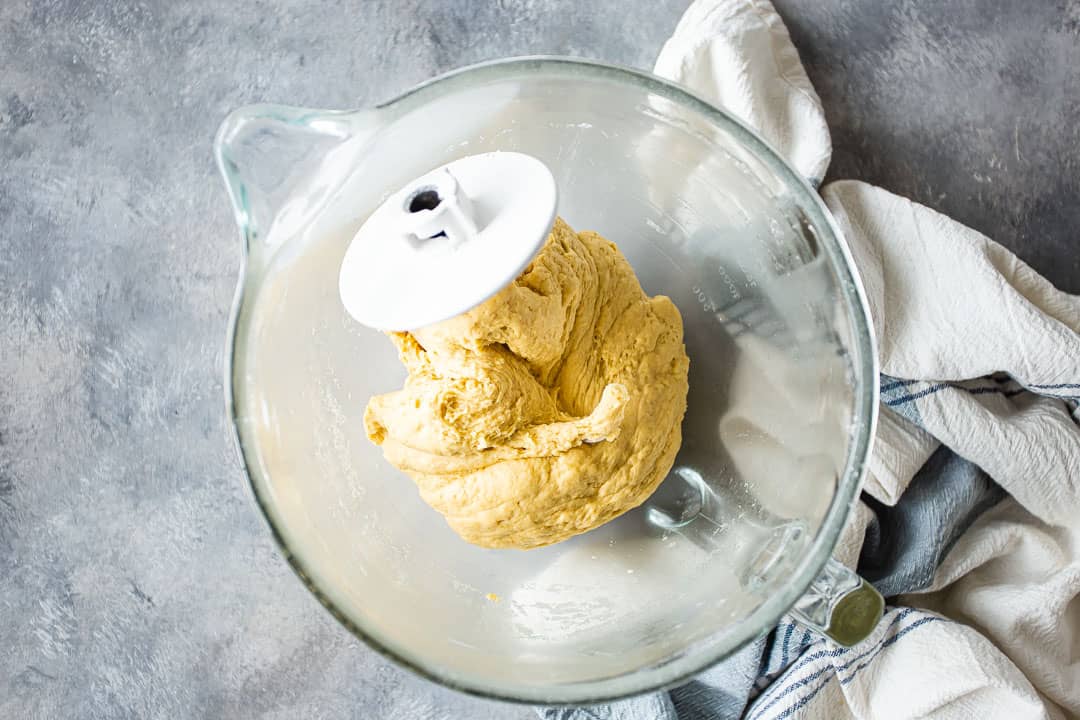
Depending on the humidity in your kitchen, you may need slightly more or slightly less flour.
Knead the dough for a good 10 to 15 minutes. Put on a timer and make sure it gets plenty of kneading. This is what develops the glutens, and creates that signature stretchy, elastic texture that's so key for good homemade bread.
After about 10 minutes of kneading, pinch off a little piece of dough and using your fingertips, stretch it gently from the center outward. You should be able to pull it tissue-thin without it tearing. It should be so thin you can see the light passing through, just like a windowpane.
That's why this is called the "windowpane test."
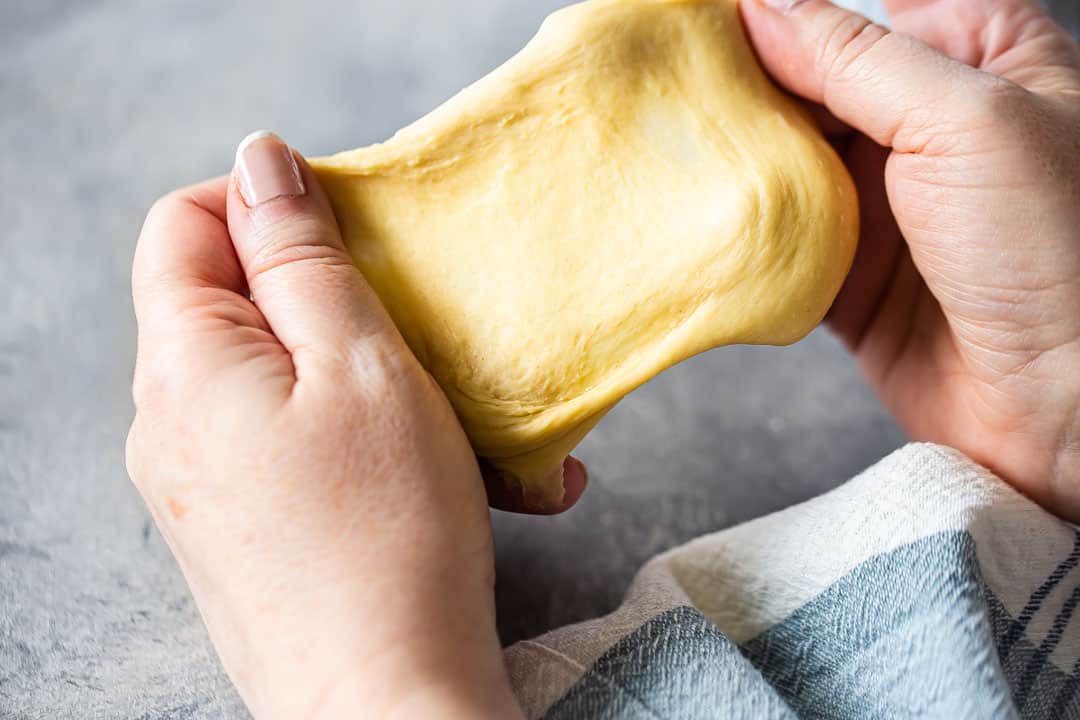
This test works for any kind of yeast bread recipe, so if you've made a loaf and it seems crumbly, it's probably because it hasn't been kneaded long enough and would not have passed the windowpane test.
The more you know!
If your dough doesn't pass the windowpane test, keep kneading until it does.
Once you're there, just mist the bowl with a little non-stick spray, place the dough back in, and cover it with plastic wrap.
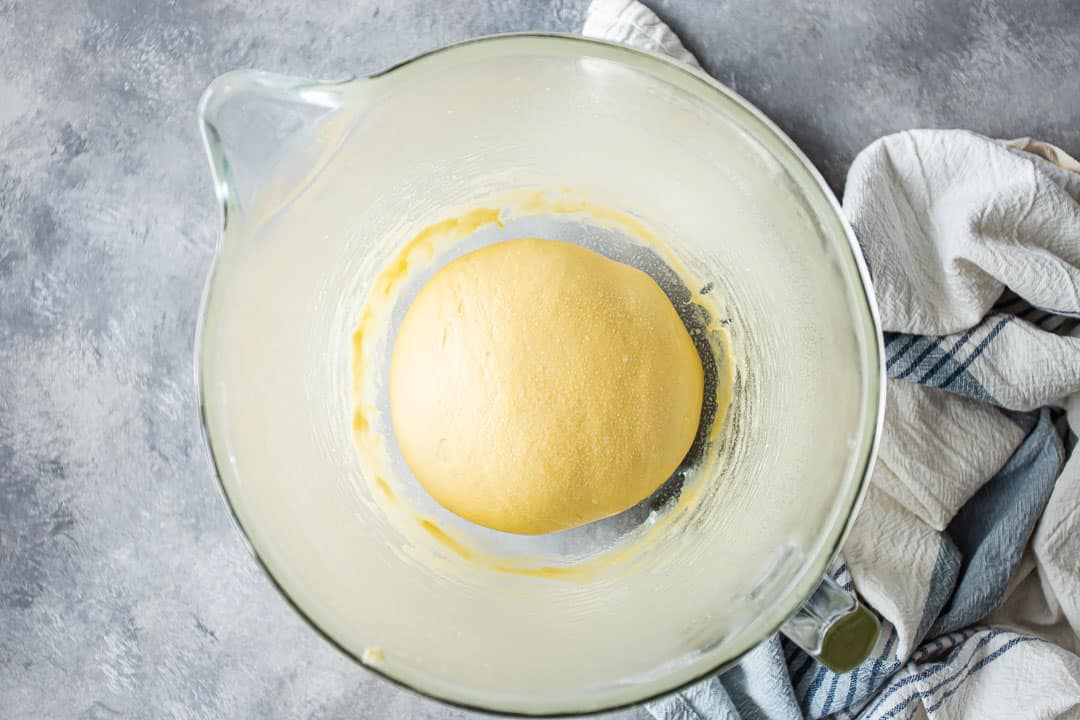
Allow it to rise in a warm place until doubled in volume.
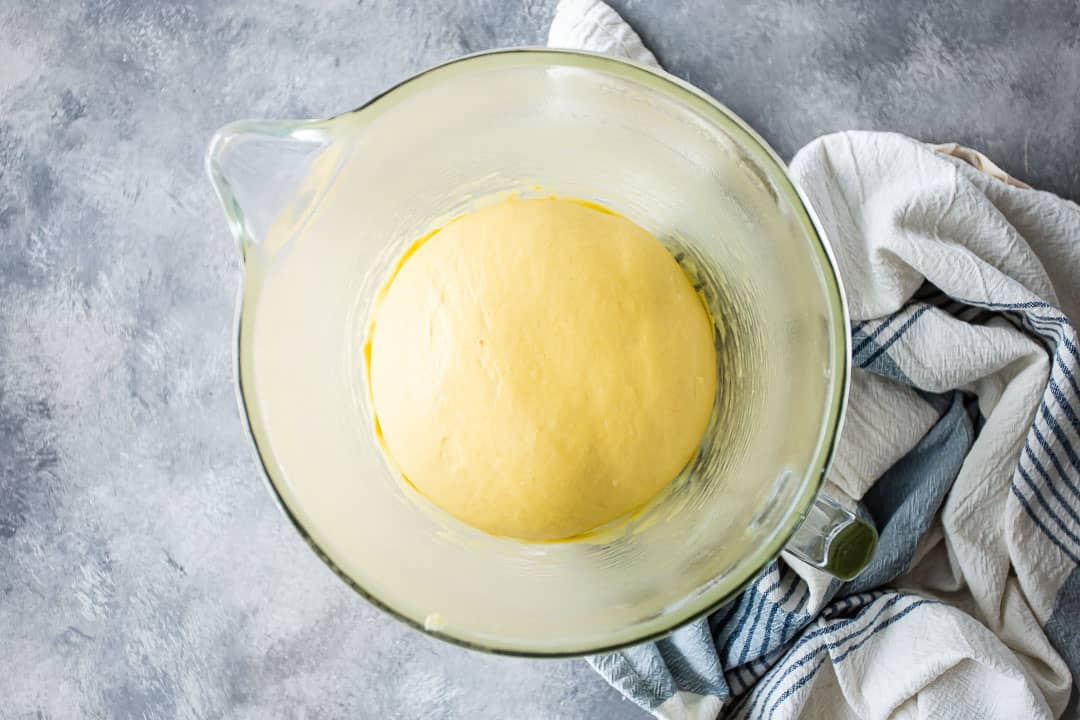
This usually takes about an hour, but if your kitchen is on the cooler side it may take longer.
Once the dough has risen, divide it into 15 equal portions and roll each one into a tight little ball to make rolls.
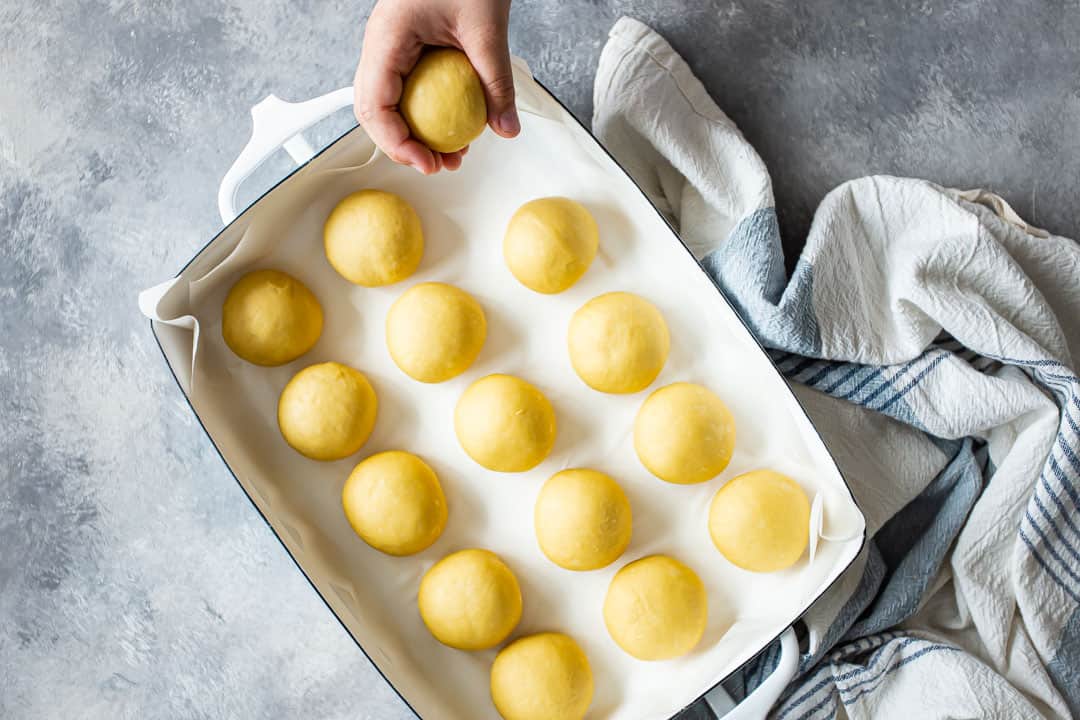
Place them in a greased and parchment-lined 9x13 pan, cover them with a sheet of plastic wrap that's been misted with non-stick spray, and it's time for the second rise.
OVERNIGHT ROLLS
If you want, at this point you can break up the prep over 2 days.
To make overnight Hawaiian rolls, place the unbaked rolls in the refrigerator before the second rise. They can hang out there for up to 48 hours.
When you're ready to move on with the recipe, just take them out of the fridge and allow them to come up to room temperature, then put them in a warm place and allow them to double in volume once again.
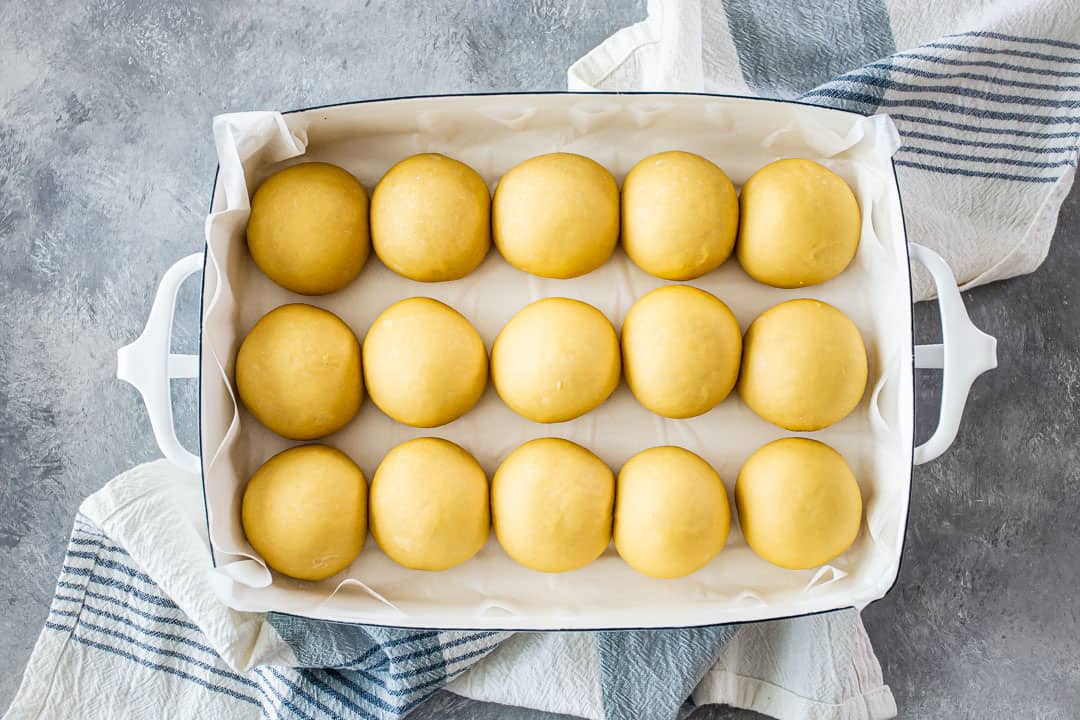
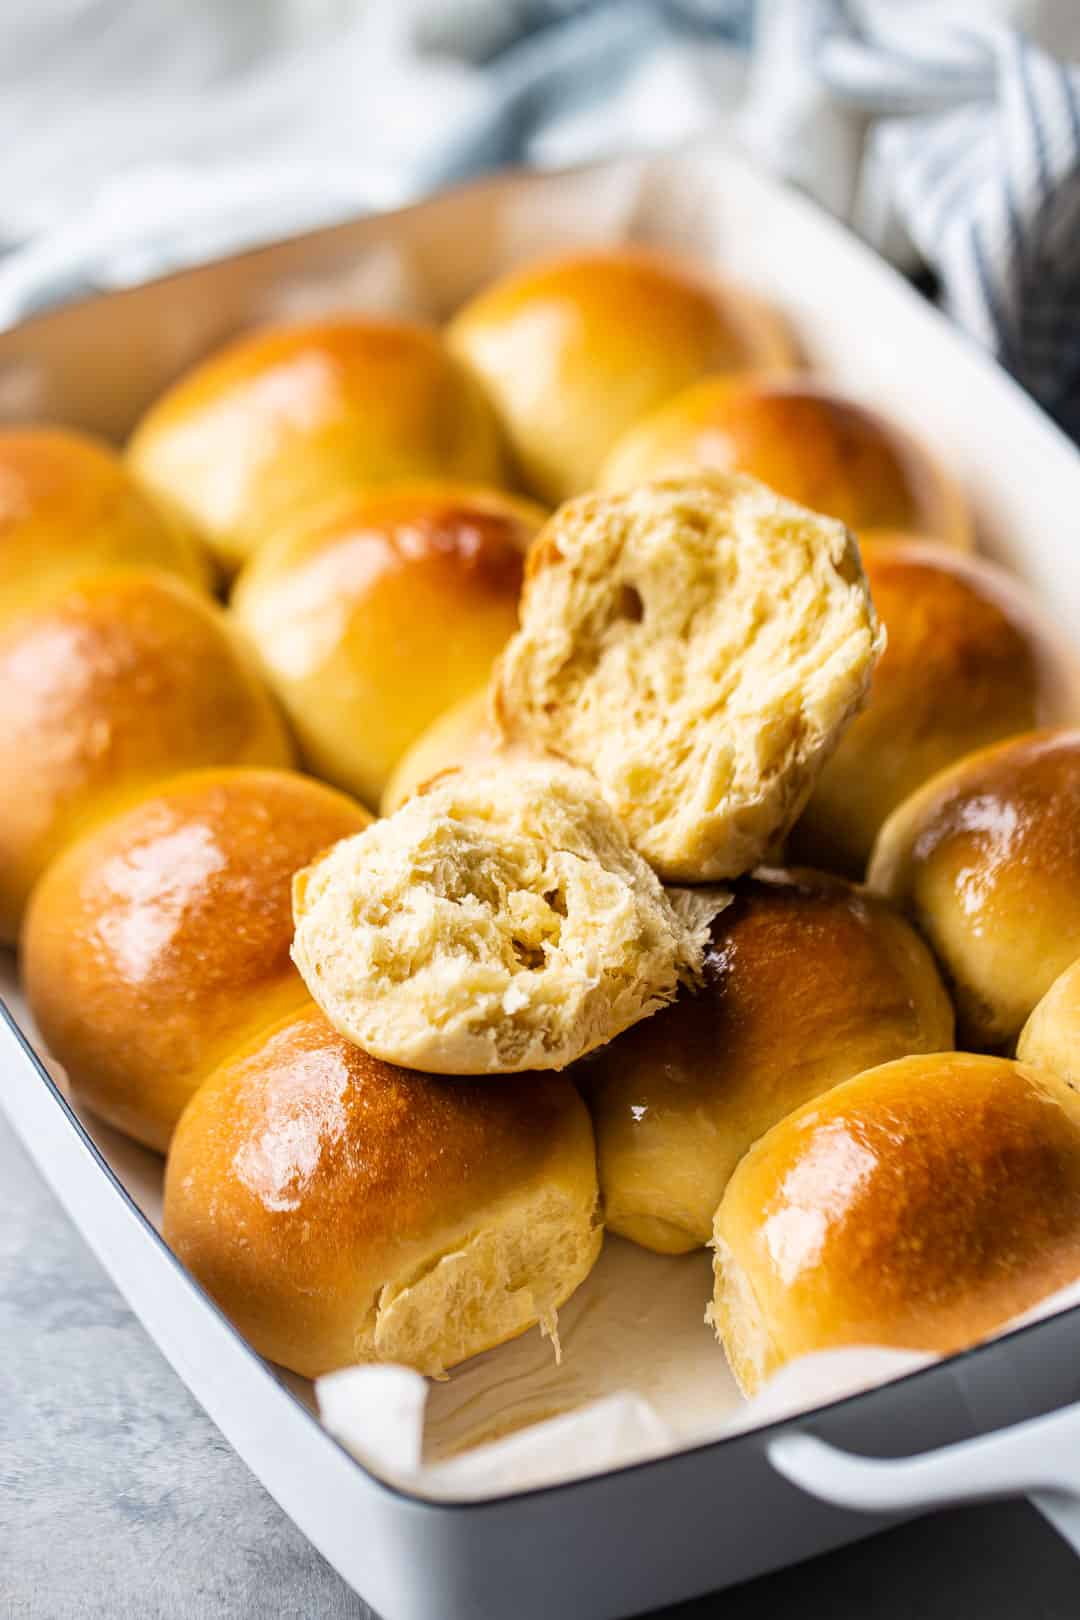
Once they've puffed, place them in a preheated 350 degree F oven and bake them 'til their tops are golden brown and delish.
Then I like to brush them with a little softened butter, while they're still warm. The butter will melt over the warm bread and give it a glossy sheen, plus a little added flavor and richness.
WHAT TO EAT HAWAIIAN ROLLS WITH
In my opinion, the best way to eat Hawaiian sweet rolls is just split in half and slathered with soft butter. So good!
But they also work really well as mini sandwich buns. You've probably seen all the slider recipes on Pinterest.
The entire batch is sliced horizontally, filled with all sorts of deliciousness, then baked in the oven under foil until hot, melty, and delicious.
- Ham and cheese (or turkey and cheese) with a little honey mustard
- Mini hamburgers or cheeseburgers
- Roast beef with provolone and horseradish
- Meatballs with marinara sauce and mozzarella
- Scrambled eggs, bacon, and cheese
- Cuban sliders with ham, roast pork, swiss cheese, pickles, and mustard
- Sloppy joe sliders
- Bbq chicken sliders with thin sliced red onion and sharp cheddar cheese
- Buffalo chicken sliders with bleu cheese
- Reuben sliders with corned beef, sauerkraut, swiss, and thousand island dressing
This bread would also be great made into pineapple stuffing, Thanksgiving stuffing, or bread pudding!
GLUTEN-FREE HAWAIIAN ROLLS
While I have not personally tested it this way, I do think this recipe could work well using a gluten-free flour blend. Look for one that subs 1:1 for regular flour.
Here are a few good options:
HOW LONG CAN THEY LAST?
This Hawaiian bread should last at room temperature for about 2 to 3 days. Just slip the rolls into a zip-top freezer bag, so they don't dry out or become stale.
If you still have some hanging around after that, pop them into the fridge for up to 5 more days to keep them fresh.
CAN YOU FREEZE THEM?
These rolls freeze beautifully. They will last several months in the freezer, sealed in a plastic bag.
Thaw them at room temperature or in the fridge. They can be re-warmed for 15 to 20 seconds per roll in the microwave on full power, or wrapped in foil and placed in a 170 degree F oven until heated through.
You can also freeze unbaked Hawaiian roll bread dough!
Shape the rolls as noted, then place them on a parchment-lined tray in the freezer. Once they're frozen solid, transfer them to a plastic bag.
When you're ready to bake them, place them in the prepared dish and allow them to come to room temperature. Then let them rise, and continue on with the recipe from there.
A FEW MORE OF MY FAVORITE BREAD RECIPES:
As an amazon associate I earn from qualifying purchases.

Ingredients
- 2 tablespoons (29.57 ml) warm water, (just barely warm to the touch, like a baby's bath)
- 1 tablespoon (14.79 g) active dry yeast*
- ¾ cup (177.44 ml) pineapple juice
- ⅓ cup (73.33 g) dark brown sugar, (firmly packed)
- ¼ cup (56.75 g) unsalted butter, (½ stick), melted
- 2 (88 g) eggs, (large)
- 1 (18 g) egg yolk, (large)
- 2 teaspoons (9.86 g) kosher salt
- 1 teaspoon (4.93 ml) vanilla extract
- 4 ¼ cups (531.25 g) all-purpose flour, (approx., you may need a little less or a little more)
- soft butter, (to brush on after baking)
Instructions
- Stir the warm water and yeast together in a large mixing bowl, then set aside until foamy (about 10 minutes).
- Add the pineapple juice, brown sugar, melted butter, eggs, egg yolk, salt, and vanilla and whisk to combine.
- Stir in the flour, about ½ cup at a time, until a stiff dough forms and pulls away cleanly from the sides of the bowl.
- Knead the dough until it passes the windowpane test,** (about 10 to 15 minutes).
- Place the dough in an oiled bowl, cover with plastic wrap, and allow it to rise in a warm place until doubled in volume (about 1 hour).
- Punch down the dough and divide it into 15 equal portions (about 65 grams each).
- Shape the rolls and place them in a 9x13-inch greased baking dish that's been lined with parchment paper.
- Cover the rolls with a sheet of greased plastic wrap (if making overnight rolls, place them in the refrigerator for up to 48 hours).
- Preheat the oven to 350 degrees F.
- Bake the Hawaiian rolls until puffed and golden brown, about 20 to 25 minutes.
- Remove from the oven and brush the tops with soft butter.


These turned out incredible! The dough is so supple and beautiful to work with. I made them for company ham & cheese sliders with homemade mashed potatoes and salad. They’re fluffy, soft, and immensely flavorful! These are definitely going into the regular rotation. Thanks for an amazing recipe!
My pleasure Andi! I'm so glad you were happy with them. Thanks for the great feedback!
Hi! Can this be made with bread flour, and if so, the same amount as the AP flour?
Yes, that's correct!
can u use a different juice like guava juice?
Absolutely!
I made these but forgot to add the butter. They still came out great, just a little dry. I’ll be sure to add the butter next time!
So glad they still worked for you! Thanks for the 5-star review!