Easy Ciabatta Bread
As an amazon associate I earn from qualifying purchases.
If you love crusty French baguettes, soft whole wheat bread, or easy homemade croissants, you are going to fall for this Ciabatta Recipe, too. It is simple, reliable, and perfect for when you want fresh, artisan‑style bread without fuss.
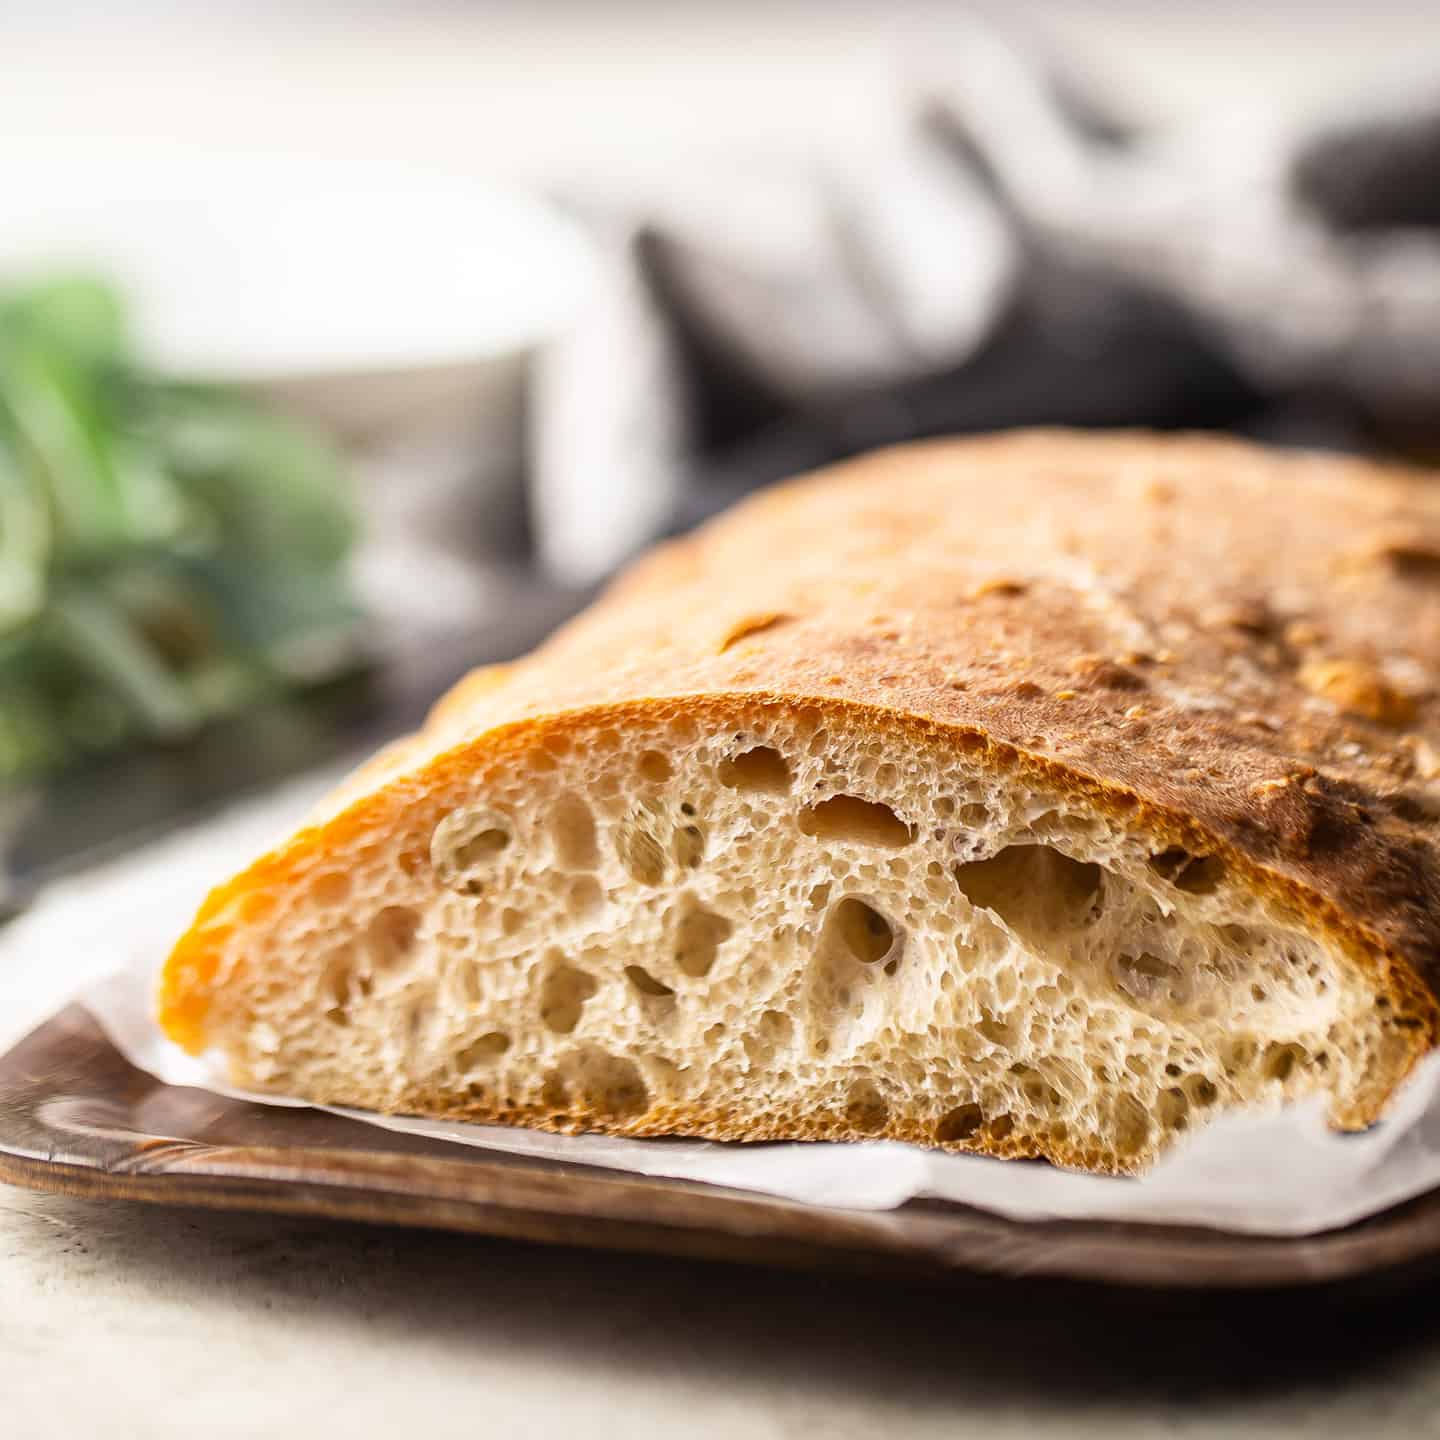
Table of Contents
- Here's Why You'll Love This Recipe
- Ingredients You'll Need
- In Photos: How To Make Homemade Ciabatta Bread
- Overnight Option
- Freezing Unbaked Loaves or Rolls
- How to Store the Baked Bread
- More Homemade Recipes
This recipe uses only four ingredients and happens all in one bowl. Almost no active time is needed. Just gentle folding and a lot of resting. You can bake it within a few hours, or opt for an overnight option that extends the process over two days, allowing the flavor to develop even deeper.
When baked, it turns out beautifully airy on the inside with a crisp exterior and a chewy edge. Picture those dreamy air pockets, a crackly crust, and bread that is tender, moist, and just begging to be dipped or toasted. Trust me, you are going to love it.
What Is Ciabatta Bread?
Ciabatta (pronounced cha‑BAH‑tuh) is Italian for slipper, named for its slightly flattened, slipper‑like shape. It is made from a very wet, no-knead dough that yields a wonderfully open crumb and a crust that is both brown and crunchy. Inside, the bread is full of varied air bubbles. That is exactly what makes it so irresistible.
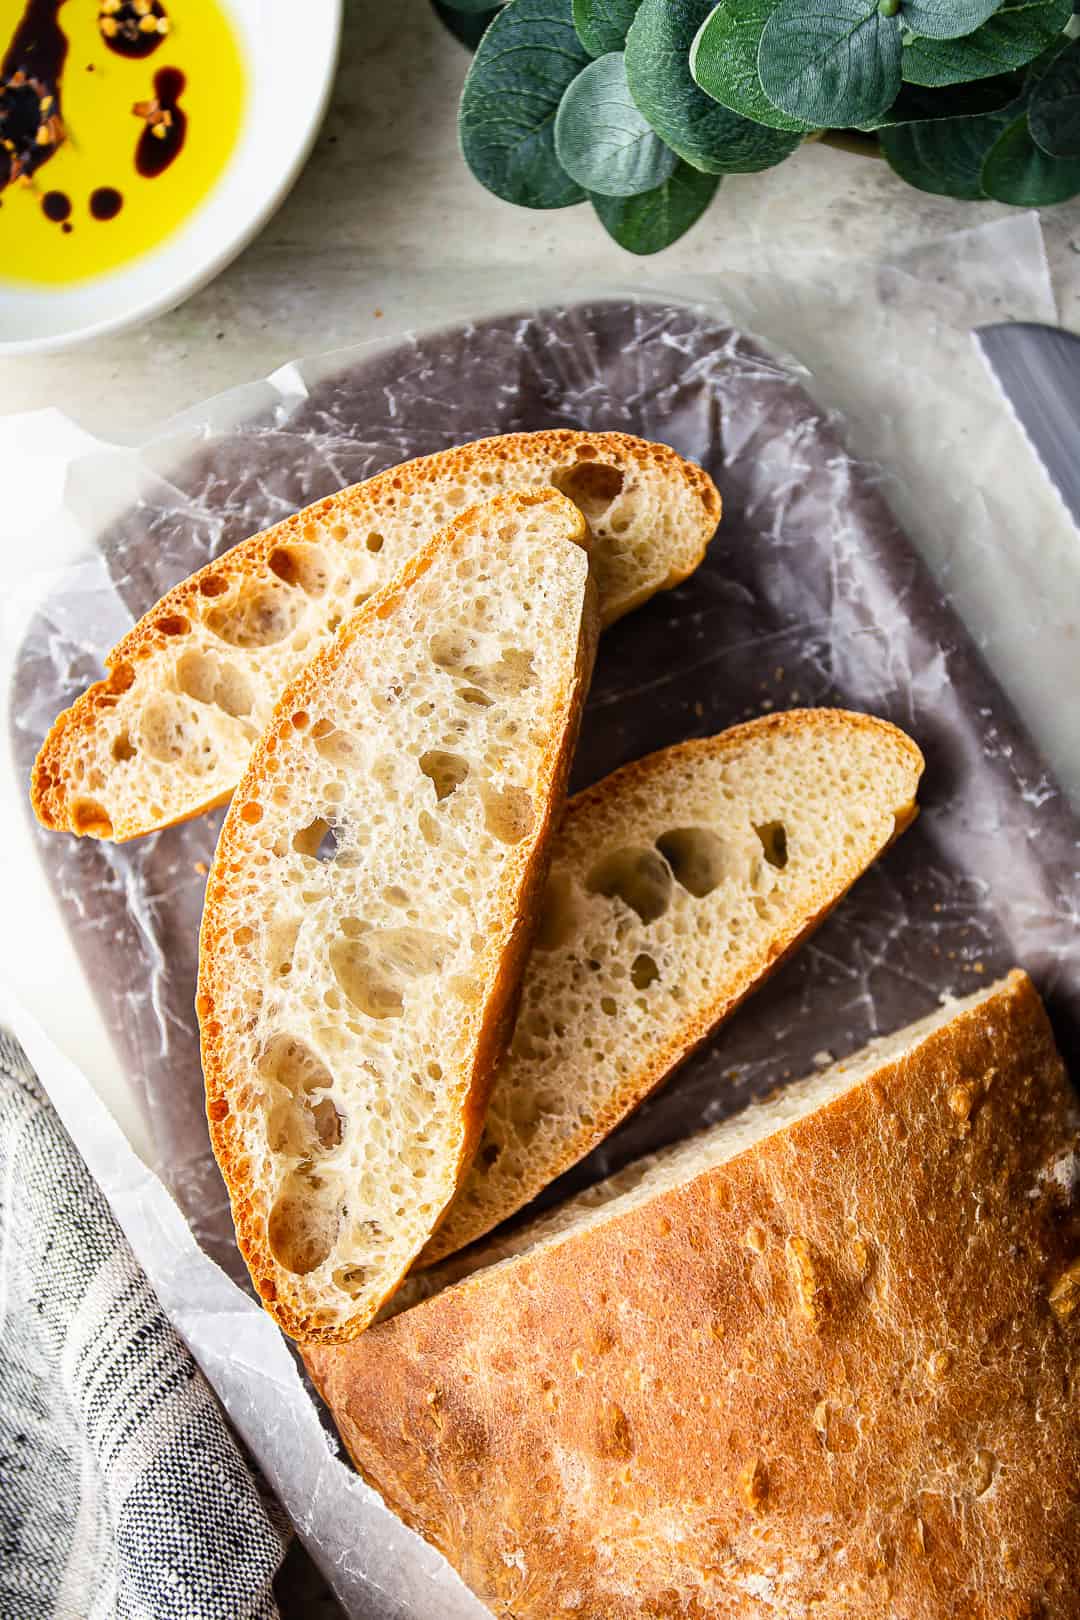
Serve it simply with olive oil and balsamic vinegar, slice and toast it with garlic and butter, or slice it for sandwiches or panini. It also makes a lovely side for cozy one-pot dinners, such as mushroom risotto, corn chowder, chili, or even a fresh Cobb salad.
Here's Why You'll Love This Recipe
- This recipe uses just four simple ingredients, all of which you probably already have on hand.
- There's no kneading involved! Just a few easy folds and some resting time.
- The finished bread is light and airy inside, with big open holes and a delicate, crisp crust.
- You can bake it as a loaf or rolls, and it freezes beautifully for fresh bread anytime.
Ingredients You'll Need
The recipe card at the bottom of the post contains the full list with all of the amounts. Refer to that when you're cooking.
- All-Purpose Flour - Regular all-purpose flour works perfectly for this recipe. No need for specialty flours.
- Salt - Enhances the flavor of the bread and balances the yeast.
- Active dry yeast - Helps the dough rise and creates that lovely airy texture.
- Water - You'll need both warm water (to activate the yeast) and cool water (to hydrate the dough and keep it loose and sticky).
In Photos: How To Make Homemade Ciabatta Bread
Let's break this down into five simple steps:
- Making the Dough
- Resting and Folding
- Shaping the Loaf (or Rolls)
- Final Rise
- Baking
Step 1: Making the Dough
In a large mixing bowl, whisk together the flour and salt until well combined. All‑purpose flour works perfectly here. No need for specialty blends.
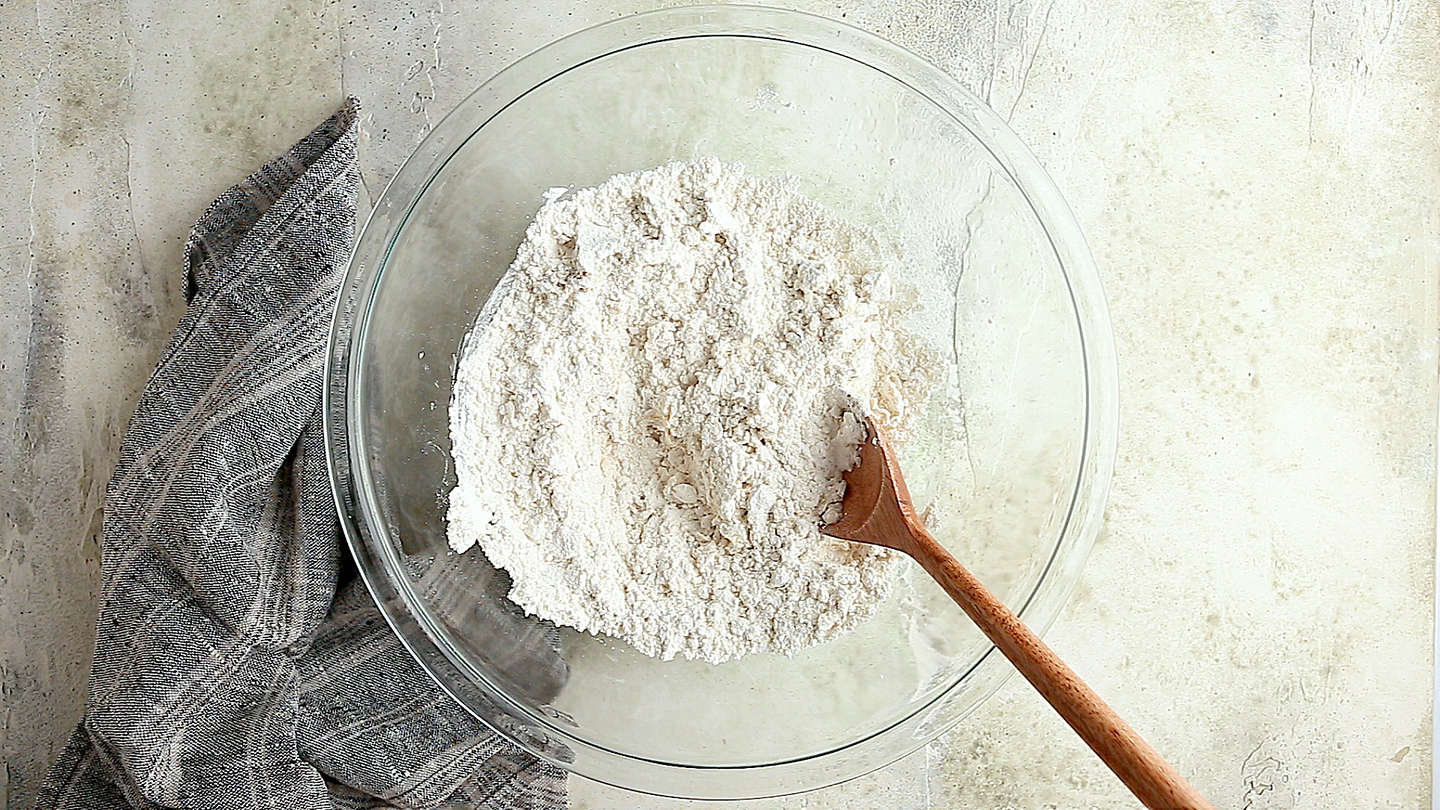
In a separate small bowl, dissolve the yeast in warm water (aim for bath‑warm, around 105-110°F). Once it becomes foamy, pour it into the flour mixture.

Slowly add the remaining cool water, a bit at a time, stirring after each addition. The dough will be wet and loose. This is exactly right for ciabatta.
Cover the bowl with plastic wrap and let it rest for 30 minutes.
Step 2: Resting and Folding
After the initial rest, perform two sets of folds during a two‑hour rest period: fold top to bottom, bottom to top, left to right, and right to left. These gentle folds replace kneading.
Let the dough rest for an hour, then fold it once. Rest for another hour, then fold it again and rest for one more hour before shaping.

Step 3: Shaping the Loaf (or Rolls)
This wet dough naturally forms a loose rectangle. Lightly flour your hands and gently shape the dough into a ball on a parchment-lined sheet.
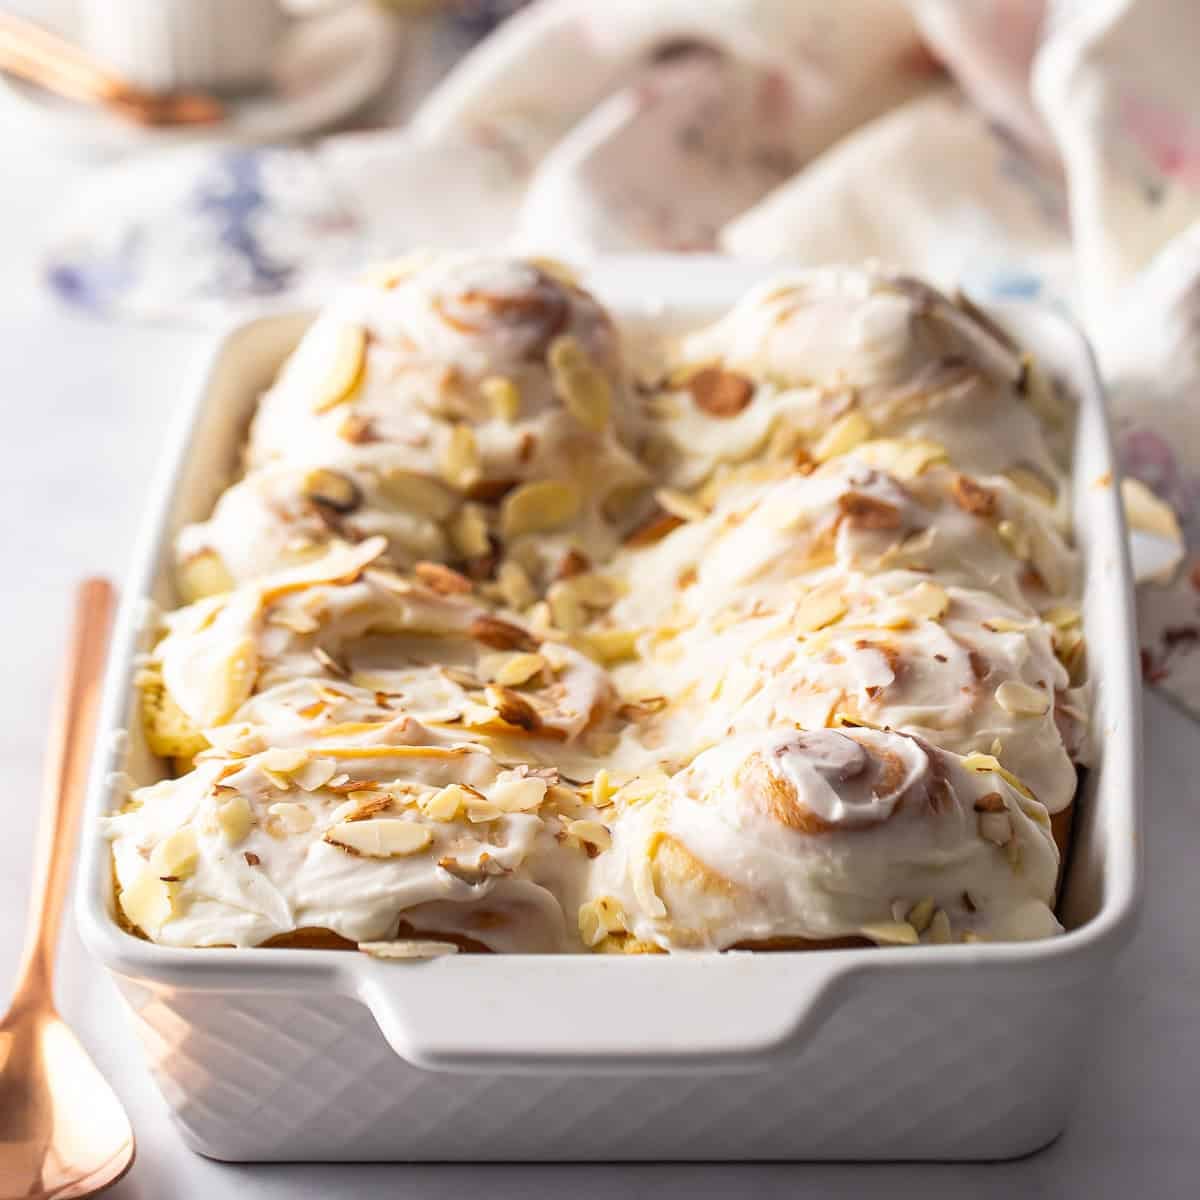
If you prefer ciabatta rolls, you can divide the dough into six equal pieces. Give them space on the parchment so there's room for the rolls to rise.

Step 4: Final Rise
Loosely cover with generously oiled plastic wrap and let stand in a warm spot for 30-45 minutes. This protects the delicate dough and helps preserve those lovely air bubbles.
Step 5: Baking
While your dough is rising, preheat the oven to 475°F. Place a heat‑safe pan on the bottom rack.
Once the dough has risen and looks plump, nearly doubled in size, gently remove the wrap and mist the dough lightly with water. Place the loaf on the middle rack and quickly pour two cups of water into the pan on the bottom rack to create steam.
Bake the bread until the crust is deeply brown, crisp, and the loaf sounds hollow when tapped. The ideal internal temperature for ciabatta is about 190°F. This usually takes about 35 to 45 minutes, but ovens vary.
Overnight Option
If you prefer a slower schedule and richer flavor, press pause here after shaping. Cover the dough and refrigerate it for up to 2 days, or freeze it for up to 2 weeks. When you're ready to bake, remove it from the fridge (no need to thaw if frozen), preheat the oven, and bake as directed.
Helpful Tips and Tricks
- Use plenty of oil on your plastic wrap to avoid sticking and preserve loft.
- Folding replaces kneading. Just be gentle to retain air.
- Cold overnight fermentation deepens the flavor. Embrace the wait!
- Create steam in the oven for that beautiful crust.
- Use internal temperature or that hollow‑sounding tap to know it's done.
Freezing Unbaked Loaves or Rolls
Place shaped loaves or rolls on a sheet pan in the freezer until firm. Wrap them tightly and store in freezer bags for up to 2 weeks. When you want fresh bread, bake straight from the freezer while the oven preheats. Easy, fresh ciabatta whenever you want.
How to Store the Baked Bread
Fresh ciabatta stays soft for a couple of days when tightly wrapped at room temperature. To stretch its life, refrigerate for a week or so. I also love freezing sliced or whole loaves-slices thaw quickly at room temperature or in a 170°F oven. Keep them in a zip‑top bag for quick reheating anytime.
More Homemade Recipes
- Focaccia Bread
- Soft Homemade Dinner Rolls
- Moist & Sweet Cornbread
- Southern-Style Buttermilk Biscuits


Ingredients
- 2 cups (250 g) all-purpose flour
- 1 teaspoon (6 g) kosher salt
- ¼ cup (59.15 g) warm water, (around 105 degrees F)
- 1 teaspoon (12 g) active dry yeast, (approx. half a packet)*
- ¾ cup (177.44 g) cool water
Instructions
- Place the flour and salt in a large mixing bowl, and whisk to combine.
- Sprinkle the yeast over the warm water and stir to combine.
- When the yeast mixture looks foamy (after about 5 minutes) stir it into the flour mixture (it will be very dry).
- Add the cool water, a little at a time, stirring after each addition. (Once all the water has gone in, the dough will be very wet and sticky.)
- Cover with plastic wrap and allow the dough to rest at room temperature for 30 minutes.
- Fold the dough over on itself: top to bottom, bottom to top, left to right, then right to left.
- Cover and rest for 1 hour, then repeat the folding process one more time.
- Cover and rest for 1 more hour.
- Scrape the dough onto a parchment-lined baking sheet, and pat it into a rectangular shape (for a loaf), or divide it into 6 equal portions and shape each into a small square or rectangle (for rolls).
- Cover lightly with oiled plastic wrap and allow to rise at room temperature for 30 to 45 minutes, or in the refrigerator overnight.
- Preheat the oven to 475 degrees F and place an empty oven-safe dish on the bottom rack.
- Mist the unbaked bread with water and place it in the center rack of the oven.
- Pour about 2 cups of water into the empty dish and bake until the bread is brown & crusty, makes a hollow sound when tapped, and registers an internal temperature of 190 degrees F (approx. 35 to 45 minutes).


I made the rolls. They are delicious. Thank you!
My pleasure Betty! So happy you enjoyed!
I have tried making this recipe a handful of times and I must say... it always comes out perfect!!! I tried it using both a scale and other times using measuring cups and the results are always great. I have opted out of buying bread from our local sourdough bakery because of how easy and good these taste.
Yay! So glad it's been working so well for you Zeinab. Thank you so much for the 5-star review!
So just tried making this bread. It came out way too flat. Yeast is almost brand new and weighed the ingredients. Is my hydration off? I expected the dough to be wet, but after I did the final fold and then placed it on the baking sheet and shaped the loaf, the dough just seemed to spread and I was reluctant to reshape it after the final rise. Any suggestions?
I do have a suggestion for you! If you'd like a taller loaf than the traditional slipper shape of a ciabatta, you might want to try retarding in a proofing basket for the final rise. You can read more about that here: https://bakingamoment.com/pan-de-cristal/. Good luck I hope this is helpful!
The bread came out BEAUTIFUL!! This recipe was easy to follow and understand. I can see myself making this bread again and again. It is delicious.
So happy you like it! TYSM for the positive feedback!
Where did you find the reusable cover for the mixing bowl. Searched everywhere and no luck!
Hey there! It's just plastic wrap. I like the Press 'n Seal brand.
I was so excited about this bread. I baked mine for 30 minutes ( 15 minutes under the suggested bake time) and it came out burnt to a crisp.
That is very odd and I'm so sorry that happened to you. I've made this recipe a handful of times and have never experienced that problem. Looking through the other comments here, it doesn't seem that anyone else has either. I'm wondering if your oven could be off? Maybe try putting one of those thermometers in that can hang off a rack. It's not uncommon for ovens to wander out of calibration over time. And definitely keep an eye on things as they're baking! It's not a good idea to just walk away, or you could end up with an unhappy surprise!
At 30 min. mine was almost burnt. Luckily I read your comment and kept a close eye on my bread. The temp is definitely too high. Next time I will adjust the temp and time.
No oil?
There is no oil in ciabatta. If you're looking for a bread recipe that contains oil, try typing "focaccia" into the search window at the top of this site.
Any idea on how long it takes to bake? Cant wait to try this recipe!
Hey Koko! Yeah in my oven it usually takes around 40 minutes. Good luck!
I made this recipe into Ciabatta Rolls and my family loved them!
I am wondering if you have tried making this recipe as Gluten Free?
That's so great to hear! I have not, but if you do I'd love to hear about the results!
I did make Ciabatta Rolls a Gluten Free flour and they also came out wonderful!
Great to know! TYSM!
I tried this recipe using instant yeast with excellent results! Thank you! Can you use a loaf pan instead of just letting the dough flop onto the baking sheet? It's so much easier to slice a shapely loaf.
That's great! I would think so- I can't imagine why not? But I haven't tried so I can't say for sure. If you do, I'd love to hear about the results!
I made this and it was delish. Can I make it using whole wheat flour? or 1/2 all purpose and 1/2 whole wheat?
Hey Donna! I haven't tried so I can't say for sure, but I would think so! My experience with whole wheat flour tells me you may need a little less of it, since it tends to yield a dryer dough. Good luck!
And don’t use a glass pan for steam and pour cold water in it. It just may be a glass bomb in the oven…lol —1st time ciabatta maker
Ugh, I hear you!!! Been there, done that.
Just to clarify, I assume the ciabatta needs to be folded a total of 4 times within a two-hour time span. Also, can I sub bread flour for the all-purpose flour?
Yes, you can if you like. The dough gets 4 folds (top to bottom, bottom to top, left to right, right to left), twice. Hope that makes sense!