Homemade Oreos
As an amazon associate I earn from qualifying purchases.
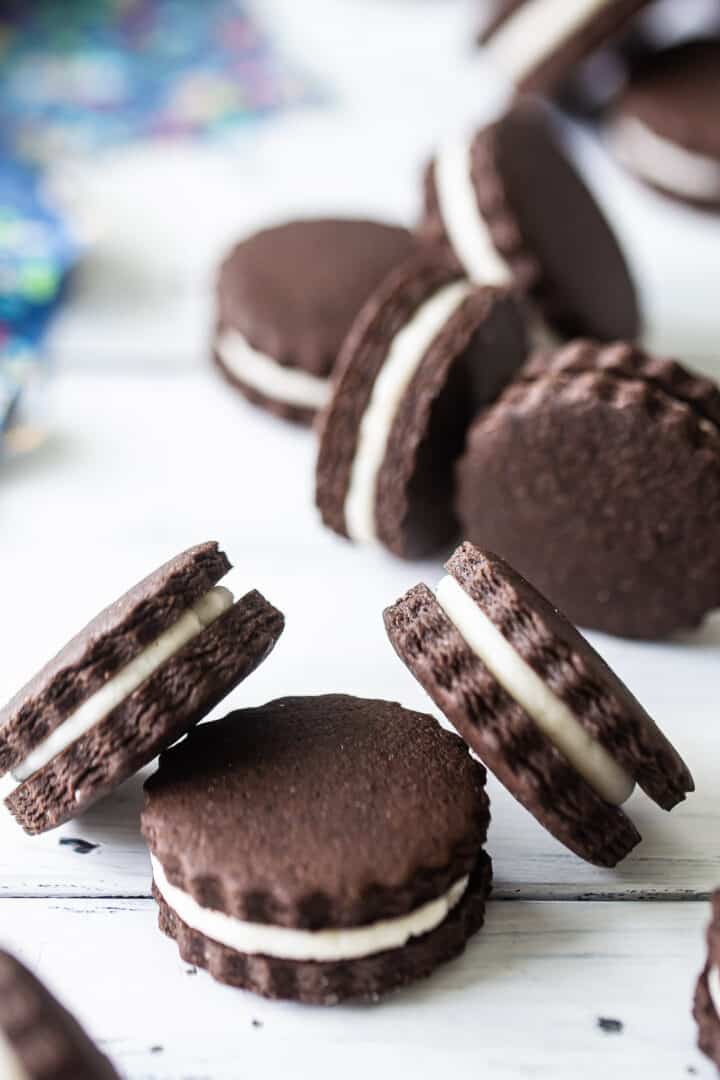
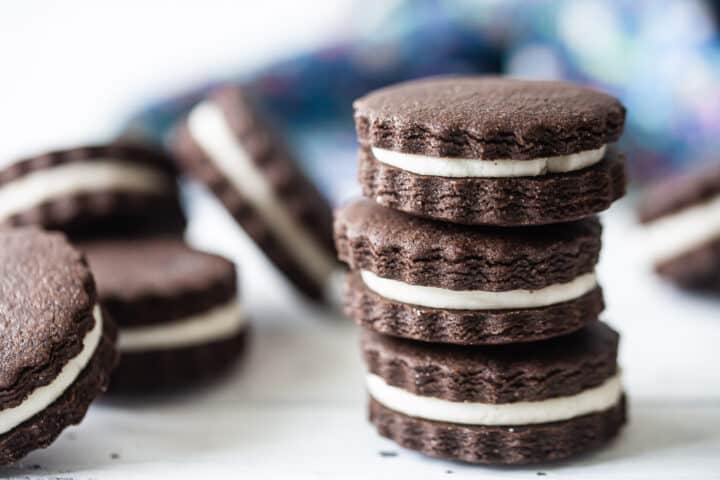
Craving a classic snack? Try these homemade Oreos! The dark chocolate cookies sandwiched around vanilla creme filling are so nostalgic!
Cookie season has kicked off and I'm totally here for it!
Let's celebrate with homemade Oreos!
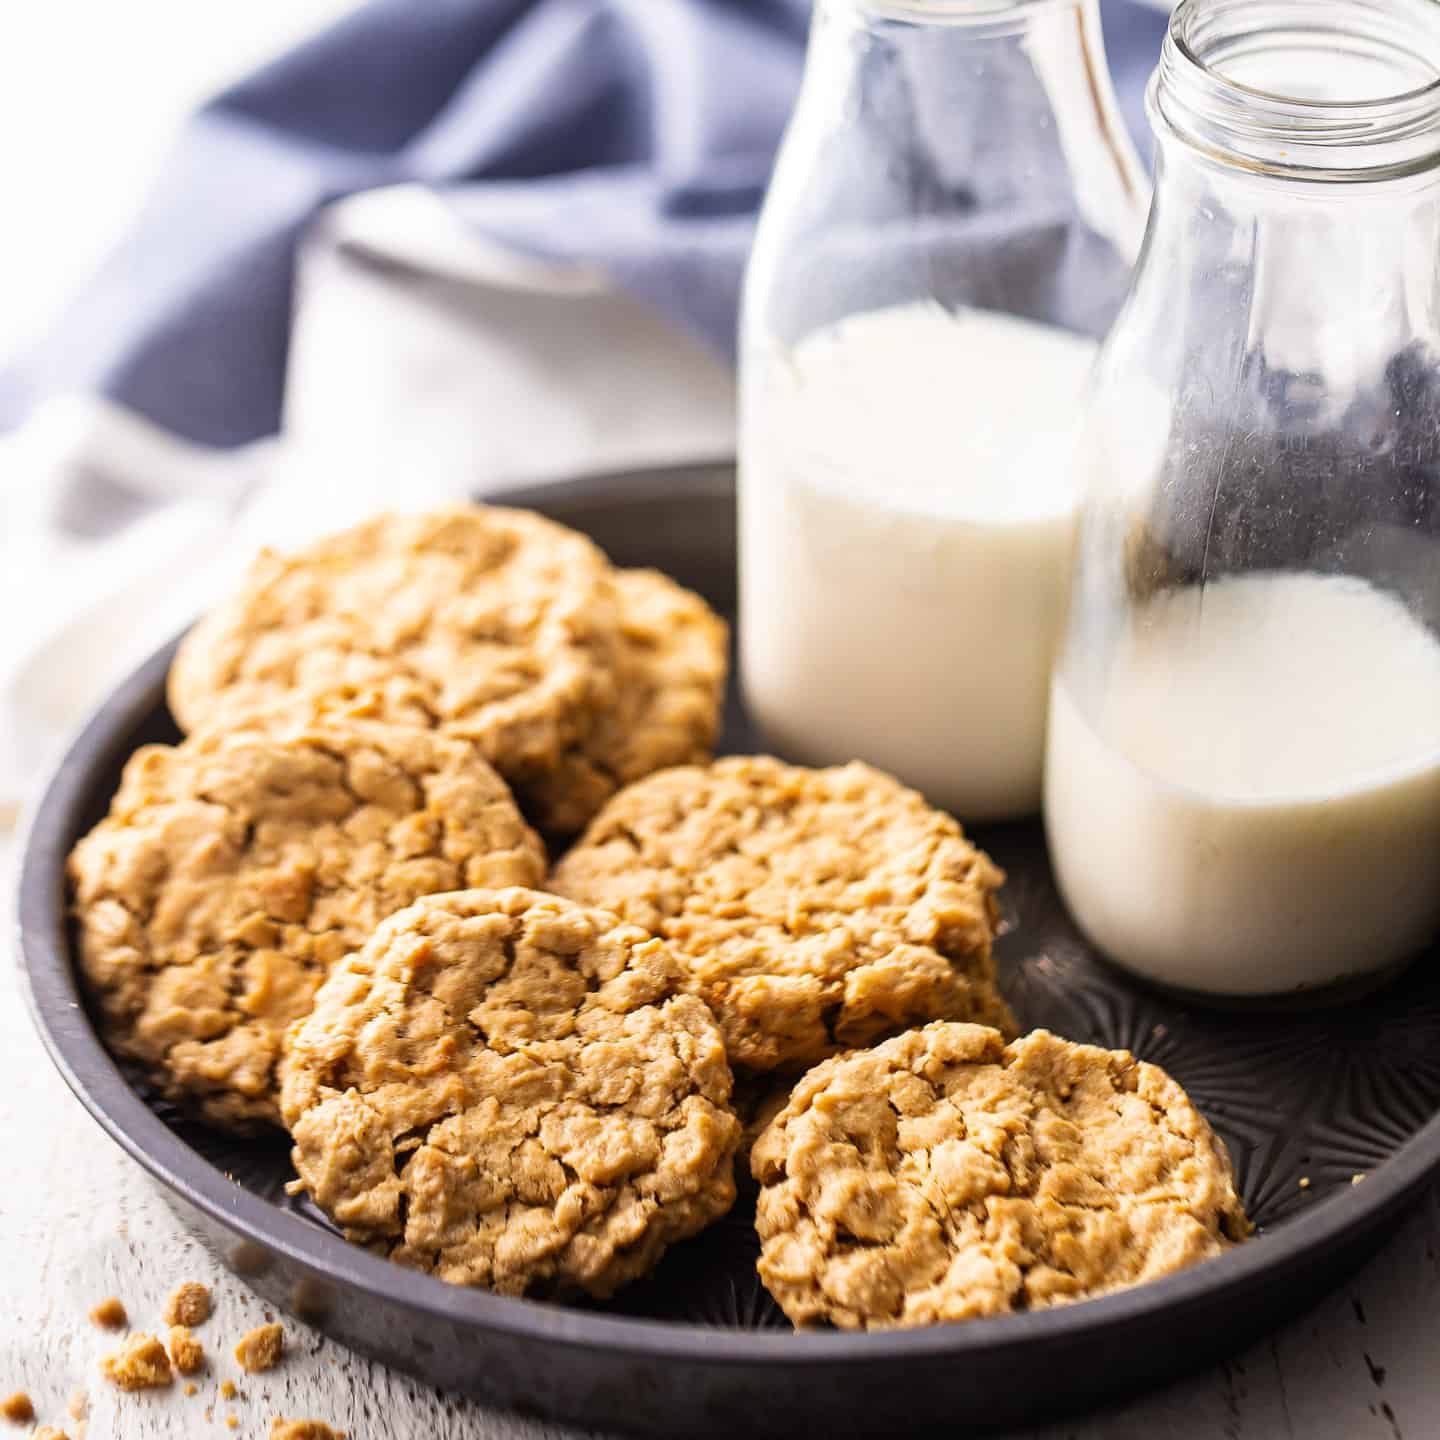
I love to treat my kids to fresh-baked cookies as an after-school snack. And they love it too! There's something so nostalgic about a plate of homemade cookies and a tall glass of milk.
We have lots of favorite cookie recipes, like these soft chocolate chip cookies, these peanut butter cookies, and these oatmeal raisin cookies.
But our love for this homemade Oreo recipe runs deep.
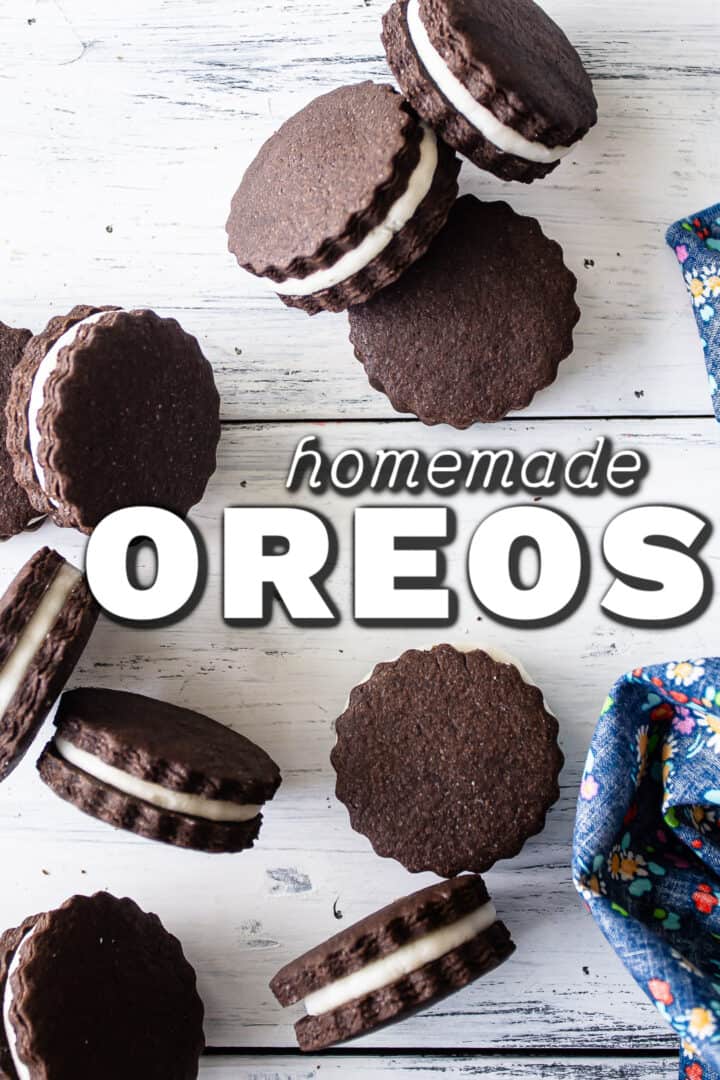
Table of Contents
- What are homemade Oreos?
- What's great about this homemade Oreo recipe
- What do homemade Oreos taste like?
- Homemade Oreo ingredients
- Special equipment
- How to make homemade Oreos
- Expert tips
- Homemade Oreos FAQ's
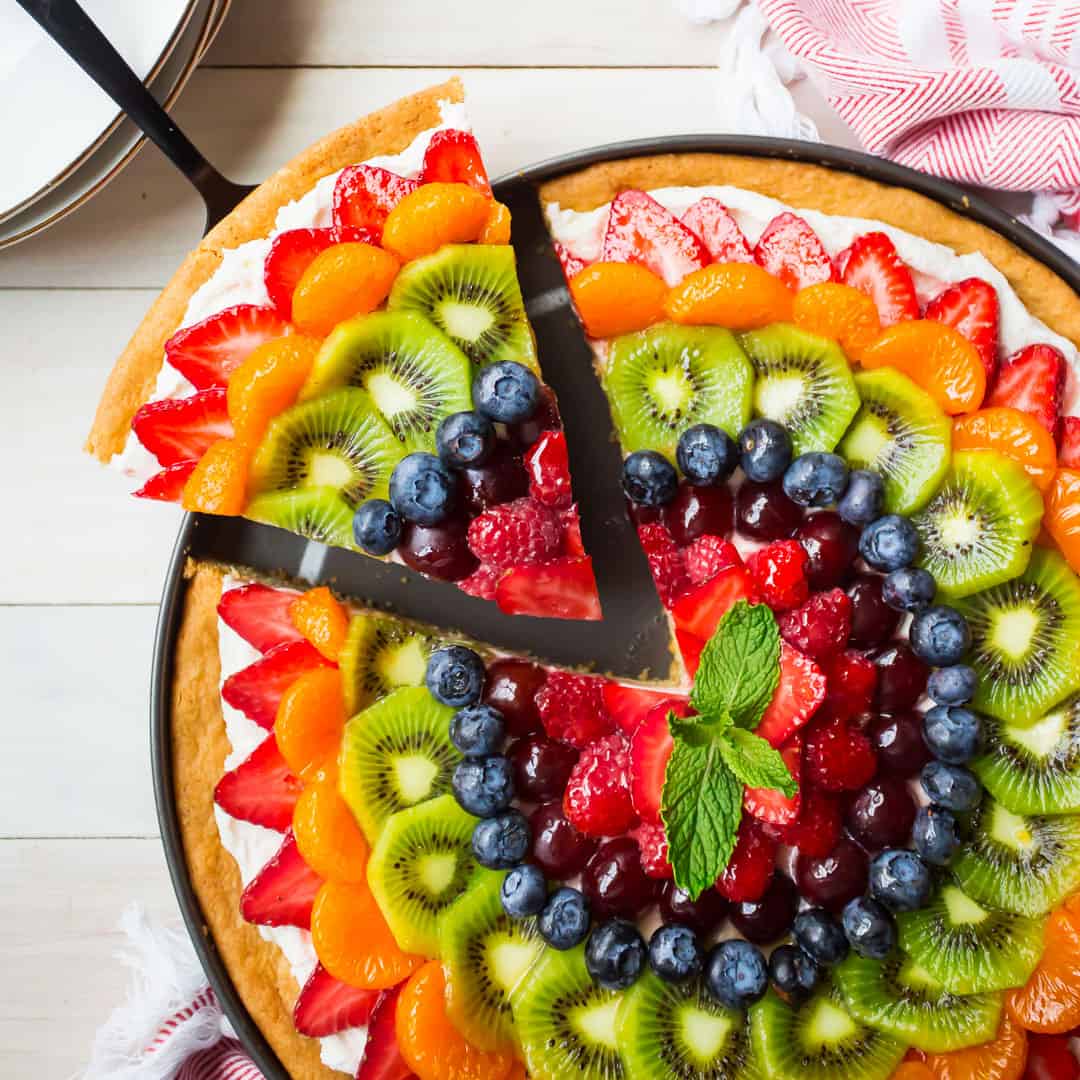
- A few more of my favorite copycat recipes
What are homemade Oreos?
Oreos are a classic store-bought cookie made by Nabisco. They've literally been around for decades, and they're such a nostalgic treat!
I've been enjoying them for my whole life.
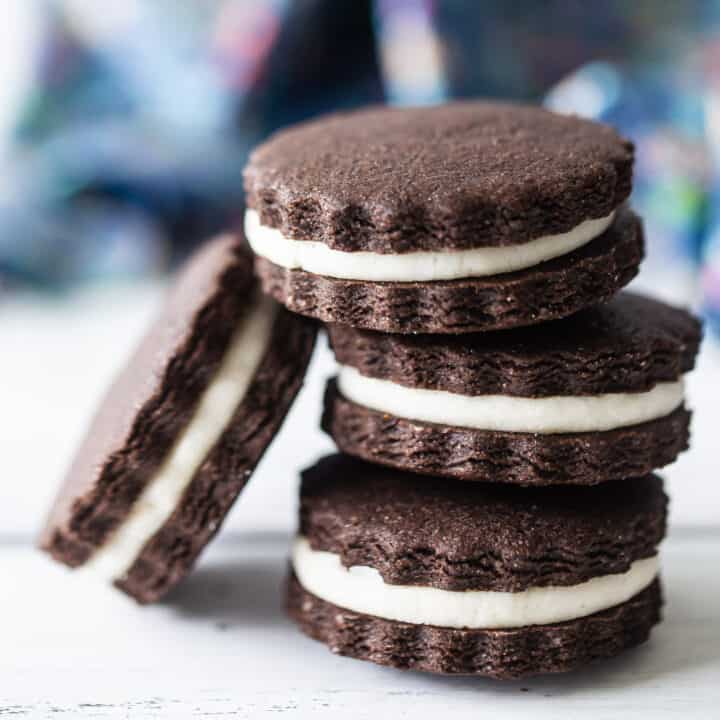
They consist of a crunchy, dark chocolate cookie, sandwiched around a sweet, creamy vanilla filling. It's a study in contrasts, lol!
Oreos are delicious, that much is a given. But as we all know, everything is better when it's homemade!
What's great about this homemade Oreo recipe
- Tastes amazing: Anything made from scratch is always going to taste better because it's fresh! Plus have control over the ingredients so you can choose higher quality.
- Few ingredients: These are made almost entirely from pantry staples. You probably already have most of them on hand!
- Fun to make: These make for a fun afternoon project. Get the kiddos involved, they'll love it!
- Wholesome: Unlike store bought, these contain no artificial flavorings, color, or preservatives.
What do homemade Oreos taste like?
These cookies are a dead-ringer for the store-bought version!
They have that same deep, dark chocolate-y flavor and creamy vanilla filling.
The chocolate cookies have a crunchy yet tender, shortbread-like texture.
And the filling is sweet and thick, so you don't have to worry about it squishing out the sides when you go to take a bite.
Homemade Oreo ingredients
You'll only need a few basics to make this recipe! Here's a quick rundown.
Butter: I like to use unsalted butter because it lets me control the amount of salt in the dish. Different brands of butter can contain different amounts of salt, so this way you get a more consistent result.
This recipe works best if you allow the butter to come to room temperature first. You can set it out on the counter a few hours ahead of making your recipe, or you can microwave it for 10 seconds, turn it over, and microwave it again for another 8 seconds.
Sugar: You'll use regular white sugar for the cookies, or sub for another type of sweetener if you like. As long as it swaps 1:1 for granulated sugar it should work.
And you'll also need powdered sugar to make the filling. Powdered sugar will dissolve into the filling, for a velvety-smooth texture. It also sometimes goes by the name "icing sugar," or "confectioner's sugar."
Vanilla: Vanilla extract adds a subtly sweet flavor without being at all sugary.
For a more pronounced flavor, try using vanilla bean paste. You could also split a vanilla bean down the center lengthwise, scrape out the seeds, and add those.
Salt: Salt carries the flavors and intensifies them. The end result won't taste salty, but it will make everything so much more flavorful!
I like kosher salt best because it doesn't have any additives (table salt usually contains iodine, which can leave a bitter taste), so the flavor is pure. It's also inexpensive and easy to find in a regular grocery store.
Egg: Egg will bind the dough and add a richer taste.
Make sure you're using a large egg, or a plant-based egg product that can sub 1:1 for large chicken eggs.
It's best if the egg is at room temperature, but I don't find this to be critical.
Cocoa: The intensely dark color and unmistakable flavor of Oreo cookies comes from using Dutch-processed cocoa powder. It's also sometimes called "black cocoa."
You can swap this ingredient out for regular unsweetened cocoa powder if you like. But it will have a lighter color and a different kind of chocolate flavor.
Cornstarch: Cornstarch is a colorless, odorless, and flavorless starch that will enhance the cookies' texture and make the dough an absolute dream to work with.
Make sure you're using cornstarch, which is white and powdery, and not cornmeal, which is yellow and gritty and tastes like corn chips.
Flour: All-purpose flour is my go-to, but you can swap it out for any kind of whole-grain option if you like. You may need slightly less if you go that route.
A gluten-free flour blend that can sub 1:1 for regular flour should also work just fine, if you'd like to make gluten-free Oreos.
Cream cheese: There's a small amount of cream cheese used in the filling. The final result doesn't taste tangy or cream cheese-y, just because there's such a small amount. The most prominent flavor of the filling is vanilla, and it's very sweet (just like the real-deal!).
If you prefer, you can swap in the same amount of butter or plant-based butter substitute instead.
Special equipment
Here are the tools you'll need to make this homemade Oreo cookie recipe.
- Measuring cups and spoons: To measure out the ingredients.
- Large mixing bowl: I use the one that comes with my stand mixer.
- Electric mixer: Either a stand mixer or a handheld electric mixer.
- Silicone spatula: For scraping down the bottom and sides of the bowl.
- Parchment paper: To line the sheet pans so the cookies don't stick and to make cleanup easier.
- Rolling pin: To roll out the dough.
- Rolling pin rings: These are optional, but I love the way they ensure the dough gets rolled out to an even thickness.
- Cookie cutter: Use a 2-inch diameter fluted round cutter to achieve the look you see in these photos.
- Baking sheets: I like to use aluminum half sheet pans. They're lightweight and they provide nice, even cooking.
How to make homemade Oreos
These cookies are made in just 5 simple steps.
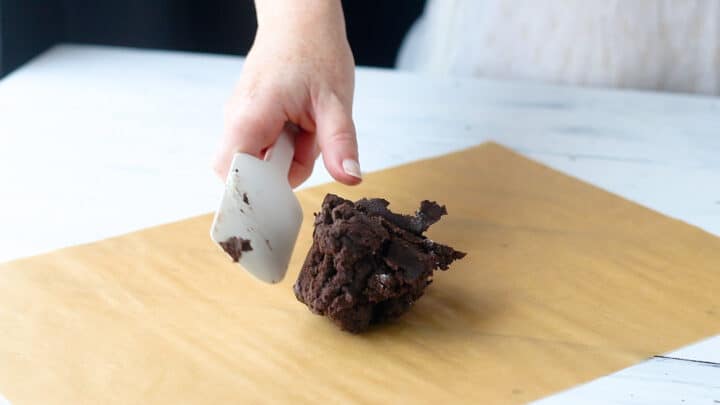
Step 1: Make the cookie dough
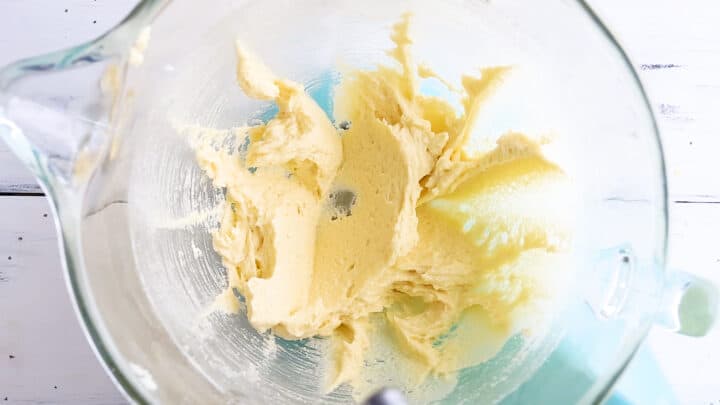
Pop the butter and sugar in the mixing bowl and beat them together on medium speed until smooth.

Unlike a lot of other cookie recipes, you don't have to incorporate a lot of air in this step. If you just blend until smooth, there's less chance that the cookies will spread in the oven and lose their pretty shape.
Add the egg and vanilla extract to the mix, and stir until incorporated.
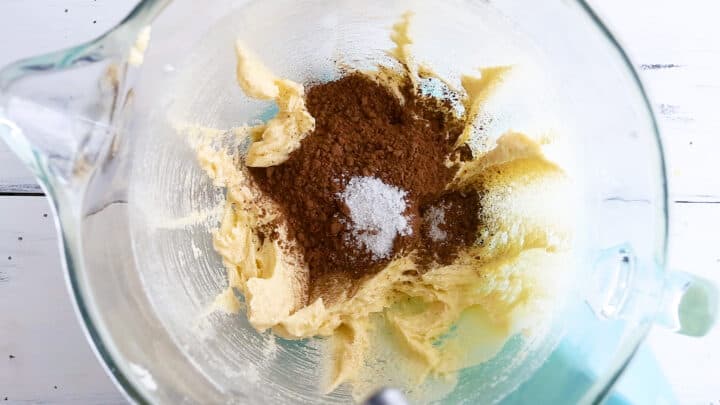
Scrape the bottom and sides of the bowl with a silicone spatula, then mix in the cocoa, cornstarch, and salt.
Finally, the flour. Depending on the kind of mixer you have, and the humidity levels in your area on the day you're baking, you may need more or less flour.
Add it a little at a time, mixing, and watch for the dough to gather itself into a ball.
It should not feel sticky, but it shouldn't be crumbly either. If it feels sticky, add a little more flour.
It will most likely seem crumbly at first, but if it still won't come together after a few minutes of mixing/kneading, you may have added a little too much flour.
Add only as much flour as is needed for the dough to gather itself into a ball and pull cleanly away from the sides of the bowl.
If you accidentally add too much, a few drops of milk or cream should bring everything back together.
Step 2: Roll out the dough
You do not need to chill this dough before cutting out your shapes. If you want to do that, you can, but just remember to add a little less flour when you mix it up, because it will become drier as it sits.
Working with about a baseball-sized amount at a time, roll the dough out between two sheets of parchment paper.
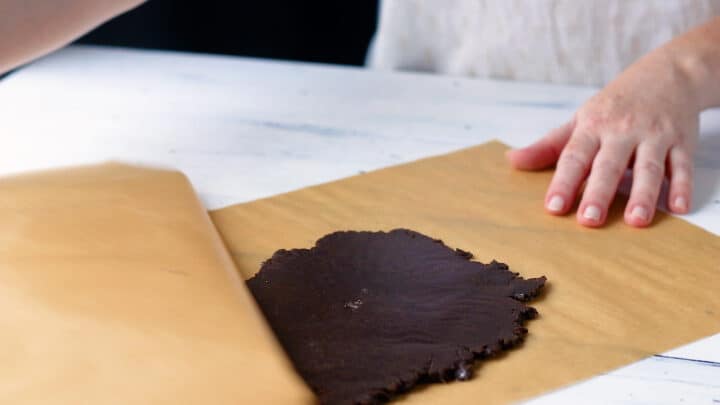
You don't need to flour your work surface first. Hooray! Easier cleanup plus you can re-roll the dough scraps without them becoming tough or dry.
Aim for a thickness of ¼-inch. Rolling pin rings make this a breeze!
Step 3: Cut out the cookies
Use a 2-inch diameter fluted round cookie cutter to cut the shapes, then place them on parchment-lined baking sheets.
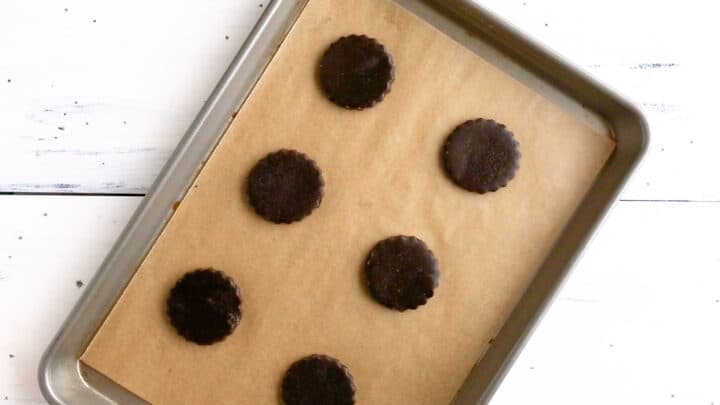
Step 4: Bake
Bake the cookies on the middle rack of a preheated oven.
You'll know they're done baking when they are crisp around the edges and set in the centers.
Step 5: Fill
Mix the powdered sugar, cream cheese, vanilla, and salt together until smooth.
Again, this will be a very stiff mixture.
Sandwich two baked and cooled cookies around about a teaspoon of filling.
Et voila!
Expert tips
Add the flour a little at a time: You only need as much flour as it takes for the cookie dough to gather itself into a ball and pull cleanly away from the sides of the bowl. With a more powerful stand mixer, it's easier to work more flour in and achieve a stiffer dough, but if you're using a hand mixer or making these by hand, you may need less flour.
Use parchment paper sheets: You don't have to sprinkle your counter or rolling pin with flour! Sandwich the dough between 2 sheets of parchment instead. It will make cleanup easier and allow you to re-roll your dough scraps.
Use rolling pin rings: These are a super-affordable buy that will make rolling out cookies so much easier! They ensure a perfectly even thickness.
Homemade Oreos FAQ's
Why does this cookie recipe look unusual?
This recipe is based on my favorite vanilla cutout cookies. I have tons of info on that post! So if you'd like to know more about why it is the way it is, there's definitely a method to my madness, and you can read all about it!
My dough is too sticky, what should I do?
The dough should feel moist but not sticky. If it's difficult to work with, knead in a little more flour.
My dough is too dry and crumbly, what should I do?
If the dough doesn't hold together, you may have added a bit too much flour. Work in a few drops of milk or cream and it should come back together.
How long do homemade Oreos last?
Just FYI, you don't have to worry about refrigerating these homemade Oreos, even though the filling does have cream cheese in it.
There is plenty of sugar there, so much that it inhibits the growth of microbes. It's more like a candy than anything else. And of course candies like caramels don't need refrigeration, even though they also have lots of dairy!
These will keep in an airtight container at room temperature for about a week.
Or you can wrap them up tightly and freeze them. They're good in the freezer for several months and they can be thawed at room temperature.
What is the serving size?
This recipe makes approximately 24 sandwich cookies, and the nutritional info noted in the recipe card is for one cookie.
These are a perfect after-school snack, or they'd be great in a packed lunch too. Just don't forget the milk!
A few more of my favorite copycat recipes
This post contains affiliate sales links.
Ingredients
For the dark chocolate cookies
- 1 cup (200 g) granulated sugar
- ½ cup (113.5 g) unsalted butter, softened
- 1 (50 g) large egg
- 1 teaspoon (4 g) vanilla extract
- ½ cup (43 g) dark cocoa powder
- ¼ cup (32 g) cornstarch
- ½ teaspoon (3 g) kosher salt
- 1 ¾ cups (218.75 g) all-purpose flour, (approximately)*
For the creme filling:
- 2 ½ cups (300 g) powdered sugar
- 3 ounces (85.05 g) cream cheese
- 1 teaspoon (4 g) vanilla extract
- ⅛ teaspoon (0.75 g) kosher salt
Instructions
To make the dark chocolate cookies:
- Preheat the oven to 375 degrees F, and line baking sheets with parchment paper.
- In a large mixing bowl, beat the sugar and butter together on medium speed, until smooth (about 1 minute).
- Scrape the bottom and sides of the bowl with a silicone spatula, and mix in the in the egg and vanilla.
- Add the dark cocoa powder, cornstarch, and salt, and mix on low speed to combine.
- Add the flour, a little at a time, until the dough forms a ball and pulls cleanly away from the sides of the bowl (you might not need all the flour*).
- Roll out the dough between two sheets of parchment paper, to a thickness of ¼-inch (rolling pin rings will help you to get an even thickness).
- Use a 2-inch diameter fluted round cutter to cut shapes, place on the prepared baking sheets, and bake until crisp around the edges and set in the centers (approx. 9 to 12 minutes).
- Cool completely, and sandwich with creme filling.
To make the creme filling:
- In a large mixing bowl, beat the powdered sugar, cream cheese, vanilla, and salt together until smooth.


I love this recipe!! working the dough was incredibly easy and they taste delicious, but I would like the cookie to be a bit more crispy do you have any tips? maybe it's my fault I doubled the recipie..
Hey Trudy! I think if you bake them just a few minutes longer that should do the trick. Good luck!
after years and years of baking and cooking with online recipes, never have I left a review. However these cookies deserve an applaud all around! I made these with my husband and they were so quick and easy but came out like they were from a bakery. I think we finished the whole batch in two days. Thank you for this recipe I could not recommend more! I cannot wait to keep making them 🍪
Yay! So happy you liked them Sarah! Thank you so much for the 5-star review!
I've tried other recipes with little success in trying to replicate my favorite cookie. These are easy to make and delicious! I especially love the filling...simple ingredients and great taste!
So happy you like them Denise! Thanks so much for the positive feedback!
Can you replace powdered sugar with stevia sweetener?
Hey Anna! I haven't tried that personally but I think it should work. Good luck!
Hi, can these be used in a recipe like a regular Oreo? Like dirt cake for example. Thanks!
Hi Raven, Yep, they can! Let us know what you end up making!
Could this recipe be used with cookie molds? Do you think the image would be maintained during baking? They seem to keep their flat shape in your photos after baking and there's no leavening.
Yes, this recipe works very well for that. I've actually done it a few times and it's great. Good luck!
Has anyone used regular baking cocoa powder instead of dark? Just wondering if it would affect the taste or is it mainly for the color? TIA!
Hey Leila! Both the taste and color are different if you use regular cocoa. But still delicious!
Ok thank you for the response! I did end up going out and buying some special dark so I will give it a try!
Good luck Leila! I hope you love them!
Hi! These look delish! Is it possible to substitute the granulated sugar for coconut sugar?
Hey Nadia! You can swap with any kind of sweetener you like. As long is it's a 1:1 substitution it should work just fine! Good luck and I hope you enjoy!
Do you have to refrigerate after making or stored in dry place? Thanks!
Hi! You can store them just as you would any other cookie. The refrigerator will probably help extend the shelf life, but I don't know if it's necessary if you're planning on finishing them within a week or so.
regarding the spreading oreo cookies, they were baked on a silpat