Irish Scones
As an amazon associate I earn from qualifying purchases.
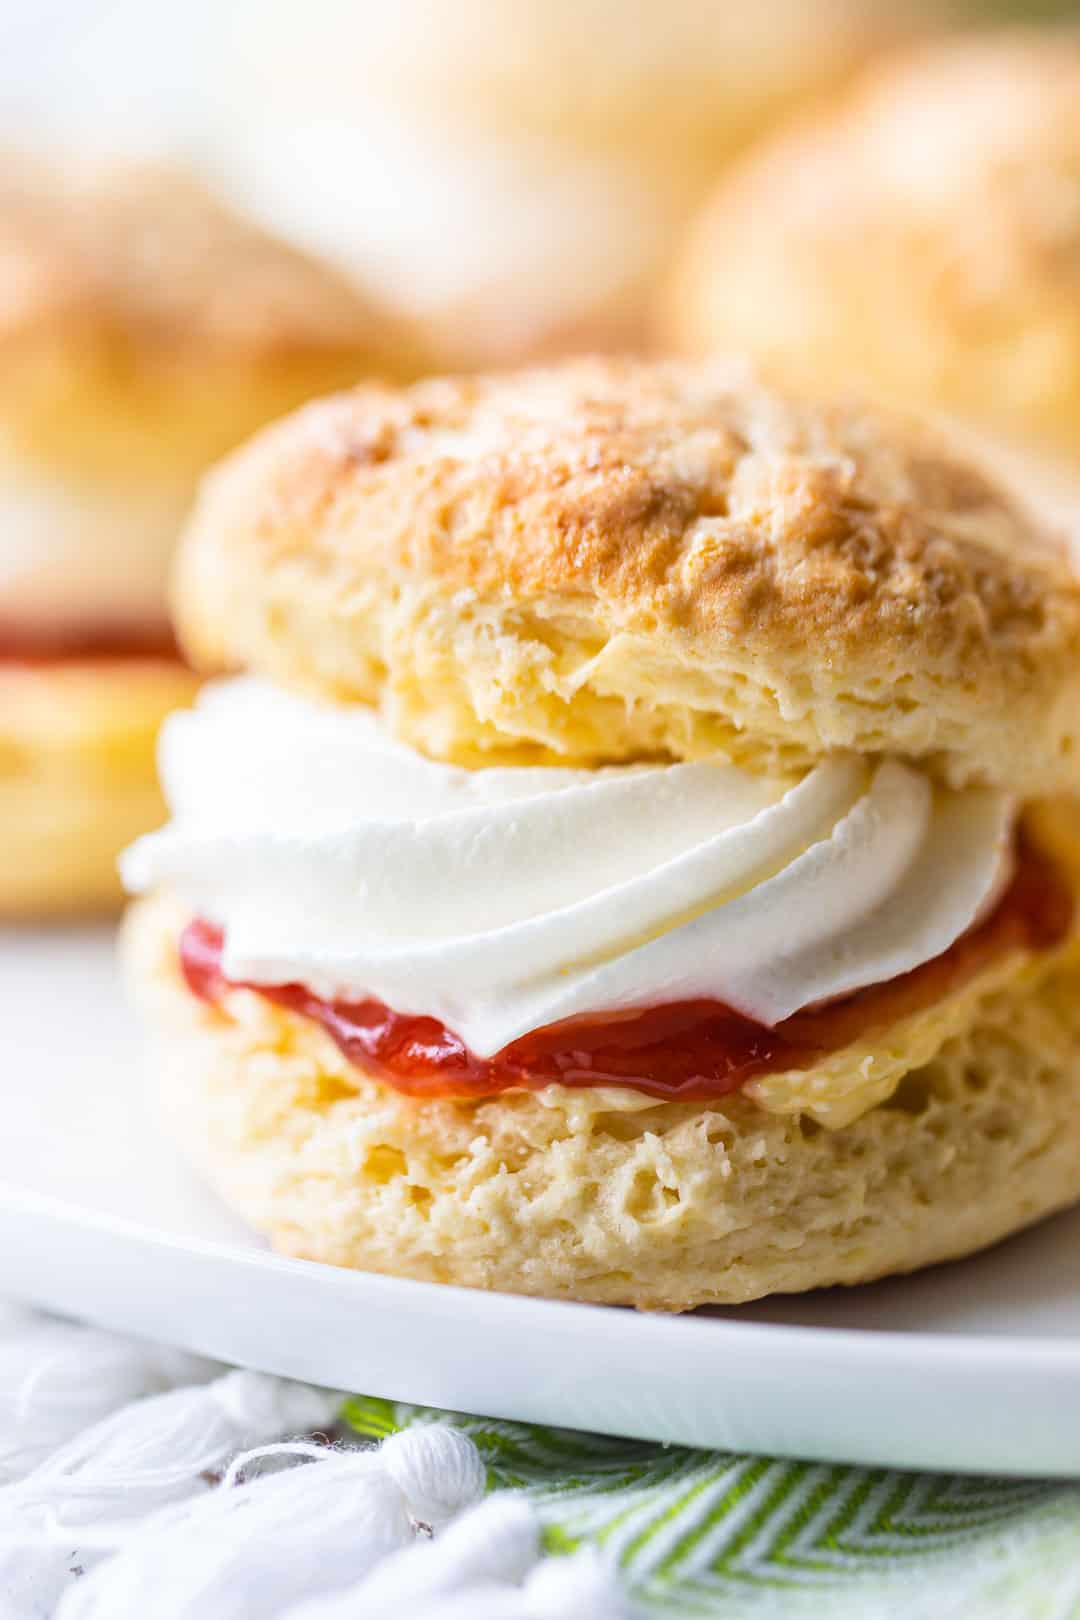
If you've ever enjoyed a real Irish Scone with jam and cream, you know what to expect. They're crisp and golden outside, soft and fluffy inside, and just sweet enough to feel special without being a dessert.
These Irish scones are simple to make. You don't need any special skills or hard-to-find ingredients, and they're ready in about 30 minutes. They're great for a weekend breakfast, afternoon tea, or whenever you want something warm and comforting.
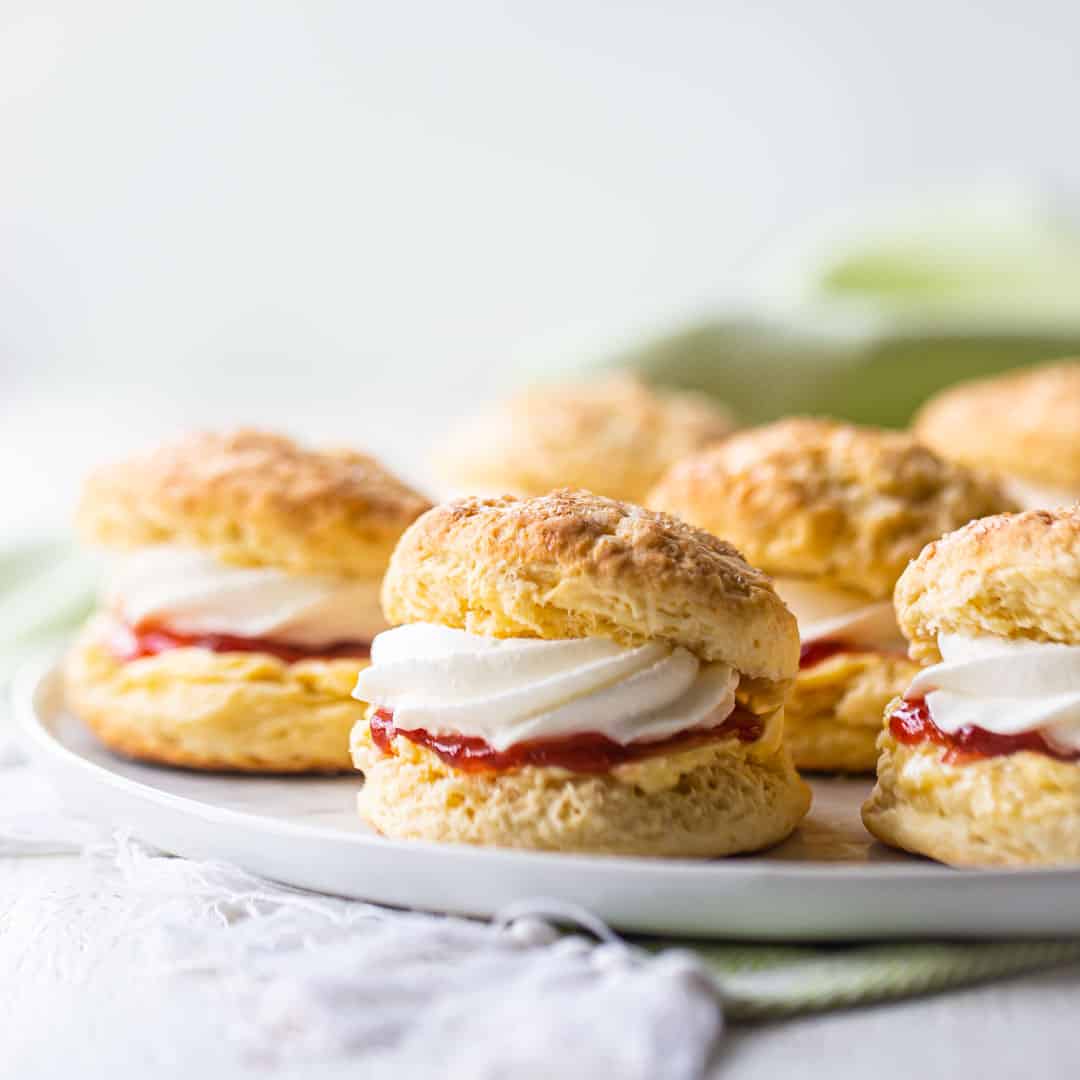
Table of Contents
- Here's Why You'll Love This Recipe
- Ingredients You'll Need
- In Photos: How To Make Irish Scones
- Helpful Tips and Tricks
- Recipe FAQ
- More Breakfast Recipes
Even though it isn't St. Patrick's Day, I see no reason to stop sharing the delicious and authentic Irish recipes that I experienced on my recent trip to the Emerald Isle! So far, we've made Irish soda bread and Irish oat cookies, and I have an Irish apple tart too. But today's recipe might be my favorite of all: Irish scones!
When I was in Ireland, I don't think a day went by without me having a scone. If you're a regular reader, you already know how much I love scones. They are, far and away, my most favorite breakfast treat. And the scones in Ireland are on another level. Fluffy and soft, with a rich flavor and a hint of sweetness, Irish scones are comfort food at its very best.
I'm going to show you exactly how they are made. This method was taught to me by none other than Darina Allen, the famed Irish chef who founded the Ballymaloe School of Cookery. It doesn't get any more authentic than that. Am I right?
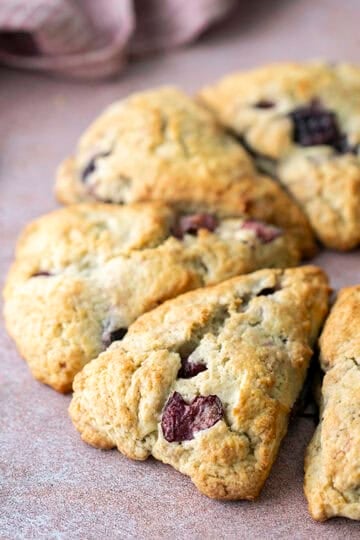
Irish scones may be a little different than what you're used to. I have a basic scone recipe on this site that I've been making for years, but it's more cake-y and moist- similar to what you'd find at Starbucks. These Irish scones are round rather than triangular, and they have a crumblier texture.
They're similar to a southern-style biscuit or shortcake, but with the addition of eggs. They're also a bit sweeter, and they're made with regular milk rather than buttermilk. I adore them with butter and strawberry jam. They're also really good with lemon curd and whipped cream!
Mix up a batch to go with your coffee or tea. They're such a treat!
Here's Why You'll Love This Recipe
- Classic and authentic: Simple ingredients, traditional texture, and that signature golden top.
- Fast and easy: Minimal prep, quick bake, and no mixer required.
- Tender, not dry: Cold butter and gentle handling keep the crumb soft and light.
- Perfect for toppings: Jam, butter, whipped cream, clotted cream, lemon curd, you name it.
Ingredients You'll Need
The recipe card at the bottom of the post contains the full list with all of the amounts. Refer to that when you're cooking.
- All-purpose flour: The sturdy base that gives these scones their classic structure. Avoid bread flour, it can make them chewy.
- Granulated sugar: Adds a touch of sweetness and helps the tops brown nicely.
- Baking powder: The main leavener, responsible for the lift and fluffy interior.
- Kosher salt: Balances the sweetness and brings out the buttery flavor.
- Unsalted butter (cold): Creates flaky, tender pockets as it melts in the oven. Keep it cold right up until mixing.
- Whole milk: Adds richness and moisture. No whole milk? Use a mix of lower-fat milk plus a splash of cream.
- Eggs: Provide structure and richness, plus they help the tops turn glossy and golden.
- Demerara sugar (optional): A crunchy, sparkly finish that makes them look bakery-worthy.
In Photos: How To Make Irish Scones
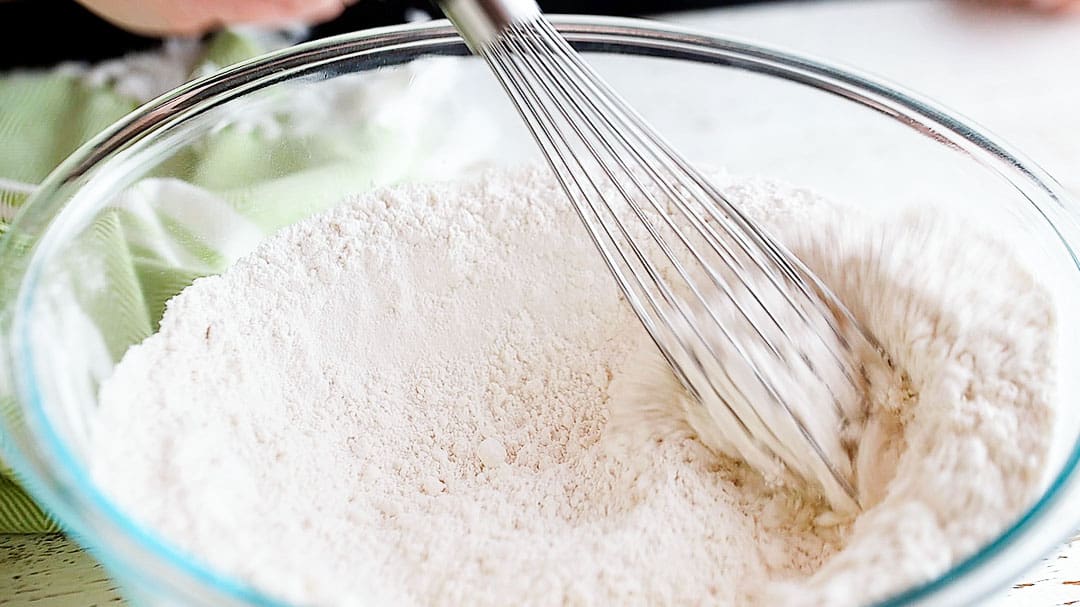
Step 1: Combine Dry Ingredients
To make this recipe, start with flour, sugar, baking powder, and salt.
Whisk these dry ingredients together for a few seconds to combine.
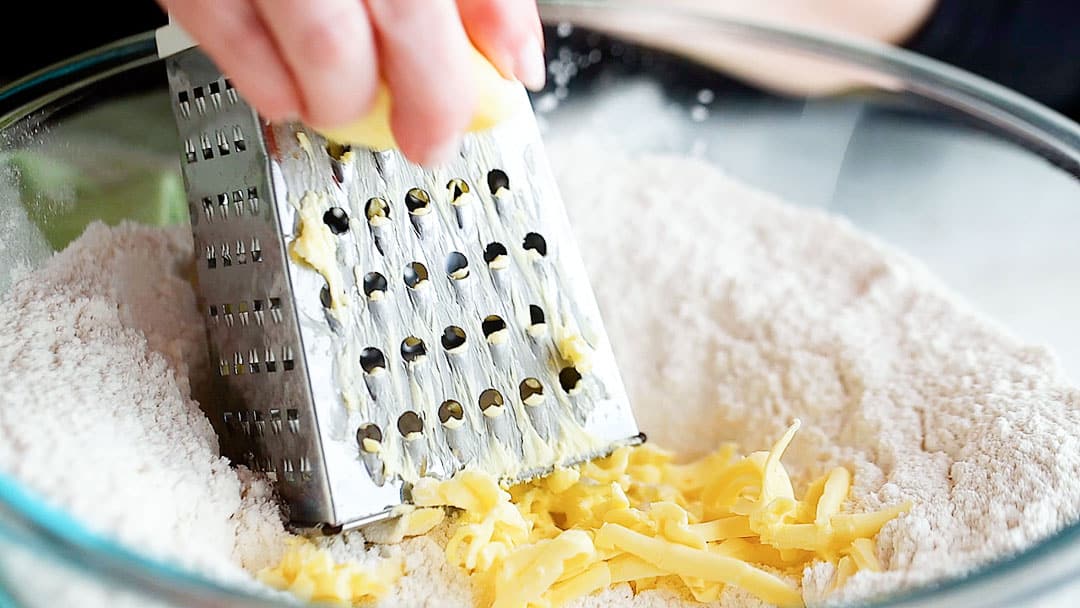
Step 2: Grate In Butter
- Use imported Irish butter if at all possible. It has the most incredible flavor, and it will totally take your scones to the next level!
- Make sure the butter is very cold. This will help your scones to be light and puffy as can be.
The instructors at Ballymaloe showed us how to grate the butter into the dry ingredients. This is an easy trick to help get it incorporated quickly. It gets butter pieces to the just-right size.
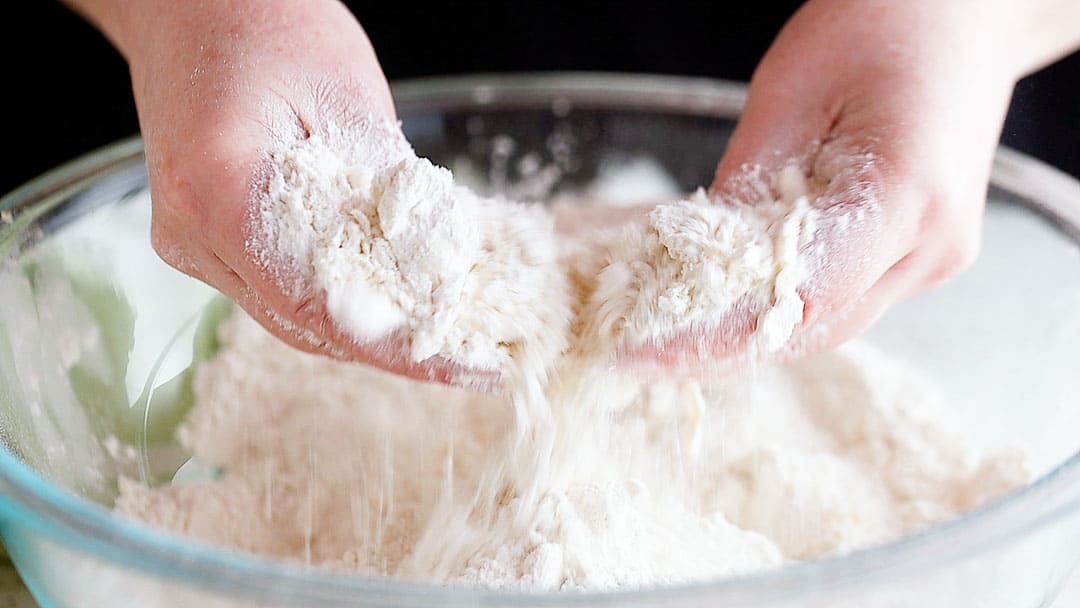
Step 3: Mix
Once the butter has been grated in, use your hands to rub everything together, fluffing it as you go. This is key to light, fluffy scones.
The mixture should resemble fine bread crumbs.
Step 4: Mix Milk & Eggs
Now whisk the milk and eggs together, and add most of it to the bowl.
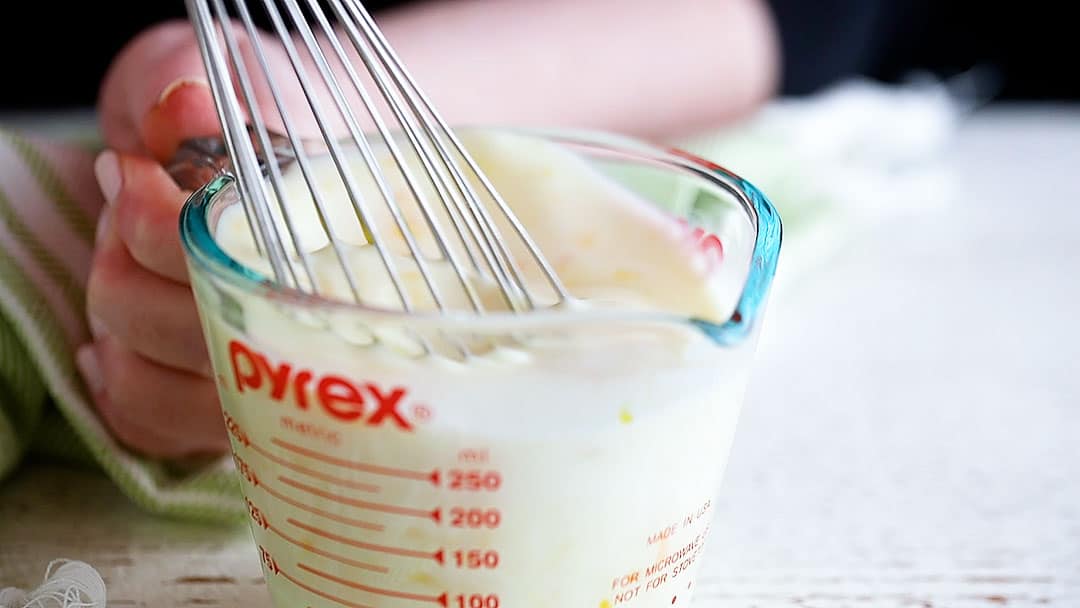
I say "most" because you want to reserve a tablespoon or so to brush over the scones before baking. This will help to give them a pretty golden crust on top.
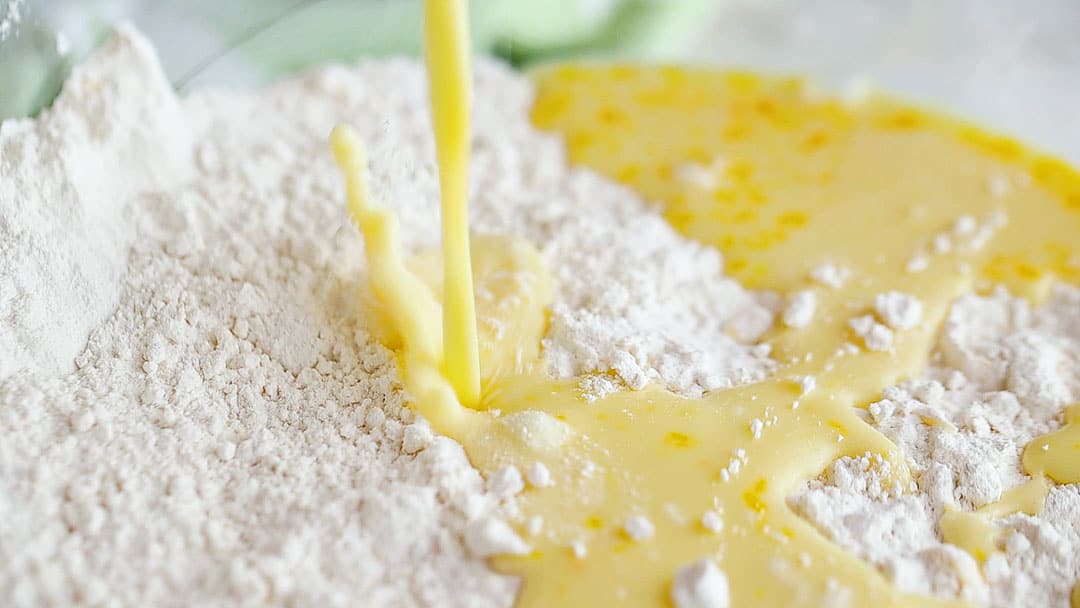
Step 5: Use Hands To Combine
Work the liquid into the dry using clean hands. Our teachers at Ballymaloe told us to make a "claw."

After a while, you'll see things come together into a sticky dough that gathers into a ball.
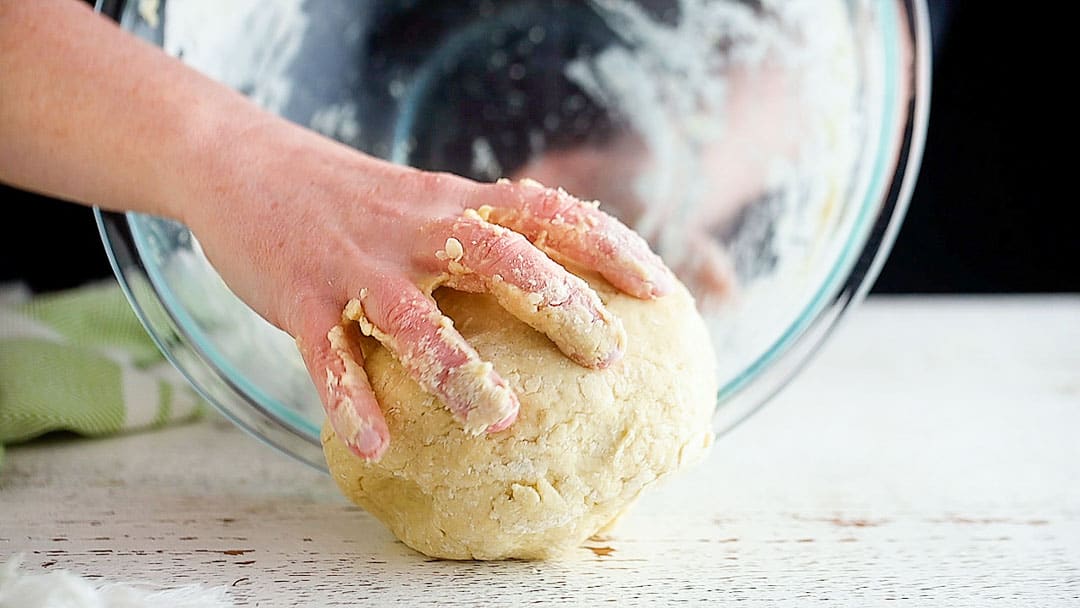
Step 6: Form Disc
Lightly flour your work surface, then pat the dough into a disc about 1 inch thick.
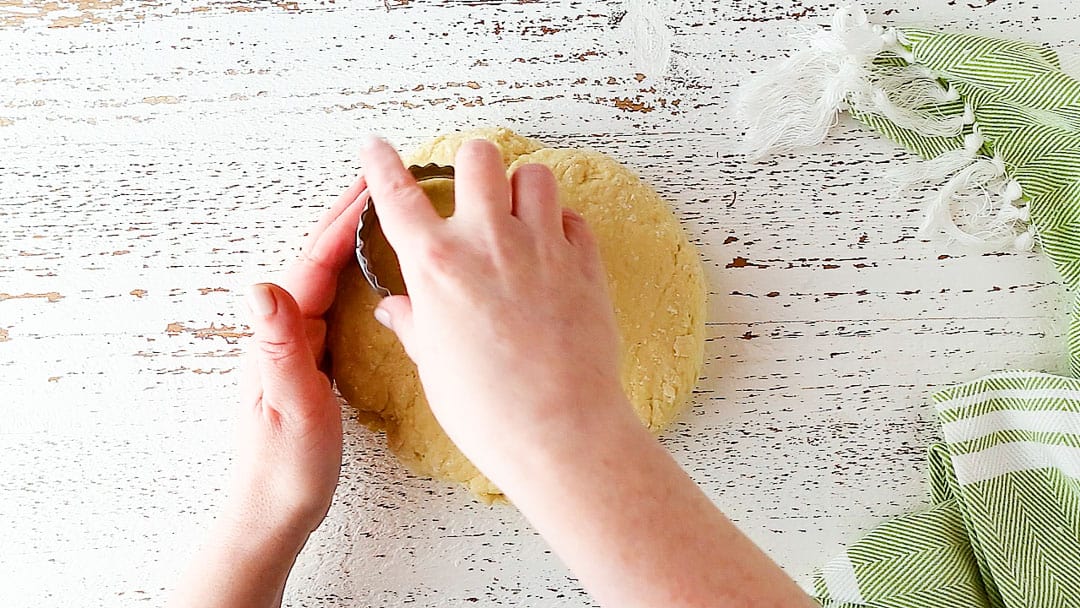
Step 7: Cut
Then use a 2 ½-inch round cutter to cut your scones. It's helpful to dip the cutter in flour every time you cut a scone. This will prevent the dough from sticking to the cutter.
Place your unbaked scones on a tray, and brush them with the remaining milk/egg mixture.
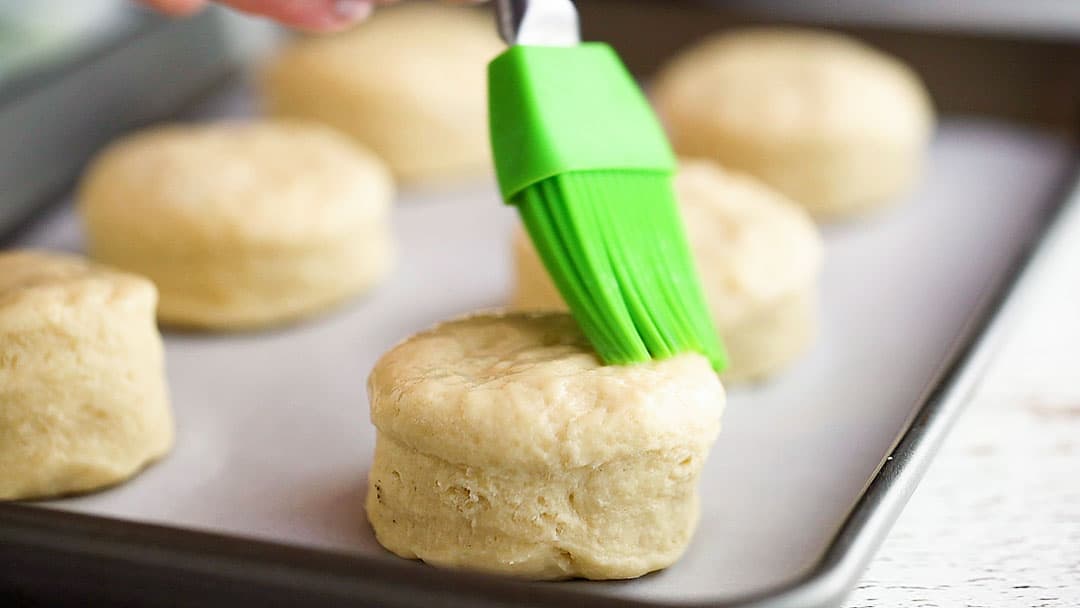
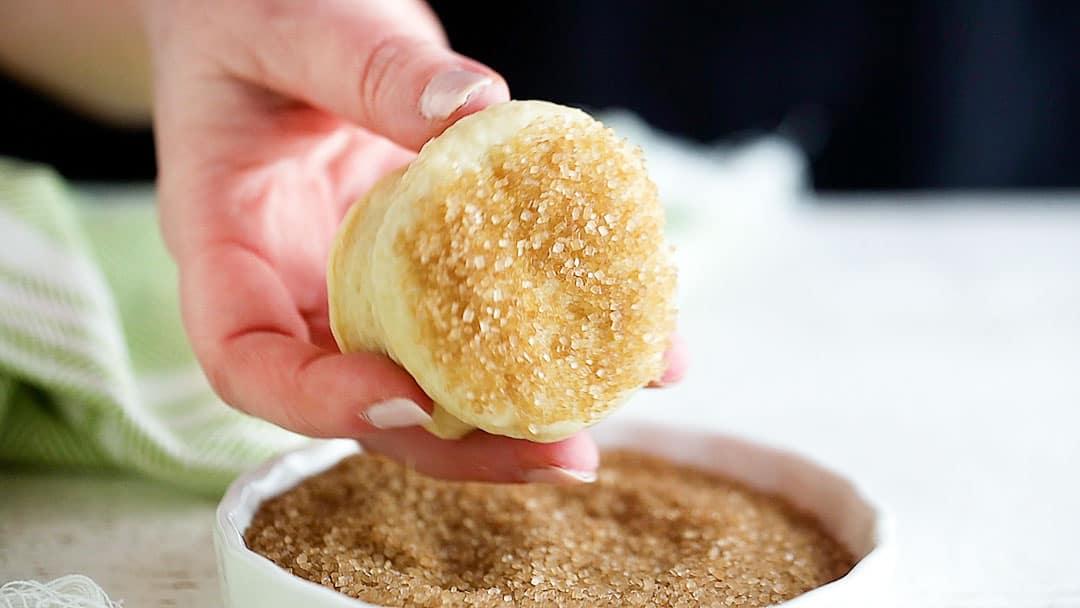
Step 8: Sugar Tops
Then dip their tops into demerara sugar.
Demerara is a minimally processed form of cane sugar. It has a coarse, crunchy texture and a darker color. Sometimes you may see it called "raw sugar." You can usually find it in the baking aisle at your regular supermarket, or you can order it online: demerara sugar.
Step 9: Bake
Bake the scones in a very hot oven (475 degrees F is not a typo!) until they are tall, puffy, and golden brown around the edges.
Helpful Tips and Tricks
- Keep everything cold: Cold butter is non-negotiable for the best texture. If your kitchen is warm, chill the dough for 10 minutes before cutting.
- Mix with a light touch: Overmixing develops gluten and makes scones tough.
- Go high heat: A hot oven helps them rise fast and stay fluffy.
- Cut cleanly: Use a sharp cutter and press straight down for the best lift.
Recipe FAQ
If you've tried making scones before and had difficulty, I'll answer some of the most common questions below.
It's not uncommon to see scones with dried fruit in the UK and Ireland. Often, a handful of dried currants, golden raisins, or dried apricots is baked in.
You could also add fresh, frozen, or dried berries, nuts, seeds, or chocolate chips.
If you'd like to incorporate add-ins like these, I suggest using ½ to 1 cup, depending on your taste.
If your scones come out flat, the number one culprit is likely your baking powder. Check the expiration date and make sure it hasn't expired.
Also, make sure your butter is ice-cold. Cold butter will create steam when it hits the hot oven, and this steam will puff up your scones and help them to rise sky-high.
And always be sure your oven is fully pre-heated before you start baking.
This style of scone is not quite as moist and cake-y as what you might find at an American coffee shop, but it should bake up light, fluffy, tender, and a little crumbly.
If you've had trouble with scones that are dry or hard, it's likely they were overbaked. Keep an eye on these as they bake; you'll want to pull them from the oven just as they start to turn golden around the edges.
Remember that when a recipe gives you a baking time, it's meant only as a rough guideline. No two ovens are exactly the same, so it's more important to look for visual and tactile cues than to follow the exact time given.
Also, be careful not to overwork the dough. You want to mix it just until the wet and dry ingredients are barely combined. If the dough is overworked, it will tighten up, and your scones will come out tough.,
Irish scones are a great make-ahead treat. They keep very well and will last several days at room temperature. Just be sure to keep them in an airtight container so they don't dry out or get stale.
You can also pop them into a zip-top freezer bag and keep them in the freezer. They should last there for at least a few months.
I would not advise making the dough ahead, though. The baking powder will lose its "oomph" if it sits too long, so you'll want to bake up this scone recipe just as soon as it's made!
To re-warm a leftover scone, zap it in the microwave for about 15 seconds on full power, OR wrap it in foil and place it in a low (170 degrees F) oven until warmed through.
They're just sweet enough as is, but if you really want to treat yourself, smear them with soft butter and add a dollop of raspberry or strawberry jam, lemon curd, and/or whipped cream. I don't think it's necessary to sweeten the cream, but if you'd like, you can add a little pinch of sugar.

More Breakfast Recipes

Ingredients
- 3 ¾ cups (468.75 g) all-purpose flour
- ¼ cup (50 g) granulated sugar
- 1 tablespoon baking powder
- ⅛ teaspoon kosher salt
- ½ cup (113.5 g) unsalted butter, (1 stick), cold
- 1 cup (244 g) whole milk*
- 2 eggs , (large)
- demerara sugar, (optional garnish)
Instructions
- Preheat the oven to 475 degrees F and line a baking sheet with parchment.
- Place the flour, sugar, baking powder, and salt in a large bowl and whisk to combine.
- Using a box grater, grate the cold butter into the flour mixture, then rub together with your hands until the mixture resembles fine breadcrumbs.
- Whish the milk and eggs together until blended, then add almost all of the liquid to the dry ingredients,** mixing together with your clean hand.
- When the dough gathers itself into a ball, knead it a few times, then pat it into a disc about ¾-inch thick.
- Use a 2 ½-inch diameter cutter to cut the scones. (Scraps can be gathered back together to form additional scones, but take care not to over work the dough.)
- Place the unbaked scones on the prepared baking sheet, brush the remaining milk/egg mixture over the tops, then top with demerara sugar.
- Bake for 14 to 16 minutes, or until the scones are puffed and golden brown on their bottoms.
- Cool, split, and top with butter, jam, and whipped cream, if desired.


I recently was in Ireland and had scones with rhubarb ginger jam. I purchased the recipe, but unable to get the scones right. My family told me to give it up. However, the baker that I am I persisted. When I found this recipe I knew I had to try one more time. Instructions were spelled out perfectly and easy to put together. The taste was exactly what I wanted. They were perfect in every way!
And yes, I did notice my baking powder was very old.
Nice! I love it. Thank you so much for sharing this story and for the positive feedback! I couldn't be happier that you were able to get the result you wanted.