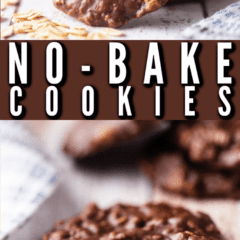
No-Bake Cookies
As an amazon associate I earn from qualifying purchases.
No-Bake Cookies are a classic treat, great for busy days, warm kitchens, or when you want dessert fast. They're full of chocolate, peanut butter, and oats, and you can make them in just 10 minutes without using the oven. They're chewy, fudgy, and just the right amount of sweet. If you're making a batch for a school bake sale or just need a nostalgic sweet fix, these cookies always hit the spot.
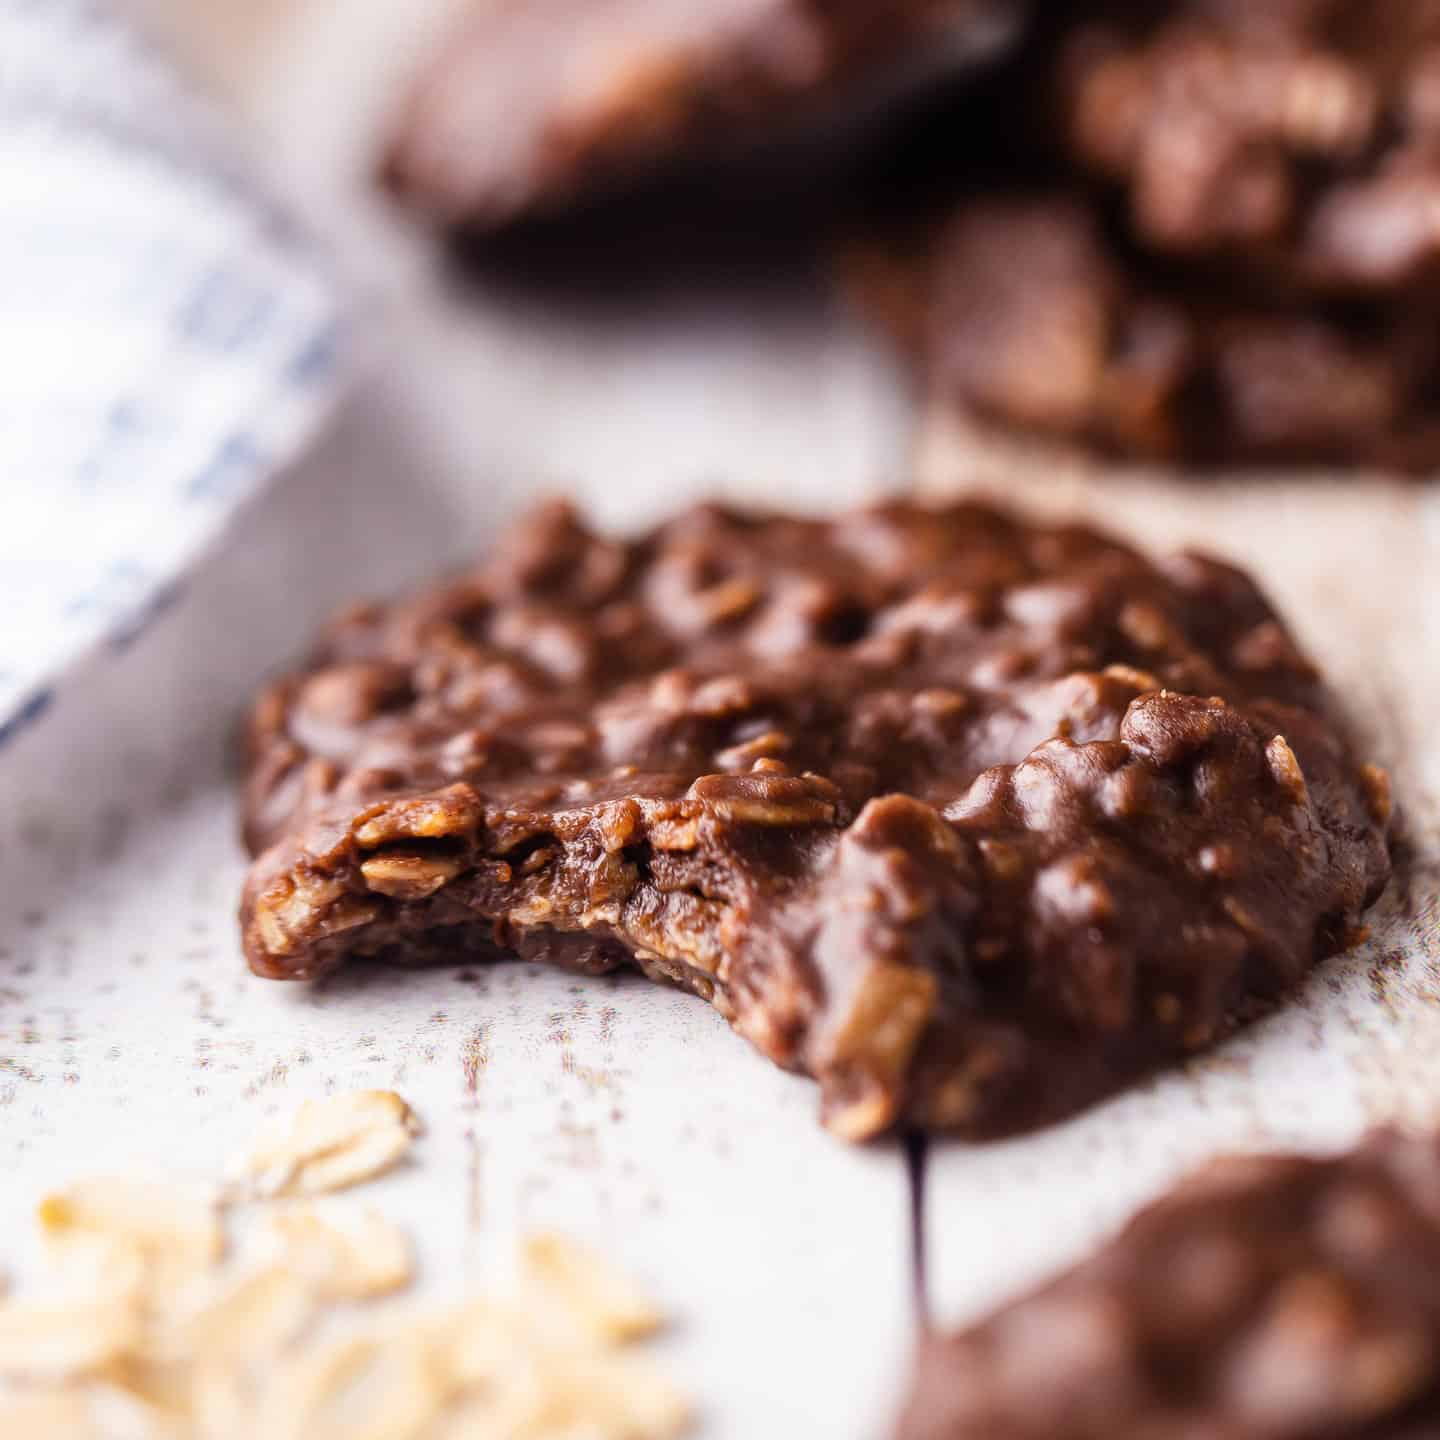
Table of Contents
- Here's Why You'll Love This Recipe
- Ingredients You'll Need
- In Photos: How To Make No-Bake Cookies
- Recipe FAQ
- More No-Bake Recipes
No matter what time of year it is, we love cookie recipes! There's nothing quite like welcoming your kids home from school or your friends over for a gathering with a plate of homemade cookies. Try making my fluffernutter cookies, soft chocolate chip cookies, or funfetti cookies. They are always a big hit!
Sometimes, whether it is because the temperature outside is hot or if I'm just short on time, I love a good no-bake recipe.
Enter this perfect, classic no-bake cookie recipe.
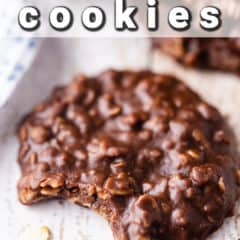
These cookies whip up in less than 10 minutes. They're loaded with hearty oatmeal, peanut butter, and chocolate. So rich & fudgy, and just the perfect kind of afternoon treat for a warm day, serve them with a tall glass of cold milk! They can't be beat.
But as quick and straightforward as they are, they can be a little bit fussy. I've made them over and over again, learning along the way, so read on for all my best tips and tricks to guarantee your no-bake cookie success!
Here's Why You'll Love This Recipe
- Quick and easy recipe: You can make these in 10 minutes with ingredients you probably already have.
- No oven needed: Perfect for hot days, for small kitchens, or for those short on time.
- Perfect texture: These cookies are soft, chewy, and full of flavor.
- Customizable: Adjust the ingredients to suit your taste or dietary needs.
Ingredients You'll Need
The recipe card at the bottom of the post contains the full list with all of the amounts. Refer to that when you're cooking.
- Granulated sugar: Gives the cookies sweetness and helps them hold together.
- Corn syrup (optional): Keeps the texture smooth by stopping the sugar from getting grainy.
- Unsalted butter: Makes the cookies rich and helps everything stick together.
- Milk: Any kind works. It adds moisture and helps the sugar dissolve.
- Unsweetened cocoa powder: Gives a rich chocolate flavor. You can use regular or Dutch-processed.
- Peanut butter: Adds a creamy texture and nutty taste. Use whichever kind you like best.
- Oatmeal: Quick oats make the cookies softer, while old-fashioned oats give a chewier bite.
- Kosher salt: Balances out the sweetness and brings out the flavors.
In Photos: How To Make No-Bake Cookies
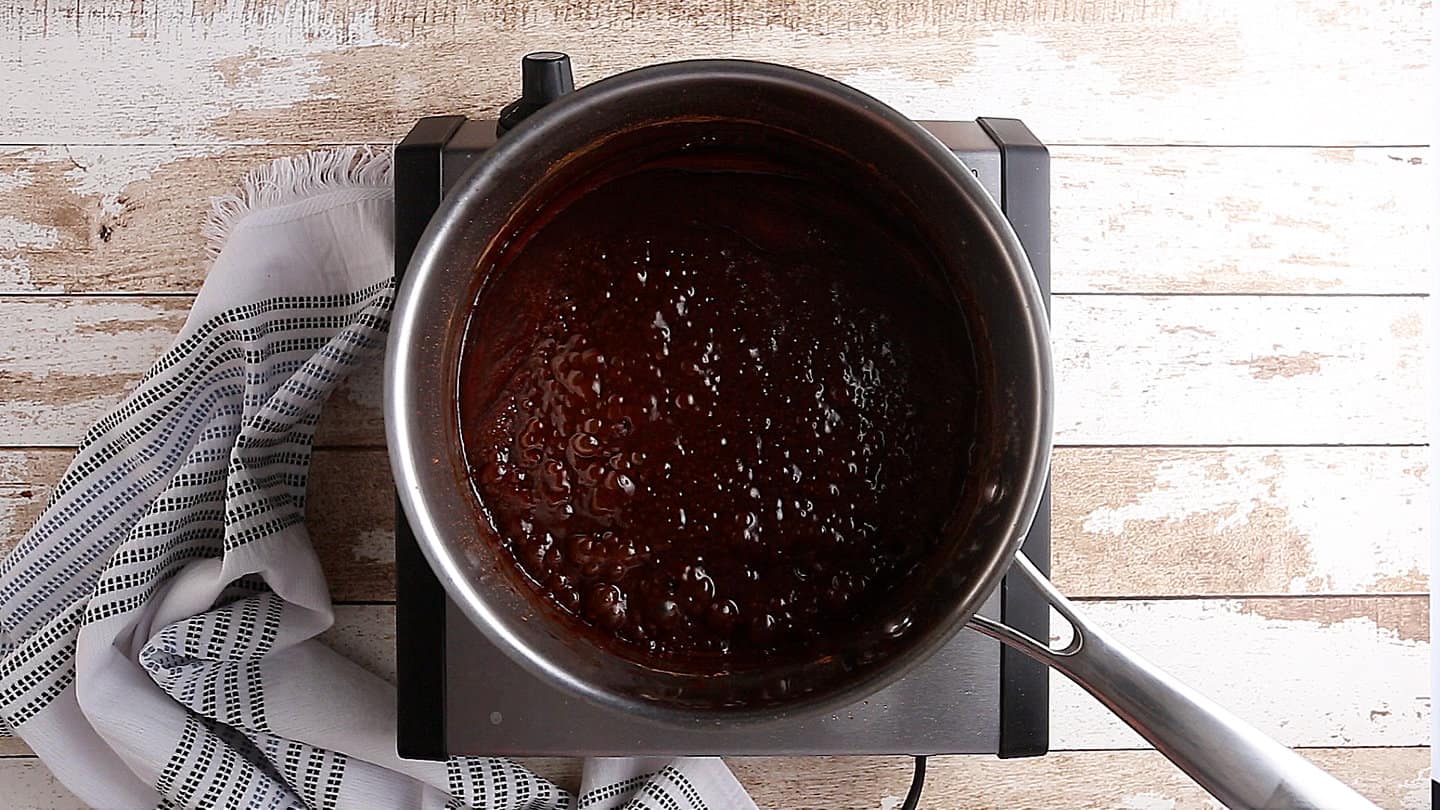
Step 1: Heat
Start by putting the sugar, corn syrup (if you're using it), butter, milk, and cocoa in a medium saucepan over low heat.

Step 2: Let the sugar dissolve completely
Stir until the butter melts completely. Keep heating and whisking gently until the sugar is fully dissolved and you don't feel any grittiness when you rub a bit between your fingers.

Step 3: Increase heat
Turn the heat up to medium-high and let the mixture come to a rolling boil. Boil it for 1 to 2 minutes, or until it reaches the soft-ball stage (about 235°F/113°C).
Notes for success:
I find a thermometer crucial when making candy. They're only a few dollars to buy, and they store easily. Here's a link, if you don't already have one: candy thermometer.
So, for your cookies to set up, you're targeting the soft-ball stage. But I am picky when it comes to looks, and I really love that slight velvety shine, and I've found that to get that, you really want to be on the lower end of the soft ball stage. That means absolutely no higher than 235 degrees.
Bearing carry-over cooking in mind, I found the perfect temperature to be 230 degrees F. This is actually on the higher end of the thread stage.
Now, I'm not sure if this means my thermometer has wandered out of calibration or what, but after probably close to 10 practice batches, this seemed to be the sweet spot for me (no pun intended). Take it for what it's worth and know that you might need to experiment for yourself, knowing that anything close to 235 will most likely yield reasonable success.
Step 4: Remove from heat and stir in dry ingredients
Take the pan off the heat. Add the peanut butter, oats, and salt.
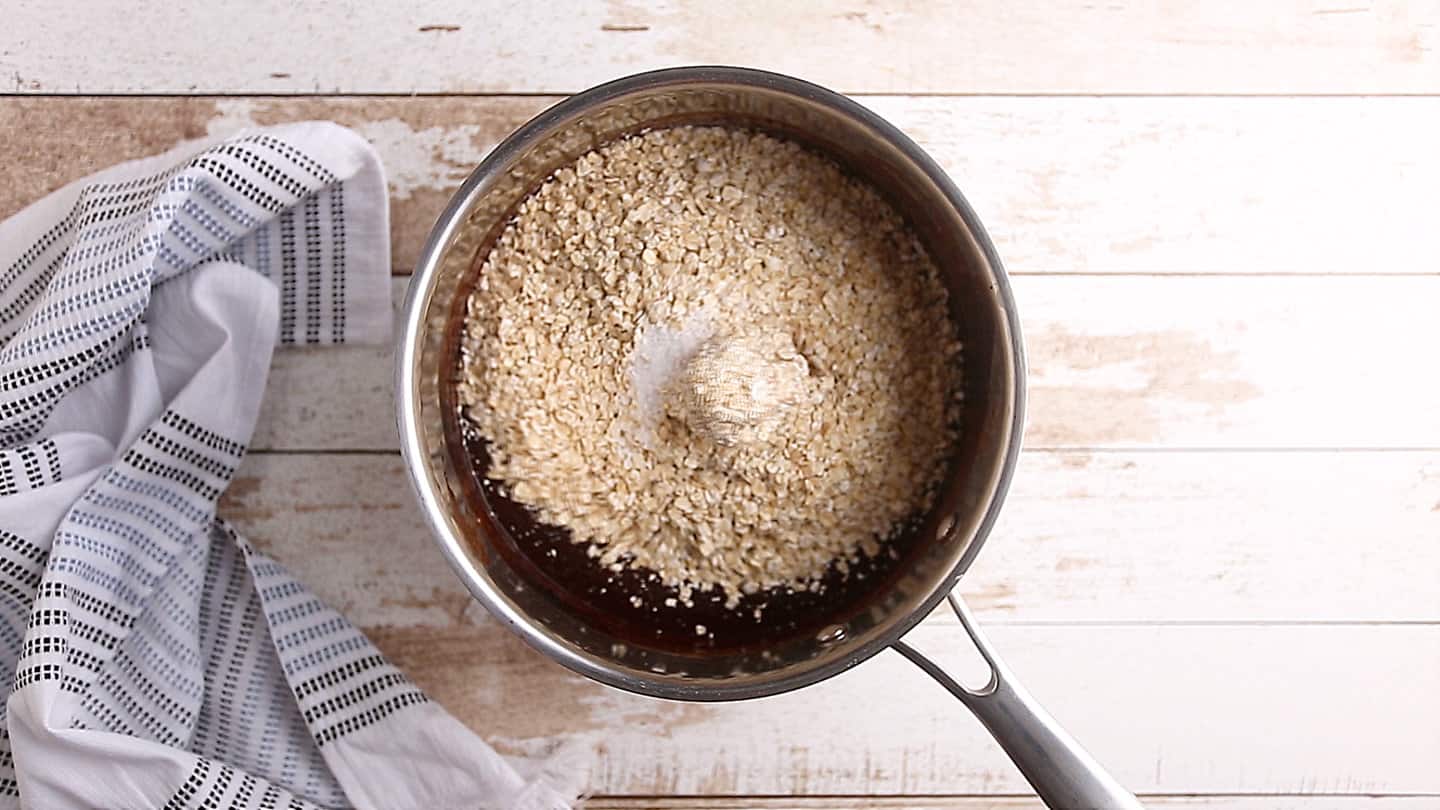
Mix until everything is evenly distributed.

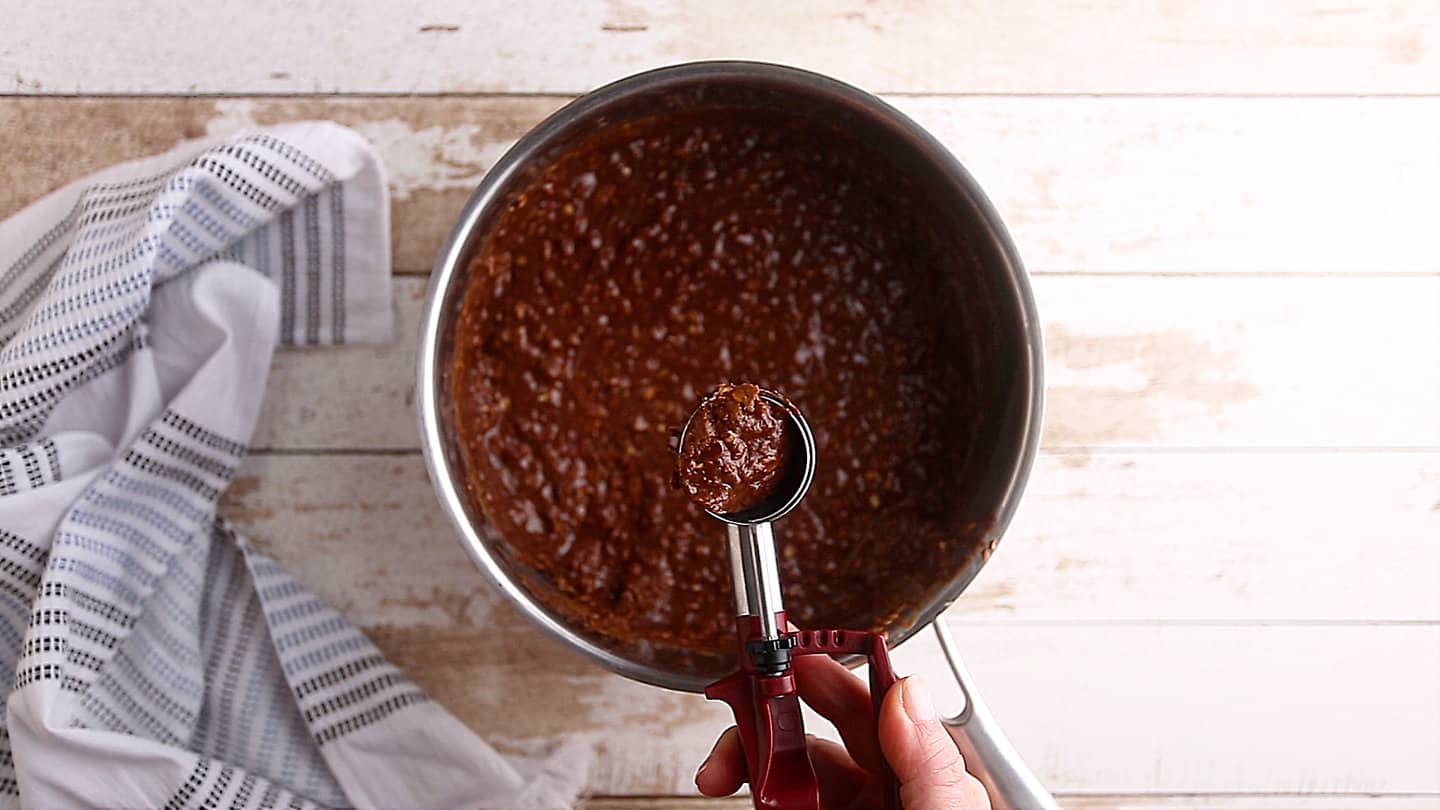
Step 5: Form cookies
Spoon out about 1.5 tablespoons of the mixture onto a baking sheet lined with parchment.
Step 6: Let cool
Let the cookies cool and set for 15 to 30 minutes.

Step 4: Enjoy
Store in a covered container at room temperature and enjoy for a fun, quick snack!

Helpful Tips and Tricks
- TEMPERATURE IS EVERYTHING! This recipe can be a little fussy. If you don't hit the exact right temperature, it can really affect the outcome of your cookies. In a nutshell, if the mixture gets too hot, your cookies will be dry and crumbly, and if it doesn't get hot enough, they might not set up.
- Make sure the sugar is fully dissolved to avoid grainy cookies.
- Once the mixture is ready, work quickly because it sets fast.
- Try adding a little vanilla or a pinch of cinnamon for extra flavor.
- If you want firmer cookies, put them in the fridge for 10 minutes.
Recipe FAQ
You may notice that as you are scooping your cookies, they are not puddling out into the perfect cookie shape. You can flatten them slightly with the back of your scoop, but as they cool and set up they might not be perfectly soft and creamy.
To me, they're still dang good, and I will happily eat them regardless.
But if they seem at all dry and/or crumbly, this can most definitely be attributed to a too-long, too-hot cook. Be sure to aim for the lower end of the soft-ball stage of candymaking, which would be around 235 degrees F (or even a degree or so lower, to account for carry-over cooking).
If your cookies still haven't set up after 30 minutes or so, if they are too soft to come off the baking sheet without bending or falling apart, or if they are way too sticky and shiny, this is because they weren't cooked long or hot enough.
It's possible you could scrape them back into the pot and try again (I haven't tried that personally so I can't say for certain), aiming for a slightly higher temperature, but I have found that they may be ok if you just leave them out overnight, uncovered.
Sometimes that's all they need is just a little additional time to dry out. You might even want to aim a low fan on them to speed up the process!
Just pop these into an airtight container, and they should keep for at least a week at room temperature, if not longer.
These do not have to be kept refrigerated, as they are basically candy and have a high enough sugar content to inhibit microbial growth. That said, if you do choose to keep them in the fridge, it's not a problem, and it will probably extend their shelf life a little longer.
You can also freeze them if you like. Place them in an even layer on a tray, and once they're frozen solid, transfer them to a zip-top bag. They'll thaw quickly at room temp.

More No-Bake Recipes

Ingredients
- 1 ½ cups (300 g) granulated sugar
- 2 tablespoons (44 g) corn syrup , (light or dark), optional
- ½ cup (113.5 g) unsalted butter
- ⅔ cup (162.67 g) milk, (whatever kind you keep in your fridge; I used lowfat)
- ½ cup (43 g) unsweetened cocoa powder, (regular OR Dutched; I used regular)
- 1 cup (258 g) peanut butter
- 2 cups (468 g) oatmeal*
- ¼ teaspoon (1.5 g) kosher salt
Instructions
- Place the sugar, corn syrup, butter, milk, and cocoa in a medium pot over low heat.
- Once the butter has melted, whisk the mixture and allow it to continue cooking, slowly, until the sugar has completely melted (it should not feel gritty when you rub a drop between your thumb and forefinger).
- When all the sugar has dissolved, turn the heat up to medium-high and allow the mixture to come to a full, rolling boil.
- Boil the mixture until it reaches the soft ball stage (approx. 235 degrees or slightly lower), or about 1 to 2 minutes.
- Immediately remove from heat and stir in the peanut butter, oatmeal, and salt.
- Drop 1.5-tablespoon sized scoops onto a parchment-lined baking sheet, and allow to cool/harden for 15 to 30 minutes.

recipe looks good and haven't tried these yet but this is the first recipe that doesn't add vanilla.
Love this recipe because the cookies can have a shiny effect. Need to fine-tune it for high altitude as I felt it needed 1 tablespoon less of corn syrup and I had to add about a half a cup more of oatmeal. The cookies still have not set up very well so I am Hopeful they will work out. They look much prettier than the old ones I used to make!
Hope they come out the way you hope! Thanks for reading and for the positive review!
Ive been eating and making these cookies all my life and this recipe is by far the BEST! So fudgie and delicious, my whole family agrees winner winner chicken dinner!!!
Yay! So happy to hear that! TYSM for the positive feedback!
Why can't I find a link to the actual recipes. The article is way too long to keep searching through.
There's a jump to recipe button at the top of the post, right under the title. And you would have scrolled past the recipe card to leave your comment.
Hi can you use anything else other then corn syrup?
The corn syrup is optional! Feel free to leave it out if you prefer.