Fluffernutter Cookies
As an amazon associate I earn from qualifying purchases.
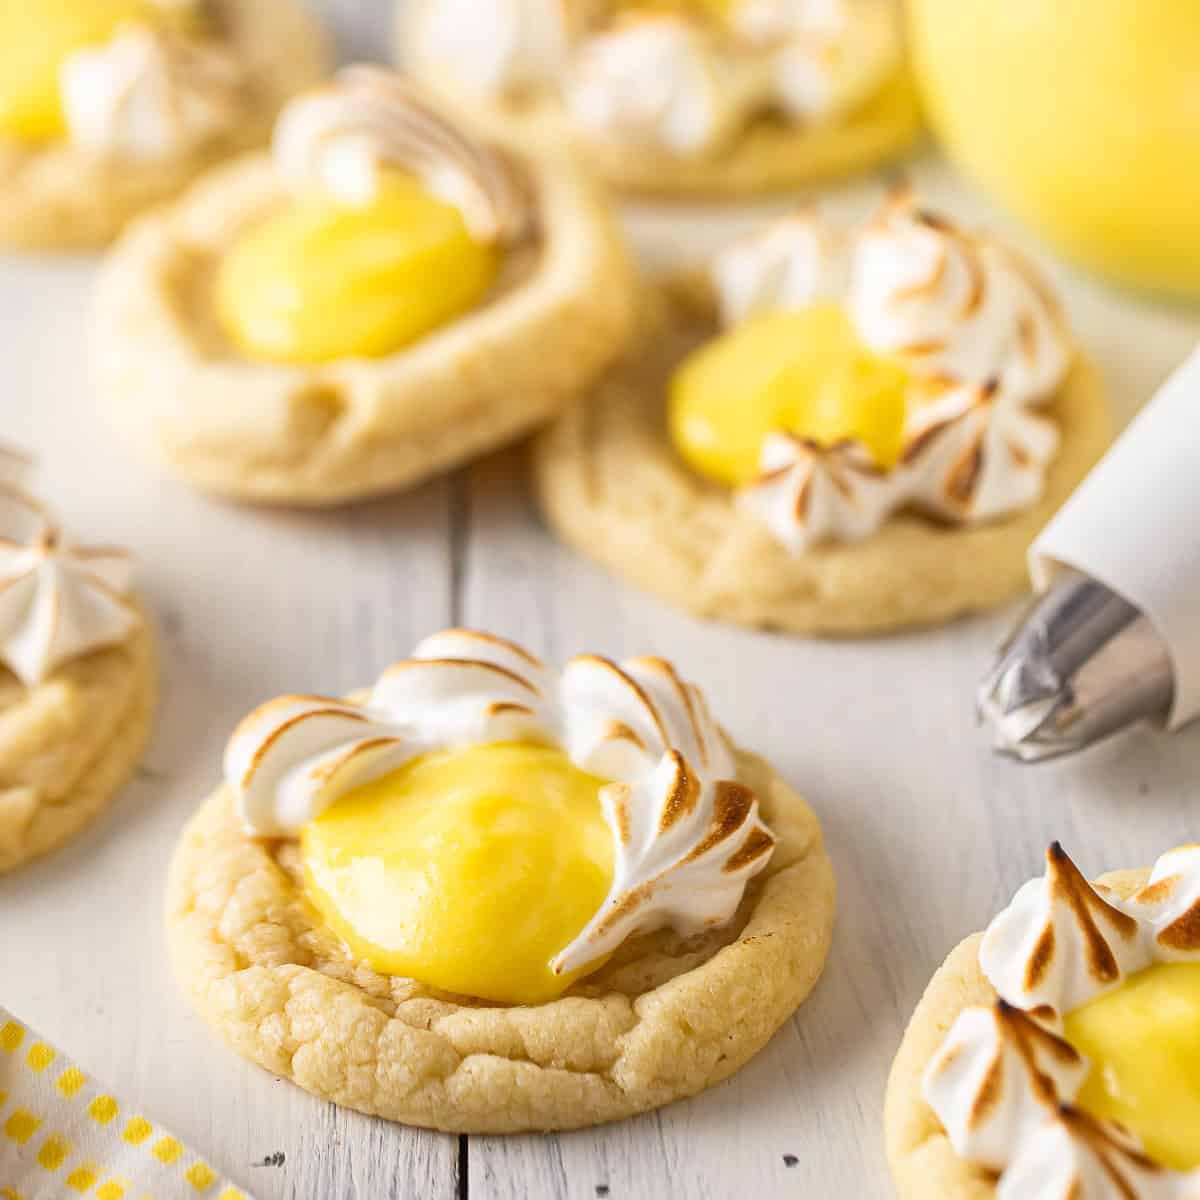
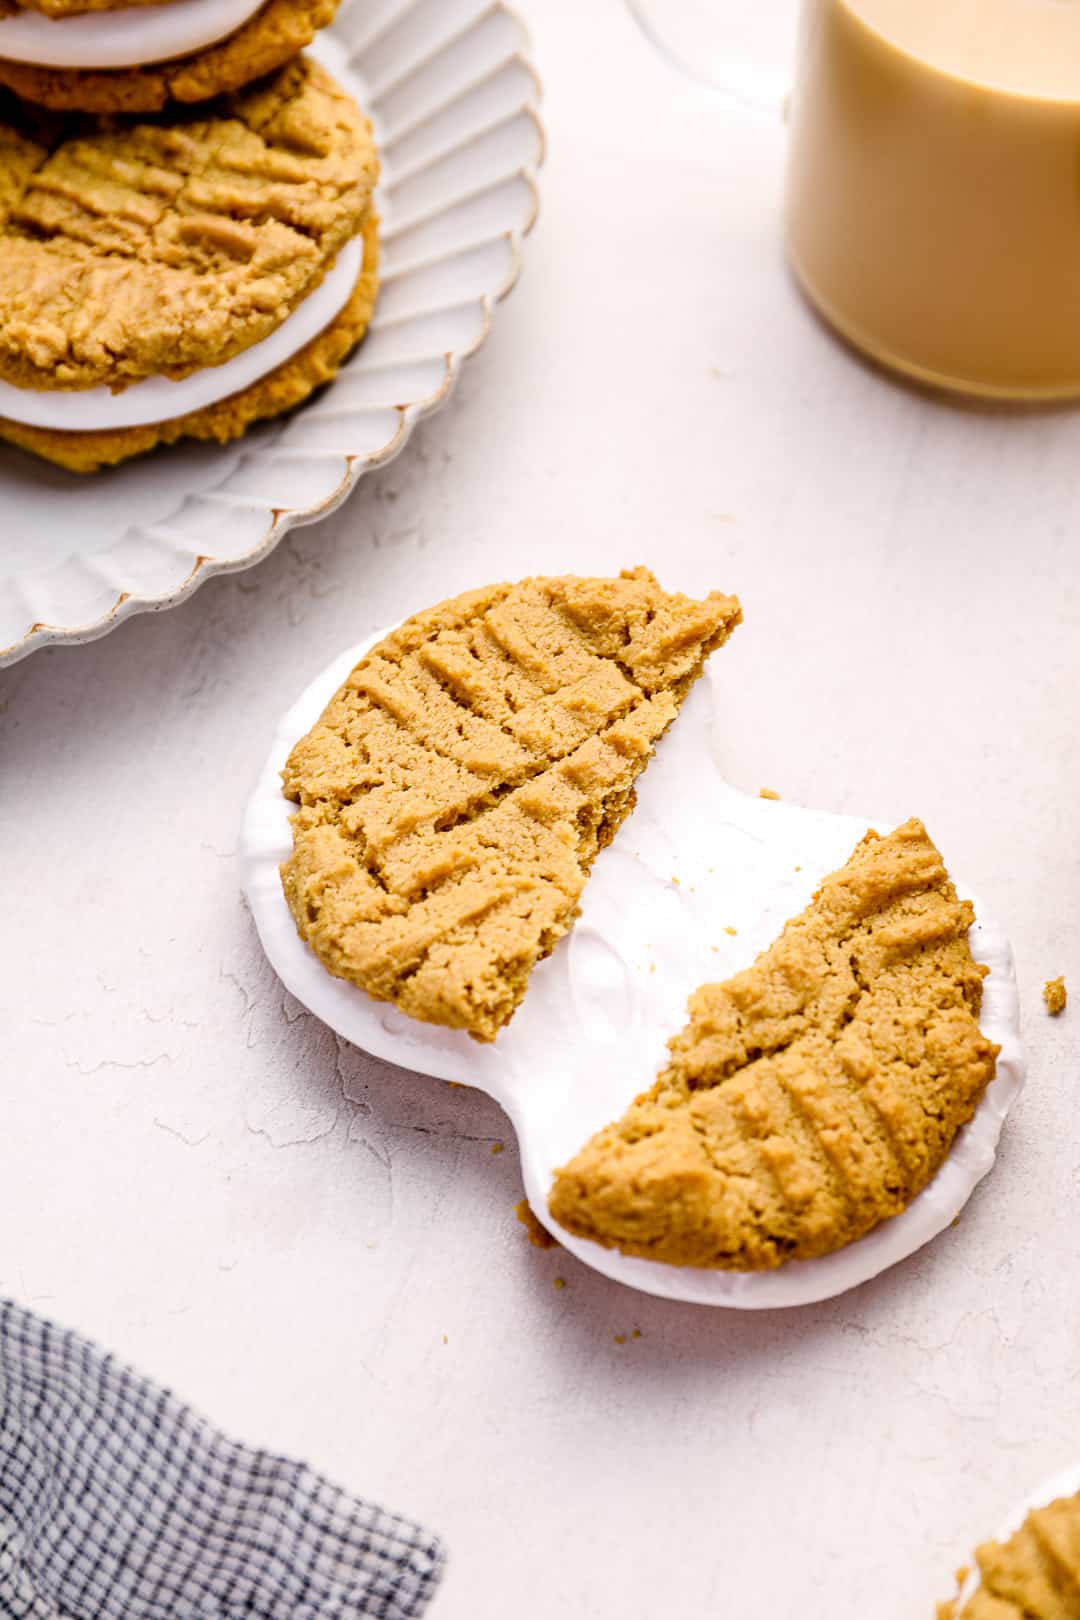
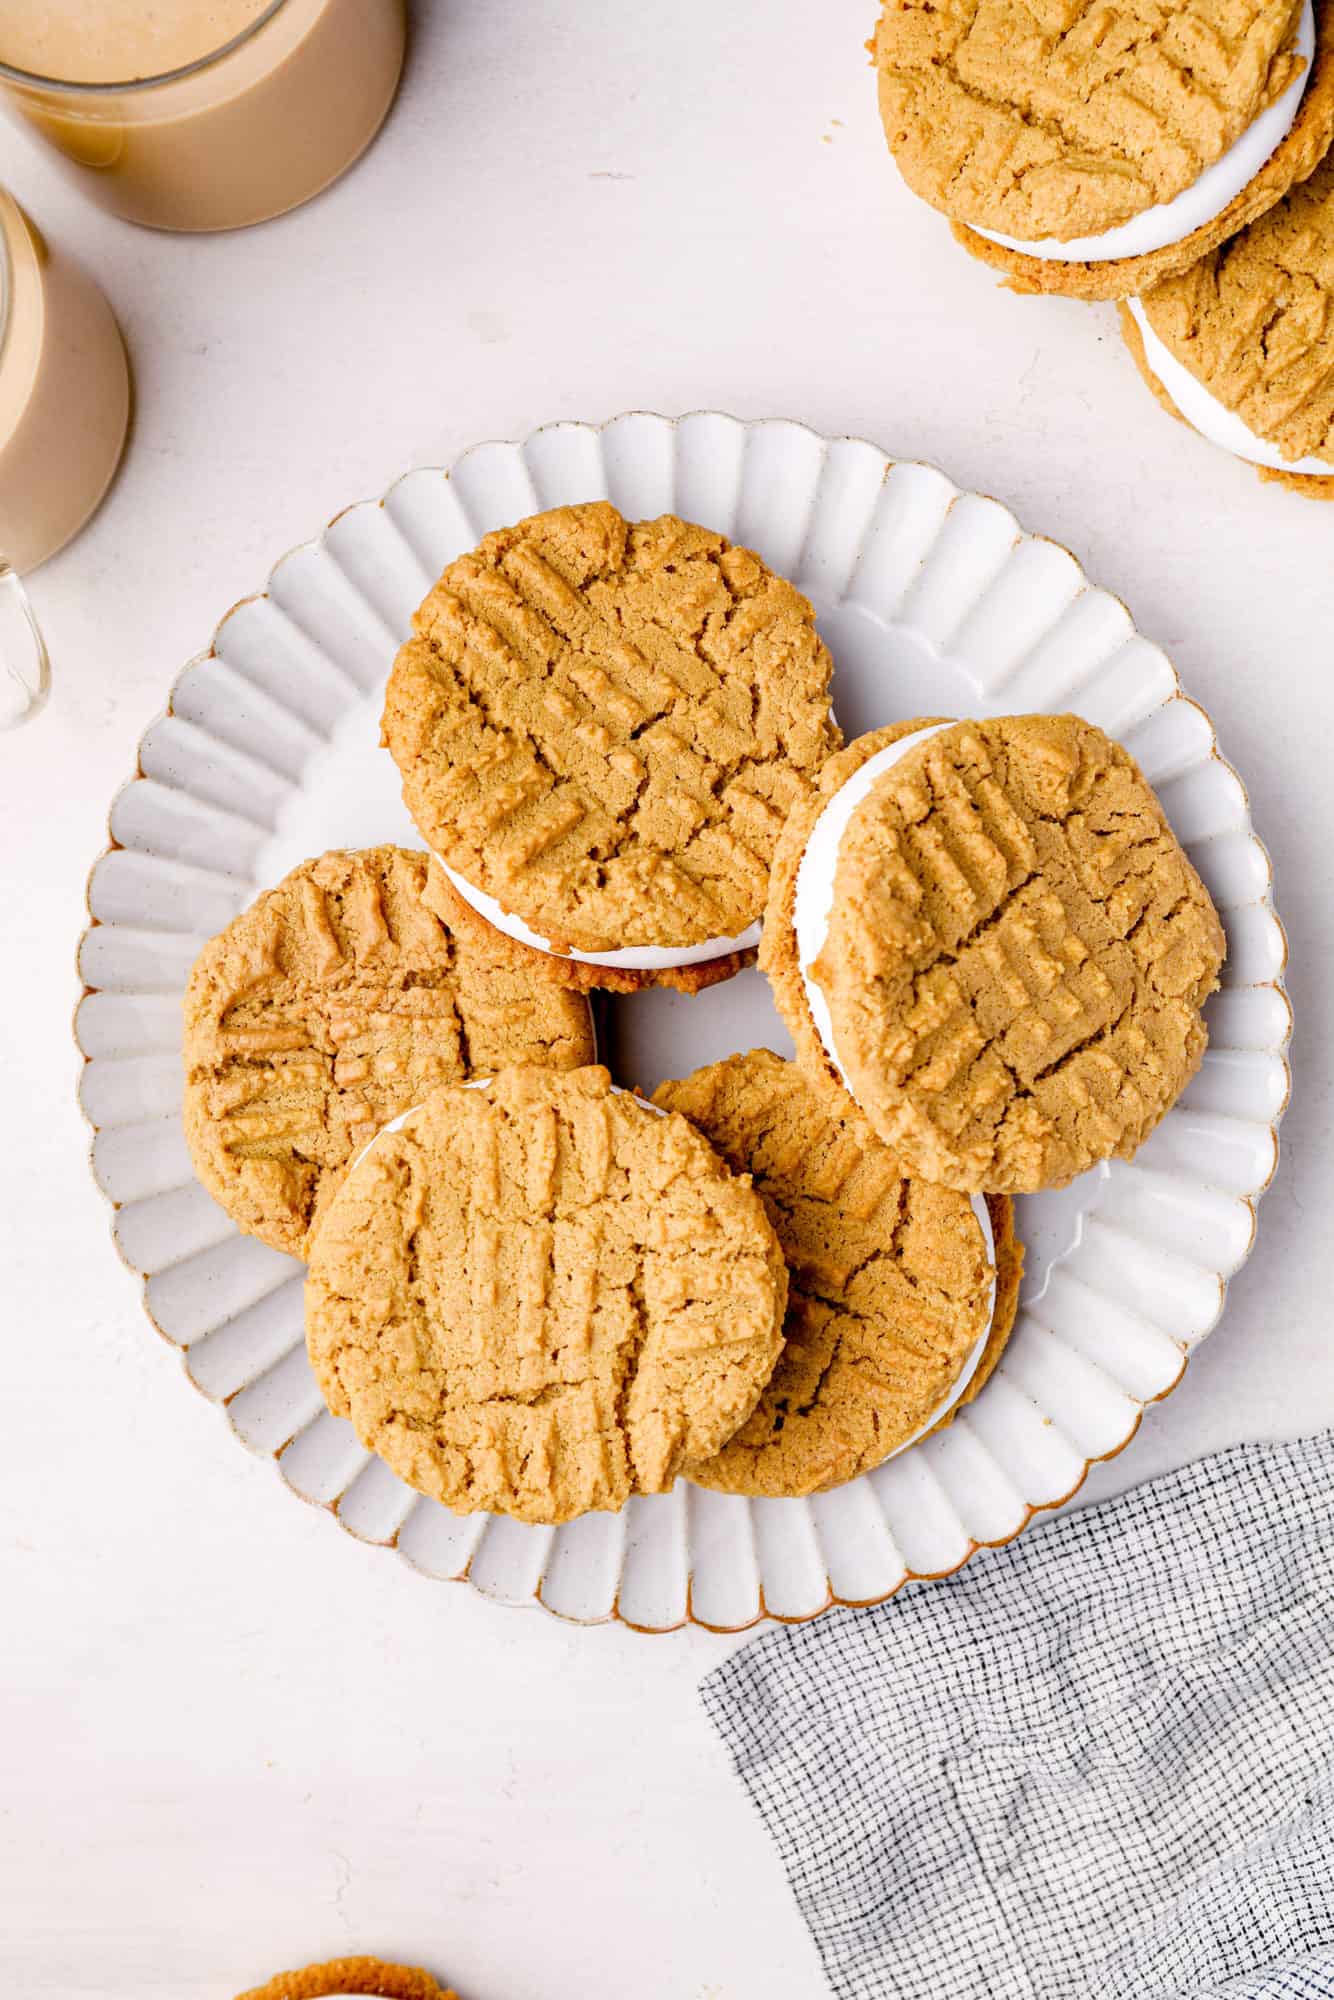
These homemade Fluffernutter Cookies are so fun! Soft peanut butter cookies sandwiched around a gooey marshmallow filling. Naturally gluten-free & dairy-free.

Table of Contents
- Why You'll Love This Recipe
- Ingredients You'll Need
- In Photos: How To Make Fluffernutter Cookies
- Recipe FAQ
- More Cookies and Bars
Give me all the peanut butter desserts! I just can't get enough. From Peanut butter blondies, peanut butter blossoms, peanut butter fudge, and peanut butter pie, I've got a fever, and the only prescription is more peanut butter.
I know I'm not alone in this, right? Peanut butter and chocolate are the ultimate combination.
With the possible exception of peanut butter and marshmallow, like what we have here today in these incredible fluffernutter cookies!
Fluffernutter cookies were inspired by one of my favorite childhood staples, the fluffernutter sandwich.
In this version, I've taken two soft peanut butter cookies and filled them with my homemade marshmallow fluff.
If you're thinking, "Gee, that sounds pretty fantastic!" you'd be right. You've gotta make these this weekend!
Why You'll Love This Recipe
- Quick & easy to make: No flour, no butter, no chilling time. Just mix and bake!
- Incredible texture: Crisp edges, tender middles, and a creamy, gooey filling.
- Naturally allergy-friendly: Great for gluten-free and dairy-free diets.
- A fun twist on a classic combo: Peanut butter and marshmallow never tasted so good.
Ingredients You'll Need
The recipe card at the bottom of the post contains the full list of amounts. Refer to that when you're cooking.
For the Peanut Butter Cookies
- Peanut butter: Smooth, unsweetened peanut butter gives rich flavor and acts as the base-no flour needed!
- Granulated sugar: Sweetens the dough and helps create a crisp edge and chewy center.
- Eggs: Provide structure and bind the dough.
- Baking soda: Gives the cookies a little lift and tenderness.
- Kosher salt: Balances the sweetness and enhances flavor.
For the Marshmallow Filling
- Egg whites: Whipped to stiff peaks, they give the filling its signature fluff.
- Cream of tartar: Stabilizes the egg whites, resulting in a stable meringue.
- Kosher salt: A pinch sharpens the sweetness and rounds out the flavor.
- Granulated sugar: Used in two parts-some whipped into the egg whites, the rest cooked into syrup.
- Vanilla extract: Adds warm flavor to the filling.
- Water: Combines with sugar to create the hot syrup that cooks the meringue.
In Photos: How To Make Fluffernutter Cookies
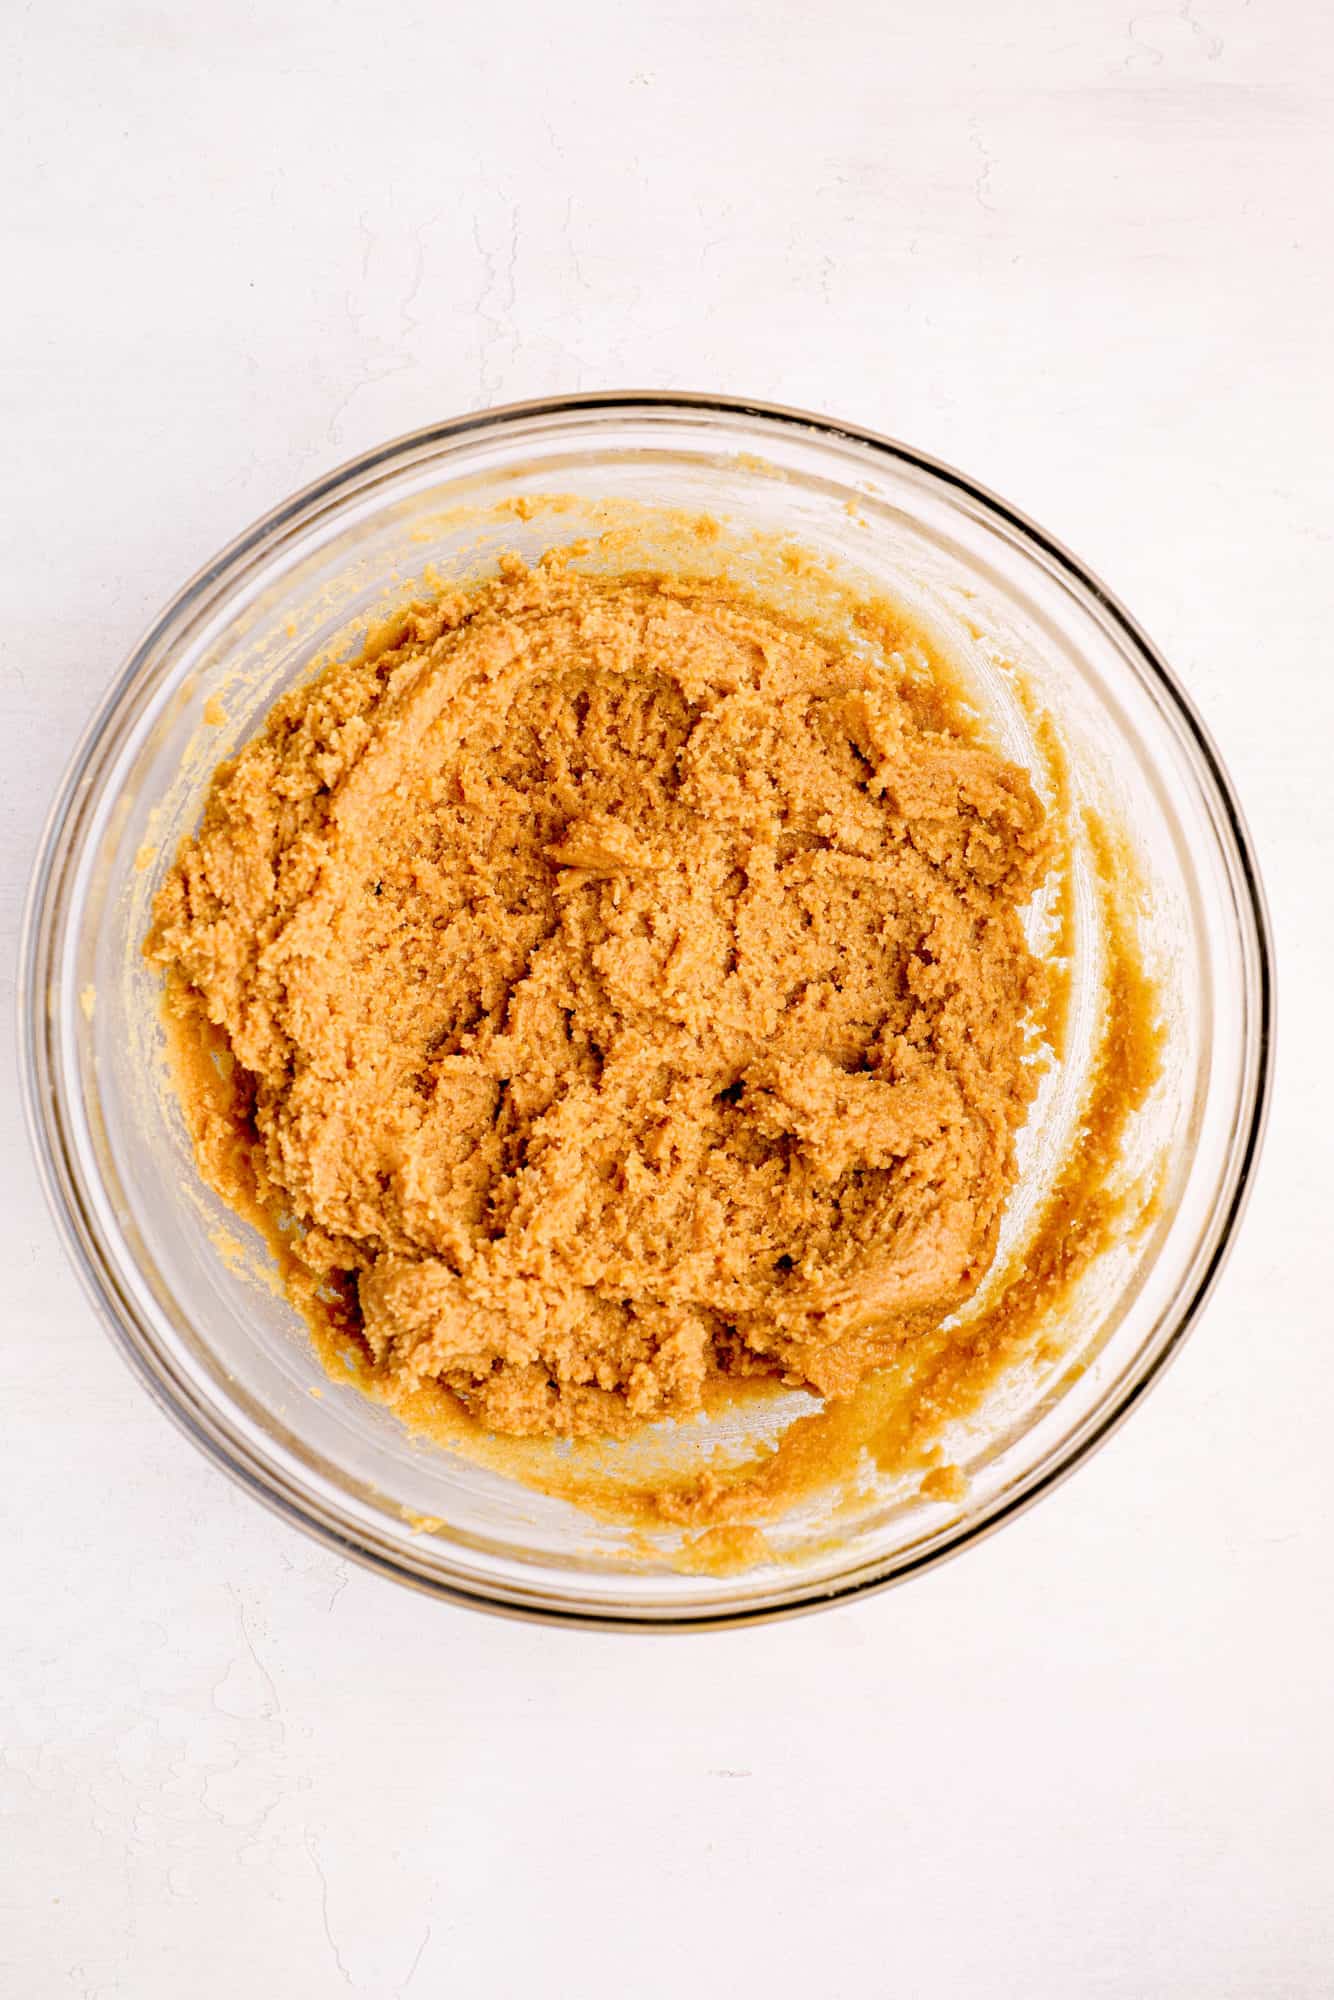
Step 1: Make Peanut Butter Cookie Dough
This is my FAVORITE peanut butter cookie recipe ever, because it bakes up so soft and tender, with SO MUCH peanut butter flavor. They're just sweet enough, with a touch of savory edge.
I've got lots of info about the recipe here: Peanut Butter Cookies, but it's pretty simple, really.
Basically, you just stir together peanut butter, sugar, eggs, baking soda, and salt...
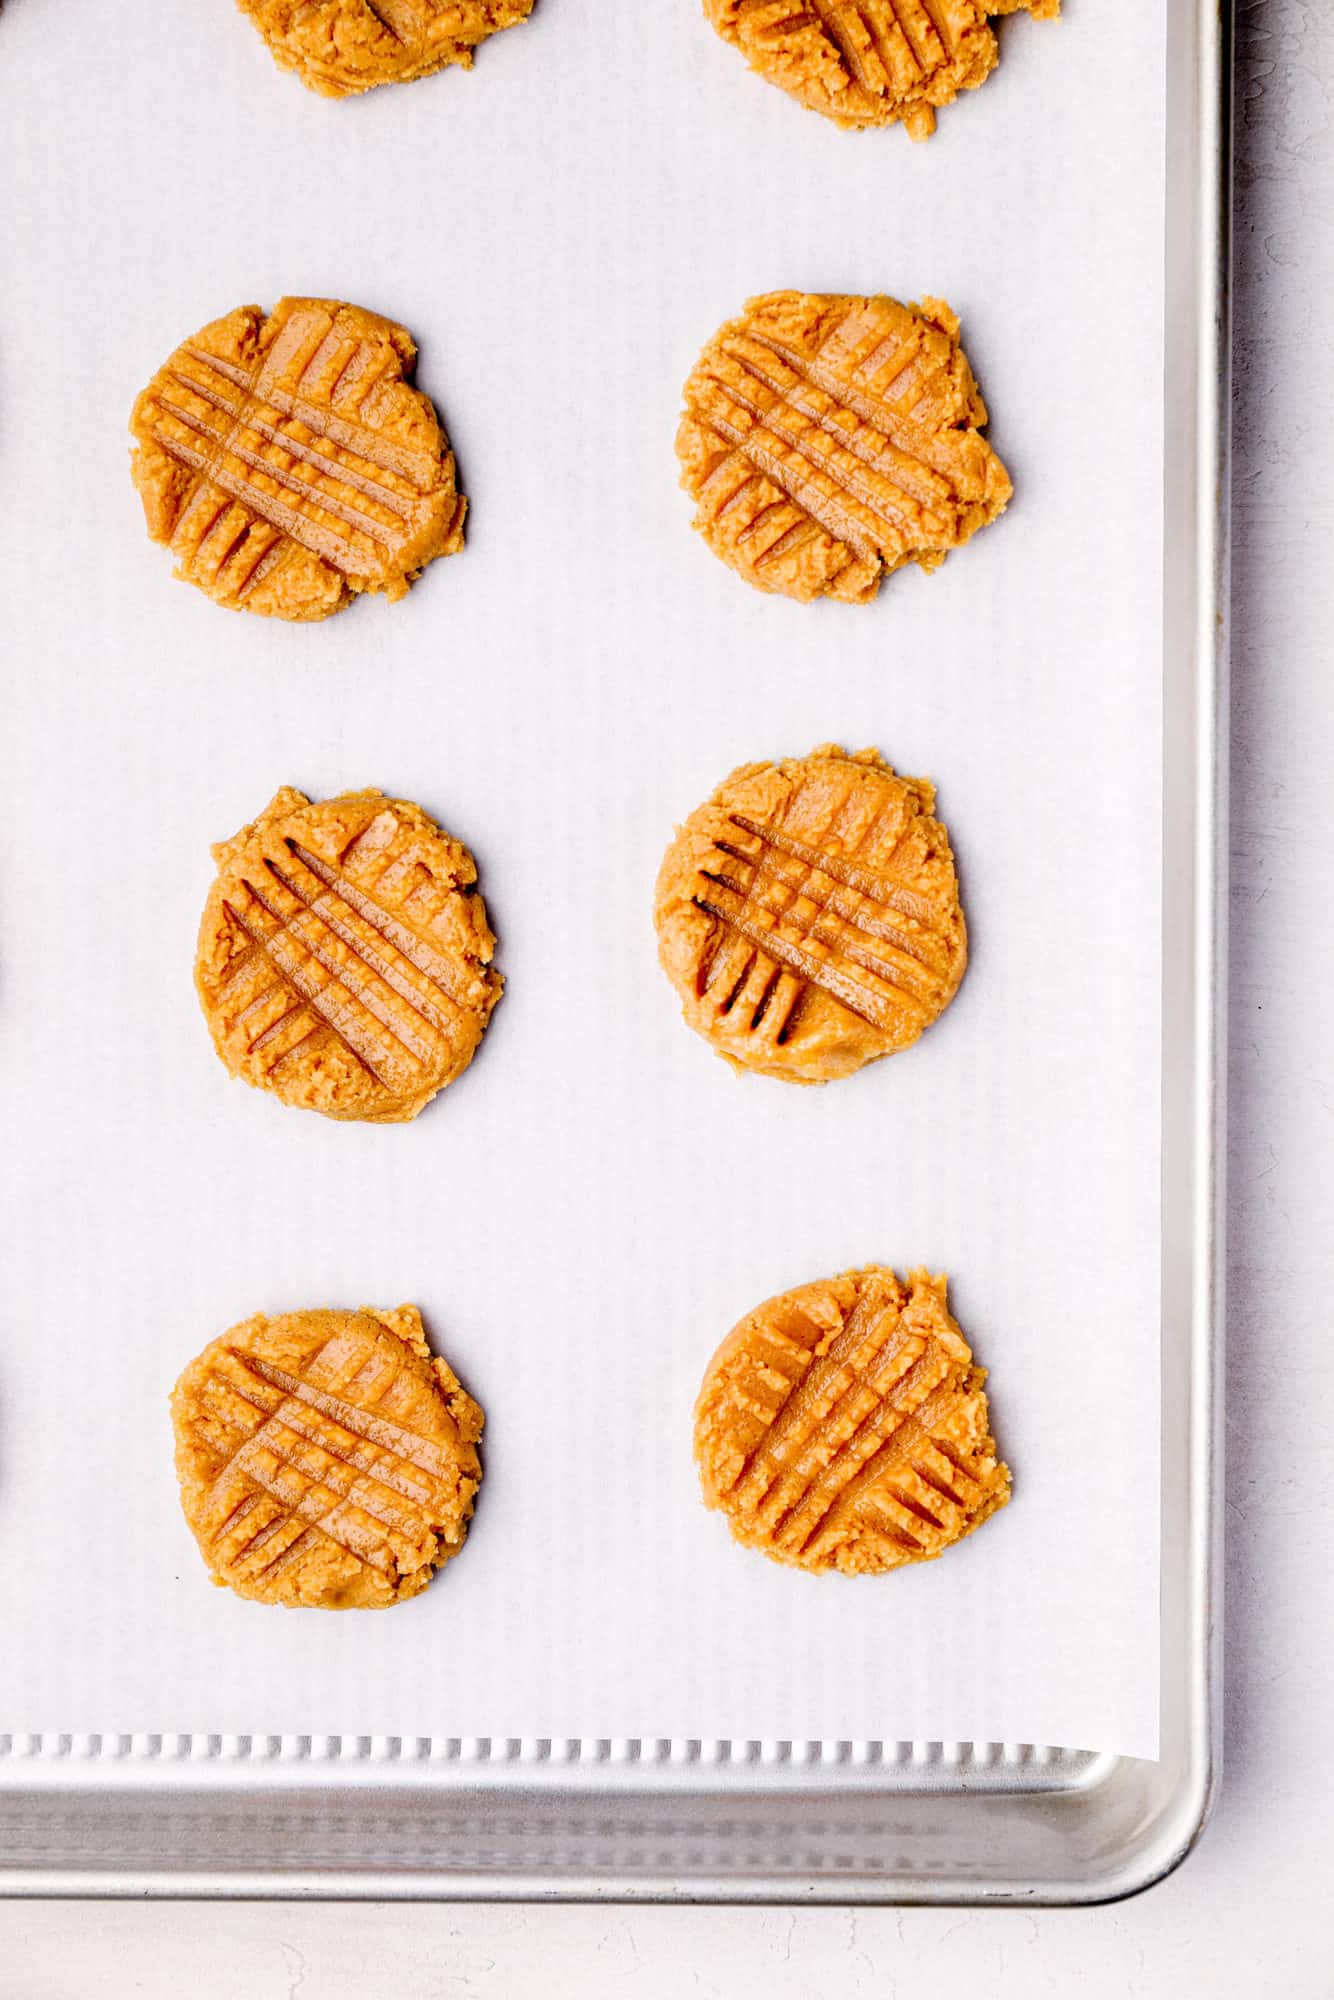
Step 2: Form Cookies
Then scoop onto baking sheets and press with the tines of a fork.
Step 3: Bake
Bake for 9 to 12 minutes, until set at the edges and soft in the center.

Step 4: Make Marshmallow Filling
While the peanut butter cookies are baking, you can get going on the filling.
It's basically just this Marshmallow Frosting recipe <-- so click here for lots more info if you have any questions.
You'll want to start by gently whipping egg whites, cream of tartar, and salt together until they start to look foamy.
Then, whip in the sugar very slowly until you have a soft meringue.
Add a dash of vanilla for that signature marshmallow flavor, then whip it like crazy until it holds stiff peaks.
The final step is to cook a sugar-water mixture until it reaches 235°F. If you don't already have a thermometer, here's a link to the kind I like: Digital Thermometer.
Once the syrup reaches the desired temperature, drizzle it slowly into the meringue while whipping.
Not only does this sweeten the filling, but it also makes it more stable and marshmallow-y, and it cooks the egg whites.

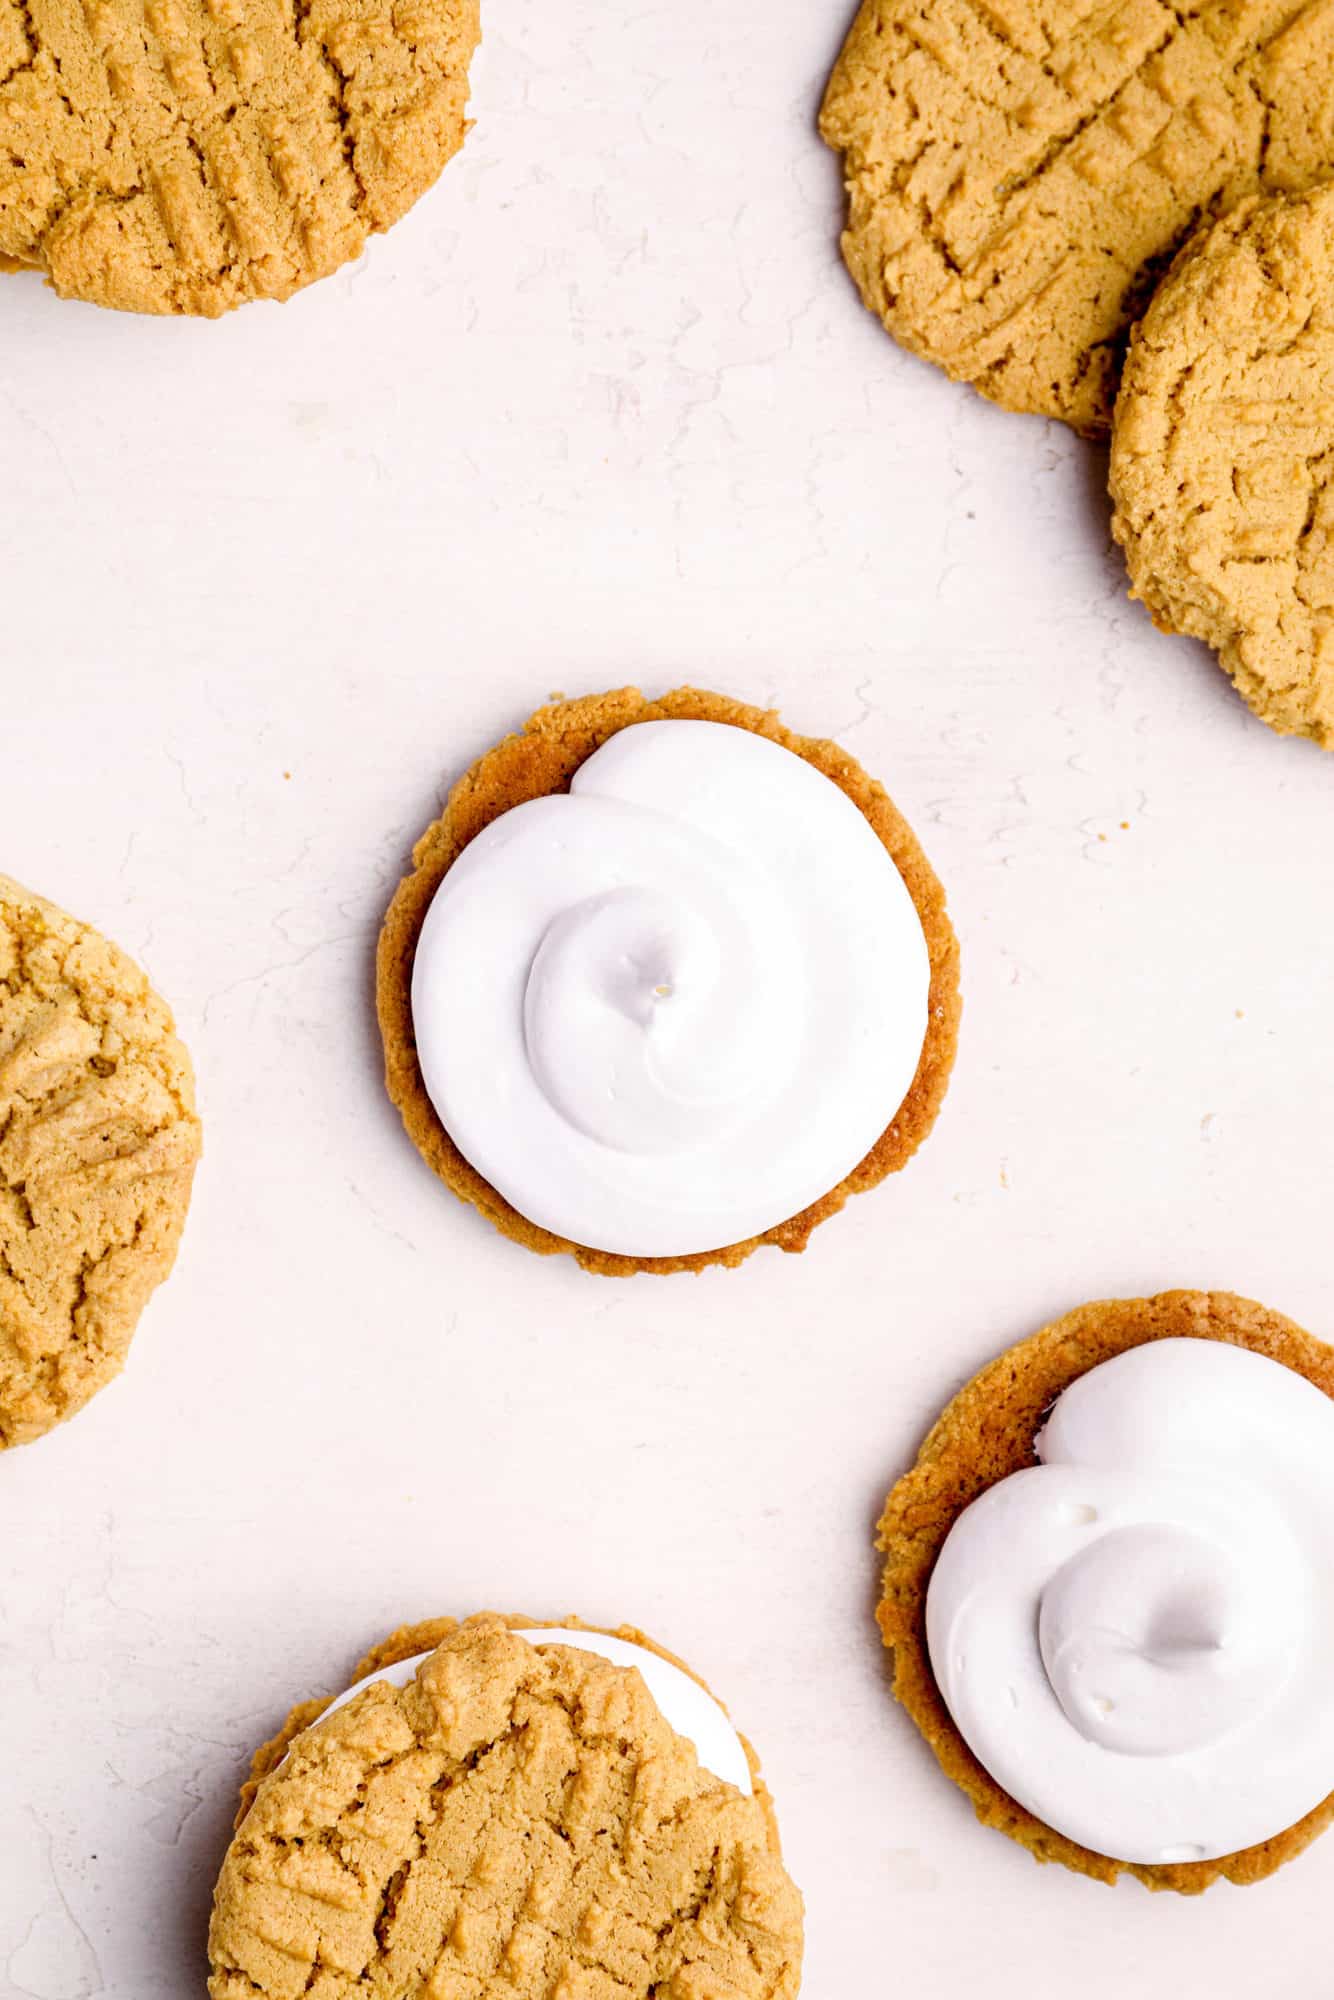
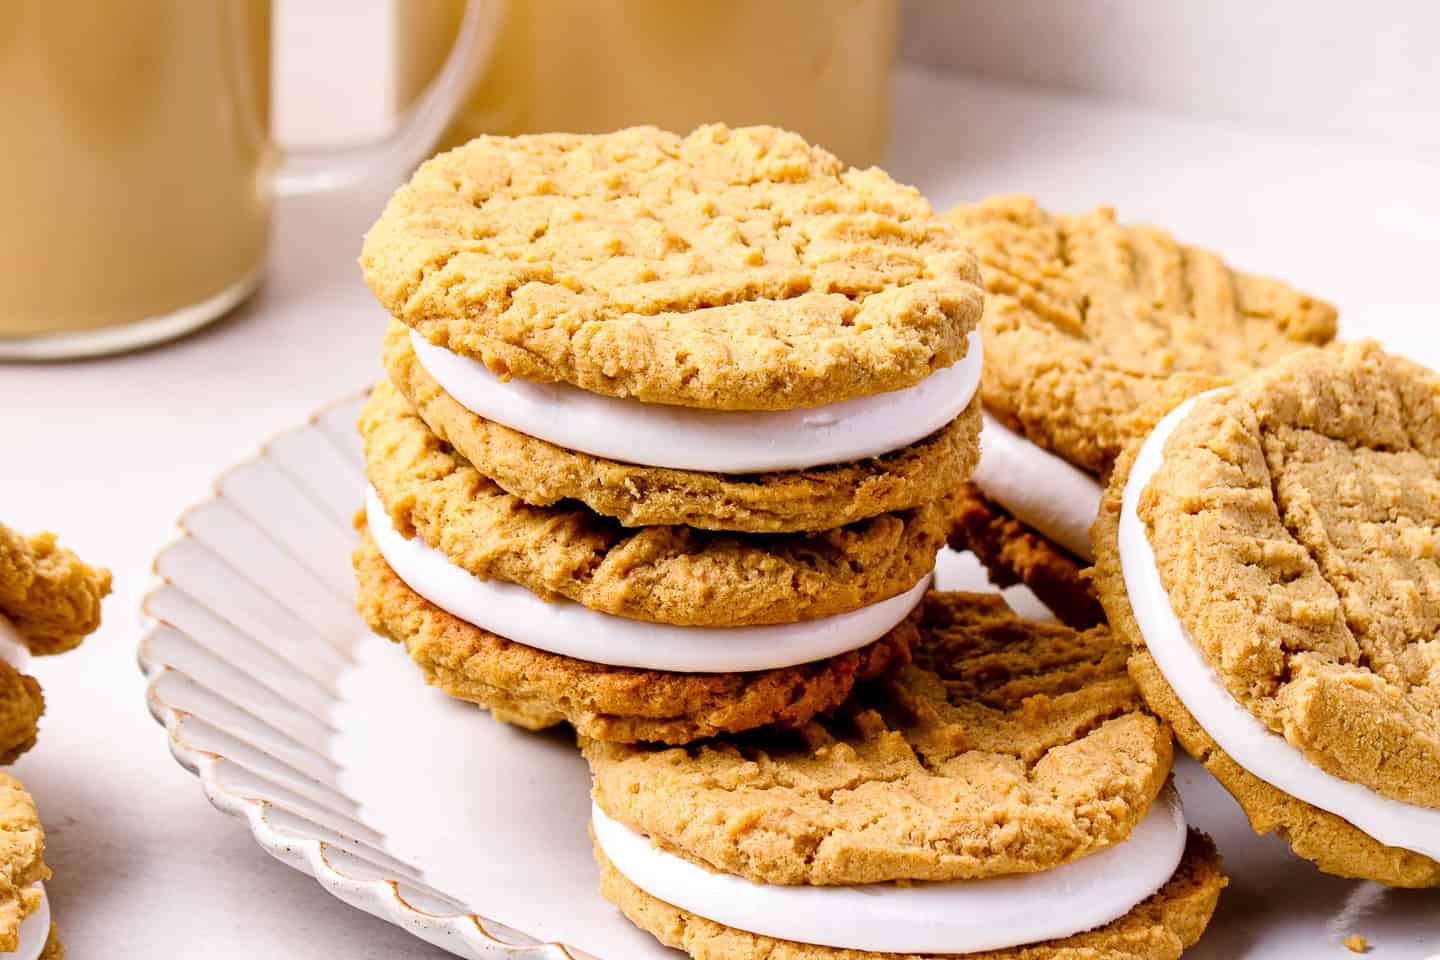
Step 5: Assemble
Once the cookies are completely cool, sandwich them with a generous dollop of marshmallow filling. Press gently to spread the filling just to the edges.
Helpful Tips and Tricks
- Let the cookies cool completely before sandwiching. This keeps the filling fluffy and prevents melting.
- A cookie scoop helps portion the dough evenly, so all the sandwiches are the same size.
- If the filling gets too soft while assembling, pop it in the fridge for a few minutes to firm it up.
Recipe FAQ
Yes, but make sure it's well-stirred and not too runny. The cookies hold together best with a thicker peanut butter.
Absolutely! If you're short on time, marshmallow fluff makes a quick and easy substitute for the homemade filling.
They're best stored in an airtight container at room temperature for up to 3 days. For longer storage, refrigerate or freeze.
This recipe contains zero flour and no dairy either, so it's naturally gluten-free and dairy-free.
But it does contain eggs, so it's not vegan. I have not tried making a vegan version, so I can't say for sure, but I would imagine you could probably substitute aquafaba for the egg whites. If you try it I'd love to hear about the results!
If you are looking to make a nut-free version of this recipe, I would suggest using sunflower seed butter in place of the peanut butter. It tastes so much like peanut butter, but allergen-free.
These cookies are probably best eaten the first day or so.
After a little while, the filling may start to lose volume and soak into the cookies. Not that that's such a bad thing! I think they'd still taste darn good.
While optimal when fresh from the oven, these can be kept in an airtight container for around 3 to 5 days.
More Cookies and Bars

Ingredients
For the Peanut Butter Cookies:
- 2 cups (516 g) peanut butter
- 1 ½ cups (300 g) granulated sugar
- 2 (88 g) eggs, (large)
- 2 teaspoons (8 g) baking soda
- 1 teaspoon (6 g) kosher salt
For the Marshmallow Filling:
- 5 (150 g) egg whites, (from large eggs)
- ½ teaspoon (1.5 g) cream of tartar*
- ⅛ teaspoon (0.75 g) kosher salt
- 2 cups (400 g) granulated sugar,, divided
- 2 teaspoons (8 g) vanilla extract
- ⅔ cup (157.73 g) water
Instructions
To Make the Peanut Butter Cookies:
- Preheat the oven to 350 degrees F and line baking sheets with parchment paper.
- Place the peanut butter, sugar, baking soda, salt, and eggs in a large mixing bowl and stir together until combined.
- Scoop 1 ½ tablespoon-sized balls of dough on to the prepared baking sheets.
- Press the balls down with the tines of a fork.
- Bake for 9 to 12 minutes, or until set around the edges but still soft in the middle.
- Allow to cool on the baking sheet for 10 minutes (cookies will be very tender while warm).
- Sandwich with marshmallow filling & serve.
To Make the Marshmallow Filling:
- Place the egg whites, cream of tartar, and salt in a large mixing bowl and whip on medium speed until foamy.
- While continuing to whip, add 1 cup of the sugar in a very slow and steady stream (about 1 teaspoon at a time).
- Once the entire cup of sugar has been added, continue to whip until the meringue can hold stiff peaks.
- Whip in the vanilla extract, and continue to stir the meringue on low speed while you prepare the hot sugar syrup.
- Place the remaining 1 cup of sugar in a small pot, along with the water.
- Place the pot over medium heat and cook until the syrup boils and reaches 235 degrees F.
- In a very slow and steady stream, add the hot sugar syrup to the meringue, while continuing to whip on low speed.
- When all the syrup has been added, turn the mixer up to high speed and whip until very stiff and glossy.