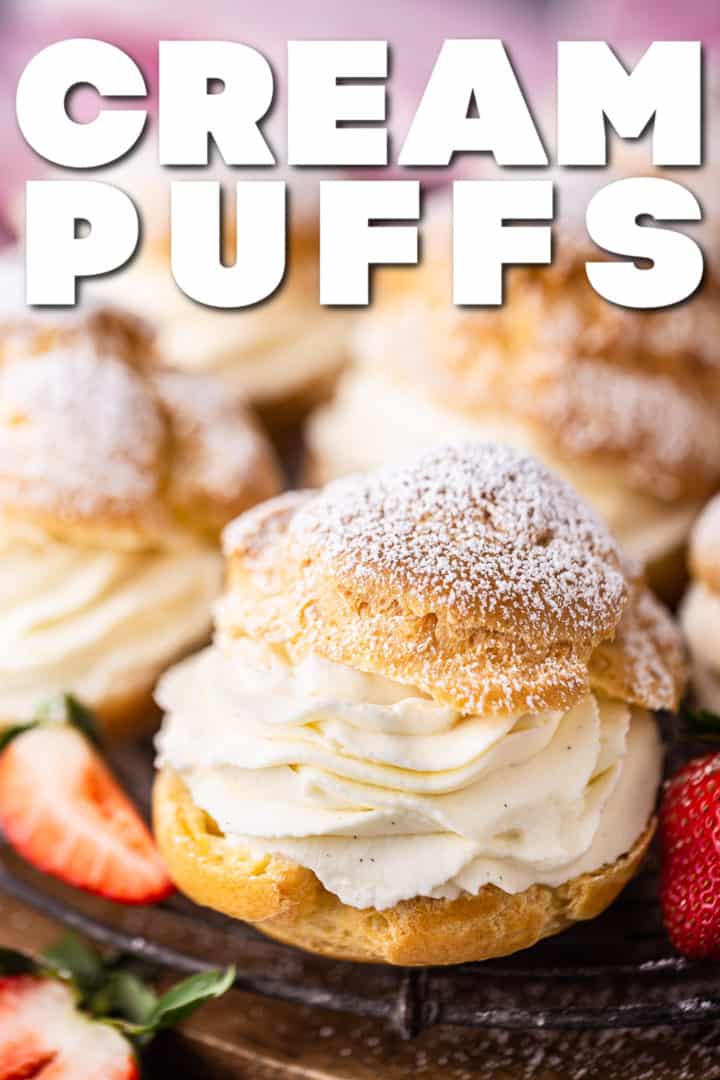
Cream Puff Recipe
As an amazon associate I earn from qualifying purchases.
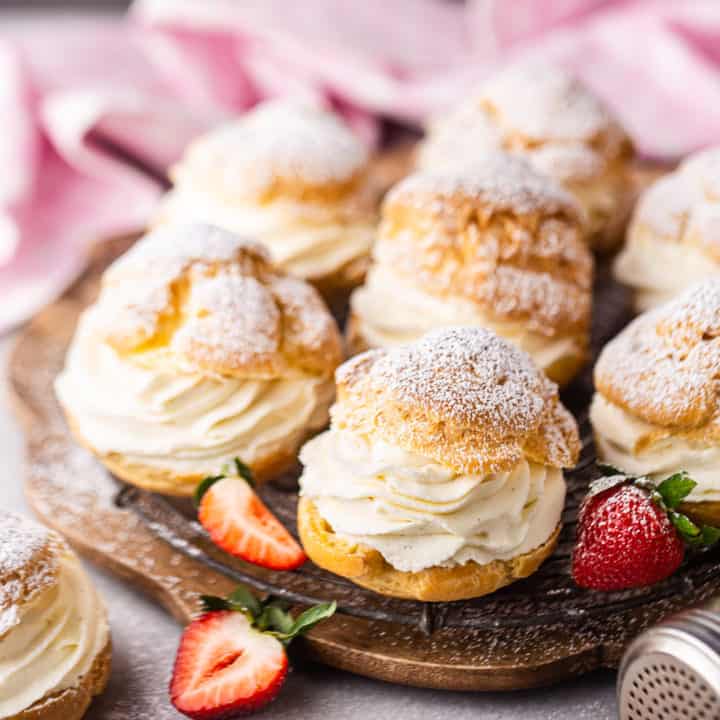
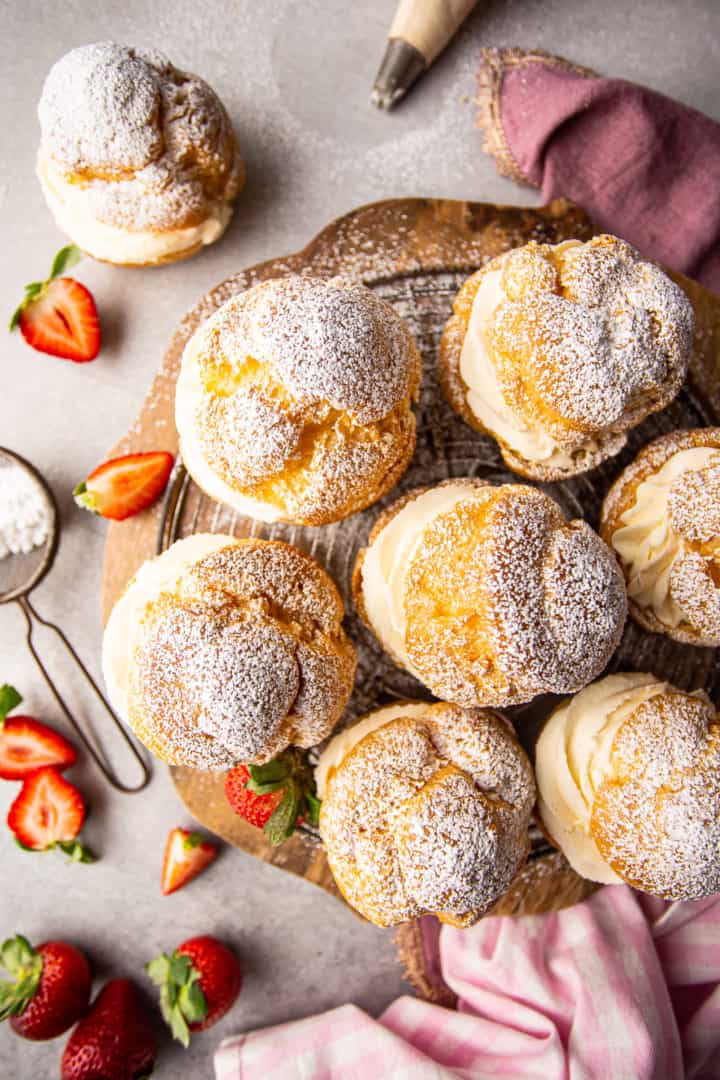
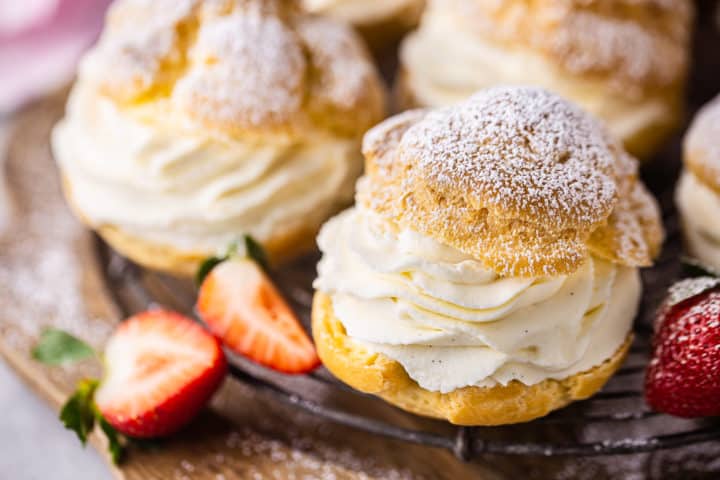
Perfect Cream Puff Recipe: These bake up light as air every time! Filled with sweet whipped cream & dusted with powdered sugar. The ultimate!
Hey happy Friday!
Just in time for the weekend, I'm bringing you a classic dessert recipe that just can't go wrong, no matter the occasion or the time of year: cream puffs!
Like so many other French pastries such as Madeleine cookies, brioche bread, and macarons, cream puffs have a specific set of ingredients and a specific technique. But unlike those others, this recipe is very easy to make.
If you're aware of the major pitfalls (more on that below), you'll be able to make this cream puff recipe like a pro! It's pretty much foolproof!
WHAT ARE CREAM PUFFS?
Cream puffs are a classic French pastry that everybody just loves.
Similar to eclairs, gougeres, and churros, cream puffs start with choux pastry. You can find lots more info about choux here: Simply Perfect Pate a Choux.
While eclairs and churros are piped into a long cylinder shape, these are more of a round ball.
Sometimes they're filled with a custard filling (recipe for that here: Pastry Cream), but for what you see here I chose to use whipped cream.
I just love how fluffy and light these come out, and when you take a bite you get that contrast of eggy, almost savory pastry against airy, sweet cream. It's like an explosion in your mouth!
HOW TO MAKE CREAM PUFFS
There are 2 main components to this cream puff recipe:
- The choux pastry puffs, and
- the cream puff filling.
Let's start with the puffs!
PATE A CHOUX
This recipe is really kinda weird, not gonna lie. There's nothing else quite like it in the pastry world. You will undoubtedly think you've done something wrong at some point, but just trust the process. It will come together, and it does work!
Start with water, butter, sugar, and salt, in a small pot over medium-high heat.
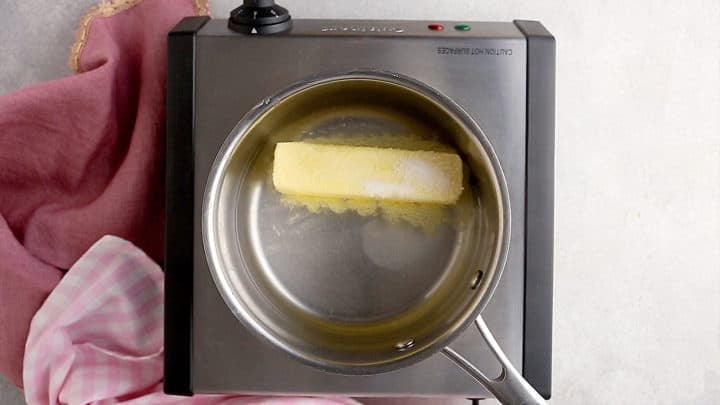
It doesn't matter what temperature these ingredients are because you're just going to bring it all up to a simmer anyway.
Once the liquid is simmering, dump in the flour all at once. I know, it seems wrong but I promise it's not.
Immediately whisk it all together until a smooth paste forms.
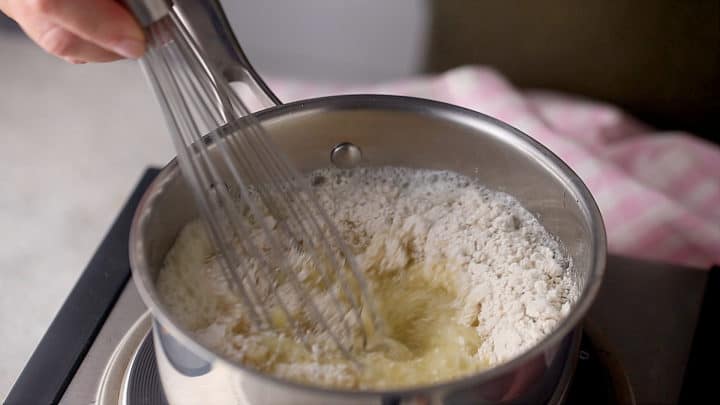
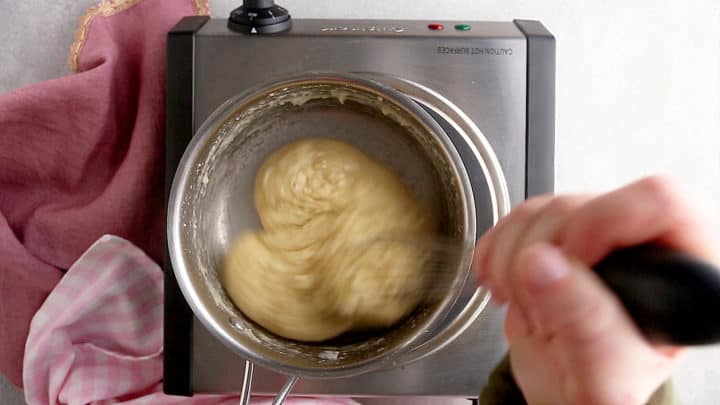
Continue to whisk while cooking. After a few minutes, you'll notice the mixture forms a ball and pulls away from the sides of the pot, leaving a slight film on the bottom.
At this point, dump it into a large mixing bowl and start beating it on medium speed.
The mixture will be hot, but go ahead and start dropping in the eggs. The heat will cook the eggs slightly. This is totally fine!
Be sure to allow each egg to fully incorporate before adding the next one in.
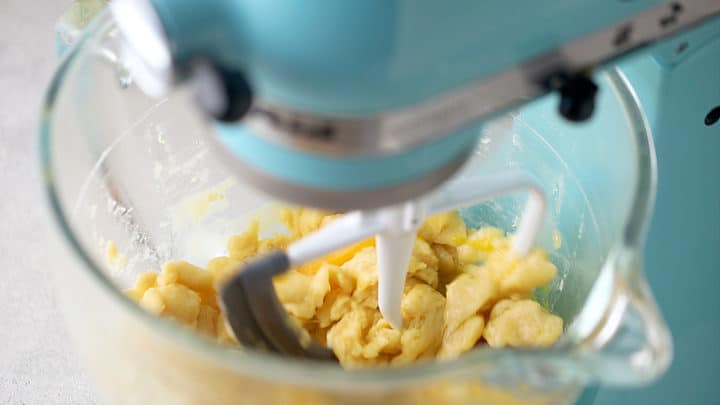
At first, the dough will look like it's curdled. But keep beating! It will smooth out and start to look sticky & stretchy.

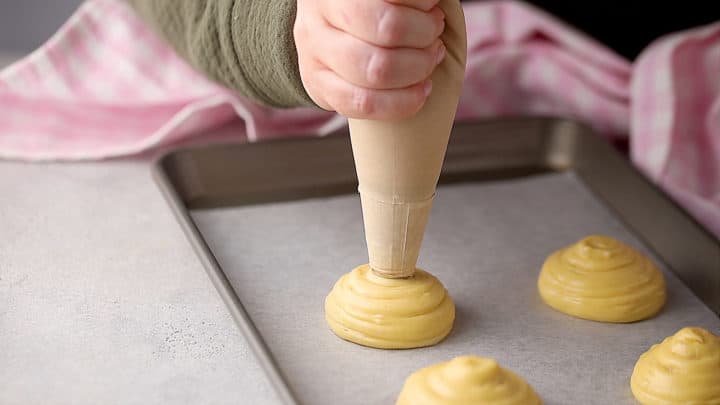
Once all the eggs have gone in, you can shape your puffs. I like to use a piping bag for this step (here is a link to the kind I like: 16-inch featherweight piping bag), but you can totally use a spoon or even a small scoop.
For these bake times and yield, you'll want to shape your puffs at about 1 ½-inches round.
While they're baking, get going on the filling!
CREAM PUFF FILLING
If you want, you can just use regular whipped cream, which is made by whipping heavy cream to soft peaks with powdered sugar. Use any ratio of cream to sugar. Whatever tastes best to you!
But for this recipe, I've stepped things up a little with a filling that tastes amazing, has a little extra oomph, and is more stable- so it lasts longer without weeping or collapsing. There's lots more detail about it on this post: Whipped Cream Frosting. I really love this as a filling!
Start by whipping cream cheese and powdered sugar together until smooth.
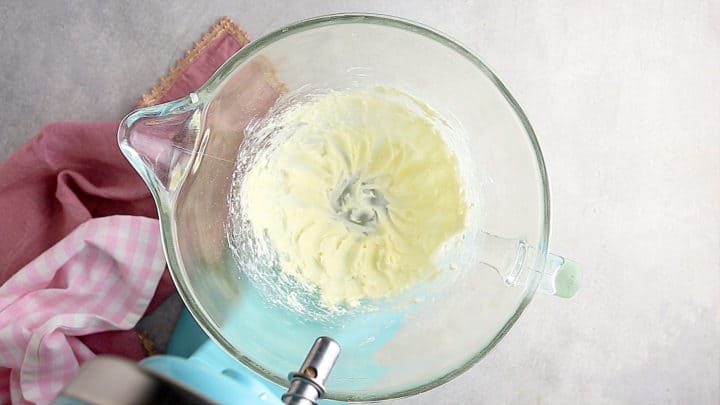
The final result does not taste overly cream cheese-y, because there's so much more cream than cheese. It really just tastes like an extra-rich, extra-thick whipped cream.
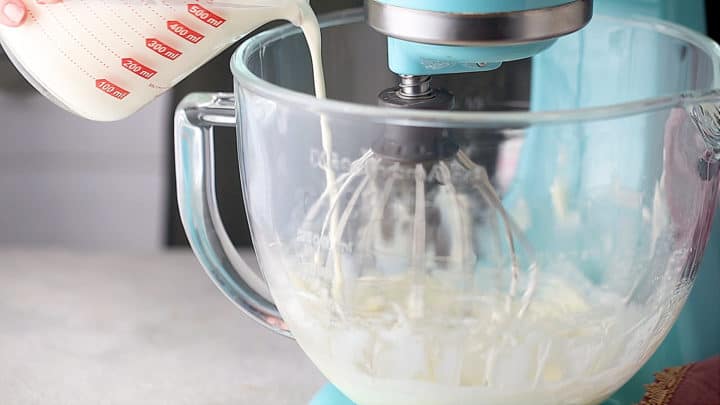
Scrape down the bottom and sides of the mixing bowl with a silicone spatula to avoid lumps, then start drizzling in the cream in a slow, thin stream while continuing to whip on low speed.
Once all the cream has gone in, turn the mixer up to medium-high and whip until the filling holds stiff peaks.
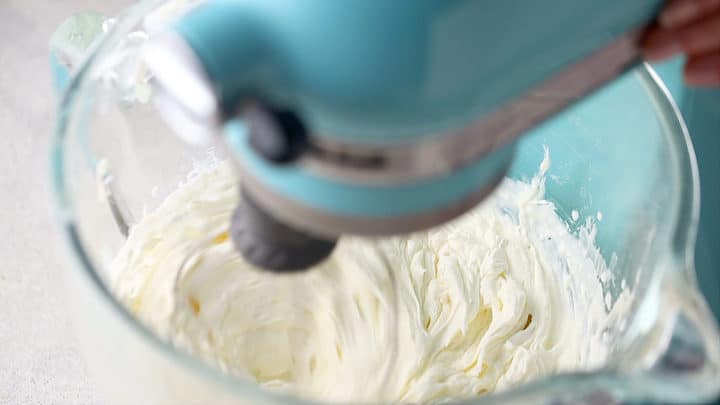
I also dropped in about a teaspoon of vanilla bean paste, for extra flavor and those pretty black specks!
Once your pastry puffs are fully cooled, this filling can be piped or spooned in.
TROUBLESHOOTING: WHY DID MINE COLLAPSE?
There are 3 main reasons why cream puffs collapse or deflate:
- The oven isn't hot enough,
- they weren't baked long enough, or
- they were covered before completely cool and steam got trapped.
PREHEAT THE OVEN- ALL THE WAY!
If your oven isn't hot enough, it won't create the steam that's necessary to puff up the pastries. So, if they never rise, it's probably due to a too-cool oven.
Preheat it for a good 20 minutes or so, to make sure it's definitely up to temperature. You might want to also hang an oven thermometer off one of the racks, since it's pretty common for ovens to wander out of calibration over time. This way you can be sure your oven really is heating at the temperature you've set it to.
BAKE THEM FOR LONGER THAN YOU THINK!
If the structure of your shells isn't completely set, they'll puff up while baking but then collapse as they cool.
Cream puffs tend to start to get golden pretty early on, but you'll notice around the cracks they still look a little moist. They are definitely NOT DONE yet!
They should look completely brown, and dry.
If you think they look done, give them another 5 minutes just to be sure 😉
COOL THEM FOR LONGER THAN YOU THINK!
Cool them at room temperature, uncovered. That way, if there's any steam left inside, it can dissipate.
If you put them in a bag or cover them while there's still any hint of warmth left in them, they could become too soft and, once again, go flat.
CAN THESE BE MADE AHEAD?
They definitely can, as long as you follow the cooling directions above!
Once they're definitely, completely cool, they can be tossed into zip-top freezer bags and kept at room temperature for a day or two, in the fridge for 5 to 7 days, or in the freezer for a couple of months.
If you fill them ahead of time, they run a slight risk of becoming a little soggy over time. But honestly, with this filling recipe that effect is really minimized. I've kept leftovers in the fridge (filled) overnight and they've still tasted really great the next day.
You might even be able to freeze them! But I honestly haven't tried that so I can't say for sure. So freeze at your own risk, and report your results here in the comments section please!
INGREDIENT SUBSTITUTIONS
While I have not tested this recipe with any alternative ingredients, I do think it could work well as an allergen-free recipe.
For a gluten-free version, look for a gluten-free flour blend that subs 1:1 for regular flour.
If you'd like to make this dairy-free, use a dairy-free butter substitute that can sub 1:1 for regular dairy. I'd also leave out the cream cheese in the filling and just make coconut whipped cream.
For an eggless, vegan version, your best bet is probably with a plant-based egg substitute such as Just Egg.
A FEW MORE OF MY FAVORITE CLASSIC FRENCH RECIPES:
As an amazon associate I earn from qualifying purchases.

Ingredients
For the Choux Pastry Puffs:
- 1 cup (236.59 g) water
- ½ cup (113.5 g) unsalted butter, (1 stick)
- ½ teaspoon (2 g) granulated sugar
- ¼ teaspoon (1.5 g) kosher salt
- 1 cup (125 g) all-purpose flour
- 4 (176 g) eggs, , large
- 1 tablespoon (8 g) powdered sugar,, for garnish
For the Cream Puff Filling:
- 8 ounces (226.8 g) cream cheese*
- 1 cup (120 g) powdered sugar
- 2 ¾ cups (654.5 g) heavy cream,, cold
- 1 teaspoon (5 g) vanilla bean paste, (extract can be substituted)
Instructions
To Make the Choux Pastry Puffs:
- Preheat the oven to 425 degrees F and line baking sheets with parchment paper.
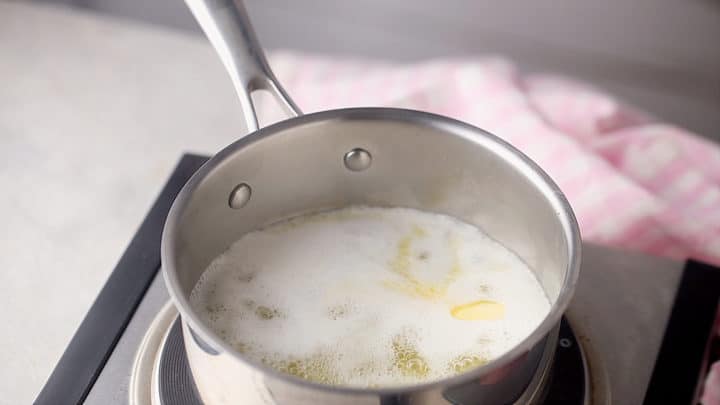
- Place the water, butter, sugar, and salt in a small pot and cook over medium-high heat until the butter is completely melted and the mixture is simmering.
- Add in the flour all at once, and continue to cook, whisking, for about 5 minutes, or until the dough gathers itself into a ball and a film begins to form on the bottom of the pot.
- Transfer the mixture to a mixing bowl, and beat on medium speed.
- Drop in the eggs, one at a time, while continuing to beat. (Allow each egg to become fully incorporated before adding the next.)
- Pipe or spoon the dough in 1 ½-inch balls onto the prepared baking sheets, allowing about 3 inches in between each puff.
- Bake for 35 to 45 minutes, or until puffed, golden brown, hollow, dry, and light.
- Allow the pastries to cool completely, then slice open horizontally, sandwich with cream puff filling, and dust with powdered sugar.
To Make the Cream Puff Filling:
- Place the cream cheese and powdered sugar in a large bowl and beat on medium speed until smooth.
- Turn the mixer down to medium-low speed and pour the heavy cream down the side of the bowl in a very slow and steady stream, stopping every now and then to scrape the bottom and sides of the bowl with a silicone spatula.
- When all the cream has been added, turn the mixer up to medium-high and whip until the filling holds stiff peaks.
- Fold in the vanilla.


I followed your recipe for the cream cheese filling exactly and here I am、over 15 minutes later with my stand mixer still running, and the filling is still a complete liquid )): I really don’t know what I did wrong, as I said, I followed your instructions to the letter, but it looks like I’ve just wasted about $15 worth of dairy 😖
Please advise because like I said, this seems to be completely hopeless
I'm so sorry to hear you are having trouble. I will do my best to help you troubleshoot, but it sounds like the mixture has definitely been overwhipped and once that happens there is really no bringing it back. Next time you try to make this, please stop the mixer as soon as the filling is thick enough to hold a stiff peak.
Also, make sure you are using cold, full-fat cream cheese and cold heavy whipping cream. The kind of cream cheese that comes in a block is what's needed for this to work. Tub cream cheese has too much liquid in it, and light cream, half and half, or table cream do not have the fat content needed to whip properly.
It's also a good idea to chill your mixing bowl and your whip attachment. I don't find it to be necessary but it does help to keep everything nice and stiff.
And I'm not sure if you noticed but there is a link within the head notes here to a dedicated post on the filling: https://bakingamoment.com/whipped-cream-frosting/. You can find even more info there.
Good luck and again I'm really sorry about your fail.
Thank you for your reply, but I really did follow the instructions. I used full fat block cream cheese and the half and half you recommended. It never got to the point it would hold a peak--not even close. It never got any thicker than the half and half; that’s the part I don’t understand. My ingredients were ice cold and very fresh and it just……never formed. Awful );
Thanks anyway for your help.
Marie- please do not use half and half. Half and half will not work. It needs to be "heavy whipping cream," or if you are outside the US it may be called "double cream."
I made this and added a savory filling. When I do the whipped cream I always add a little bit of unflavored gelatin so that it stays firmer. Just 1/3 or 1/12 of a packet about a teaspoon, maybe.
First time making any kind of choux pastry and this recipe made it very straightforward. I did lower the temp to 400 based on how I knew my oven worked and the puffs were perfect. The result was so delicious that my family says it must be a reglular for events. 😍
Question…how long can the filling keep in the fridge and can I freeze it?
Hey Jennifer! So glad you were pleased and thank you for the excellent question! If you are planning on refrigerating or freezing it IN the choux puffs then it's probably going to last a little longer, just because the pastry will absorb any excess moisture that the filling may weep off. In a separate container, the sooner you use it the better. As it sits it will thin out and lose volume. But in terms of food safety I'd probably guesstimate it at around 5 to 7 days. Good luck!
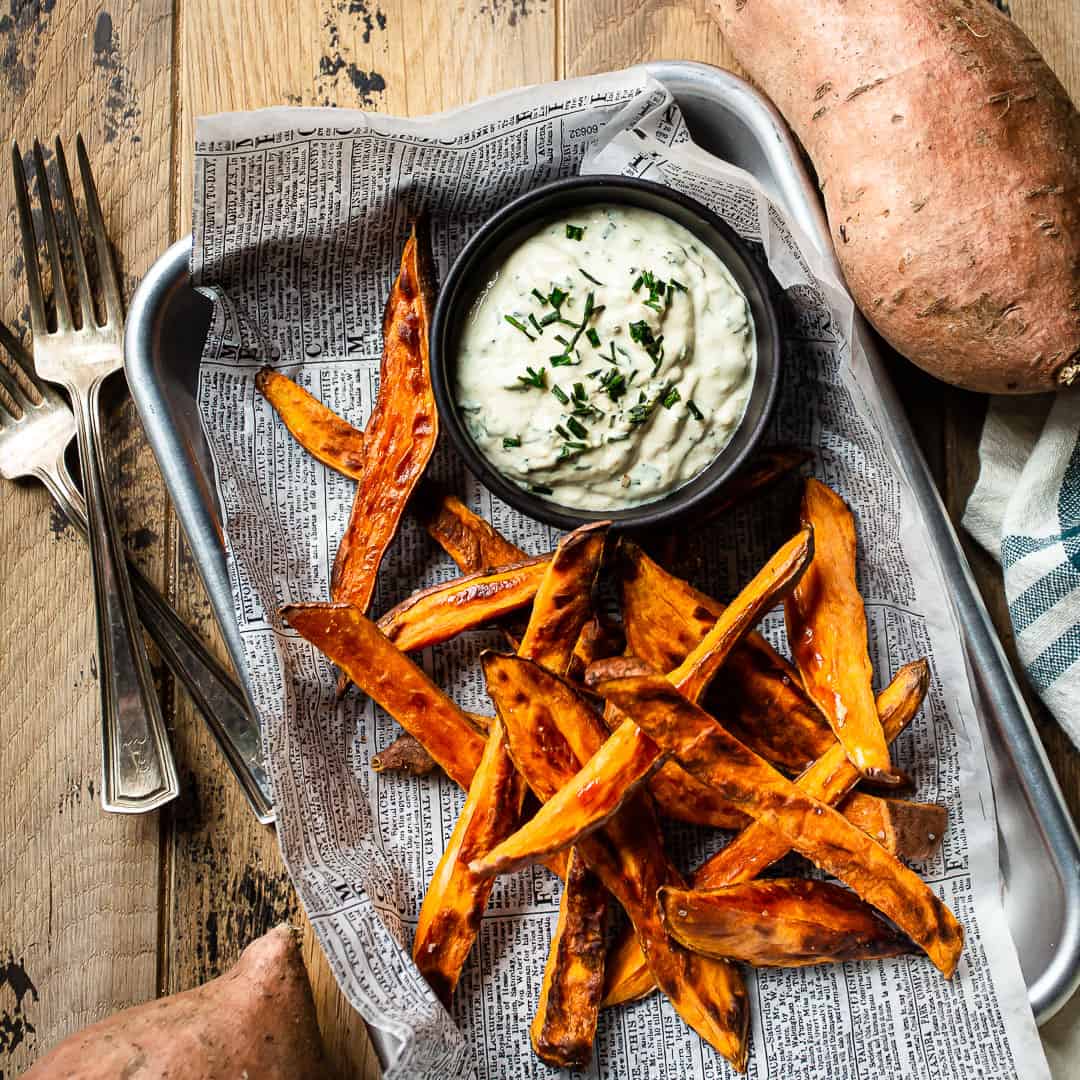
I made puppy treats with this. I omitted the sugar and filled them with a mixture of peanut butter, heavy cream, and Greek yogurt, and butter to make a fluffy lightweight filling and called them peanut butter cream filled puppy cream puffs. They are so good that I ate two. They are actually healthy too.
What a fun idea! Thank you so much for sharing it and for the 5-star review!
I made this recipe and LOVE the cream cheese and heavy cream mix filling. I have made them in the past with custard and I feel that the custard makes them too soggy. But I would like to know if there is a way to make them stay a little crispier. And this happened to me with most recipes I have used, the next day they start to become soft and not crispy any longer. Do you have any advise.
You could bake them for an extra 1-2 minutes, keeping a very close eye on them to see if that helps. We also recommend filling the day of vs. the day before (if you can). Hope this helps!
For my oven, the 425 degree temperature was too high. I actually baked the cream puffs at 350 and they turned out perfect. I served them for a high tea and filled them with chicken salad ~ Delicious! What a success.
Sounds fantastic! So glad everyone enjoyed!
Can you bake the pastry in
Minie muffins tins
I've never tried that, but I can't imagine why not?! Good luck!
I am anxious to try your cream puff recipe. The question I have is could I use salted butter? Thanks in advance for your time.
Hey Roxane! I prefer to use unsalted butter but you can use salted in a pinch. Good luck!
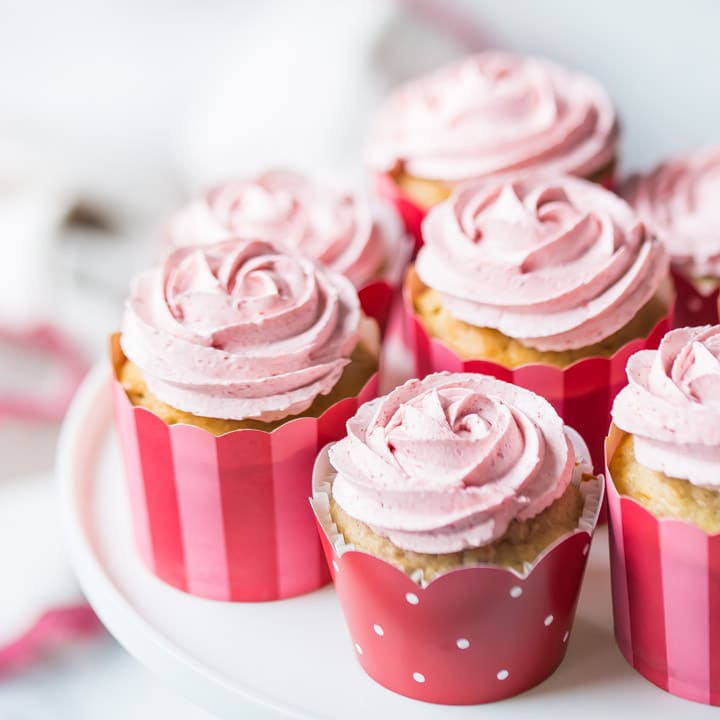
Hi Allie. I did make the puffs with salted butter and they came out wonderful. A quick question. Have you ever added freeze dried strawberries to the filling? Or smashed fresh strawberries? Any tips for trying this? Thanks again for your recipe. it was super easy to follow and the video certainly helps.
I have, in fact! About a year ago I made them with strawberries. I just sliced them and macerated them with some granulated sugar until they were syrupy. I then filled the puffs with whipped cream and the macerated strawberries. They were amazing! We absolutely loved them and I highly recommend trying them this way. So happy you like the recipe and it's great to know they taste good with salted butter too! TYSM!
Can I skip creamcheese for filling, what can I subsitute?
Yes go ahead and skip it. You can substitute with mascarpone or just leave it out altogether. Good luck!
Allie, your recipe looks perfect, and I can't wait to try it. If I ever wanted to play with flavors, do you think there's any way I could convert these to red velvet puffs and still use that lovely filling recipe in them? I was going to ask your advice about partially substituting a bit of buttermilk and adding cocoa and a couple of drops of food coloring, and I was wondering how much to use?
Hey Sandra! I love that idea- sounds fantastic. I've never tried doing it that way so it's hard for me to know exact amounts without ever testing, kwim? That said IF I were going to test, I'd probably start with about a tablespoon of cocoa powder. And a couple of drops of gel paste color, as you said, and maybe just 1/4 cup of buttermilk, swapped out for the same amount of milk. I feel like that might be a good starting point, but it could possibly need some tweaks. Hard to say! Good luck to you!
How long can the puffs last once they are filled? Can I make them a day in advance?
I have enjoyed them a day after being made but do keep in mind that the longer they sit with the filling the soggier they tend to become. They are best served freshly filled. Hope that makes sense!
Love your recipes. One thing about this one gave me quite a chuckle. I do more and more baking by weight, therefore I selected the metric version. Wow! the 4 eggs became 176 eggs. I think there's a bit of an oopsie there. If not, do you have a substitute for 160 eggs, as I only have 16 eggs right now. LOL.
I made these tonight!!!!!! Wonderful. I did have to make some adjustments. My first batch got too brown
So i made a second batch. Dropped the temp to 375. And baked for 30 mins. These are amazing. So yummy.
Amazingly simple to prepare. Just follow the recipe. My family thinks that I am a baker now. Made the smaller size puffs yield was 32. My advice try the recipe today.
Thank you so much for the positive feedback Lori!
Hi…these look yummy….but a little confused about how much heavy cream goes in the cream puff filling. Can you please clarify? Thanks!