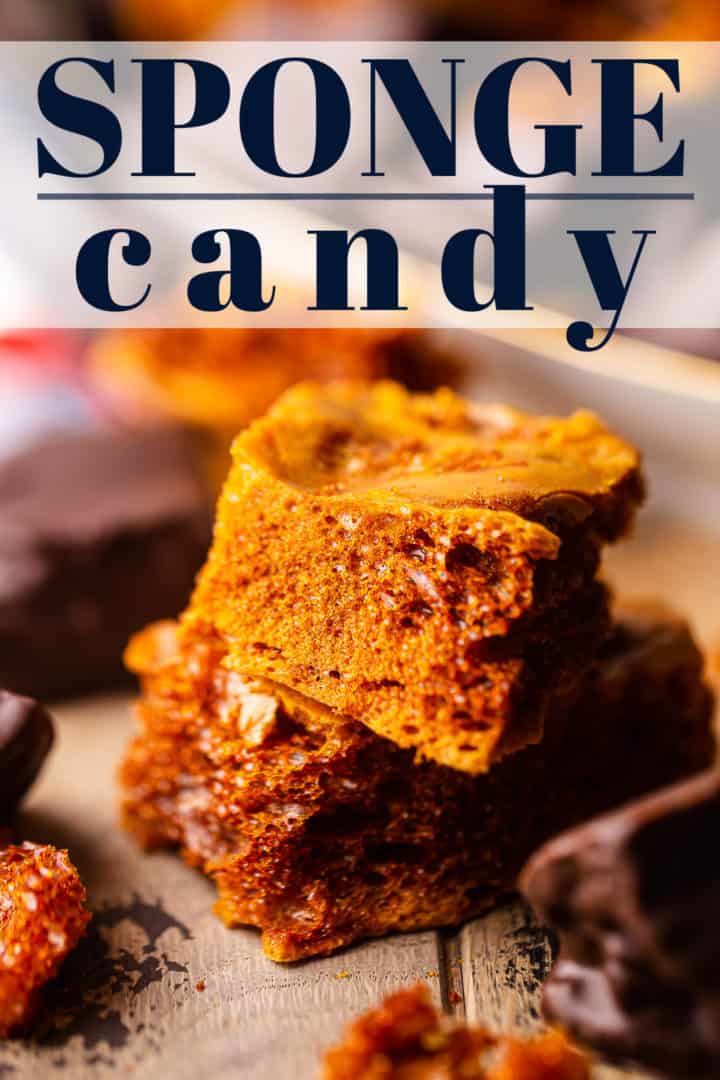
Sponge Candy
As an amazon associate I earn from qualifying purchases.
Make this easy sponge candy recipe! Whips up in just a few minutes, with the most delightfully crisp, light texture & toasty caramel flavor.
We are soooo close to Christmas, I can hardly believe it!
When it gets to be less than a week away, I like to shift focus to recipes that are quick and easy to make, and that can serve as special homemade gifts. Candy is the perfect thing, and I've bagged or jarred up dulce de leche, cinnamon pecans, and Oreo balls more times than I can count, to give to teachers & bus drivers, or as sweet hostess gifts for holiday parties.
This sponge candy recipe is my latest and greatest.
It only requires 5 simple ingredients, and it cooks up in about 10 minutes or less.
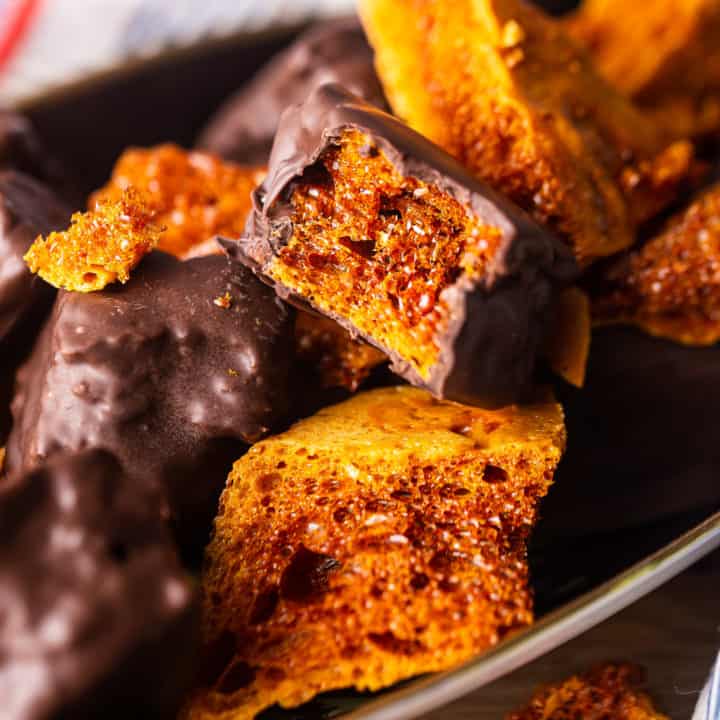
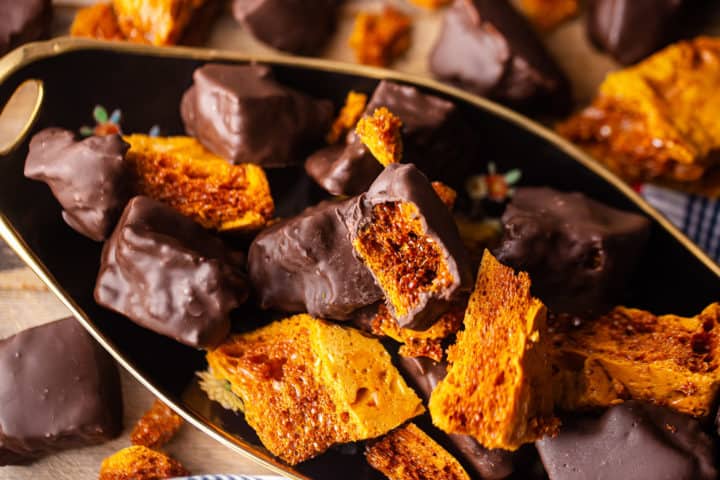
And it has the most delightfully crisp, light texture! When you bite into it it's full of tiny little air bubbles, just like a sponge. The flavor is robust, roasty-toasty and caramel-y, with a slightly bittersweet burnt sugar quality. It reminds me of the crunchy topping on creme brulee, only foamy!
WHAT IS SPONGE CANDY?
Sponge candy is an old-fashioned hard candy that evidently was invented in Buffalo, New York (who knew?). It also goes by the name sponge toffee, honeycomb candy, Buffalo sponge candy, cinder toffee, seafoam candy, and hokey-pokey.
It's got a light, crisp, foamy texture, and it tastes like caramelized sugar.
Sometimes it's dipped in melted chocolate. Yummy!
HOW SPONGE CANDY IS MADE
This recipe is really easy to make with just a few basic pantry staples.
- Watch the temperature carefully, and
- Be careful not to knock all the air out.
Start by placing the brown sugar, honey, vinegar, and salt in a large, heavy-bottomed pot. I prefer this kind: enameled cast iron Dutch oven.
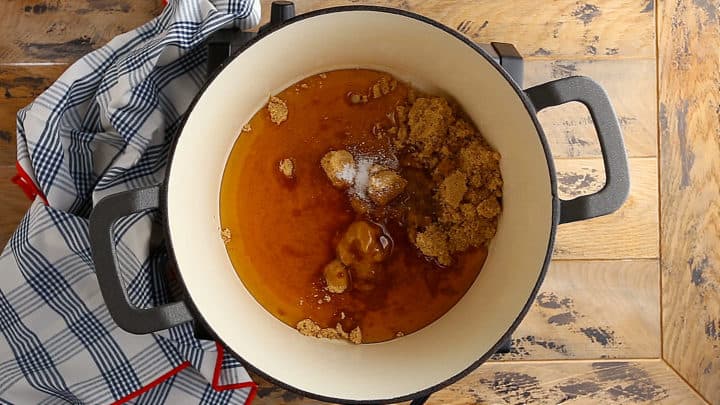
Cook the mixture over medium heat, swirling the pot occasionally to keep the temperature even throughout and to combine the ingredients (it's best not to stir at this stage).
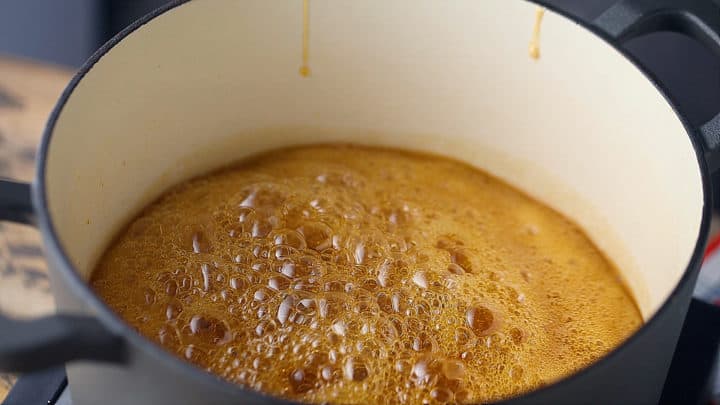
It will bubble and boil as it reaches the hard crack stage: 300 degrees F.
That is the magic temperature! Use a candy thermometer to make sure you hit it on the nose.
Once it's there you want to work fast. Remove the pot from the heat and whisk in the baking soda.
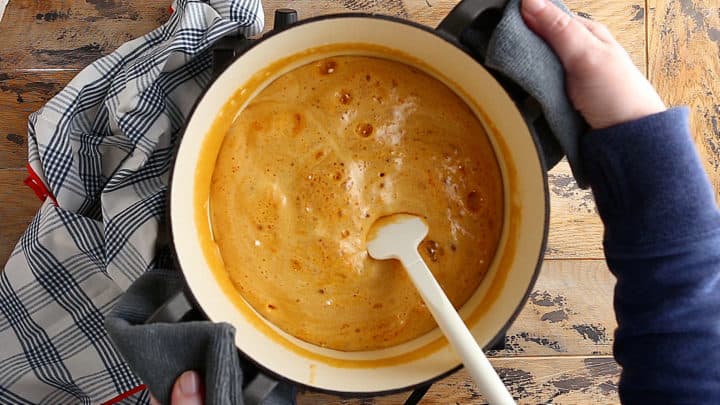
You may notice I used a spatula in the video, but trust me, the whisk worked much better.
It's magical. The baking soda reacts chemically with the vinegar and foams up and expands (very quickly!) like one of those volcano science projects!
It's at this point that you want to be very careful not to knock out all those glorious air bubbles. Don't over stir!
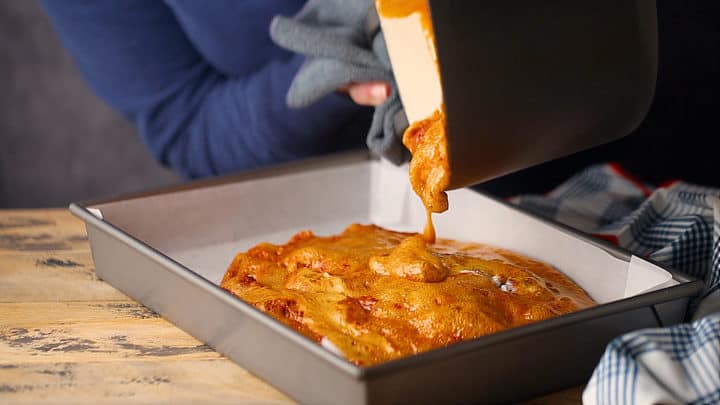
Quickly but gently pour the hot sugar into a parchment-lined 9x13 pan. If it doesn't reach all the way to the corners of the pan, shake/roll it gently to get it there. Spreading it with a spatula is a little too aggressive and could pop all the bubbles.
Leave it to cool and harden. This could take anywhere from 1 to 2 hours.
Once it's cool & crisp it can be broken or cut into pieces and coated in chocolate.

IS THIS GLUTEN-FREE?
Not only is this recipe gluten-free, but it's also dairy-free (if you use dairy-free chocolate), egg-free, and nut-free.
It can also be made vegan if you substitute the honey with corn syrup, maple syrup, or something similar.
TROUBLESHOOTING: WHY IS MINE CHEWY?
Speaking from experience here, this is something that can happen if you *just* fall short of that magic temperature of 300 degrees F. The first time I made this, I was a little over-eager, and that's what happened. Whomp, whomp.
So try again, and this time make sure you cook it just a moment or two longer to make sure it gets to the hard-crack stage. But be careful not to burn it!
CAN THIS BE MADE AHEAD?
You'll definitely want to make your honeycomb candy ahead, as it needs a good long time to cool.
If you decide to coat it in chocolate you'll need even longer for the chocolate to harden.
But it can be made several weeks ahead for sure. It's basically pure sugar. The sugar content is so high that microbes can't really grow, so it'll never spoil.
HOW TO STORE
Humidity is your biggest enemy with this candy recipe.
Much like meringue cookies, sponge candy tends to become sticky as it sits. Coating it in chocolate helps, because it creates sort of an air-tight seal, but sooner or later you'll notice it starts to stick to your teeth.
Which maybe isn't such a terrible thing?
Keep it wrapped as tightly as possible in an air-tight container at room temperature.
It can also be stashed in zip-top bags and frozen. This is a great way to keep it from going soft and sticky. It will keep in the freezer for up to a year and should be thawed at room temperature.
A FEW MORE OF MY FAVORITE CANDY RECIPES:
As an amazon associate I earn from qualifying purchases.

Ingredients
- 1 cup (220 g) light brown sugar
- 1 cup (339 g) honey, (1 16-ounce jar)
- 1 tablespoon (16 g) white vinegar
- ¼ teaspoon (1.5 g) kosher salt
- 1 tablespoon (12 g) baking soda
- 10 ounces chocolate,, melted (approx.)*
Equipment
- large, heavy-bottomed pot
- candy thermometer
- 9x13 pan
Instructions
- Line a 9x13 pan with parchment paper.
- Place the brown sugar, honey, vinegar and salt in a large, heavy-bottomed pot over medium heat and cook, swirling the pot occasionally, until the mixture registers 300 degrees on a candy thermometer.
- Immediately remove the pot from the heat and whisk in the baking soda (mixture will foam up and expand to at least 2x volume).
- As soon as the baking soda is fully incorporated, gently pour the hot candy mixture into the prepared pan, taking care not to pop the bubbles.
- Gently shake/roll the pan to level the mixture as needed, taking care not to pop the bubbles and let out the air.
- Allow the mixture to cool until crisp (approx. 2 hours), then break into pieces.
- Coat with melted chocolate, if desired, and allow to cool & harden before serving.


This reminds me of my childhood where this recipe was common! I finally found a great recipe for this candy and I love it!!!
Hooray! I know, right??? 😀
Brown sugar is naturally acidic and will curdle milk, so you shouldn't need to add vinegar to react with the baking soda. I've done this kind of recipe with granulated sugar and no added acid and didn't have any problems with it foaming up.
I made this sponge candy last night and it was super good! I will definitely make this recipe again. Thanks.
Can this be spooned into molds?
I have not tried that but it sounds like a fun idea!
I tried a different recipe without gelatin and ended up with toffee bark. This recipe was great! I slowly in creased the stove temperature to get the boil temperature to 310 without burning it.