Easy Dulce de Leche Recipe
As an amazon associate I earn from qualifying purchases.
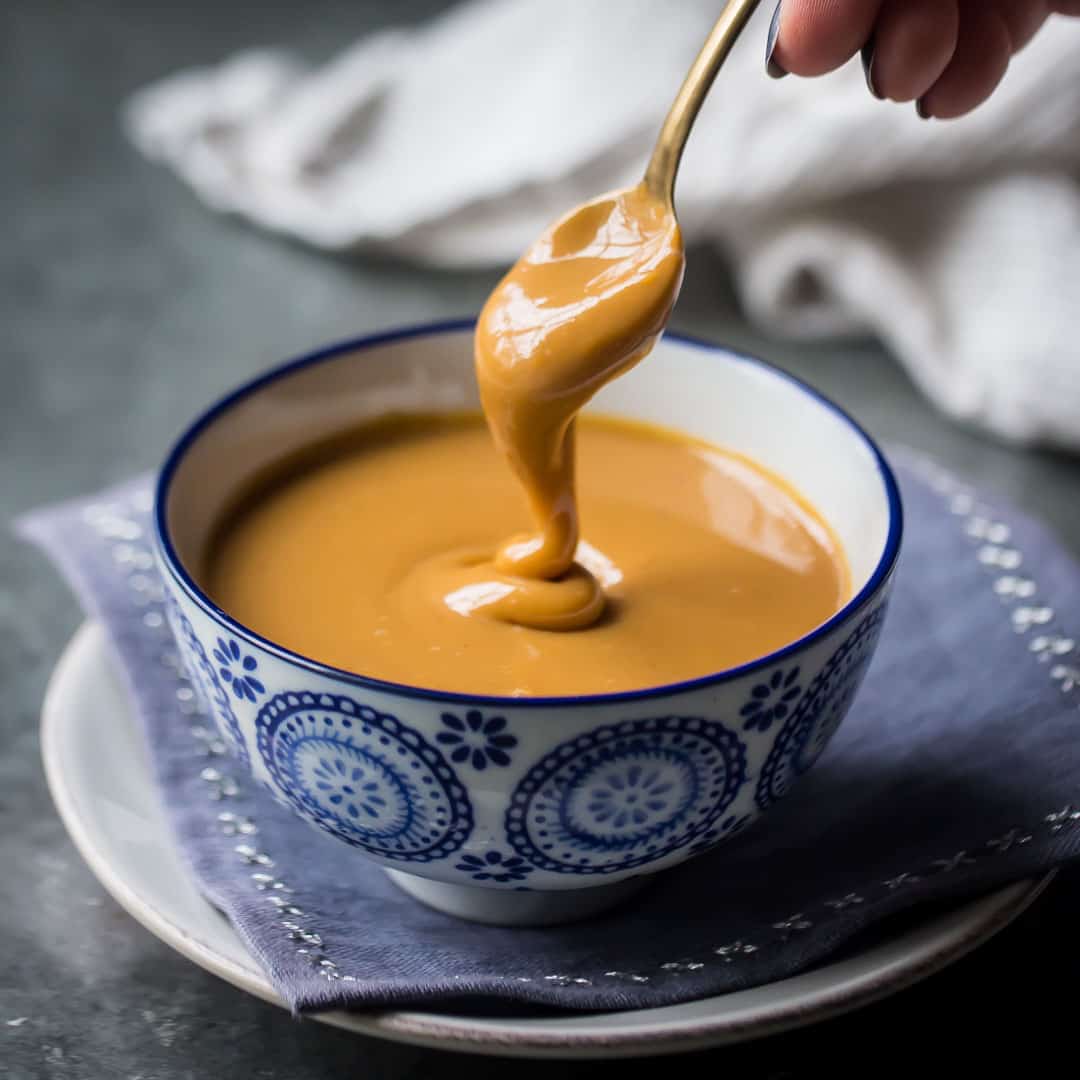
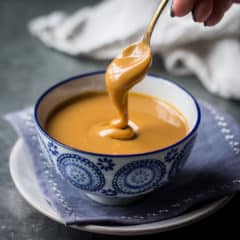
This Easy Dulce de Leche Recipe is rich, creamy, and unbelievably simple to make with just one ingredient! It's sweet, sticky, and smooth, and perfect for drizzling over ice cream, layering into cakes, or enjoying by the spoonful. If you've ever wondered how to make dulce de leche at home, this method is completely foolproof and oven-friendly.
*This post was originally published on April 29, 2019. I thought it was due for an update, so I've added additional info and answers to some frequently asked questions. Hopefully, you'll enjoy this dulce de leche recipe as much as I do!*
Table of Contents
- Here's Why You'll Love This Recipe
- Ingredients You'll Need
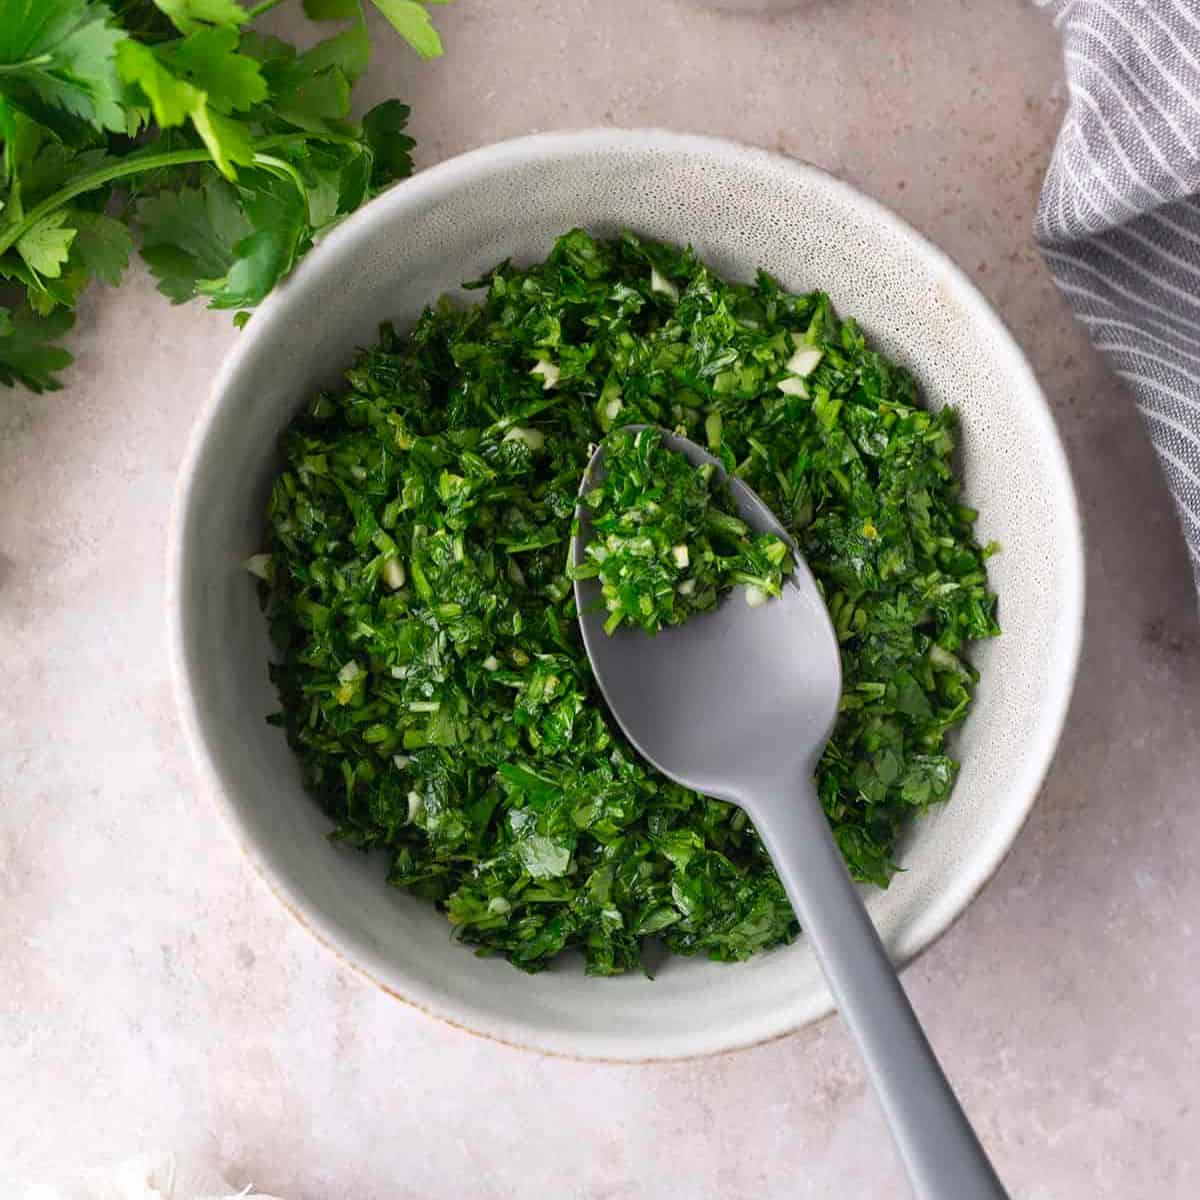
- In Photos: How To Make Dulce de Leche
- Ways To Use Dulce de Leche
I love cinco de Mayo! Any excuse to get out in the sunshine, drink margaritas, and eat fabulous Mexican dishes like guacamole and churros is ok with me!
One of the most iconic Mexican sweets would have to be dulce de leche. I'm so happy to be bringing you this easy recipe today! It is so simple to make and it tastes fantastic!
Here's Why You'll Love This Recipe
- This recipe uses just one ingredient, so you won't need to hunt down anything special.
- There are no fancy tools involved, just a baking dish, foil, and a roasting pan.
- It's almost entirely hands-off with no need to stir or monitor a pot on the stove.
- You can customize it to your preferred consistency by baking it longer for a thicker, more intense flavor.
- It's incredibly versatile, working beautifully in desserts, on toast, or even straight from the spoon.
Ingredients You'll Need
The recipe card at the bottom of the post contains the full list with all of the amounts. Refer to that when you're cooking.

- Sweetened Condensed Milk: Ideal for making dulce de leche because it's milk that's already been sweetened and reduced, allowing it to caramelize evenly and develop that signature thick, toasty flavor with minimal effort.
In Photos: How To Make Dulce de Leche
This may be the easiest recipe on this site. It only has one ingredient! Doesn't get much simpler than that, right??
I've seen dulce de leche made in all sorts of different ways, from stove top to microwave to slow cooker. But I really think this is the best method because it's safe, almost entirely hands-off, and relatively quick.
Step 1: Preheat
Preheat your oven to 425°F (220°C).
Step 2: Prep
Pour the sweetened condensed milk into a pie plate or shallow baking dish.

Step 3: Cover
Cover the dish tightly with foil.

Step 4: Water Bath
Set the dish inside a larger roasting pan and pour in hot water until it reaches about 1 inch up the sides.

Step 5: Bake
Bake for about 2 hours, checking occasionally to top off the water if needed.
Once it reaches your desired golden-brown color and thickness, remove it from the oven and give it a good whisk to smooth out any lumps.
Helpful Tips and Tricks
- Use a deep roasting pan so the water doesn't evaporate too quickly.
- Be sure the foil is sealed tightly to prevent a skin from forming.
- The longer you bake it, the thicker and darker it becomes.

How To Store Dulce de Leche
Most of the recipes you see will instruct you to keep dulce de leche refrigerated. If you have any doubt whatsoever, you should definitely do that.
I tend to be more relaxed about these kinds of things, and I know that with the sugar content being as high as it is, it's very unlikely that any type of microbes would be able to grow. It's truly a candy, similar to soft caramel sauce, which usually does not require refrigeration.
So, use your best judgment!
Honestly, I doubt you'll have leftovers hanging around for very long anyway!

Ways To Use Dulce de Leche
Dulce de leche can be used in so many different ways. Here are just a few ideas:
- Drizzled over ice cream.
- As a dip for churros, fruit, or cookies.
- As a filling for cakes and cupcakes, cookies, or macarons.
- It can also be swirled into your favorite brownies or blondies!
- And think about giving out jars of dulce de leche as gifts! It would make an awesome party favor.
Yes! While this recipe uses the oven method, you can also simmer an unopened can of sweetened condensed milk in water for 2 to 3 hours (fully submerged at all times), or cook it in a slow cooker covered in water on low for 8 hours. Always cool completely before opening if using the canned method.
Not quite. Caramel is made by heating sugar, while dulce de leche is made by slowly cooking milk and sugar together. Dulce de leche has a more milky, toffee-like flavor.
Ingredients
- 14 ounces (396.89 ml) sweetened condensed milk, (1 can)
Instructions
- Preheat the oven to 425 degrees F.
- Place the sweetened condensed milk in a pie plate or similar baking dish, and cover it tightly with foil.
- Place the covered dish in a larger pan, and pour hot water into the larger pan until it comes about 1 inch up the sides.
- Bake in the oven for about 2 hours (checking every so often to refill with water if needed), or until the desired color and thickness* are achieved.
- Whisk the dulce de leche to smooth out any lumps.


I just love your recipes, clear and simple! But I feel there should be a warning using glass baking dishes. To always replenish the water for a water bath with BOILING water! If it’s not, the glass WILL EXPLODE.
Just baking responsibly. 🙂
Thanks Sue! I agree, it's very important to make sure and refill the water as needed. Especially for glass or pottery dishes. Definitely want to follow that instruction in Step 4 of the recipe directions!
I can't wait to try this recipe! I'm making homemade churros this weekend, and I typically use chocolate sauce as a dipper. This will be a welcome new treat to try. I'm so glad you shared the recipe!
Will this harden if frozen? I'm trying to find a good caramel sauce to use in an ice cream recipe as a swirl but many say they'll freeze up and I'd like it to remain more like a sticky sauce.
Sweetened condensed milk is not the same as condensed milk. This recipe calls for SWEETENED condensed milk.
Total baking noob here... I'm having trouble figuring out the hardware for this recipe. What two pieces do I need and are they things I can get multiple uses out of or is this the only sort of recipe I'd use them for? Thanks!
No worries Mark! You'll just need 2 oven safe dishes, any kind really. One large and one smaller. The smaller one should be able to fit inside the large one. Good luck!
I'm looking forward to making this on my upcoming
Skillet Apple Pie.
I've heard of doing this with a can of sweetened condensed milk, but not in the oven! That sounds alot easier than boiling in a pot of water anywhere from 2-3 or even 5 hrs! I'd much rather bake it for 2hrs. I've never baked with a water bath either, but sure that won't be a problem for me. Very much looking forward to this, and am so happy I found your page, AND your easier method!
I look forward to making this for a dinner party to put over ice cream. Is it ok to make a day before and refrigerate and heat up the next day in microwave? Thank you!!!
Absolutely! I'd recommend microwaving it in quick bursts, stirring frequently, until it's warmed through. Good luck and I hope you enjoy!
Have made this on the stovetop by cooking in the.
an by piercing the can lid to eliminate pressure and cooking in a boiling water bath. A small rack, dish cloth, or a couple canning jar rings to kee the can out of contact with the pan bottom will give more even cooking.
Hi I want to make chocolate carmel candy... do you think this would work? Carmel can be so hard on your teeth and this looks gooey but I've never had it before.
This is more of a sauce. If you want caramel candy, I'd use the salted caramel sauce recipe and just cook it to the lower end of the soft ball stage. Approx. 235 degrees F. Good luck!
That’s not how to pronounce dulce de leche, but the recipe is fantastic!
I made this today and it turned out great. I have a cake in the oven that’s waiting to have this deliciousness added to it. Thanks for the recipe and tips!
My pleasure! So happy you enjoyed!
Thank you for sharing this amazing recipe!
So easy and turned out beautiful.
I used it for macaron filling and it was outstanding.
I found your instructions clear and very easy to follow.
I'm so happy to hear that! It's my pleasure!
I'll admit the first try I messed up by not covering it with foil. Epic fail! Too brnt and then I tried to whisk it in opes it would cure it and nope, just a mess. Tried the next day ( covered with foil this time) and I am so thrilled with the results! I made the most delicious Alfajors with my Dolce de leche. Everyone loved it. I dod choose to keep the heat at 400, I also have a thermometer in the oven for baking because often times home ovens just don't keep accurate temp, I highly recommend investing in one, they're cheap enough.
Recommending this Dolce De Leche 100%.
hi!
i made probably half a can of condensed milk at 425f for 1.5 hours, it came out okay, however, lumpy. How can i make it not lumpy?
thanks!
If you whisk it while it's still hot from the oven it should smooth right out.
I know I'm nit-picking, but I just wanted to point out the pronunciation of dulce de leche. Instead of dool-say dee lay-chay. I feel it should be dool-se de le-che. The "ay" sound doesn't appear at all in the proper pronunciation. And "dee" sound is like in deed while its supposed to be "de" as in dead. Source: I speak fluent Castilian. (Castilian is the original term for Spanish.)
Regardless, I do love Dulce de Leche. You did a great job on the recipe!
I just tried this recipe. Turned out beautifully. I put it in a glass pie plate covered with foil. I put it in a large roasting pan and kept the water level up at all times. I used to boil the can but this is a much better way to make it:) Thank you so much!