Pita Bread
Make this easy homemade pita bread recipe! Just 6 ingredients & it cooks up flavorful & so pillowy-soft! Naturally dairy-free & vegan.

Today I’m sharing a really fun and easy recipe: pita bread!
If you’ve never made it before, I think you’re really going to love it.
This homemade pita bread recipe comes out with a really nicely balanced flavor and a soft, pillow-y texture that’s great for mopping up sauces or stuffing with sandwich fillings.
And I love that it cooks in a skillet! Super-quick. Instant gratification!
I love creating homemade bread recipes and I’ve got lots of them here! Check out my Irish brown bread, chocolate babka, and rye bread recipes if you’re a bread baker (and lover!) like me!
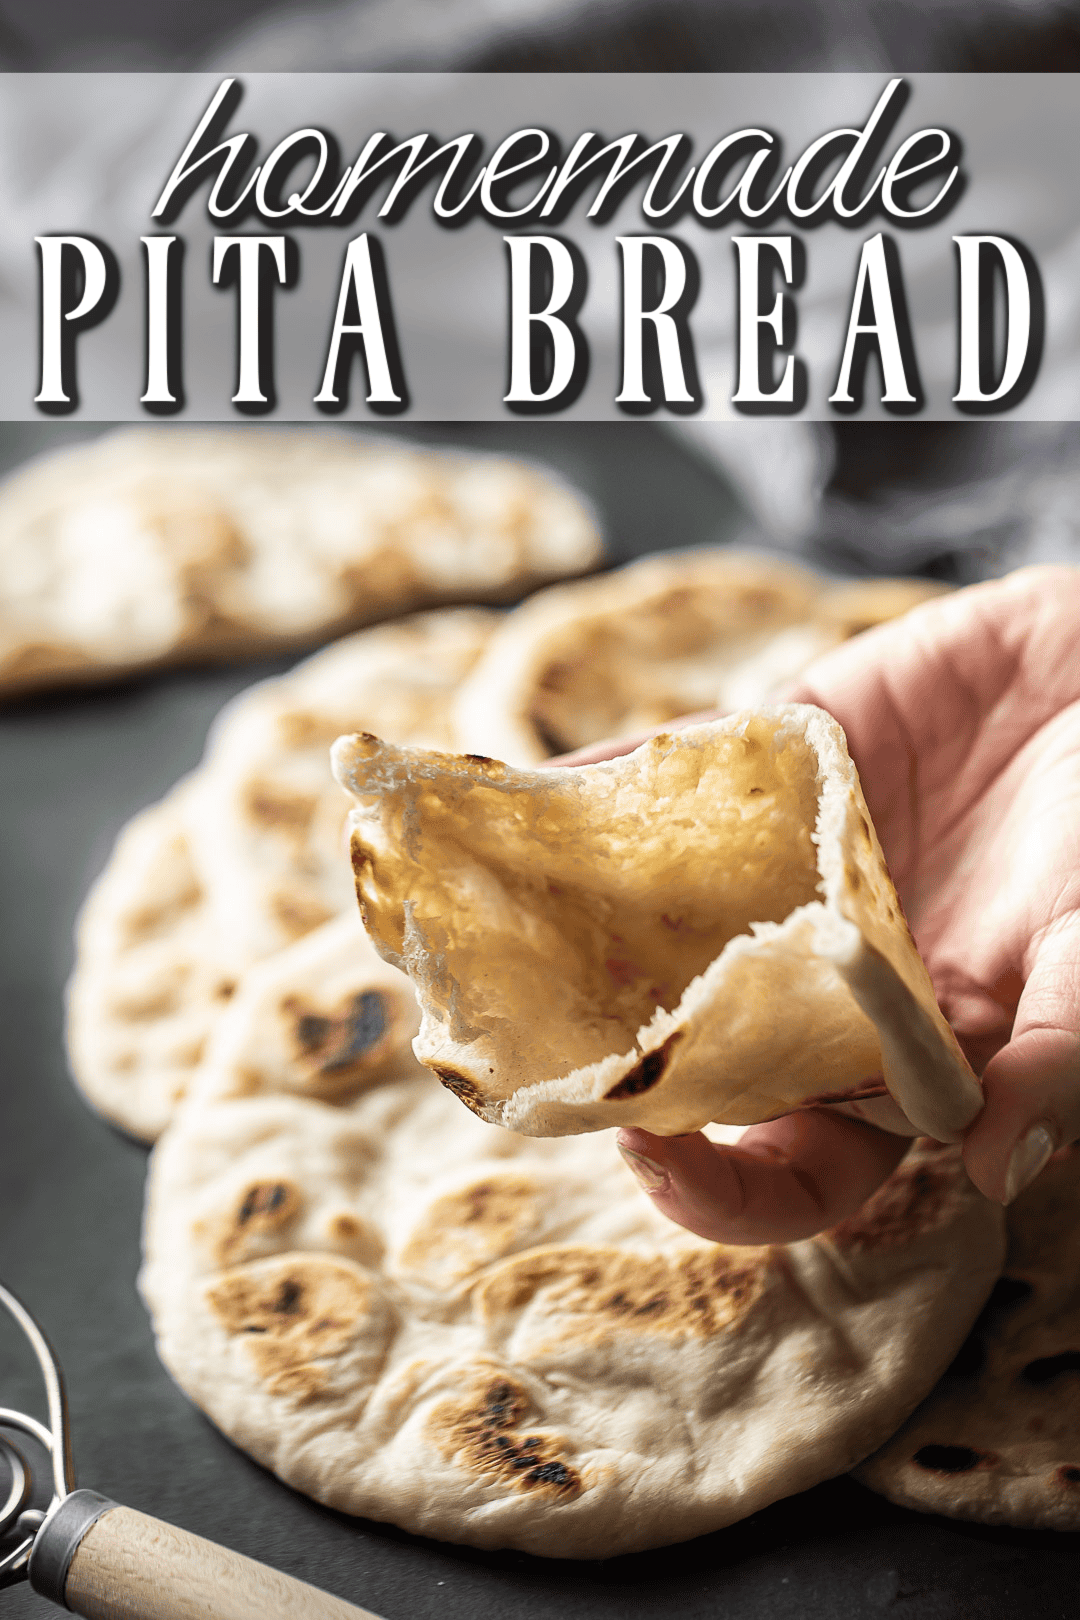
Table of Contents
- What is pita bread?
- Why this is the best pita bread recipe
- What does homemade pita bread taste like?
- Ingredients
- Special equipment
- How to make pita bread
- How to serve pita
- Expert tips
- Frequently asked questions
- A few more of my best yeast bread recipes
What is pita bread?
Pita bread is a classic yeast bread that originated in the Middle East/Mediterranean.
It’s made with very simple ingredients, and when done well it has a slightly chewy but very soft texture.
It can be halved and split to create a pocket into which different fillings can be added, or you can toast it up to make pita chips. Or just enjoy it as is!
Why this is the best pita bread recipe
- Tastes amazing: The balance of flavors is perfection, and so is the texture!
- Few ingredients: You’ll only need 6 simple ingredients to make it.
- Easy to make: The dough comes together in just a few minutes, and shaping it is kinda fun!
- No-bake: You don’t even have to turn on your oven! This pita bread recipe is cooked on the stovetop.
What does homemade pita bread taste like?
When you take a bite, you’ll get a nice balance of sweet and savory, with a pronounced yeasty flavor and a hint of floral, peppery olive oil.
Ingredients
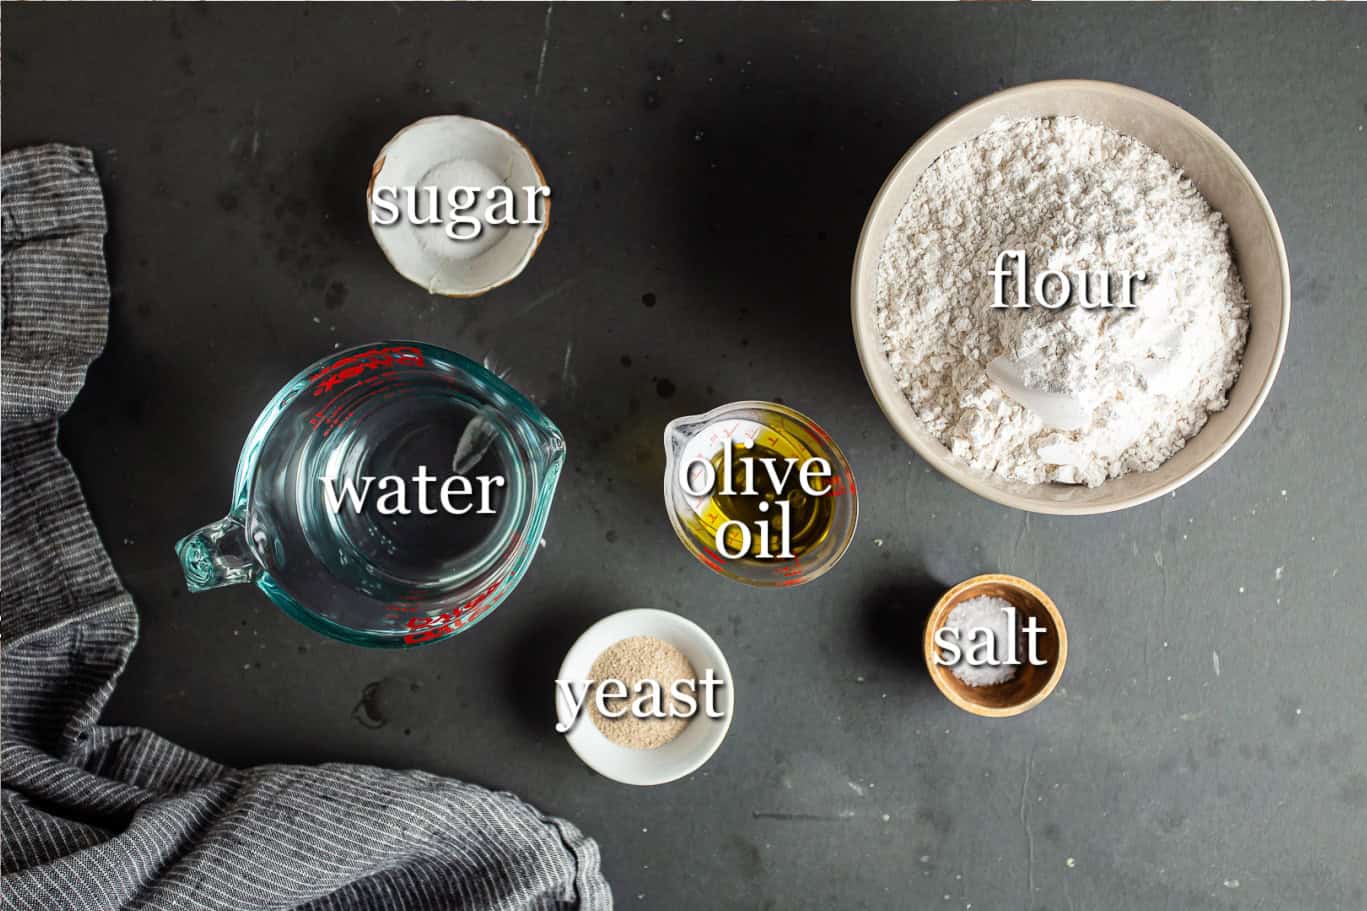
Sugar: Adds some sweetness but sugar will also feed the yeast. You can substitute for another type of sweetener if you like.
Water: The yeast is dissolved in warm water. Aim for the temperature of a baby’s bath, or around 105 degrees F. If the water is too hot, it could kill the yeast and then your bread won’t rise.
Yeast: I prefer active dry yeast, but instant yeast can also be used. You may just need to cut the rise time down by around 15 minutes.
Flour: The exact amount can vary. On a more humid day, you may need slightly more, or if it’s very dry where you live you may be able to use less. It’s all about the feel. The dough should be slack but not too sticky. I’ve used all-purpose flour for the pita breads you see here, but bread flour would work well too! You can also make whole wheat pita bread with a combination of white flour and whole wheat flour, but you may need a little less if you go that route. A gluten-free flour blend could also be used. Just make sure it can swap 1:1 for regular flour.
Oil: I prefer extra-virgin olive oil for the flavor it lends to these flatbreads.
Salt: Brings out all the yummy flavors in the bread. For the purest, cleanest taste, go with kosher salt.
Special equipment
- Measuring cups and spoons: Follow my guide on how to measure ingredients.
- Bowl: A large bowl for mixing up the dough.
- Plastic wrap: To prevent the dough from drying out.
- Pastry scraper: If you don’t have one, a knife will work just as well, but I love my pastry scraper for dividing dough and cleaning up my worksurface.
- Skillet: The pitas will cook right on a hot skillet. It does not have to be greased.
- Tongs: These are handy for flipping the pitas and removing them from the skillet.
How to make pita bread
This easy pita bread recipe comes together in 6 simple steps.
Step 1: Dissolve the yeast
Start by placing the sugar in the bowl and then pour the warm water over it so it dissolves.
Then sprinkle the yeast on top and set it aside for about 5 minutes to allow it to dissolve and come to life.
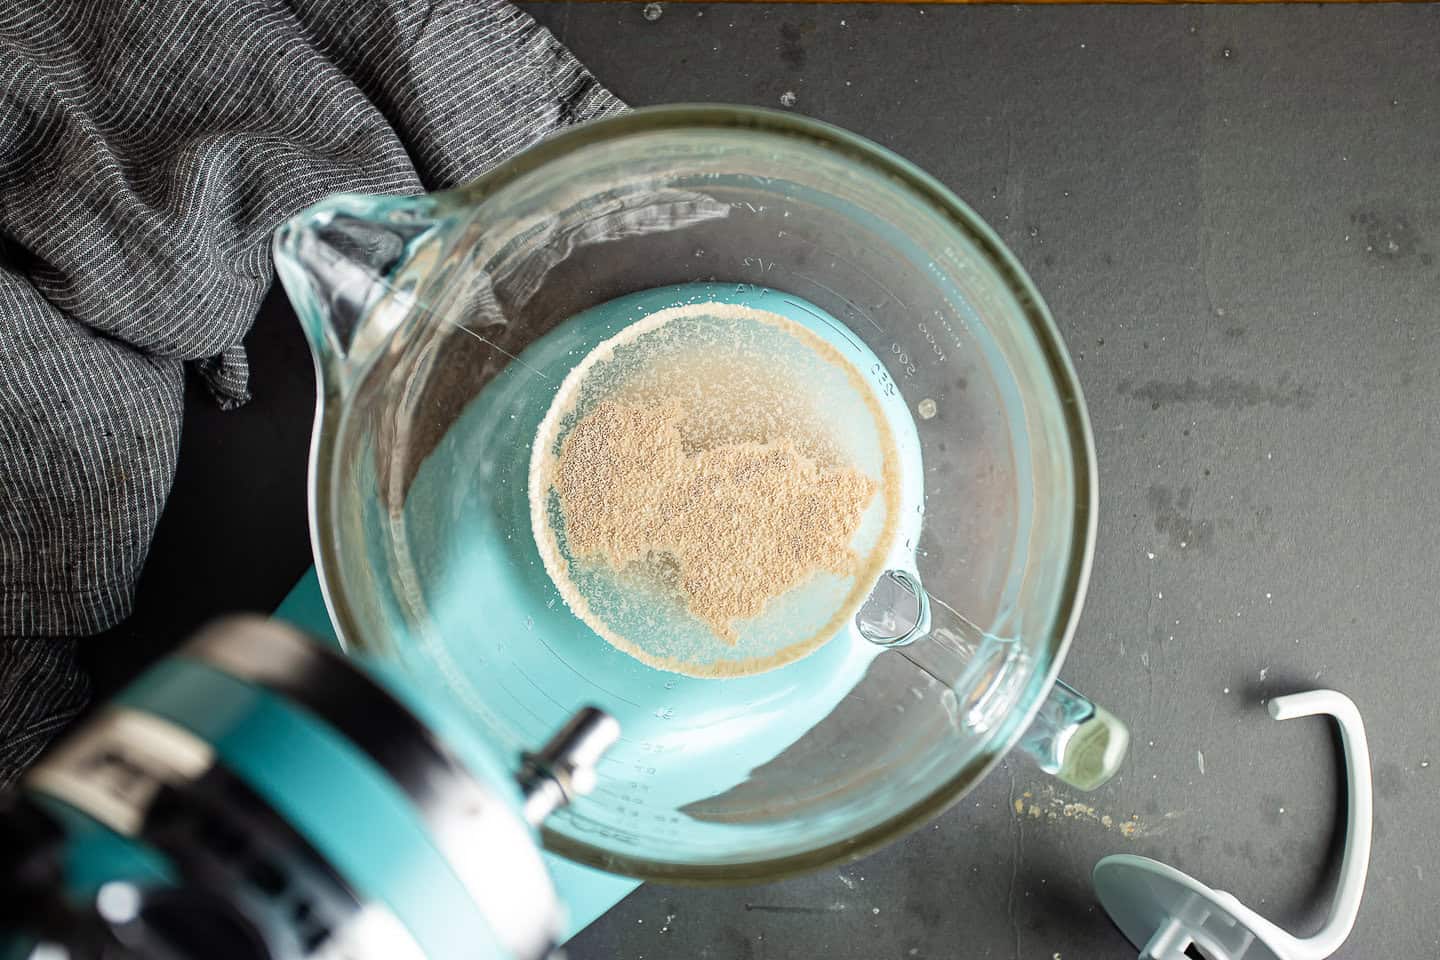
You should see it looking kinda foamy. This is how you know it’s alive!
Step 2: Make the dough
Next, add the flour, olive oil, and salt.
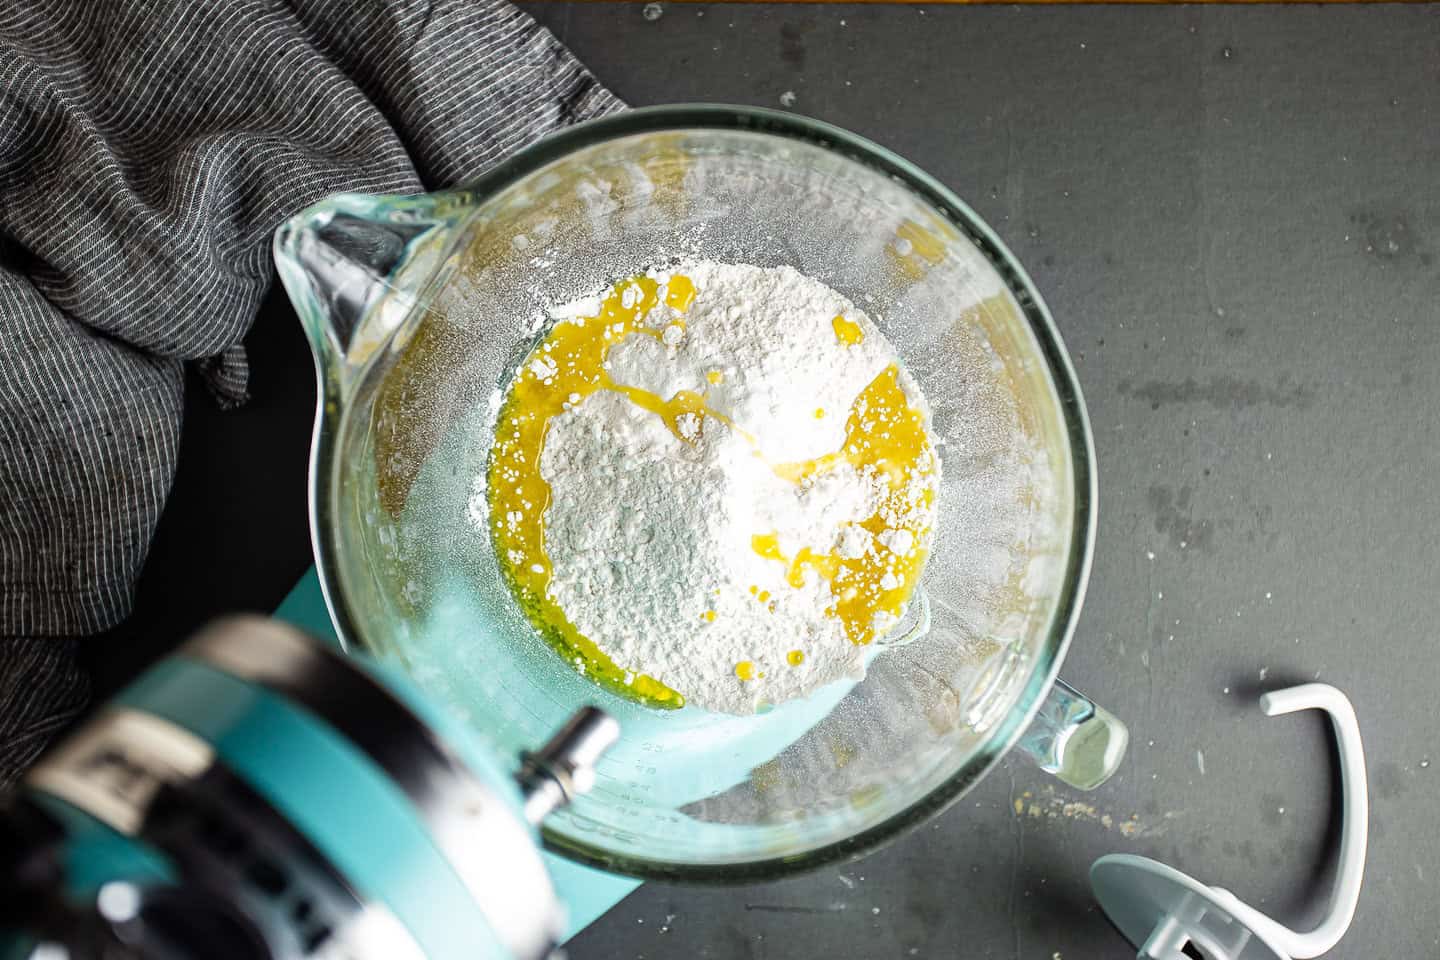
Mix these ingredients in until the dough gathers itself into a ball and pulls cleanly away from the sides of the bowl. (You may need to add a little more flour, it depends.)
Step 3: Knead the dough
You can see here what this dough looks like before it’s been kneaded. It has more of a nubbly surface.
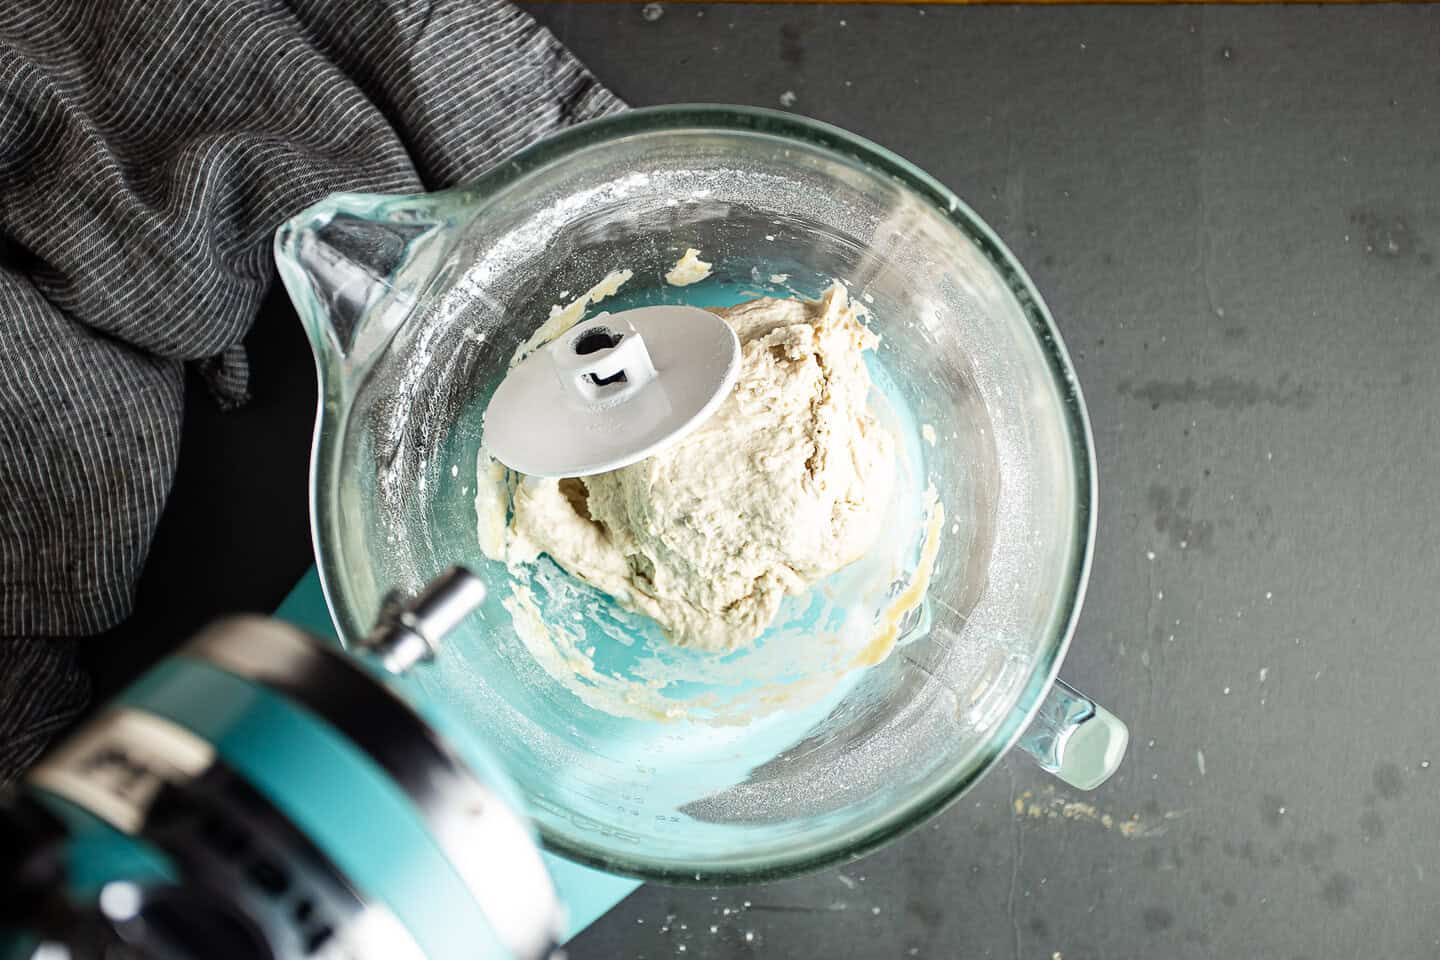
After it’s had a good long knead, it will become much smoother and have a very stretchy, elastic texture.
Once it’s reached this stage, cover it with plastic wrap and allow it to rest in a warm place until doubled in bulk.
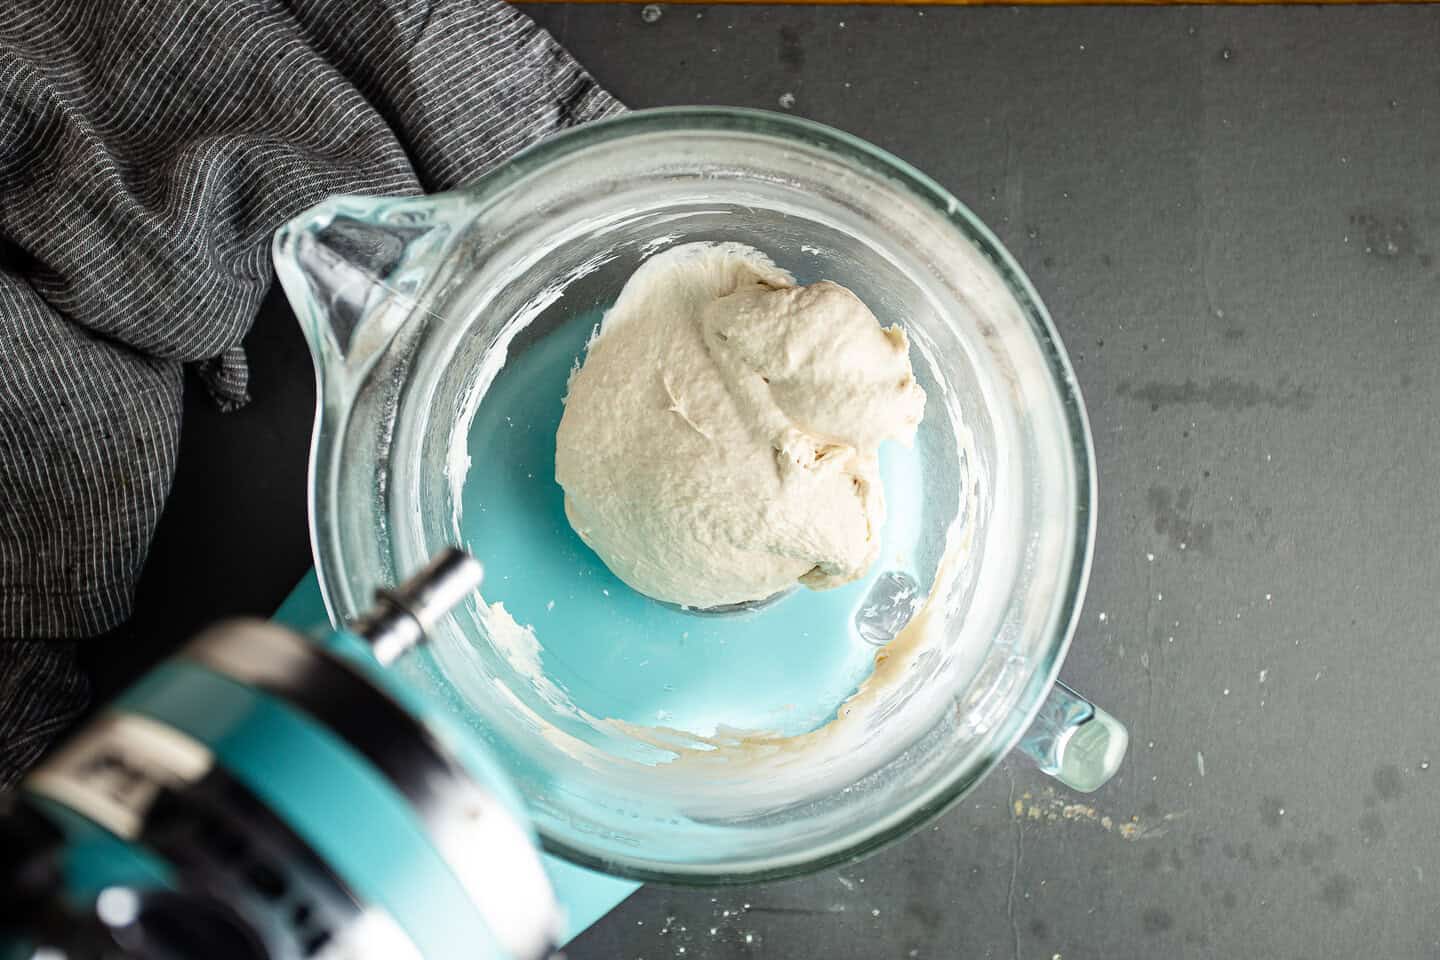
Step 4: Rest
After about an hour of resting, the dough should be really poofed up with air!
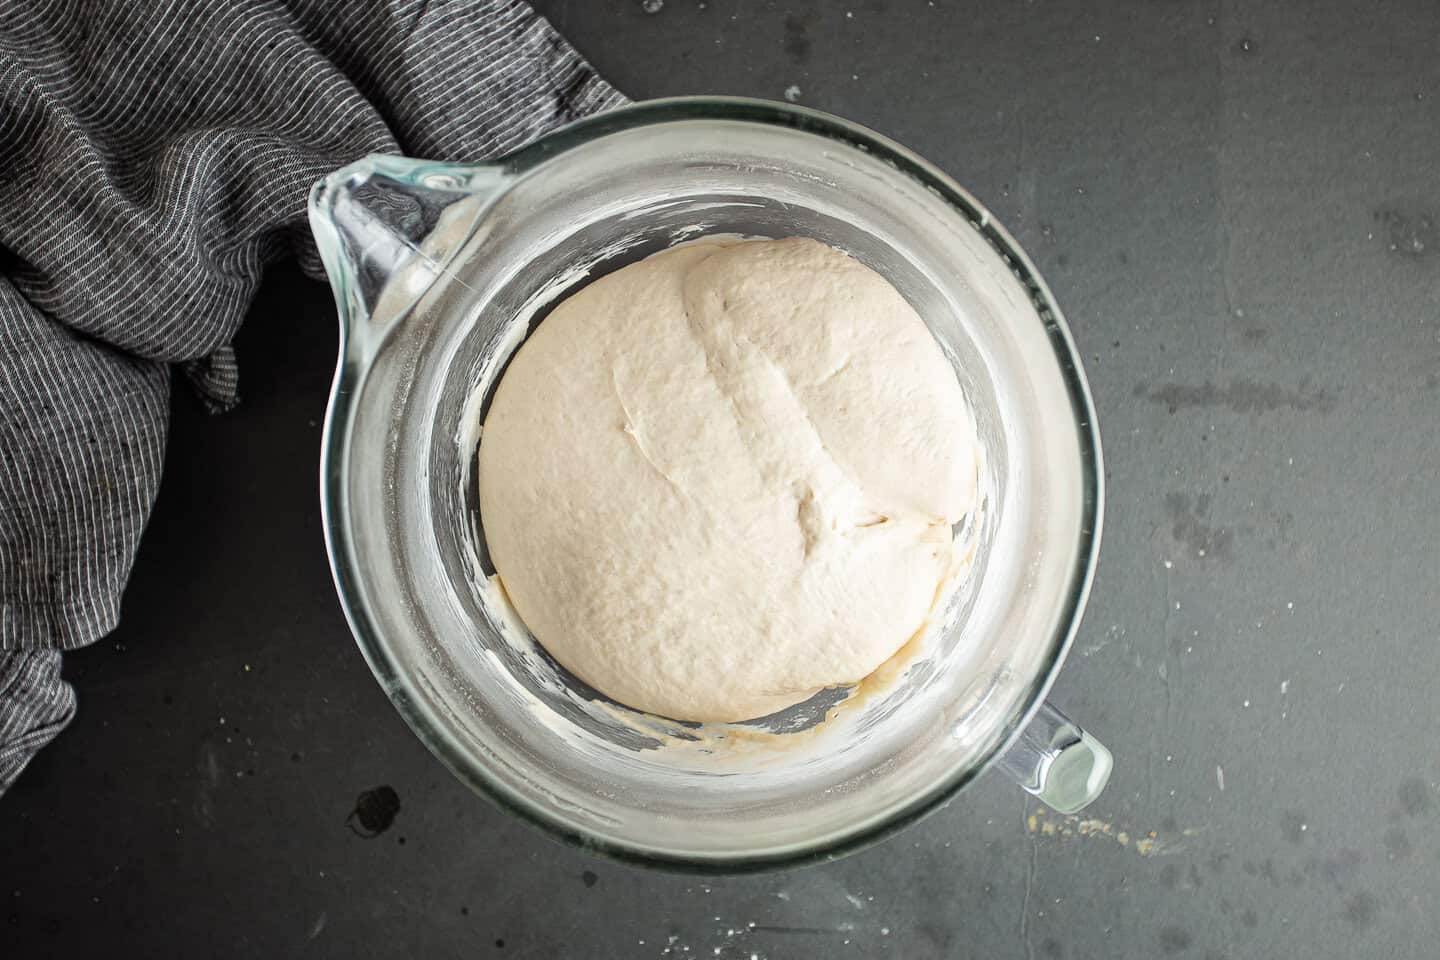
Punch it down, dust it with flour, and you’re ready to move on to the next step.
Step 5: Divide & shape
Cut the dough into 8 equal portions.
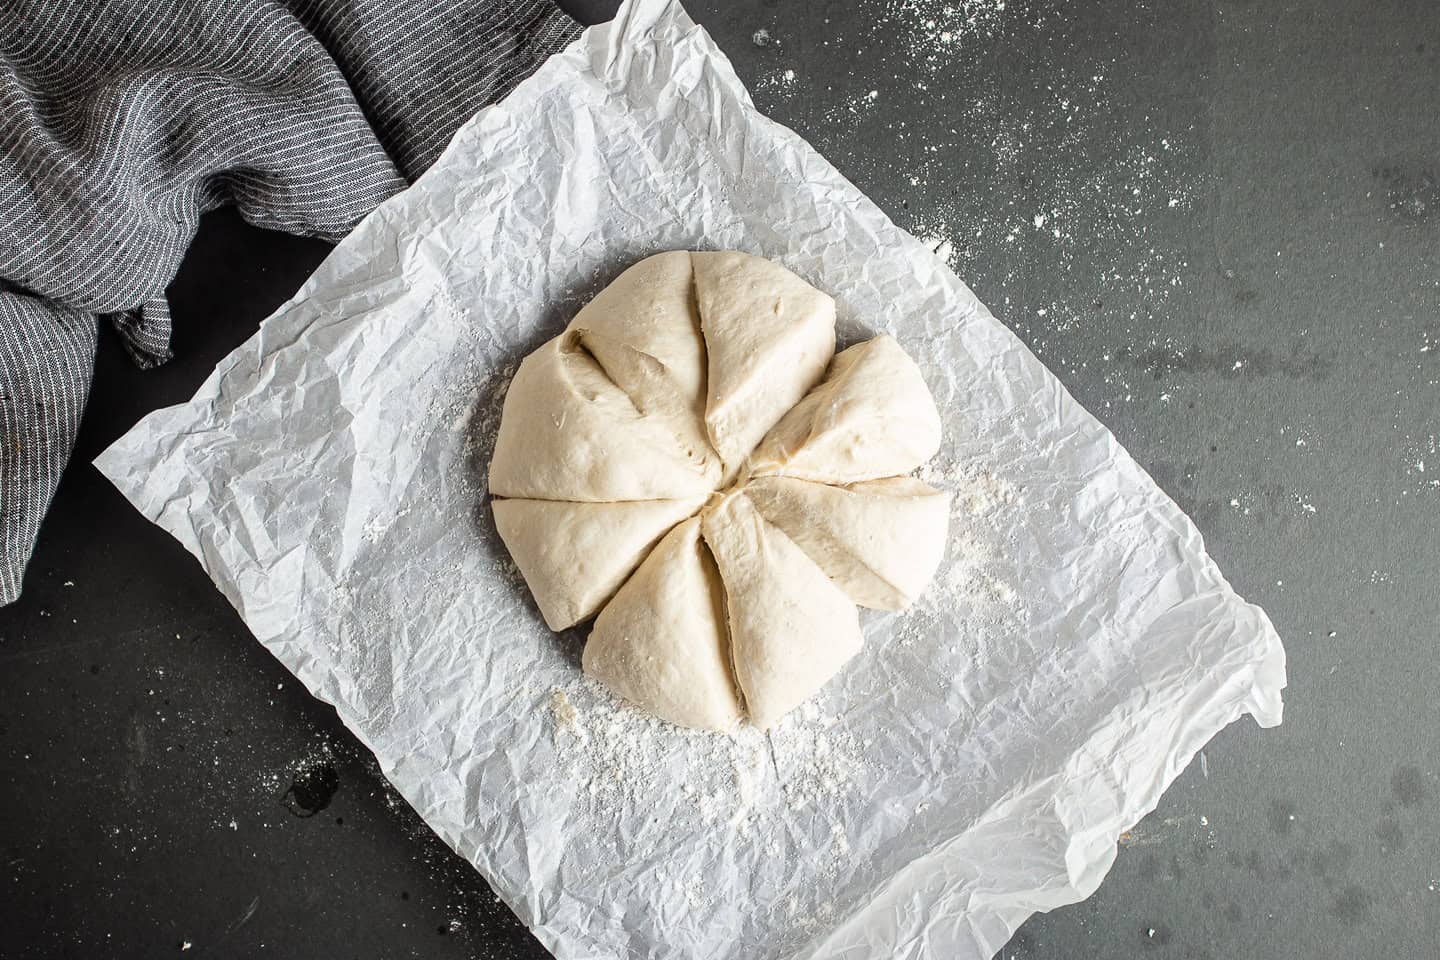
Working with one portion at a time and keeping the rest lightly covered so they don’t dry out, shape the flatbreads into flat circles about 4 to 6 inches in diameter and 3/8-inch thin.
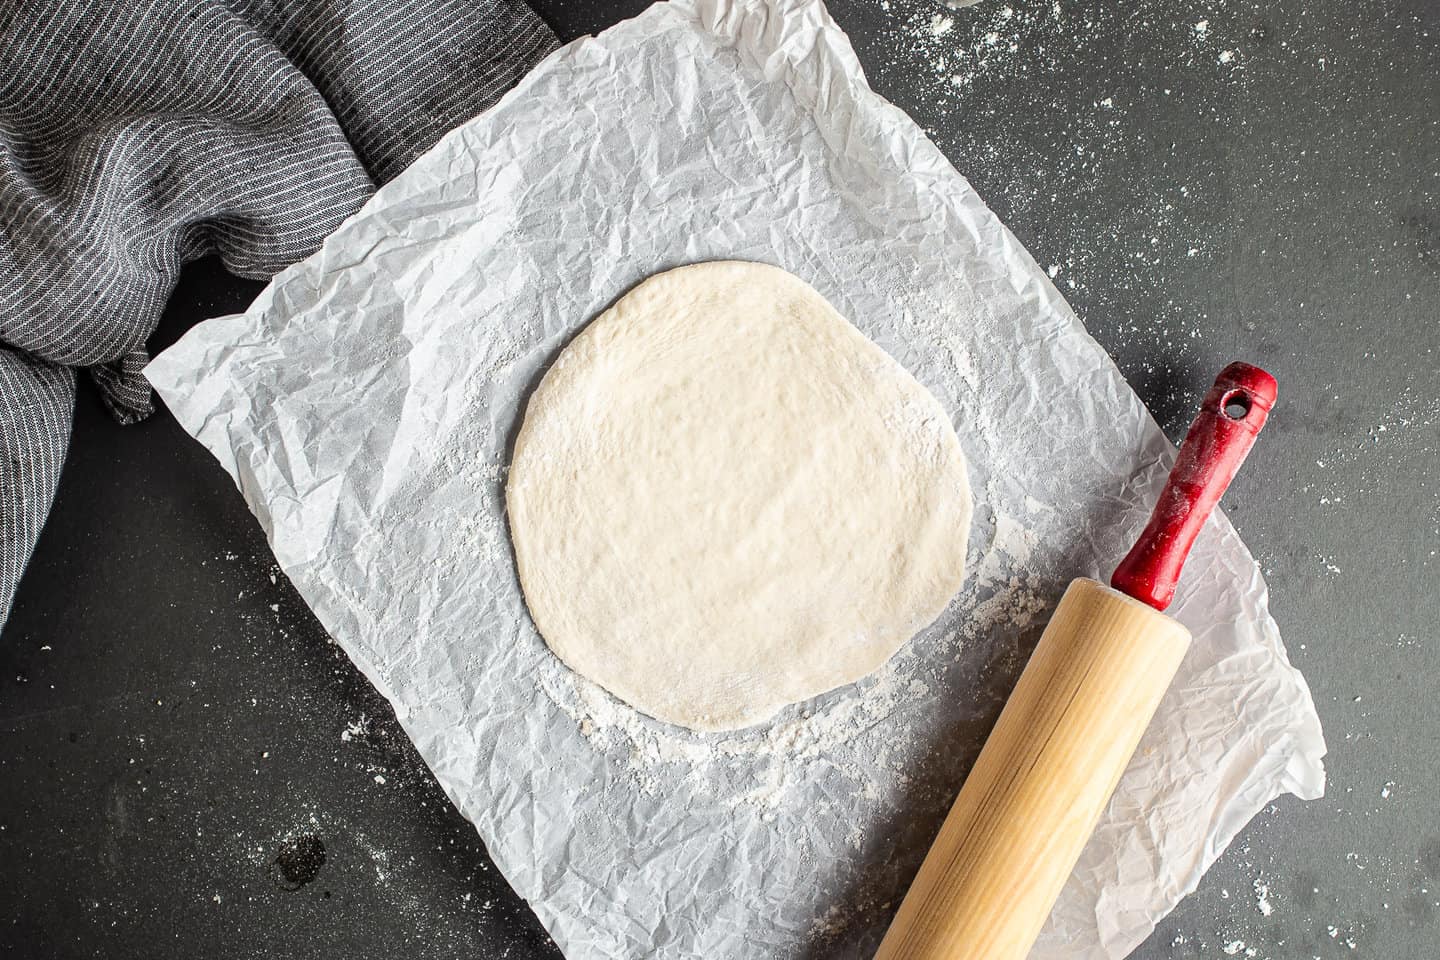
You can do this with a rolling pin, or just with your fingers by patting and stretching.
Step 6: Cook
Place a dry skillet over medium heat.
Once it’s come up to temp, lay an uncooked pita directly on the hot surface.
You’ll notice the edges go more opaque, then you see bubbles forming towards the center.
Lift up an edge and peek underneath. Is it starting to go golden brown? If so, give it a flip.
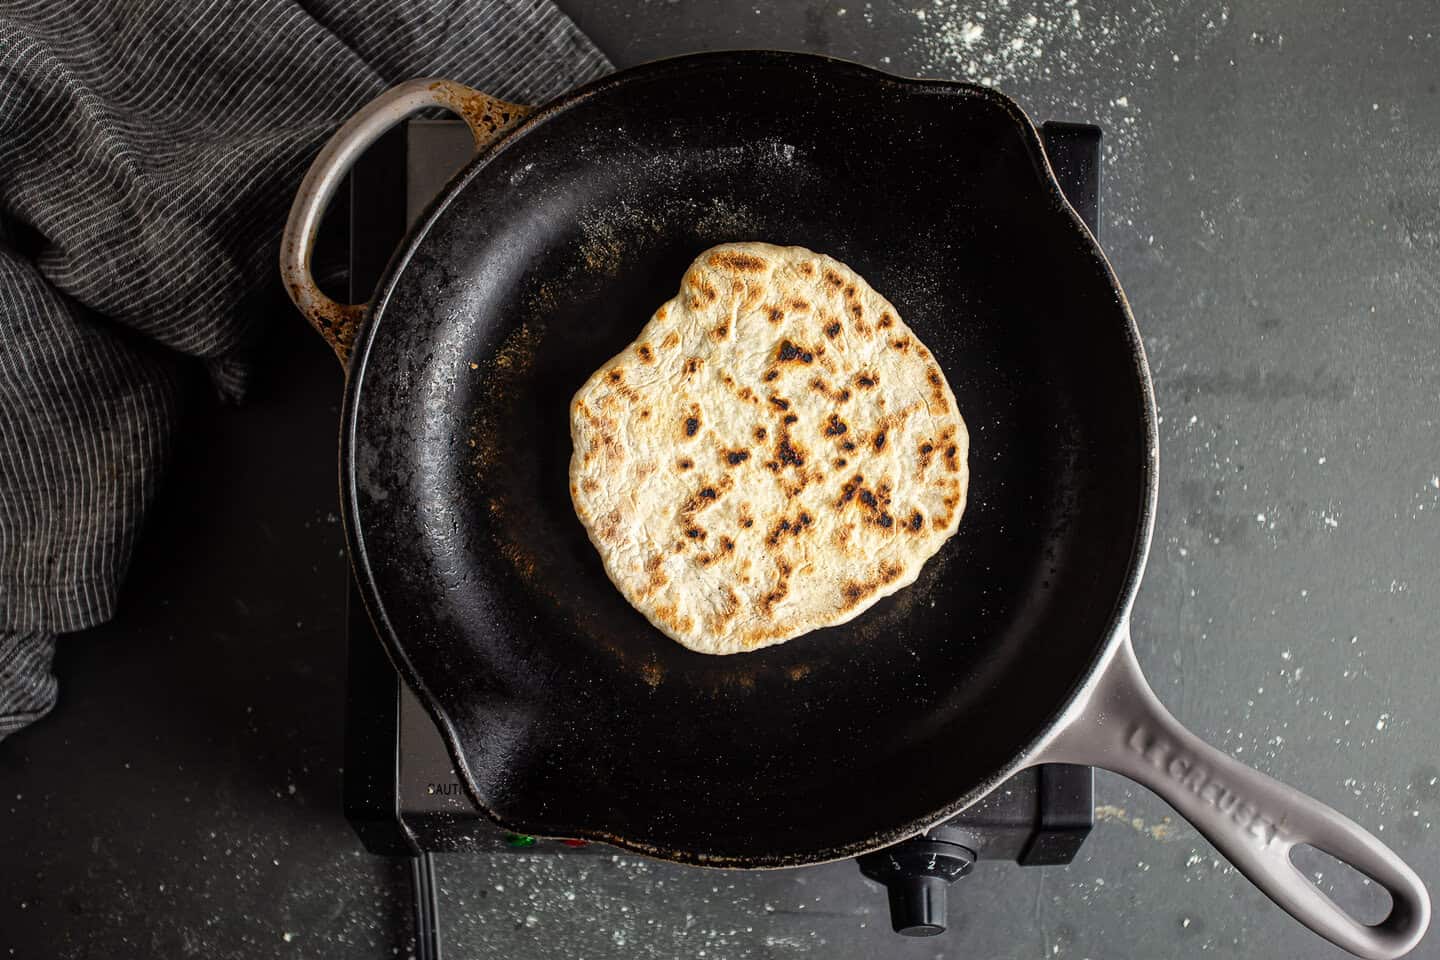
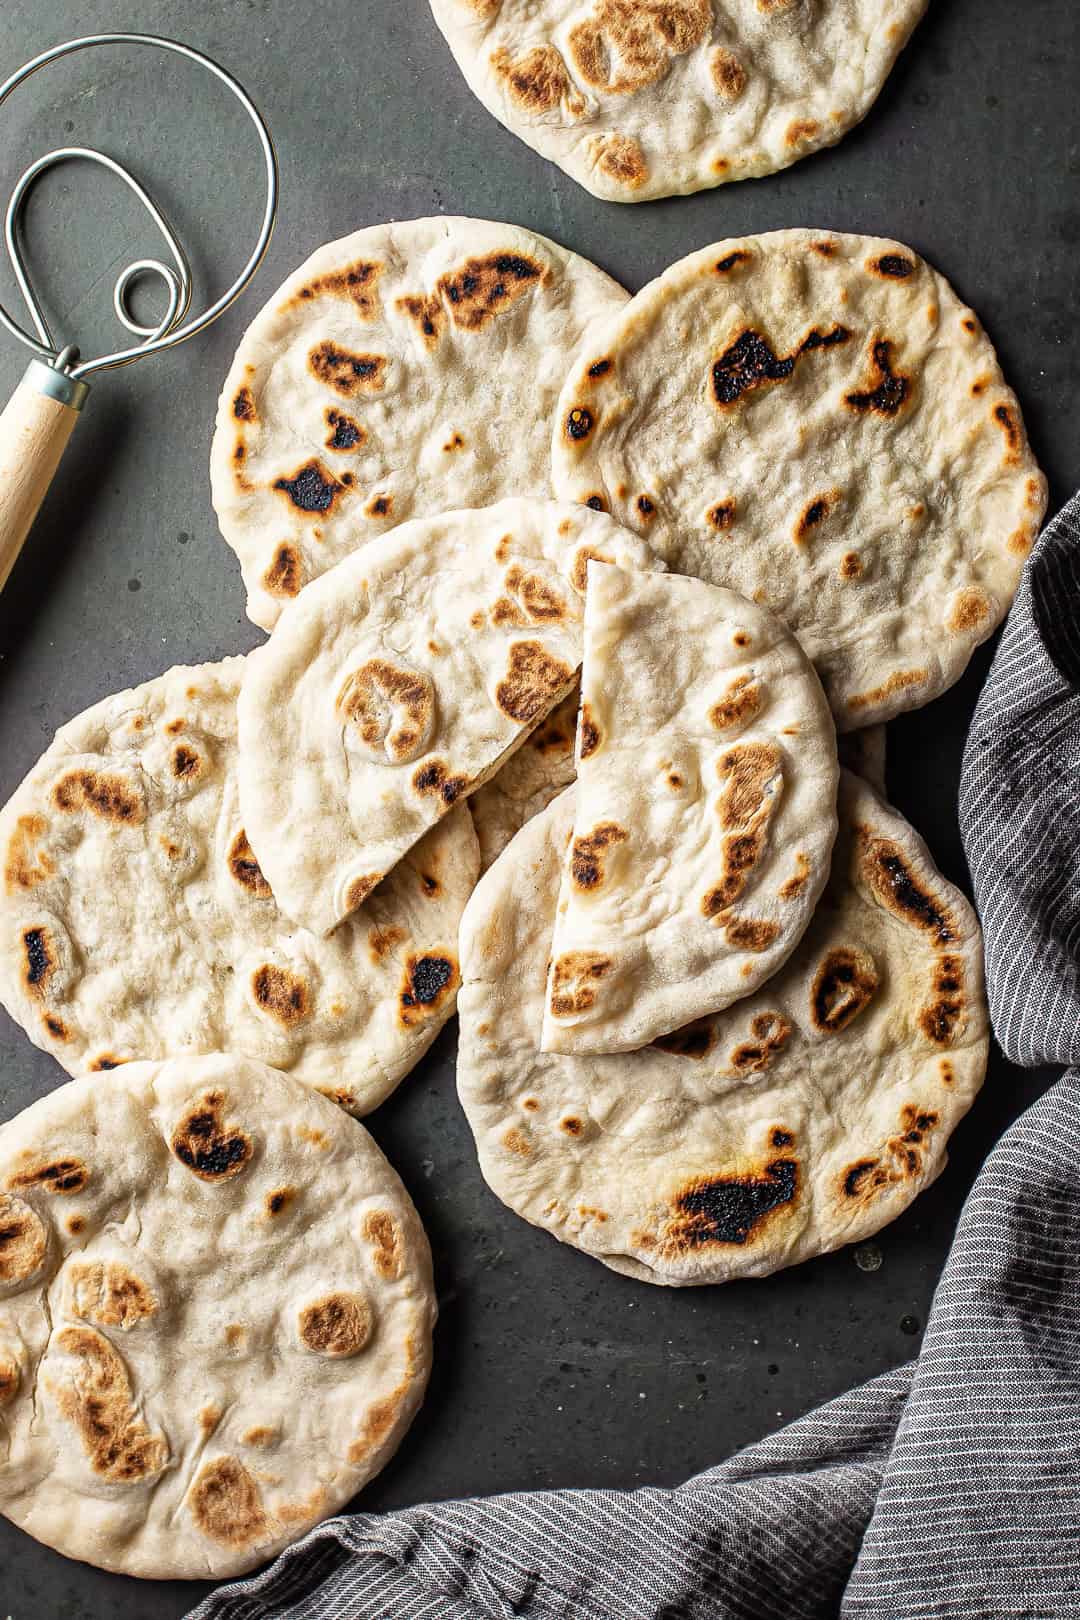
Once both sides are spotted with golden brown and the breads feel set in the centers, they’re done!
How to serve pita
Pita bread is amazing when it’s freshly cooked and still warm! Try dipping it in extra-virgin olive oil for a real treat. It can be enjoyed this way as an appetizer, snack, or side dish.
It’s also really good with hummus!
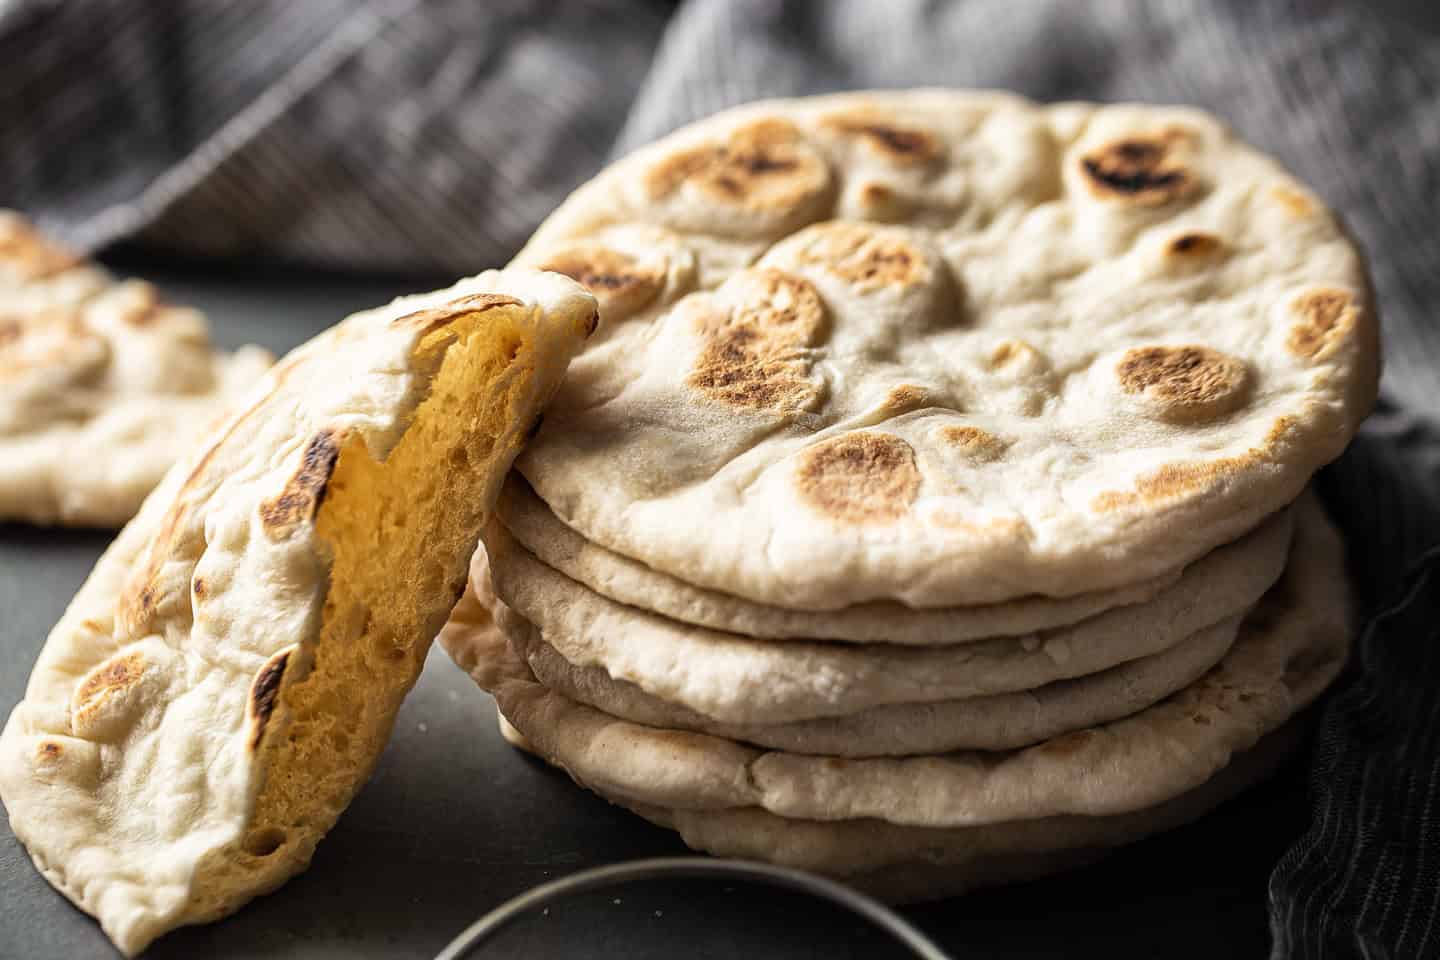
You can also use pita to make sandwiches. Slice the rounds into semicircles, then open up the pocket inside. (You may the help of a thin, sharp knife.) Then just stuff that pocket with all sorts of goodness, and take a bite!
Expert tips
Check the yeast: Before you start, make sure the expiration date on your yeast hasn’t passed. If it has, your yeast could be dead and your pita breads won’t rise properly.
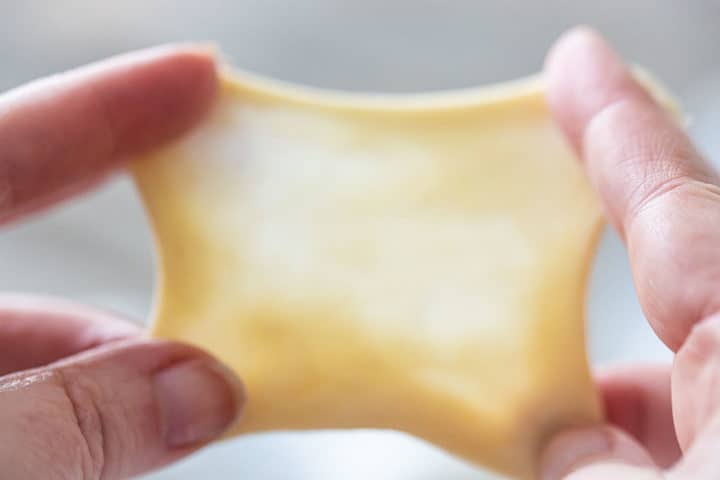
Do the windowpane test: To check if you’ve kneaded the dough enough, pull off a small piece and flatten it with your fingertips. Then gently stretch it outwards. It should stretch thin enough for light to pass through it, without tearing. If it can do this, your pita bread will have a satisfyingly chewy texture once baked.
Keep it covered: While you’re shaping and cooking one pita, the remaining dough should stay loosely covered so it doesn’t dry out.
Let it char: If you allow your pitas to get some very dark spots on them here and there, it will add the most deliciously smoky flavor!
Make pita chips: Cut your pitas into triangles, brush them with oil, sprinkle on a little seasoning, and bake them on a sheet pan for 5 to 10 minutes at 425 degrees F. As they cool, they’ll go delightfully crispy! Perfect for grabbing a scoop of spinach artichoke dip, buffalo chicken dip, or onion dip!
Frequently asked questions
If you’ve checked the expiration date on your yeast and it hasn’t passed, this could be because the water you used to dissolve it was too hot. You want to be gentle with it! It should be a little more than lukewarm, or about 105 degrees F.
Sometimes breads also fall flat if they haven’t had enough time to rise, or if they’ve had too much time. The dough poofs up but then falls flat again. Look for dough that’s roughly doubled in bulk. It usually takes around an hour.
This dough will keep in the fridge for up to 48 hours, or in the freezer for up to 2 weeks. After that the yeast loses its power.
So feel free to make the dough ahead of time, and cook the pitas up fresh whenever the craving strikes!
First, make sure your pita breads are completely cool. Then slip them into a zip-top bag.
They should keep this way at room temperature for a day or so, in the fridge for up to a week, or in the freezer for several months.
Thaw them at room temp and reheat in the microwave for around 10 seconds, or (loosely wrapped in foil) in a 170 degree F oven until warmed through.
This recipe makes 8 pita breads, and they are around 4 to 6 inches in diameter, depending how thick or thin you shape them.
One serving is equal to one pita. The nutritional info is for the bread only. It doesn’t include any kind of dip or filling.
A few more of my best yeast bread recipes
As an amazon associate I earn from qualifying purchases.
Pita Bread
Ingredients
- 1 teaspoon (4 g) granulated sugar
- 1 cup (236.59 g) water, warm (approx. 105 degrees F)
- 2 teaspoons (6.22 g) dry active yeast
- 3 cups (375 g) flour, (such as all-purpose flour or bread flour)
- 3 tablespoons (42 g) extra-virgin olive oil
- 1 teaspoon (6 g) kosher salt
Instructions
- Place the sugar in a large bowl and pour the warm water on top.
- Sprinkle the yeast over the surface of the water and allow it to dissolve (approx. 5 minutes).
- Stir in the flour, olive oil, and salt, until a dough forms into a ball and pulls cleanly away from the sides of the bowl (add more flour as needed).
- Knead the dough until smooth and elastic (approx. 10 minutes).
- Cover the bowl with plastic wrap and allow the dough to rest in a warm place until doubled in volume (approx. 1 hour).
- Place a dry skillet over medium heat.
- Punch the dough down and divide it into 8 equal portions.
- Pull off one portion (keeping the rest covered so they don't dry out), dust it with flour, and flatten/roll/pat it into a circle about 3/8-inch thick.
- Place the dough circle directly on the hot skillet, and allow it to cook until the bottom is golden brown (approx. 2 minutes).
- Flip the pita bread over and allow the other side to cook until golden brown (approx. 1 minute).
- Repeat with the remaining dough.