Detroit-Style Pizza
As an amazon associate I earn from qualifying purchases.
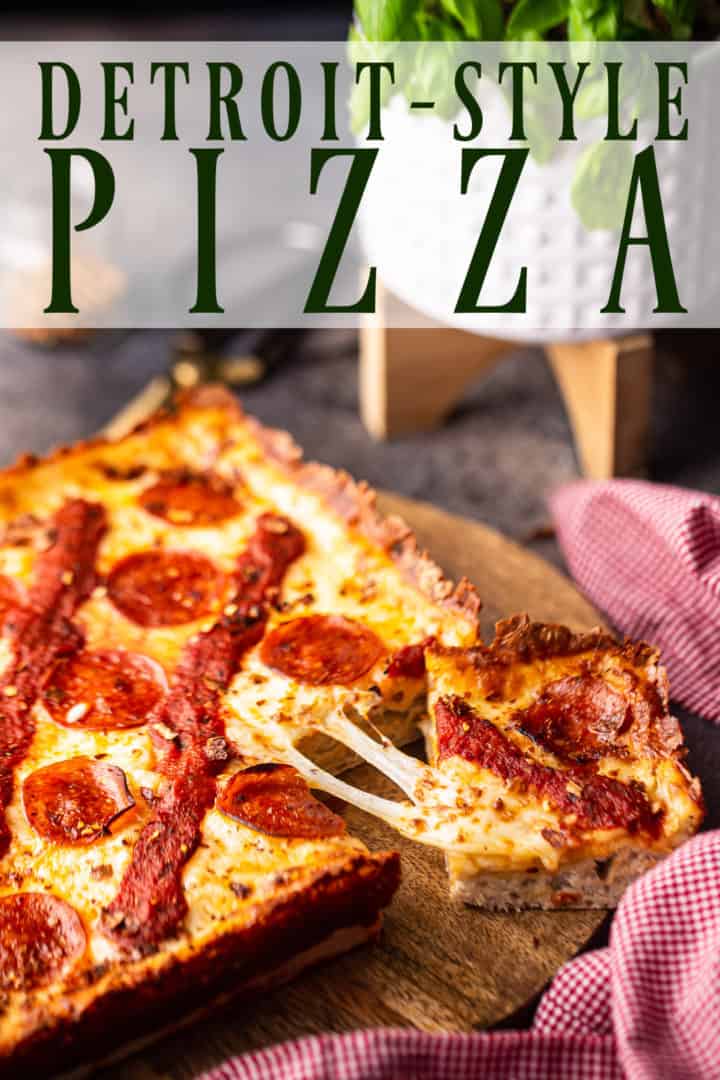
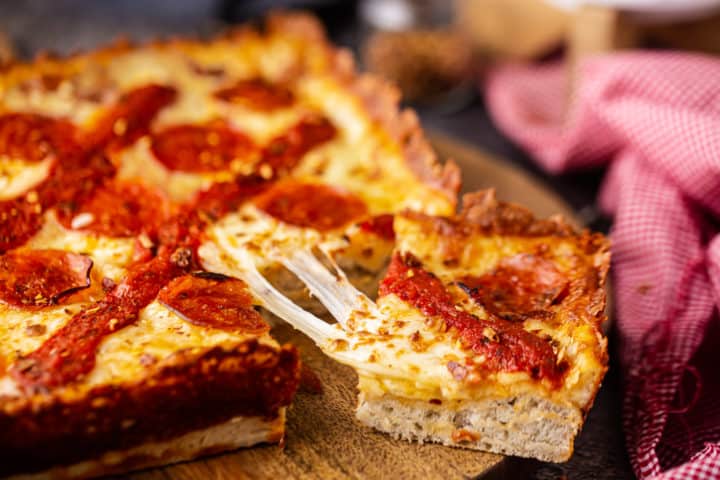
Make this Detroit-style pizza for your next hangout! With a thick, soft, & pillowy crust, and cheese all the way to its crispy edges!

Oh, boy, are we in the heart of winter now! As I type, my 'hood is being assaulted by a bomb cyclone! I'm sure happy to be warm & cozy inside.
This kind of weather makes me crave comfort food. The more indulgent the better! And the timing is exactly right for that, with Superbowl right around the corner.
There's no better time to bookmark your favorite game-day recipes. Might I suggest chili & cornbread muffins? Potato skins? Or crispy baked Buffalo wings?
Or how about this cheesy, pillowy Detroit-style pizza recipe?
It's easy to make and so hearty and soul-satisfying! I've been practicing & perfecting my recipe for over a year now, and it is NAILED DOWN! You are going to love it and so is your whole family! And all of your friends too!
WHAT IS DETROIT-STYLE PIZZA?
I had never heard of Detroit pizza until a couple of years ago, when a few of my friends got on a quarantine baking kick. They started baking for charity and selling pizzas to our whole friend group in their front yards. One bite and I was hooked!
This kind of pizza is way different than the thin & crispy pizza I'm used to, as a northeasterner. For one thing, it's square. It's also thick, sorta like Sicilian pizza. It's got a pillowy, soft crust that's very bready (like focaccia), but light. The cheese is under the sauce. And best of all, it goes all the way to the edge. As a matter of fact, it even goes up the edge of the pan a little bit.
This is so key, because as it bakes, it gets brown and toasty and CRISPY! Almost like a thin cracker. This is known as the "frico" and my friend Jim is an expert on how best to achieve this.
If you are big into pizza, you need to follow Jim. Find him on Instagram @jimmyhank_pizza, or check out his website here: Jimmy Hank Pizza.
While this recipe is entirely my own, Jim (aka: The Frico King) was kind enough to coach me through the technique and equipment, and because of him, I was really able to develop what I consider to be the best-ever Detroit-style pizza recipe. Thanks Jim!
WHAT KIND OF PAN TO USE
You've got a lot of different options in terms of the pan you choose. Jim is a devoted fan of the Lloyd's pans, which are designed specifically for Detroit-style. He let me borrow on of his, and I have to admit they're darn good. You can purchase them here: Lloyd's Detroit Pizza Pan.
That said, I don't want you to think you need a $40 pan to make a good pizza. I've developed this recipe using cake pans I already had on hand.
You can use a Lloyd's pan, or you can use a 9x13-inch rectangular pan, or two 9x9 pans.
My preference is the 9x9 pan. The size of your pan can impact the thickness of your crust slightly, and I just found that the 9x9 gave me the thickness I really loved the most.
Also, if you happen to have a pan with slightly sloped sides, that will really work to your advantage. This will still work with a straight-sided pan, but a slight slope will give you a better frico edge, with less "slide-age."
HOW TO MAKE DETROIT-STYLE PIZZA
Start by prepping your pan(s). A non-stick pan is best, but it will still need a little help. Mist it lightly with non-stick spray, then wipe out the excess with a paper towel.
Next, make the crust. There are detailed instructions in the recipe card below, on this pizza crust post, and in the video I've embedded in the recipe card.
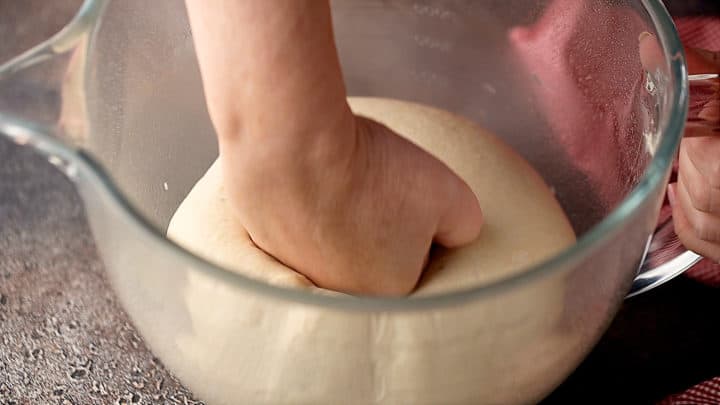
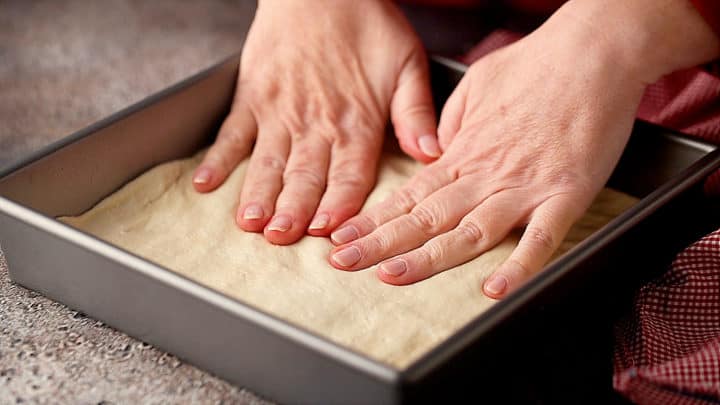
After the dough has risen to twice its volume, punch it down and transfer it to your prepared pan(s), pressing it into an even layer all the way to the corners.
This will par-bake for about 15 minutes.
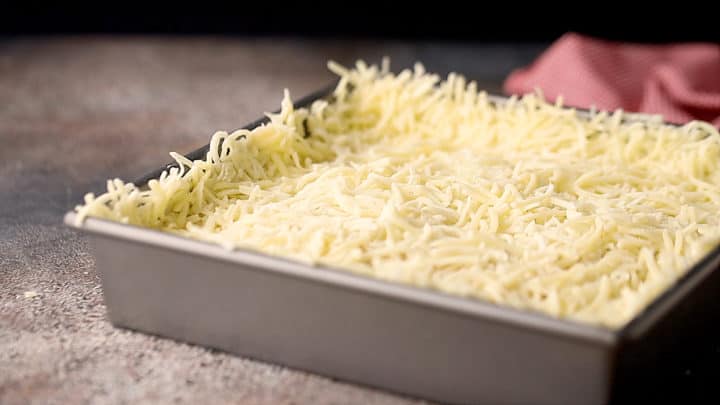
When it is cool enough to handle, sprinkle on the cheese.
You may notice that the partially baked crust has shrunk away from the sides of the pan a little bit. This is just what you want! It creates a little channel for that crunchy, cheesy edge.
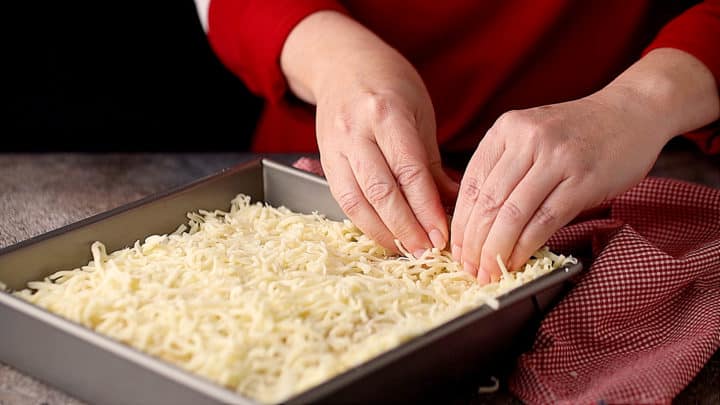
Put lots of cheese around the edge and press it up the sides of the pan, almost like you're making a tart crust or graham cracker crust. This was the best tip I got from Jim!
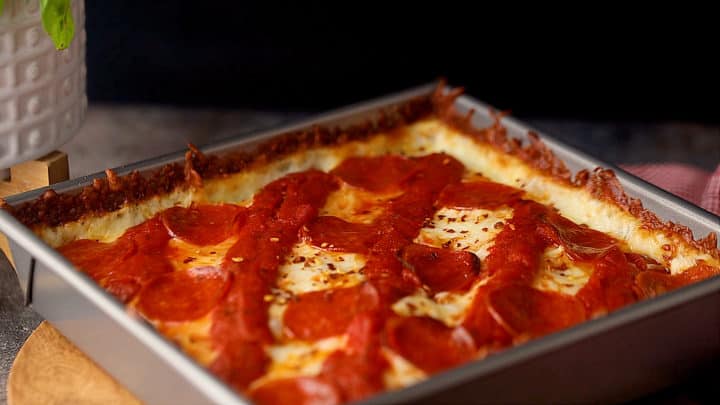
Next, spoon the sauce on in stripes, and add any toppings you like. I used pepperoni, but you can do whatever. Or just leave it plain!
Bake this in a very hot oven until the cheese is melty & bubbly, and you have that brown, crispy frico around the edge of the pan.
Cooling to the right temp is very important. If you remove this pizza from the pan too soon, the melty cheese will just spill over the edges. We want it to stand up straight! I find that around 10 to 15 minutes is perfect, but you'll want to experiment to hit your own sweet spot.
Pro tip: a thin metal spatula is a must for getting in between the browned cheese and the sides of the pan!
WHAT KIND OF CHEESE TO USE
Traditionally, Detroit-style pizza is made with something called "brick cheese." As far as I know, it's not available to buy outside of the midwestern US, except by mail order.
But Jim and I have both found that low-moisture part-skim mozzarella cheese works really well too. Especially if you let the shredded cheese warm up to room temperature before pressing it up the sides of the pan!
TIPS & TRICKS FOR THE BEST TALL, CRISPY CHEESE EDGE
Here are some of Jim's best tips for getting that incredibly high wall of brown, crispy, cheesy goodness around the edge of your pizza:
- Use a purpose-specific Detroit-style pizza pan, with slightly sloped sides, such as Lloyd's brand.
- Partially bake your pizza crust and allow it too cool before adding the toppings.
- Use low-moisture part-skim pre-shredded mozzarella cheese.
- Press the cheese firmly up the sides of the pan, almost like a tart shell.
- Allow the pizza too cool a bit before removing it from the pan, so the melty cheese can set.
Big thanks again to Jim (aka: jimmyhank_pizza; aka: The Frico King) for educating me on how to make a kick-a$$ Detroit pizza!

CAN THIS BE MADE AHEAD? HOW TO STORE
You know me; I'm all about make-ahead recipes, and that is just one of the reasons why I love this one.
At any given moment, you are likely to find at least three par-baked Detroit pizza crusts in my freezer. I just make 'em, bake 'em, wrap 'em in foil, and whenever I want a quick and easy meal or snack, I add the toppings.
You can also pre-make the dough. It will keep in the fridge for up to two days, or in the freezer for up to two weeks.
If you've fully made pizza and have leftovers, they'll keep in the fridge for 3 to 5 days, and can be reheated in the microwave or in a warm oven (covered) until warmed through.
Or freeze them, and they should keep for a month or two. They can be thawed at room temp or in the fridge.
A FEW MORE OF MY FAVORITE GAME DAY SNACKS:
As an amazon associate I earn from qualifying purchases.

Ingredients
- 2 teaspoons (8 g) granulated sugar
- 1 ½ cups (354.88 g) water,, warm (not hot)*
- ¼ ounce (7.09 g) active dry yeast, (1 packet or about 2 teaspoons)
- 3 ½ cups (437.5 g) all-purpose flour, (approx., you may need more or less)
- 1 tablespoon (14 g) extra-virgin olive oil
- 1 teaspoon (3 g) garlic powder
- ¾ teaspoon (4.5 g) kosher salt
- 3 cups (336 g) shredded cheese, (I prefer low-moisture, part-skim mozzarella, but brick cheese is traditional)
- 1 cup (245 g) pizza sauce, (prepared)
- 1 ounce (28.35 g) pepperoni,, sliced (approx.)
Instructions
- Lightly mist one 9x13-inch or 10x14-inch non-stick pan, or two 9x9-inch non-stick pans with non-stick spray, then wipe off the excess with a paper towel.
- Place the warm water and sugar in a large mixing bowl** and stir together to combine.
- Sprinkle the yeast on top and allow it to dissolve.
- When the mixture looks foamy (after approx. 5 to 10 minutes), stir in 2 cups of the flour until incorporated.
- Stir in the olive oil, garlic powder, and salt.
- While continuing to mix, add in more flour until the dough gathers itself into a ball and pulls away from the sides of the bowl cleanly. (You may need slightly more or less flour; use your judgement.)
- Lightly mist the bowl with non-stick spray, place the dough back in, and cover the bowl with plastic wrap or a damp towel.
- Place the bowl of dough in a warm place and allow it to rise until doubled in bulk (approx. 45 to 90 minutes).
- Preheat the oven to 350 degrees F.
- When the dough has grown to twice its original size, punch it down, and transfer it in the prepared pan(s).
- Press the dough into an even layer in the base of the pan(s), and bake for 15 minutes.
- Cool the partially baked crust until it can be handled, then sprinkle with cheese, pressing it firmly up against the sides of the pan (this is easier if the cheese isn't cold).
- Preheat the oven to 500 degrees F.
- Apply the pizza sauce in stripes, then add the pepperoni.
- Bake until the cheese is bubbly and browned around the edges (approximately 10 to 16 minutes).
- Allow the pizza to cool for about 5 to 15 minutes, then use a thin metal spatula to loosen it from the sides of the pan and transfer to a cutting board.
- Cut into slices and serve.


Can’t wait to try this. I love Detroit pizza. If you par bake the dough, how long can you leave it in refrigerator before you use it?
Thanks
I'd say up to 2 days, tightly covered. Good luck!