Sticky Buns Recipe
As an amazon associate I earn from qualifying purchases.
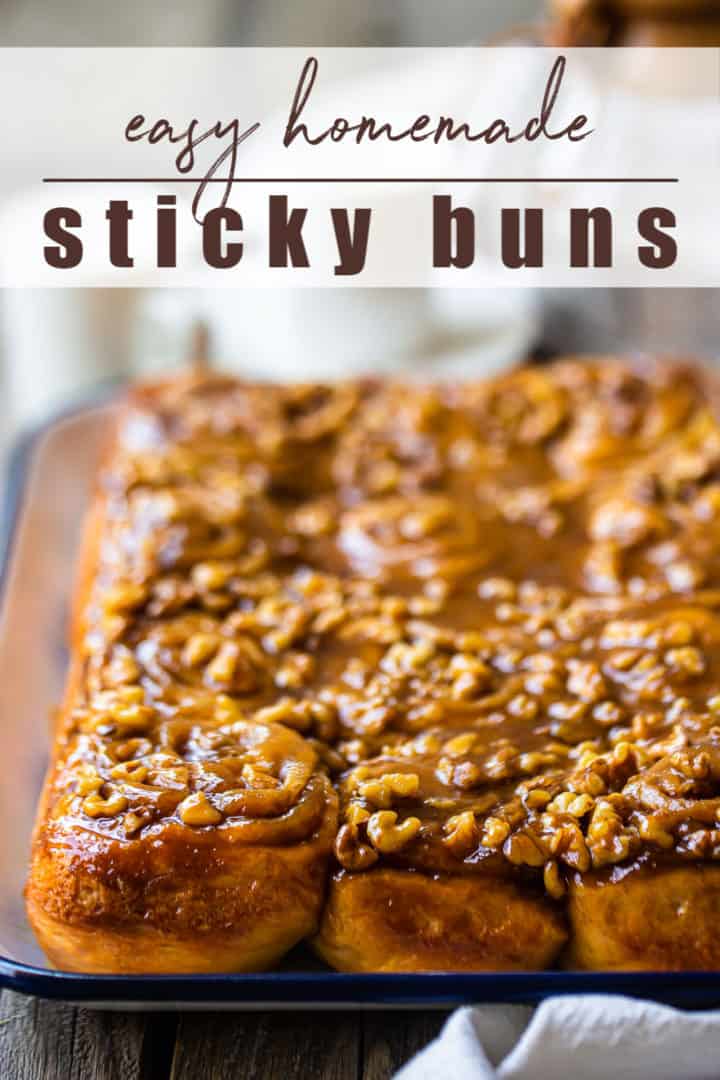
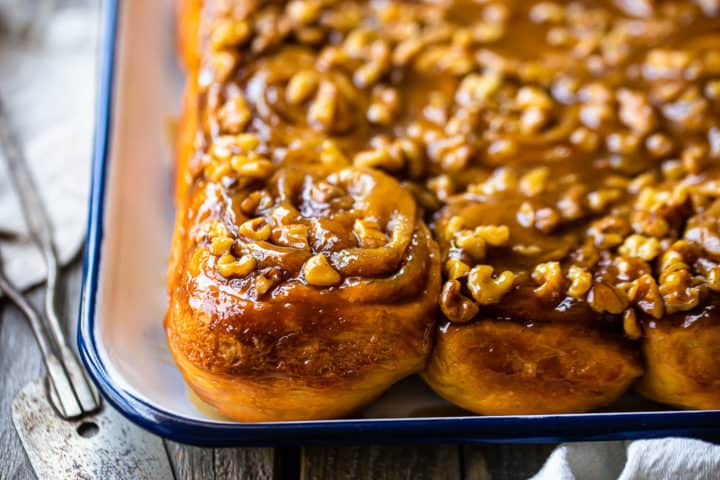
These homemade sticky buns are such a treat! So gooey & sweet, and you can make them the day before & bake them fresh in the morning!
Today's recipe has been on my baking list for what seems like an eternity: Sticky Buns!
I live in what is arguably the sticky bun capital of the world. Here in Pennsylvania Dutch country, sticky buns are a way of life. Walk into any bakery, grocery store, or farmers market and you will find sticky buns that will blow your mind.
When it comes to pastries like this, the Amish and the Mennonites are not messing around, believe me.
And I've learned from the best. Working in local bakeries all throughout my teens and twenties taught me everything I ever needed to know about how to make stuff like this. If you don't believe me, just give my sour cream donuts, apple dumplings, and strawberry rhubarb pie a try. Those little ladies in their sturdy shoes and snow-white bonnets made sure I knew what was up.
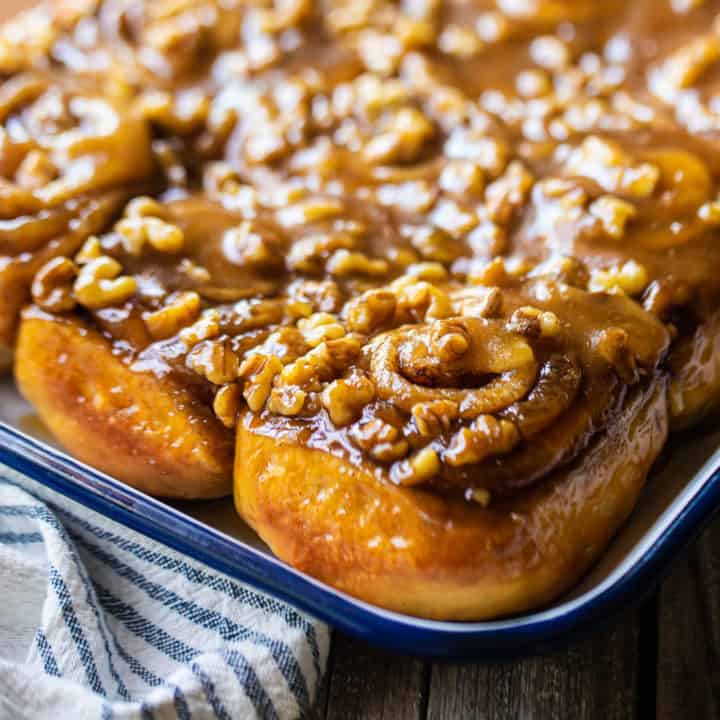
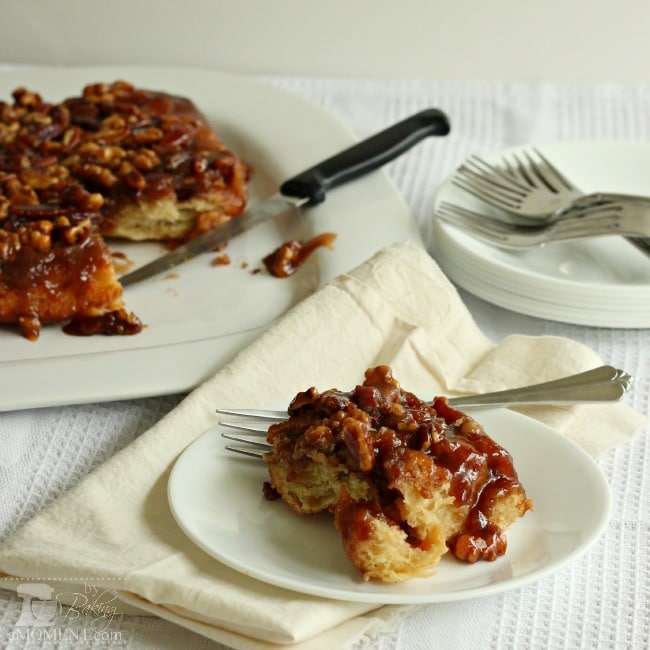
This sticky buns recipe was born out of everything I learned from them. There's soft, buttery yeast dough swirled around warm cinnamon and brown sugar, drenched in a gooey, buttery brown sugar caramel that will make your mouth water.
Nothing is better than waking up to the smell of these beauties baking! Except maybe tearing in, hot cup of coffee in hand.
WHAT ARE STICKY BUNS?
Sticky buns are very similar to cinnamon rolls, with the added bonus of the brown sugar glaze they're baked in.
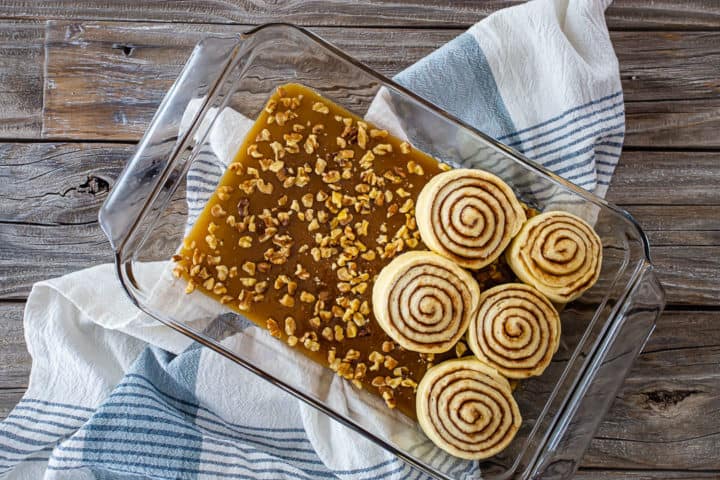
It's a lot like an upside-down cake, in that the caramel goes on the bottom of the pan, the "cake" (or rolls actually) get baked on top, and then while it's still warm the whole thing gets flipped out onto a platter. This allows the gooey glaze to stream down over the buns, coating them will all its deliciousness.
You can add chopped nuts and/or raisins to the topping, or just leave them plain, in all their god-given glory.
For an out-of-this-world cinnamon roll recipe, click here: Homemade Cinnamon Rolls. For a knock-your-socks-off upside-down cake recipe, click here: Pineapple Upside-Down Cake.
HOW TO MAKE HOMEMADE STICKY BUNS
This baking project has a few different components, so if you're looking for a fun way to spend an afternoon, you've come to the right place!
THE DOUGH
We should start with the dough since that is what takes the longest. It's not at all difficult, but it does need time to rise so it's best to make this first. That way you can work on the topping and filling while you wait.
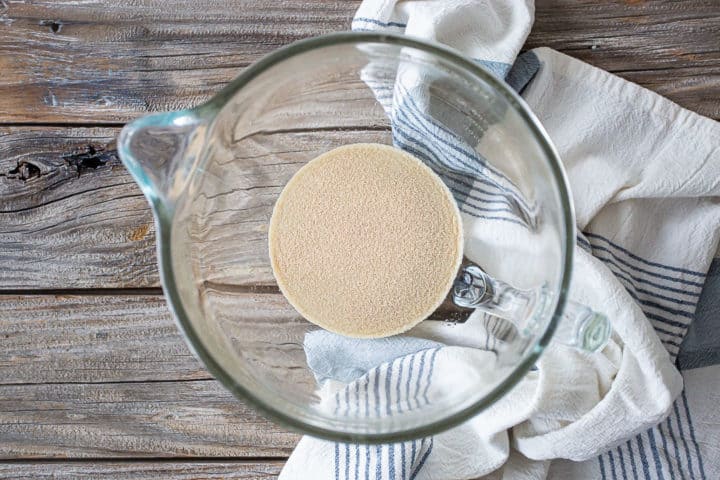
Begin by adding sugar to warm water. The water should be lukewarm. If you have a thermometer, aim for 105 degrees F. If not, that's ok- just make it the temperature of a baby's bath. Be aware that if the water is too hot it can kill the yeast.
Sprinkle dry active yeast all over the surface of the sweetened water, and allow it to dissolve.
After about 5 or 10 minutes, it should look foamy.
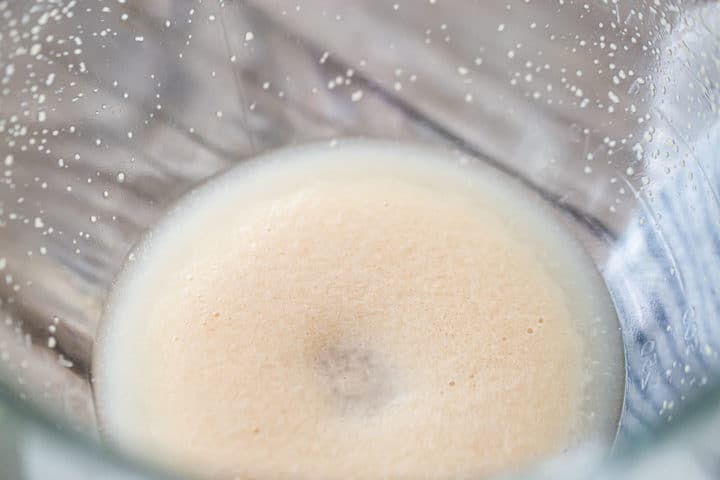
If your yeast doesn't foam up, it's probably dead and you should start over. Be sure to check the expiration date on the package.
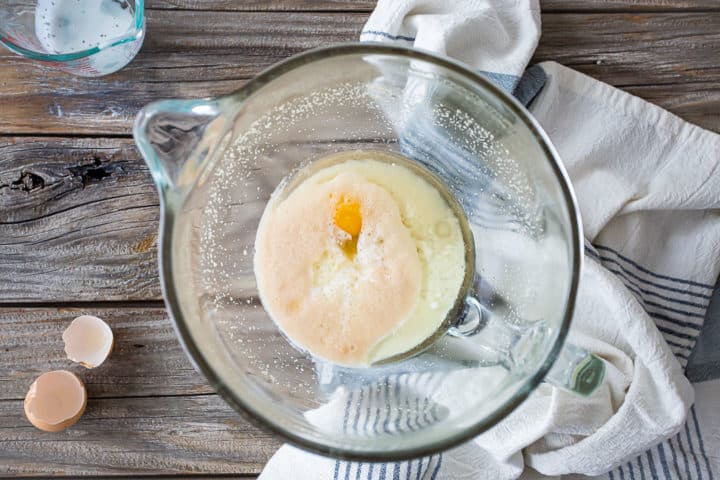
If it does foam, then you should be good to go onto the next step. Add the buttermilk, oil, egg, and salt to the mixture, and stir until it's all combined.
Now it's time to start adding flour.
It's impossible for me to tell you exactly how much flour you're going to need, because this can vary based on a lot of different factors.
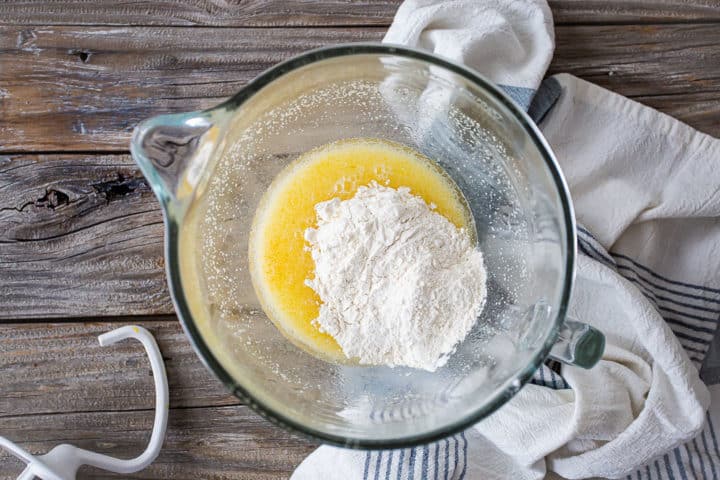
Just keep kneading in a little at a time, until the dough is no longer sticky and it gathers itself into a ball, pulling away from the sides of the bowl cleanly. Stop adding flour as soon as it looks like this:
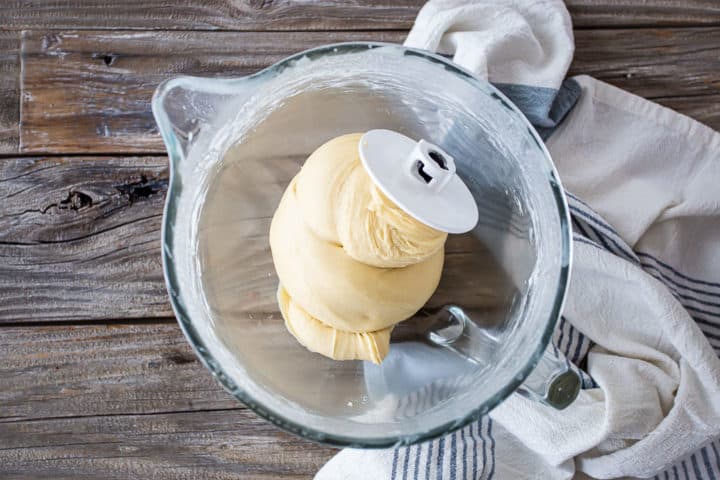
Now you want to give it a good long knead to really develop the glutens and give the bread that stretchy, elastic texture that's so delicious. I find that 10 to 15 minutes of kneading usually does the trick. You can know for sure your glutens are well-developed by giving your dough the windowpane test (more on that below).
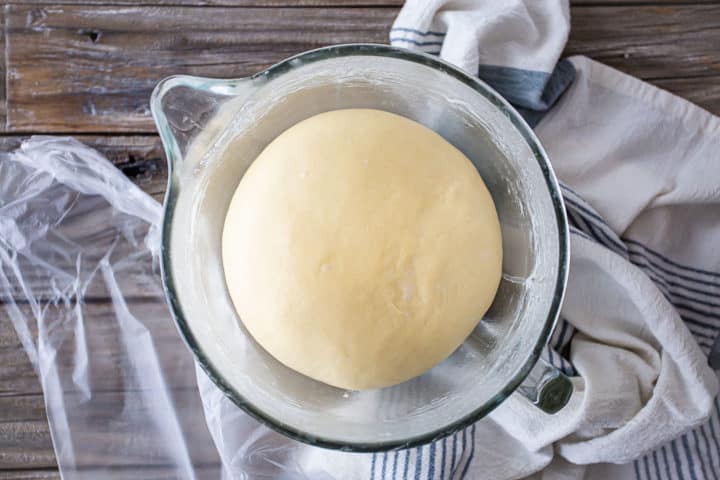
Once the dough has been kneaded, mist the bowl with non-stick spray, place the dough back in, and cover it with plastic wrap.
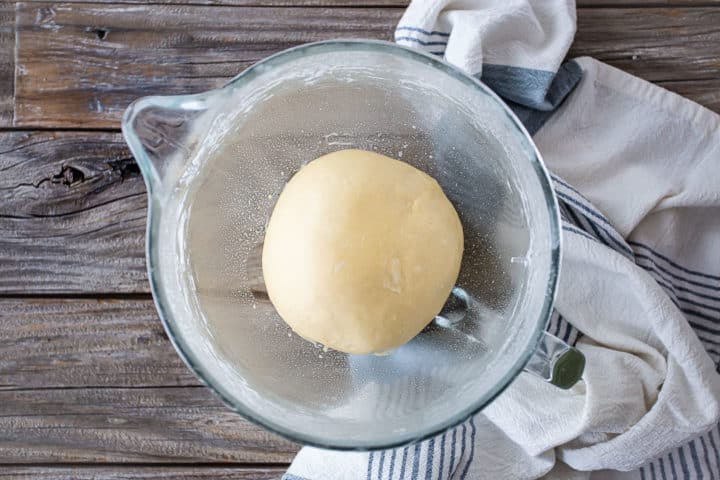
Allow the dough to rise in a warm place until it's doubled in volume. In my kitchen, this usually takes about an hour, but again, every environment is different and yours could take more or less time.
THE TOPPING
While you're waiting for your dough to rise, you can prep the topping. Back in my days working in a bakery, they used to call this stuff "goo." Lol!
It's a pretty accurate description but I think "caramel" or "butterscotch" or "brown sugar glaze" sounds a little more appetizing!
All you have to do is put brown sugar, honey, butter, and salt in a little bowl, and heat it gently in the microwave until the butter has melted.
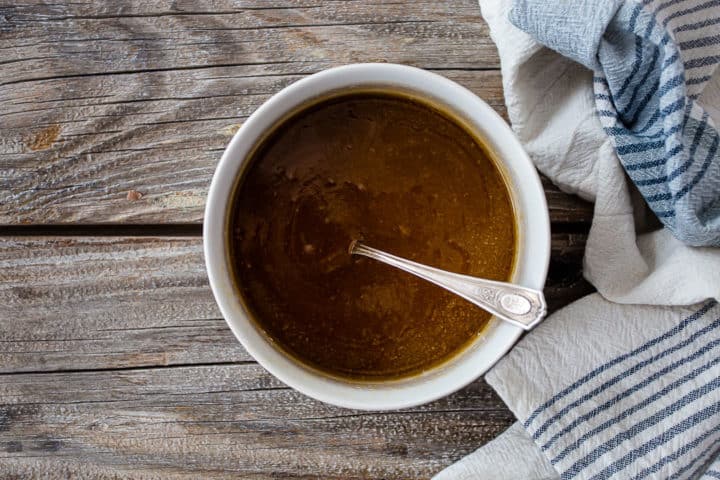
Stir it all together, and there's your goo made.
Pour this into the bottom of a 9x13 baking dish and sprinkle on any add-ins you like. At my house, we especially love chopped walnuts, but pecans are a great choice as well. And when we get these at the shore, a lot of times they'll add raisins too. Which I love, but my husband and kids would probably crucify me if I made ours this way!
THE FILLING
You are also going to need to mix up a little cinnamon and brown sugar action, to fill the rolls with.
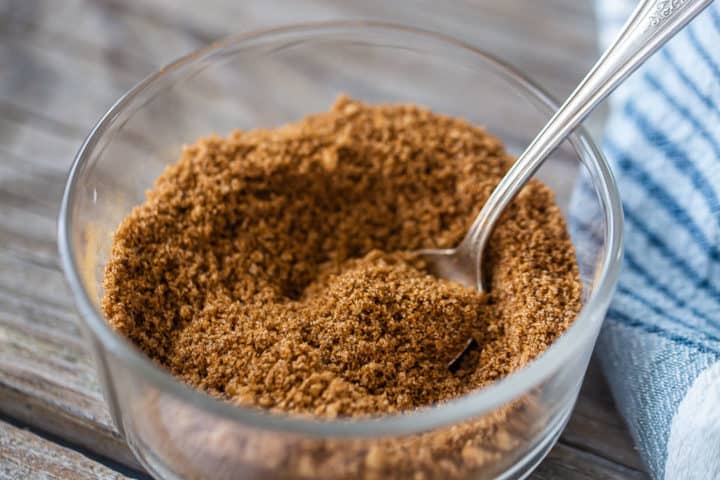
Just stir everything together with a fork so there's cinnamon running evenly all throughout.
HOW TO SHAPE THE ROLLS
Once your dough has doubled in volume, punch it down and get started shaping the rolls.
First, roll the dough out to a big rectangle. The dimensions of the rectangle are not as important as the thickness. The thinner you roll your dough, the more surface area to spread that yummy cinnamon brown sugar mixture over. And then you'll have lots of filling spiraling all through.
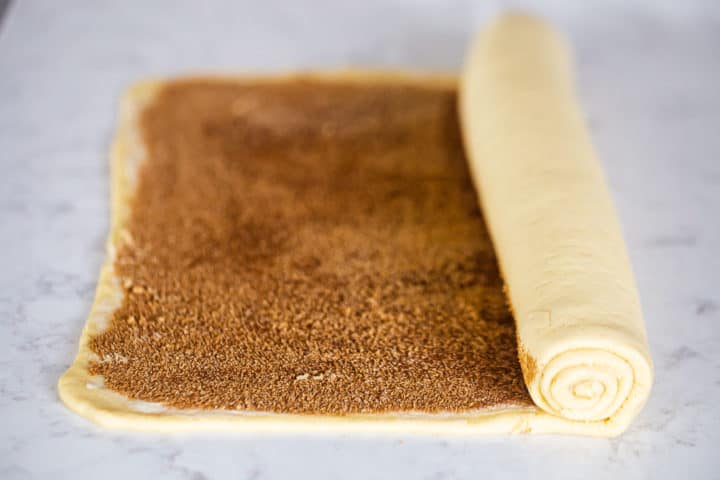
Once you've got it nice and thin (around ⅛-inch), spread softened butter all over the surface. Then top that with the cinnamon brown sugar and spread it all out so it's an even layer.
Then just roll it all up into a tight log.
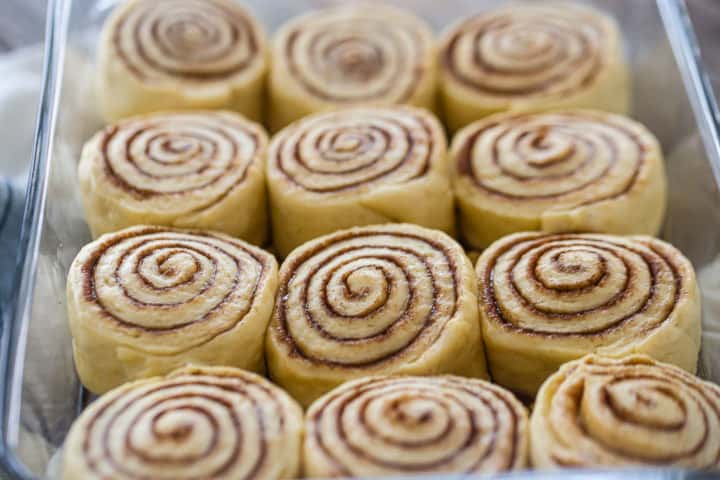
Cut the log into 12 equal rolls, and nestle them (cut side up) into the gooey brown sugar glaze.
These will need to rise one more time.
HOW TO BAKE THEM
You can either give them their second rise and bake them right away, OR you can make overnight sticky buns. If you want to go the overnight route, just cover the unbaked sticky buns with plastic wrap and refrigerate them for up to 48 hours, or freeze them for up to 2 weeks.
When you're ready to bake them, allow them to come to room temperature first, then let them rise until they're doubled in bulk.
Then pop them into the oven and let them do their thing!
The gooey brown sugar topping will melt and bubble, and the rolls will puff up and start to turn golden brown. You'll know they're done when they're set in the middle.
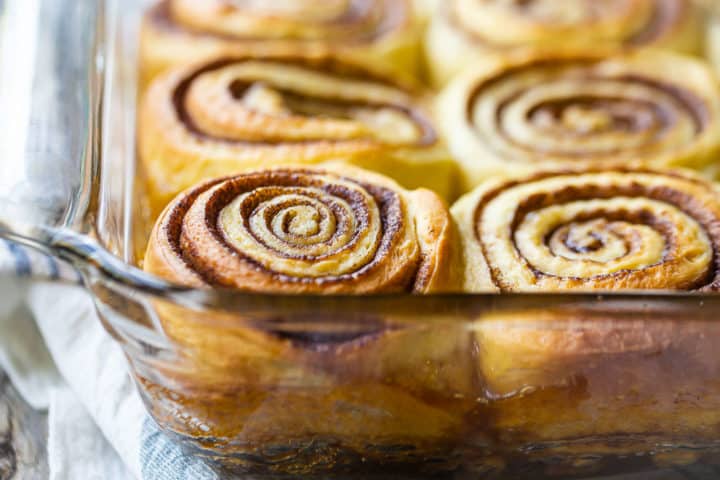
Allow them to cool in the pan for about 20 to 30 minutes, but flip them out onto a serving platter while they're still warm. This way, the glaze is still melty and it will coat the sticky buns in the most tempting way!
TROUBLESHOOTING
Anything made with yeast is undoubtedly going to be a little trickier, so don't be too hard on yourself if things don't go exactly right the first time!
But please don't let that intimidate you either. I'm outlining the most common pitfalls of bread making below, so if you look out for these things, you should be able to make these sticky buns no problem!
WHY DOUGH SOMETIMES DOESN'T RISE
There are 2 main reasons why dough sometimes fails to rise:
- The yeast has died.
- The conditions in your kitchen aren't optimal for the yeast to thrive.
Sometimes yeast is dead right out of the package. Maybe it was stored in a hot warehouse for too long before it got to your supermarket shelf. Or perhaps it's just past the expiration date.
Sometimes we accidentally kill our yeast by dissolving it in water that's too hot. This is pretty common! When dissolving your yeast, aim for the temperature of a baby's bath. It should really just be lukewarm, or around 105 degrees F.
If your yeast gets foamy and bubbly at first, but then your dough doesn't rise, it may have something to do with the temperature in your kitchen. Look for a warm place to prove your dough, like near a heat vent or next to the fridge, or on a sunny windowsill.
WHY YEAST BREADS SOMETIMES COME OUT CRUMBLY
This problem can be attributed to not kneading the dough enough.
When we knead dough, it develops glutens in the wheat and creates that elastic texture that is so delicious and satisfying. If you don't invest enough time in this step, you'll end up with crumbly instead of stretchy.
Here is a great way to know if your dough has been kneaded long enough:
Pinch off a little piece of dough and using your fingertips, stretch it gently from the center outward. You should be able to pull it tissue-thin without it tearing. It should be so thin you can see the light passing through, just like a windowpane.
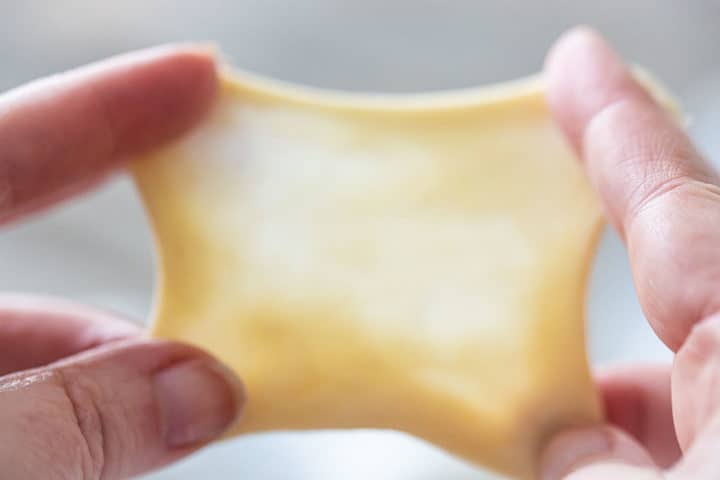
This is called the "windowpane" test, and it works for any kind of yeast dough. The more you know!
HOW LONG WILL STICKY BUNS KEEP?
These sticky buns can be left out at room temperature for a day or so. It's best to cover them tightly so they don't get dried out or stale around the edges.
If you still have leftovers after that, just pop them into the fridge. They'll keep there for another 5 to 7 days.

CAN YOU FREEZE STICKY BUNS?
Sticky buns freeze beautifully! Wrap them well and they will last in the freezer for a couple of months. Thaw them at room temp or in the refrigerator.
HOW TO REHEAT STICKY BUNS
Nothing beats a warm sticky bun!
These can be warmed in the microwave for about 30 seconds, or you can wrap them loosely in foil and place them in a 170 degrees F oven until heated through.
You can also slice them horizontally, butter the cut sides, and toast them on a skillet over medium-high heat. In my area they call this a "grilled bun" and it is fan-freakin'-tastic!
A FEW MORE OF MY FAVORITE BREAKFAST TREATS:
As an amazon associate I earn from qualifying purchases.

Ingredients
For the Dough:
- ¾ cup (177.44 g) water, , warm
- ⅓ cup (66.67 g) granulated sugar
- 1 packet (7 g) dry active yeast* , (¼ ounce or about 2 teaspoons)
- ¼ cup (74.67 g) oil
- ¼ cup (60 g) buttermilk
- 1 (44 g) egg, (large)
- ½ teaspoon (2.46 g) kosher salt
- 4 ½ cups (562.5 g) all-purpose flour, (you may need as little as 4 cups or as much as 5 cups)
For the Filling:
- ¼ cup (56.75 g) unsalted butter, (half a stick), softened
- ¾ cup (165 g) light brown sugar , (loosely packed)
- 4 teaspoons (19.72 g) ground cinnamon
For the Topping:
- 1 cup (220 g) brown sugar , (dark or light), loosely packed
- ¼ cup (84.75 g) honey
- ¼ cup (56.75 g) unsalted butter, (half a stick)
- ½ teaspoon (2.46 g) kosher salt
- ½ cup pecans, walnuts, and/or raisins, (optional)
Instructions
To Make the Dough:
- Place the warm water in a large mixing bowl, and stir in the sugar.
- Sprinkle the yeast over the water, and allow it to dissolve and become foamy.
- Whisk in the oil, buttermilk, egg, and salt until combined.
- Add about ⅔ of the flour, and mix together until combined.
- Continue adding flour a little at a time, while mixing, until the dough pulls away cleanly from the sides of the bowl and gathers itself into a ball.
- Knead the dough until it passes the windowpane test** (approximately 10 to 15 minutes).
- Mist the bowl with non-stick spray, then place the dough back in, cover it with plastic wrap, and allow it to proof until doubled in volume (approximately 1 hour).
To Make the Topping:
- Place the brown sugar, honey, butter, and salt in a medium bowl and microwave (covered) in 30-second increments (stirring after each), until the butter is melted and the mixture is smooth.
- Pour the glaze into the bottom of a 9x13 baking dish, and sprinkle nuts and/or raisins on top (if using).
To Fill and Shape the Buns:
- Knead the dough a few times, then roll it out to a large rectangle about ⅛-inch thick.
- Smear the softened butter all over the surface of the dough.
- Stir the brown sugar and cinnamon together in a small bowl, then spread the mixture in an even layer over the buttered dough.
- Starting with one of the shorter sides of the rectangle, roll the dough up into a tight log.
- Cut the log in half, then into quarters, then cut each quarter into 3 equal rolls.
- Place the rolls (cut side up) in the prepared baking dish, then cover with plastic wrap and refrigerate for up to 48 hours, or freeze for up to 2 weeks (optional; skip to step 8 if desired).
- Remove the unbaked sticky buns from the refrigerator and allow them to come to room temperature (approximately 45 minutes).
- Allow the sticky buns to proof until doubled in size (approximately 1 hour).
- Preheat the oven to 350 degrees F.
- Remove the plastic wrap and bake the sticky buns until puffed, golden brown around the edges, and set in the middle (approximately 30 to 35 minutes).
- Cool the sticky buns for 20 minutes in the pan, then flip them out onto a serving platter and allow to cool completely.


Allie, I just wanted to say I love this recipe…I had to run out to get bread flour and I put chopped pecans, raisins and candied cherries on it and they turned out fabulous! Thank you for sharing your recipe. Susie B.
Ooh I love the candied cherries idea! Thanks so much Susie!
Perfect!!!
My MIL is a 5th gen Bucks Co PA Deutsch woman who has us with a similar recipe. However, I gotta tell ya y'all need to try adding some mashed potatoes. They will come out fluffier. 🙂
Oh wow! I'm in the next county over but my mom grew up in BuxCo! Great tip!
I made this recipe today. I had to make my own buttermilk. Oh My God! They are so so good. I almost waited too long to flip the dish over. Thank you so much for sharing it!!
I love this recipe. I have made the sticky buns twice and baked them right away and they have turned out perfectly. When I made them a third time and refrigerated overnight, however, they didn’t work so well. I waited 45 minutes to get to room temp and another hour for the second rise. After baking, the “pecan goo” stuck to my baking pan and was hard. I waited the required 20 minutes after baking to turn them out. Do you have any idea what caused this? Does the type of brown sugar or honey make a difference? Should I have turned them out immediately?
Hey there! I'm so glad you loved the recipe but I'm sorry you had trouble the third time around. I have experienced this problem before too- from my understanding, it can happen when then "goo" temperature increases too rapidly as it's being made, or if it isn't whisked enough. I usually just use a silicone spatula to scrape it out of the pan and spread it onto the buns while still warm. Hope this is helpful info!
I’m so looking forward to making these for breakfast tomorrow! I do have a question, though: is allowing the dough to come to room temperature for 45 minutes and proofing for an hour two separate steps (so, a total of 1:45 before baking)?
Yes, but I would pay more attention to the size of the rolls than to the time on your clock. The times can vary greatly based on the temperature in your kitchen and in your fridge. It's more important to see that the dough has doubled in volume. Once they get to that point, they can go into the oven. Good luck!
I. Am. Dead. These look so so sooo good!
So happy you like them Rebecca! Thank you!
Hi would you mind sharing which blog platform you're working
with? I'm looking to start my own blog soon but I'm
having a tough time deciding between BlogEngine/Wordpress/B2evolution and Drupal.
The reason I ask is because your design seems different then most
blogs and I'm looking for something unique. P.S Apologies for being off-topic but I had to ask!
I use WordPress; thx for asking! 😀
Hello, just wanted too say, I liked this post.
It was practical. Keep on posting!
Thanks! I certainly will 😉
Hey there! This is kind of off topic but I need some guidance from
an established blog. Is it very hard to set up your own blog?
I'm not very techincal but I can figure things out pretty fast. I'm thinking about making my own
but I'm not sure where to begin. Do you have any points or suggestions? Cheers
Hi Jens! I'm happy to help you in whatever way I can, although I'm not the best at the technical stuff! I can tell you that you need to start with your hosting and url (I got mine through Bluehost), and then from there you'll want to install your blogging software and set up your account (I use WordPress). WordPress offers a free setup, if you so wish, but there are some limitations as to what you can do (such as ads and layout design), that is why I've chosen to go the self-hosted route. I also hired a designer to help me with the layout. Her name is Lisa and she blogs over at http://www.Sweet2EatBaking.com. She was fabulous! Loved working with her and I'm so happy with the framework she's given me. Other than that it's all pretty simple once you have it set up! I recommend reading up on the topic a bit (I found "Food Blogging for Dummies" to be a great resource; check out the button in my sidebar). I don't know if that answers your question but I'd be happy to give you more specifics if you'd like. Feel free to email me at bakingamoment@gmail.com, or just reply to this comment! Good luck! 🙂
Thanks so much for guest posting on Sweet 2 Eat Baking while I was away, Allie.
It was a pleasure to have you over and posting, and I'll definitely be inviting you back in the future, or whenever you want to really. 🙂
I'd love to return the favour some day too. So if you're ever away and are looking for someone to keep things running, I'm more than happy to help out.
Not that you're not super unorganised like me! You seem to have everything covered and ready to go while you're away. I wish I could be more like that, but it's nice not to stress over things like that anyway.
Again, thanks chica. Very much appreciated. xoxo
Thank you, Lisa, for the opportunity! I had lots of fun dreaming up the recipe. I'd love it if you'd return the favor sometime, you're recipes are amazing! I'll definitely let you know when I need an extra hand ;).
These buns look AMAZING Allie! Seriously! So sticky and perfect!
Thank you Trish! They were soooo sticky and indulgent! 😉
They look amazing. A lot of goo and not so much cake. Yum!
They are super sticky and wet! Just how I like 'em, lol! The cake is very buttery too. Indulgent! Thanks for stopping over! xoxo
*drooool* those look sooooo good. Can you ship?? 😛