

Royal Icing
As an amazon associate I earn from qualifying purchases.
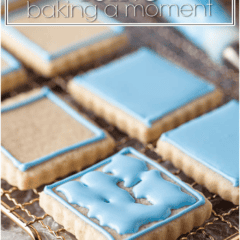
This Royal Icing Recipe is the only one you'll ever need. It's perfect for decorating sugar cookies, gingerbread, cupcakes, and gingerbread houses. It's easy to make, pipes smoothly, and dries hard.
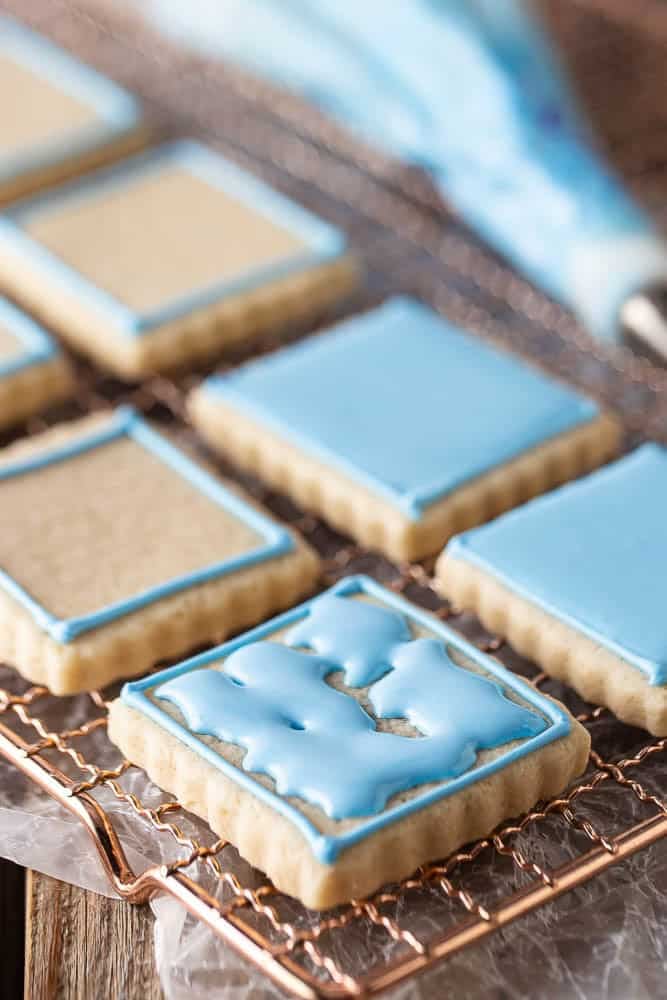
Every baker should know how to make royal icing. This recipe uses only three ingredients and takes about 10 minutes. Use it for piped roses, cake accents, transfers, gluing gingerbread houses, or my favorite: icing cookies. Royal icing mostly just tastes like sugar. It's very sweet, and most meringue powders add a bit of vanilla flavor.
You can change the flavor with a little lemon juice or another flavor of extract, but be careful and add it slowly, one drop at a time. Any liquid will thin the icing, so getting the right consistency is important.
Some of my cookie recipes are perfect for royal icing, like my Cut-Out Cookies that Don't Spread, Chocolate Cut-Out Cookies, Gingerbread Cookies, and Soft Cut-Out Sugar Cookies.
Here's Why You'll Love This Recipe
- Consistent results: It turns out the same every time if you whip it until it holds a stiff peak.
- Only 3 ingredients: Meringue powder, water, and powdered sugar.
- Easy to make: It takes about 10 minutes, start to finish.
- Dries hard: This icing sets to a candy-like finish, so you can stack, pack, and gift the cookies without worrying about the designs getting ruined during transport.
Ingredients You'll Need
Royal icing is a simple icing recipe that uses three ingredients: meringue powder, water, and powdered sugar. Some versions use raw egg whites instead, but I recommend meringue powder because it gives more consistent results and is safer to eat.
The recipe card at the bottom of the post contains the full list with all of the amounts. Refer to that when you're cooking.
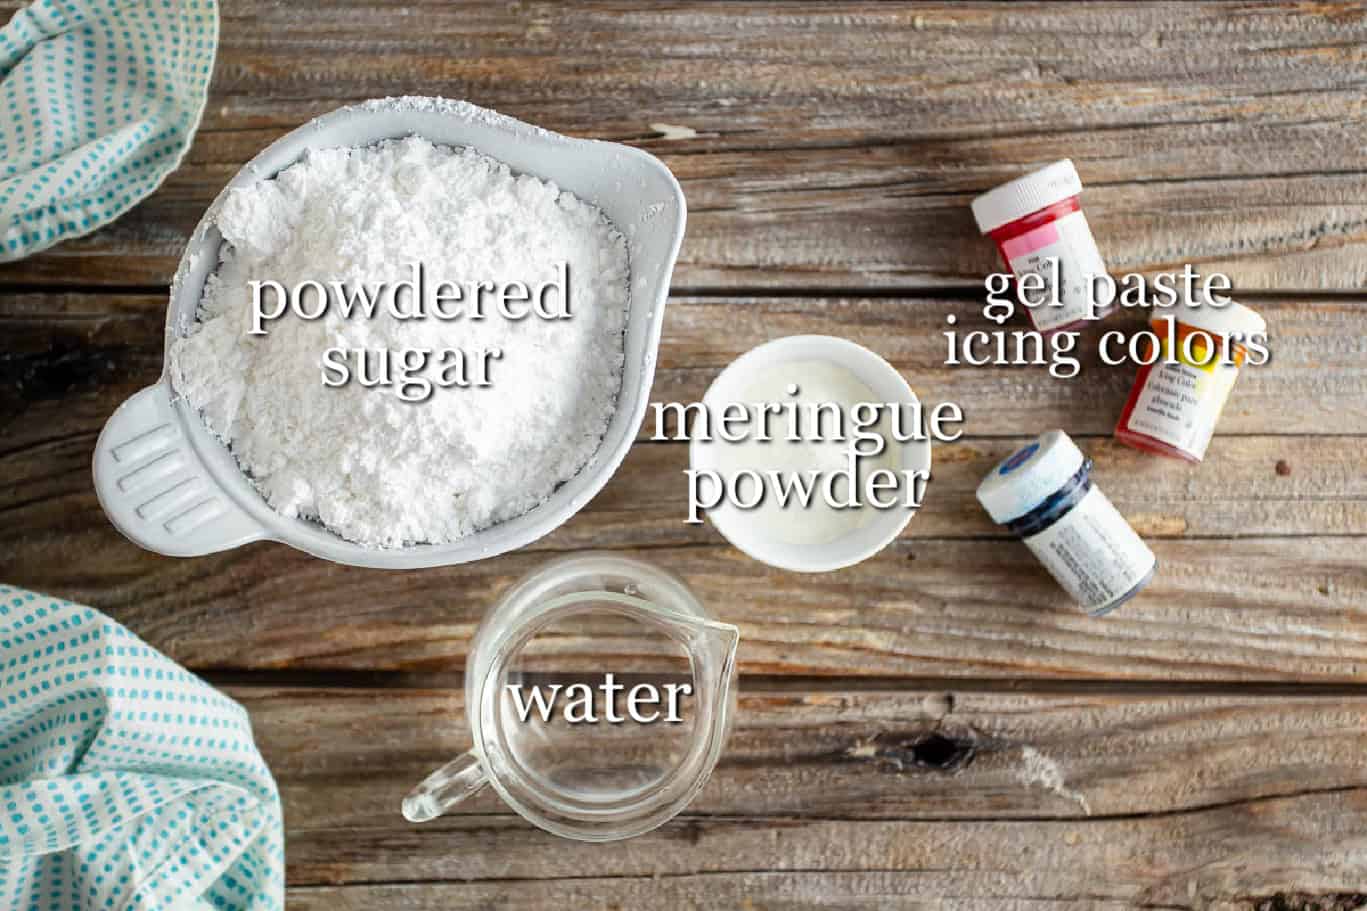
- Meringue powder: You can usually find this ingredient in the cake decorating aisle at craft stores or online. It's safer to use than raw egg whites and gives more consistent results, since egg sizes can vary.
- Water: To reconstitute the meringue powder.
- Powdered sugar: Powdered sugar and confectioners' sugar are the same. Granulated sugar won't work because it's too coarse.
- Gel paste icing colors (optional): These are for tinting. They're concentrated, so you only need a little, and they won't thin the icing.
Special Equipment
- Measuring cups and spoons: See my guide on How to Measure Ingredients for Baking.
- Mixing bowl: Make sure your bowl and whisk are completely free of grease. Even a small amount of fat can keep the icing from whipping up properly.
- Electric mixer: A stand mixer or a powerful handheld mixer, fitted with the whip attachment.
- Piping bags and tips: For applying the icing decorations to your baked goods. If you're looking for specifics, I use a #2 round tip for outlining and a #4 or #5 for flooding. A #3 works for plain flooded cookies.
- Plastic wrap: I use Press n Seal for the cleanup trick, mentioned below.
In Photos: How To Make Royal Icing
Step 1: Dissolve the Meringue Powder
Place the meringue powder and water in your bowl and give them a quick stir to combine.
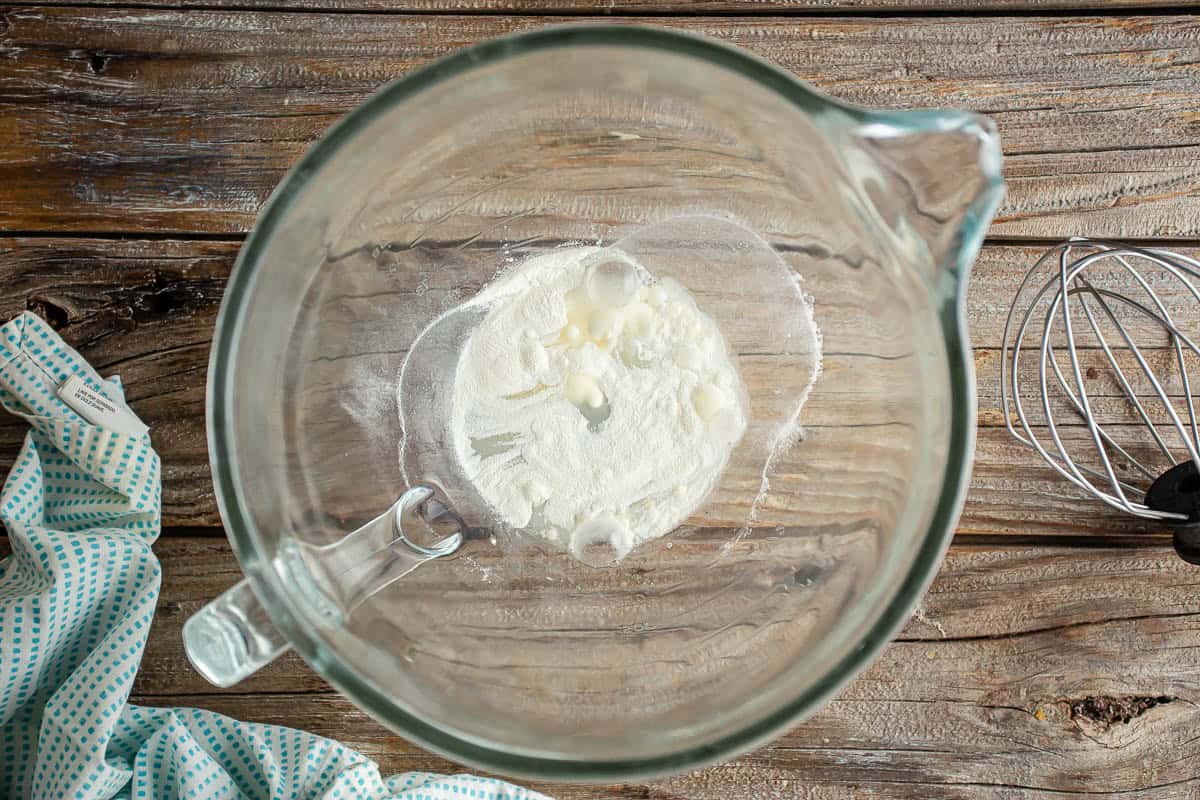
It should be foamy once it is dissolved.

Step 2: Add the Powdered Sugar
Next, add the powdered sugar and whip.
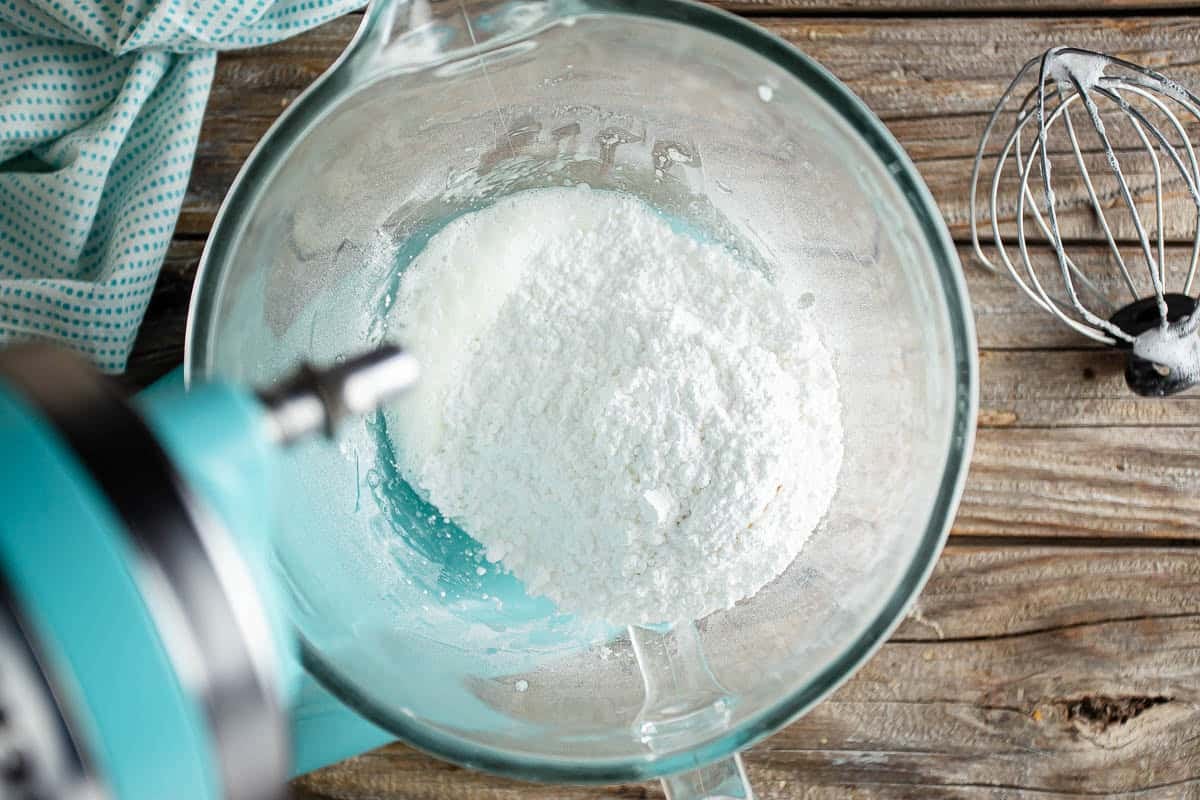
Start the mixer on low speed (so the ingredients don't fly out of the bowl), then gradually increase to medium.
Step 3: Whip Until Stiff
Whip the mixture on medium until it's very stiff. It should hold a stiff peak.
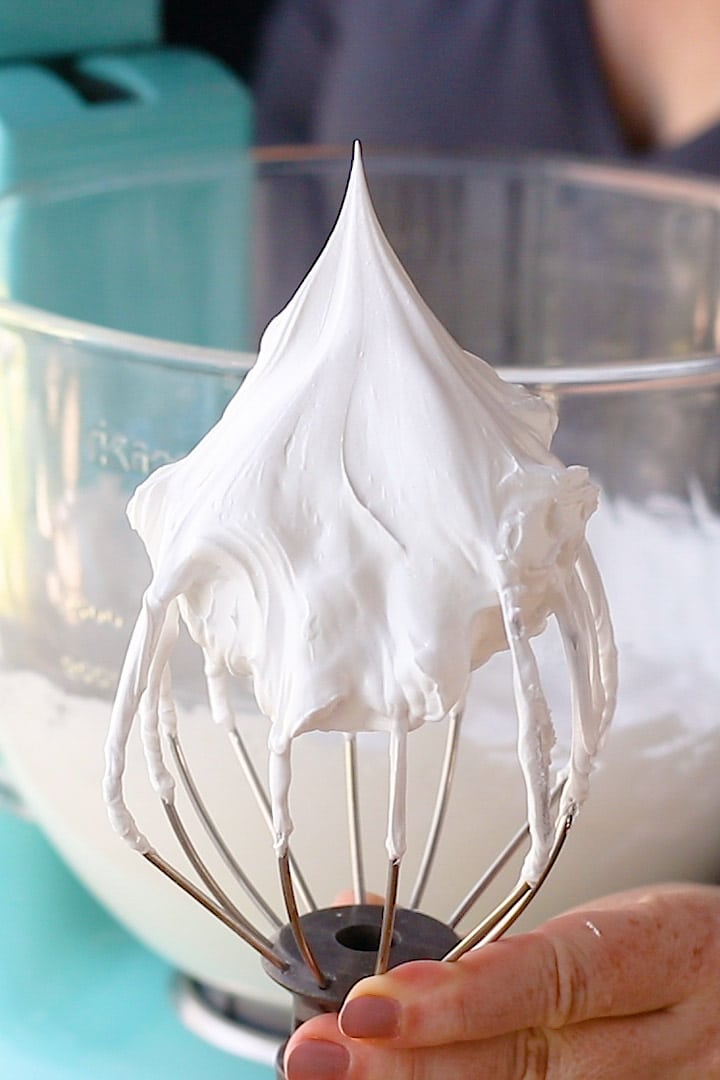
Even if you prefer to work with a thinner consistency, you want to start it out stiff. You can always thin it out later.
If the whisk only skims the top of the icing, your mixer's whisk might be set too high. There's a screw under the top part of a KitchenAid-style mixer to adjust the whisk height. You can also whisk the meringue powder and water by hand first, then switch to the mixer after adding the sugar.
Step 4: Tint Icing
Use any food coloring you like, but I strongly prefer gel paste icing colors. They are highly concentrated, so not only do you not need much, but you don't have to worry about them diluting the consistency.
Divide the icing into small bowls for as many different colors as you need, tint it, then thin it. Here are a few things to keep in mind:
- Red and dark colors need a lot of gel: Tint the icing a shade lighter than you want and let it sit for about an hour. The color will deepen as it rests.
- Tint first before you thin the icing: Thinning will dilute the color, so your flood icing might be a slightly different shade than your outline icing. For an exact match, tint a little extra stiff icing and thin from that batch.
Step 5: Thin Icing
How to Get the Right Consistency
With royal icing, consistency is key. Start with the stiffest icing you can, whip it well so it holds plenty of air, and then thin it to the consistency you need.
- Stiff: Use this for gingerbread houses, piped roses, and flowers. Gingerbread house icing should be very stiff to glue the walls together and hold the structure. Don't add any water.
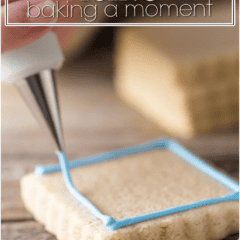
- Outline: This should be a little stiffer than flood icing. It keeps the flood icing inside the edge of the cookie.
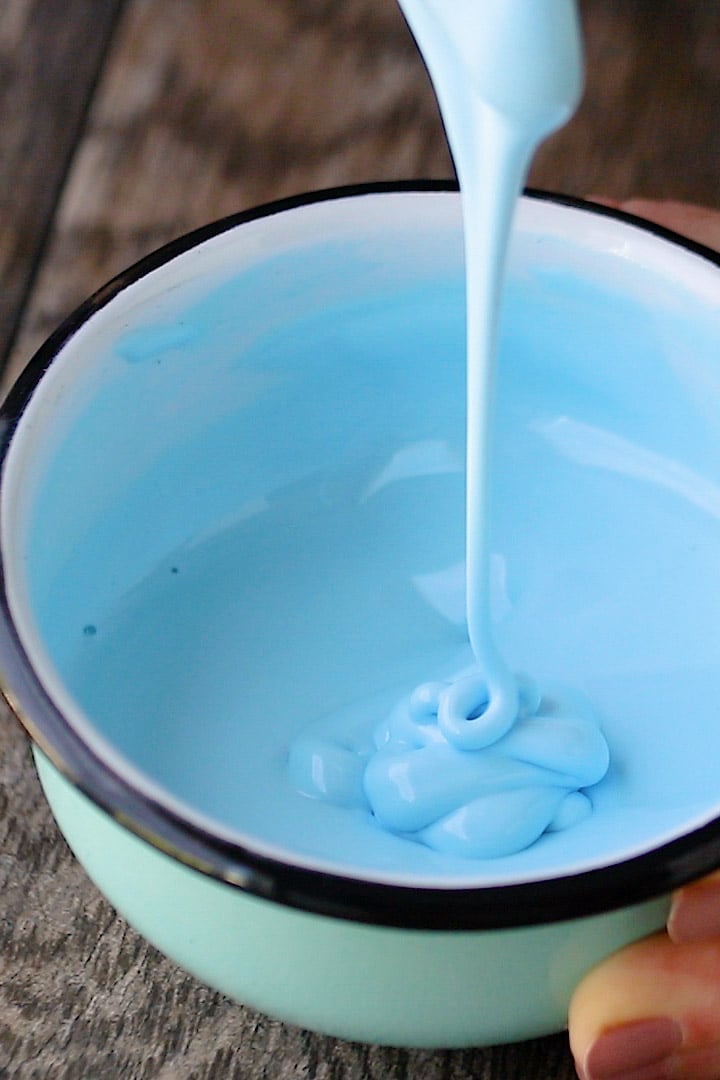
- Flood: This should be thin enough to self-level and fill in the outline.
For cookies, you'll need two consistencies: one stiffer for outlining and one thinner for flooding. I don't recommend using the same consistency for both.
To thin the icing, start by stirring in a few drops of water at a time. Go slowly, because once you add water, you can't take it out.
How much you need depends on your environment. It could be just a few drops or a tablespoon or more. A spray bottle is an easy way to add water in small amounts.
The spoon test: Scoop up some icing with a spoon and then let it drizzle back into the bowl. Royal icing that is the proper flood consistency should melt back into the surface in a few seconds. If it disappears right away, it's too thin. If it holds its shape for too long, it's too thick.
Step 6: Decorate
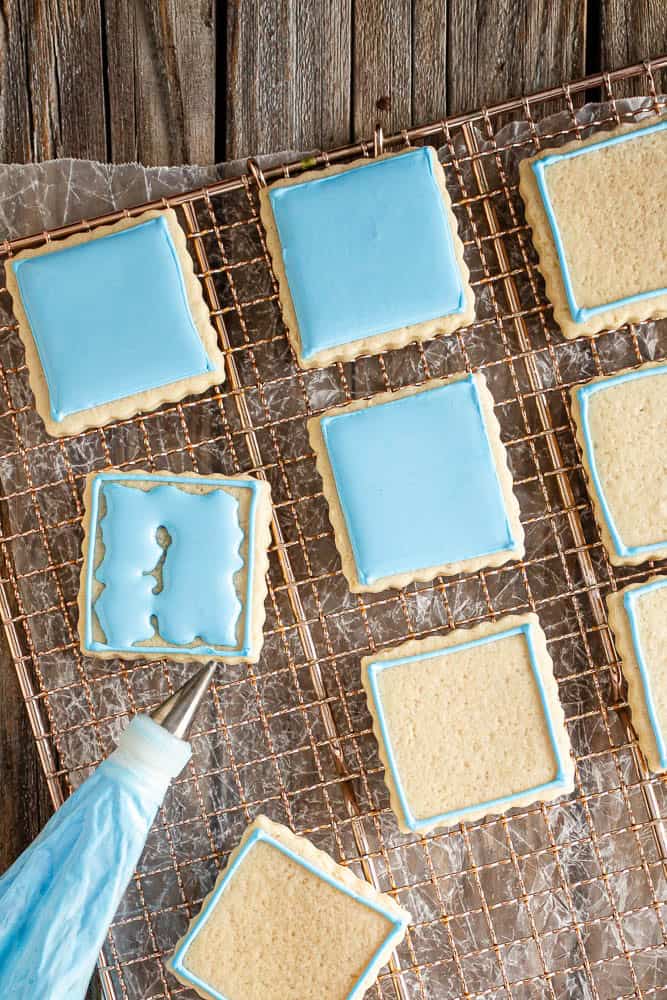
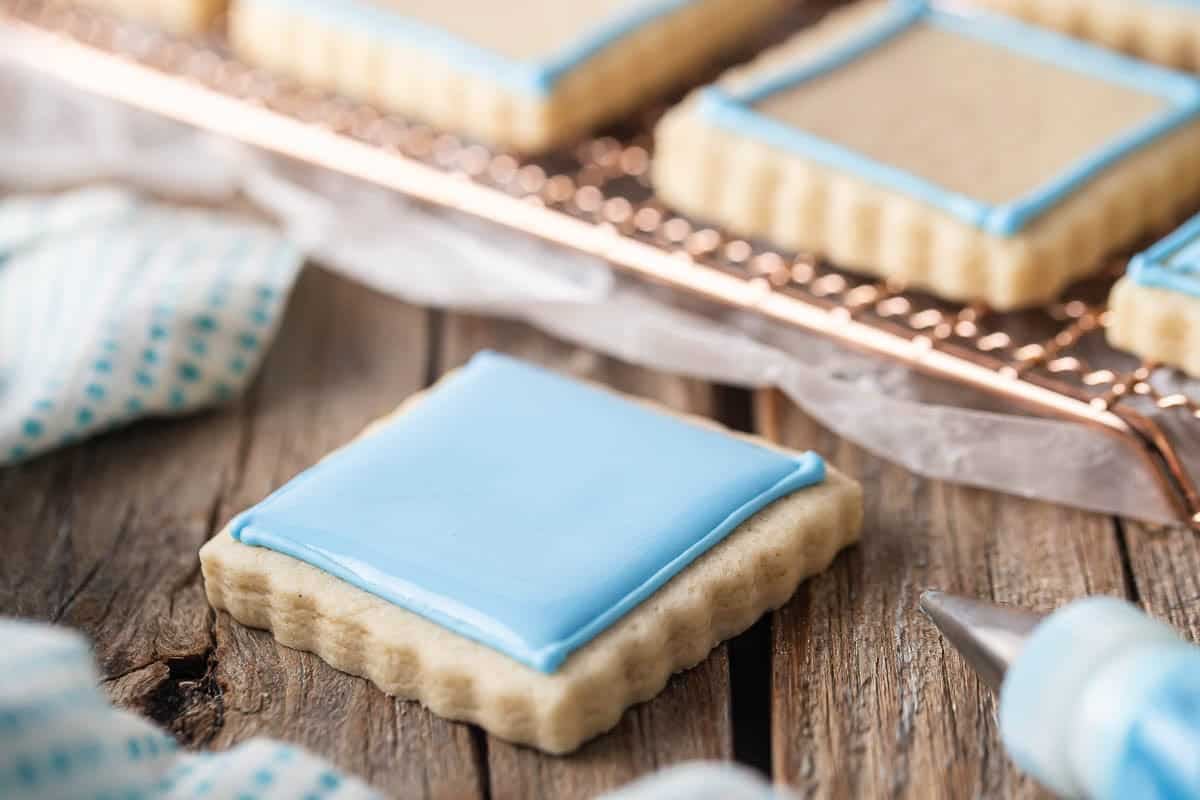
Outline first, then flood: If you want the outline to show, let it dry before flooding. For the smoothest look, flood right after outlining. You can also make both icings at the start of your decorating, which I prefer, so you can add accents on top of the dry flooded cookies later.
Layers and designs: For a raised, almost 3D design, let the base layer dry first. For a flat surface you can drag a toothpick through. Work while the icing is still wet.
Check out the video in the recipe card to see what flooding and outlining icing should look like.
Step 7: Let Dry
Lay the cookies flat in a single layer to dry, ideally on parchment-lined baking sheets at room temperature. Stackable racks can also work well and save some space on your countertop.
- In 15 to 30 minutes: A thin crust will form on the surface.
- After several hours: The icing will still be wet underneath.
- In 8-ish hours, ideally overnight: The icing hardens all the way through. In a humid kitchen, it can take a little longer.
Don't dry royal icing in the fridge or freezer, since humidity can be unpredictable and slow the drying process. If you need to speed things up, place a fan nearby.
Wait until the icing is completely hard before stacking or packing the cookies.
Helpful Tips and Tricks
- Keep it clean: I like to reuse my piping bags (even the disposable plastic ones sometimes), so I included a little trick in the video below that makes cleanup a snap! Basically, you just wrap the icing in plastic wrap before putting it in the piping bag. That way, when you're done, you can just slide out the wrapped-up icing, and you really only have to clean your tips.
- Close it tight: I also like to twist the end of the bag and secure it with a rubber band or twisty tie. It keeps everything together nicely, and if any cookie icing comes up the top, it doesn't harden and scatter dried icing crumbs everywhere.
- Keep the tips wet: Icing in the tip can harden and clog it in just a few minutes. Place a damp towel in the bottom of a glass and stand your piping bags tip-down in it.
- Make a couple of consistencies at the start: Fill one piping bag with icing for outlining and another with thinner icing for flooding.
Recipe Troubleshooting
Icing won't form stiff peaks
Before you start, make sure your bowl and whisk are completely free of grease. Even a small amount of any oil or fat can stop the icing from whipping.
If your icing is almost there, add some powdered sugar one spoonful at a time and just keep whipping. If it stays runny after five minutes or more, it's best to start over, wash all of your tools, and begin again. Avoid adding too much sugar.
It's still runny with a different brand of meringue powder
One of my awesome readers found her icing barely set when she used a bulk-brand meringue powder, but it worked perfectly when she switched to Wilton. If your icing won't whip up and your equipment is clean, try using another brand.
The icing never hardened
This usually happens if you added too much water, or if your kitchen is really humid. Add the water just a drop at a time, or use a spray bottle, and let the icing dry longer with a fan nearby.
Icing dried With a dull Finish
That's a feature, not a bug. Royal icing always dries with a matte finish.
The colors ran or ran together
This doesn't happen very often, and no one I've asked knows exactly why. Sometimes it happens even when I follow the exact same steps. I suspect humidity is the cause, so try decorating on a dry day and use a fan if possible.
There are tiny bubbles on top of my iced cookies
You can use a toothpick to pop any bubbles right after you flood the cookies.
My red came out pink
Use gel paste food coloring, add a generous amount, and let the icing sit for an hour. The color will deepen as it rests.
Recipe FAQ
Nope. This recipe is so easy to make that there's no need to freeze it, and the results aren't ideal if you try. You can freeze fully decorated cookies once the icing is completely dry. Layer them in an airtight container with parchment between the layers, and thaw them with the lid off so air can circulate and condensation doesn't ruin the design.
You can if you really HAVE to, but I strongly prefer meringue powder. Use 3 large egg whites (about 120 grams) instead of both the meringue powder and the water. Follow the rest of the recipe as written.
It usually covers about two dozen 2-inch cookies. If you thin the icing for flooding, it will go further than if you only use it for outlining.
Yes, just keep the icing stiff by not adding extra water. It also works well for gluing other cookie structures.
I usually plan to decorate about 3 days before the holiday or event. Once the icing hardens, it seals the cookies so you don't need to refrigerate or freeze them. Store them in zip-top bags or an airtight container, and they'll stay fresh for at least a week.
In my experience, they don't. The icing helps keep the cookies fresh by protecting them from the air.
Yes, just use a stiff icing. The earlier you pipe, the more time the icing has to dry and harden.
The oil in peanut butter deflates the whipped egg whites, so I don't recommend trying it. If you want peanut butter flavor, use my Peanut Butter Frosting instead. For banana flavor, just add a little banana extract.
My Favorite Frosting Recipes



More Recipes

Ingredients
- 2 tablespoons (29.57 g) meringue powder
- 6 tablespoons (90 g) water
- 2 ⅔ cups (320 g) powdered sugar
- gel paste icing colors, for tinting (optional)
- additional water, for thinning (optional)
Instructions
- Place the meringue powder and water in a large mixing bowl, and whip (with the whisk attachment) until foamy (about 3 minutes).
- Add the powdered sugar, and whip on medium speed until very stiff and thick (the royal icing should hold a stiff peak).
- Tint as needed with gel paste icing colors.
- Thin with additional water, a drop at a time, to get the desired consistency.
Notes
Author

More Frostings, Icings and Fillings



Have a question about this recipe? Ask AI:
I love this recipe! It's super easy to make and work with, has the perfect consistency, and tastes great!
So happy to hear that! TYSM for the 5-star review!
Love the idea about putting the frosting in plastic wrap. I hate trying to fill the pastry bag. What an easy way to do it!!! Thanks for sharing.
My pleasure Mindy!
the only royal icing recipe i ever use - always turns our perfect
Hi! Can you make these cookies ahead of time and freeze (i.e. like 2 weeks ahead) then just take them out the day before you are wanting to give them out?
Thanks!
Absolutely! Good luck!
Made the icing yesterday, I think I added to much water, also used my mixer to add the water. It's not hardening. I'll try again
Some cookie decorators recommend spraying the water in with a spray bottle. Makes it a little less likely to overdo it.
I am so SHOCKED at how awesome this icing turned out! This was my first time ever attempting anything like this and my cookies turned out beautiful. It looks like I bought them!!!! I used the cutout cookies with neat edges recipe from you as well and it is amazing!! Thank you!!
Yay!!! I'm so happy to hear this! Thank you so much for the 5-star review!
I plan on making around 60 chocolate chip cookies and decorating them with royal icing. My plan is to make and decorate the cookies the evening before. Will the icing get ruined by the next day? (after 24 hours)
Not at all Sadia! You should be great.
I am planning on adding a design with the royal icing. Do you let the base layer dry completely before adding a design or dry partially?
Great question and the answer depends on the type of design you want. If you want it to be raised (like almost 3d) then let your base layer dry. If you want an even surface that you can like drag a toothpick through (I'm sure you've seen that type of technique) then do wet on wet. Hopefully this makes sense!
Hi! If I wanted to ice my cookies ahead of time and then freeze for a few days, will the icing be ok or will it crack?
I would think they'd be ok, but honestly I don't know that you'd even have to bother freezing them if you're only talking about a few days. The icing kinda seals them, they shouldn't go bad that quickly.
Generally how long does it take for them to harden? I am loving this recipe so far! It is so smooth and fluffy!
Yay! The drying time depends on the humidity in your kitchen, but I usually find that an overnight dry is enough.
Recipe looks amazing and all your recipes that I’ve done are always perfect, so I know this will be no different! So I’m having a cookie decorating party with my nieces on Monday. I think I read the recipe right but if I want to make the royal icing in advance, how would I store it? Can I make Sunday?
Sorry for the late reply but yes, I think that would work just fine and you can store it in an airtight container at room temperature.
As a first time user of Royal Icing, the comments and instructions are very helpful. I made shortbread circles and tried to ice them in a couple ways. I did the outlining and filling method, which worked ok. It takes a steady hand to outline evenly (and practice). I also tried using a very small silicone pastry brush to spread the filling icing. I even tried it without outlining first and it worked. I worked from the center out and nudged it into place. But I did leave about and 1/8 inch edge unfrosted. Consistency is everything! I did notice some tiny bubbles forming as it set up. Not sure it was the brushing or air just coming out of the meringue. Any suggestions??? I also tried red gel coloring, but I couldn't get a true red, it was more like a deep salmon color. I tried with liquid coloring also, same thing. Maybe I didn't use enough?? Then I thinned some frosting way down and brushed it over some molded cookies. It gave a nice washed look. Something new to play around with. Less intimidated now, Thanks.
So glad it worked well for you! As for your questions, I often use a toothpick to prick any bubbles open, and when tinting the icing red it's good to allow it to sit for an hour or so after tinting. The color will deepen a lot as it sits. Thanks for the great feedback!
I am attempting cookies for my daughters first birthday! Does this icing harden? I am wanting to do cookies in little goody bags and send them on there way. I wanna make sure it hardens and isnt a sticky consistency.
Yes it says so right in the first paragraph. Good luck!
Hi!
I tried Royal icing for the first time and used your recipe. I thought it was a success but I had one little issue that I hope you can help me with. I found that the outline and flooding mixtures were slightly different in color. Do you know why this happened? Thanks so much!
Hey Jamie! Thanks for trying my recipe. The only thing I can think of is maybe the color was diluted from when you thinned it to get it to the flooding consistency? Does that make sense?
Your recipes are easy, simple and delicious! Thank you for sharing! Bake on!
Thanks so much for the awesome feedback!
Hi~ can I omit meringue powder in this recipe?
No, sorry!
What’s the brand of meringue powder do you use?
I have used Wilton as well as CK Kitchens and they both work very well! Good luck!