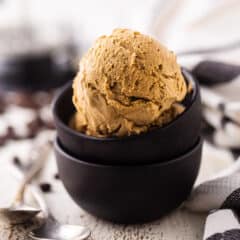
No-Churn Coffee Ice Cream
As an amazon associate I earn from qualifying purchases.
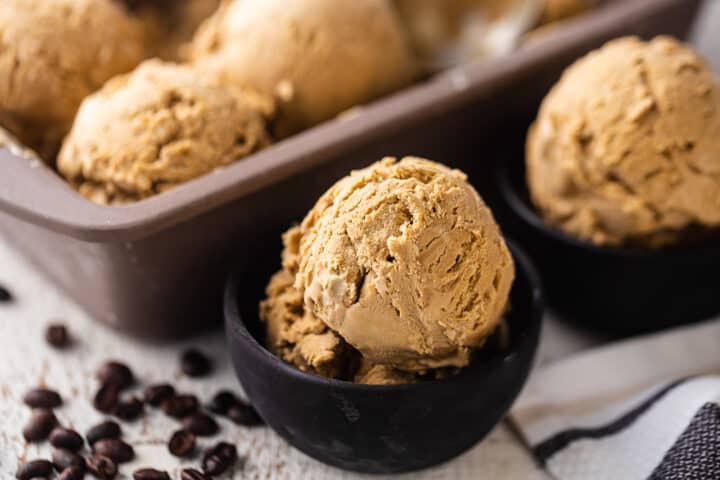
No-churn coffee ice cream recipe, made without an ice cream maker in 10 minutes! So rich, creamy, and full of roasty-toasty coffee flavor!

Coffee ice cream- first ice cream recipe of the season! Yay!!
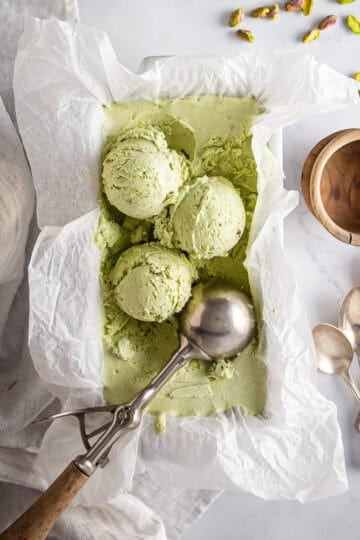
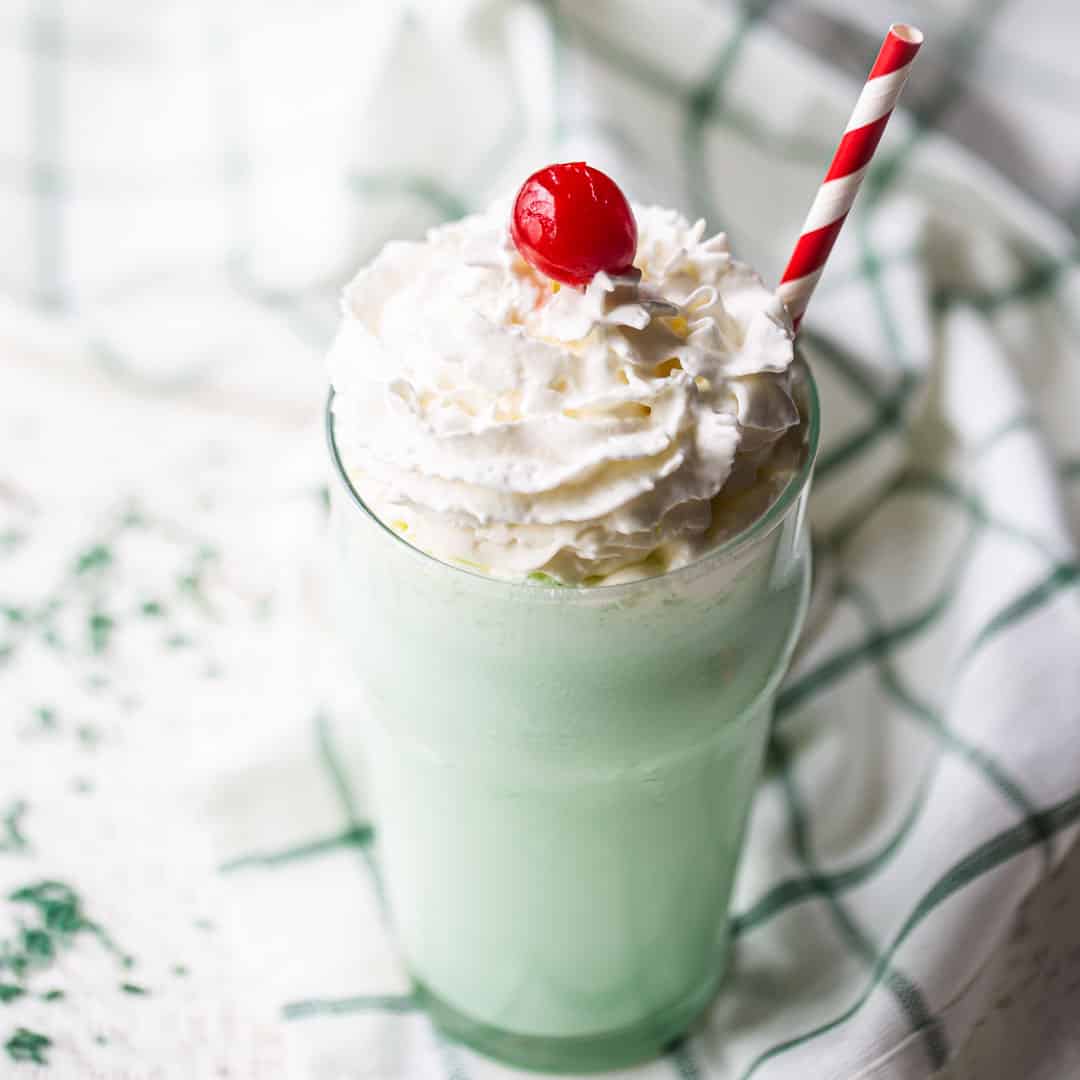
I love making homemade ice cream, especially for summer. In past years, I've shared recipes for mint chocolate chip ice cream, chocolate ice cream, and strawberry ice cream.
I'm trying to work through all the top favorites!
That's why today I'm bringing you this outrageous coffee ice cream recipe! It's seriously so good!
Why this is the best coffee ice cream recipe
First of all, the flavor is off the charts. You really know you're eating coffee ice cream with this recipe!
So deeply roasty-toasty, because it's made with instant espresso powder. This ingredient is super-concentrated- nothing but pure, intense coffee flavor.
It's also incredibly creamy. The richness of cream really carries all the wonderful flavors and makes you feel so satisfied.
There's the perfect amount of sweetness coming from the condensed milk, and that ingredient also adds to the decadently creamy texture.
But best of all, you can have this ice cream made in 10 minutes or less!
There are only 5 simple ingredients, and if you keep a well-stocked pantry you probably already have them all on hand.
You don't need an ice cream maker or any fancy tools at all.
The hardest part of this recipe is just waiting for it to freeze!
What is no-churn ice cream?
The term "no-churn" refers to an ice cream making method that doesn't require any kind of ice cream maker at all.
Back in olden times, you used to have to put your ingredients in like a barrel, then put the barrel in a mixture of salt and ice and crank it to keep it freezing evenly... it was nuts!
More recently kitchen gadget technology progressed to where you just had to freeze your electric ice cream maker's insert overnight, then put your ingredients in and the motor would do the work.
But with a no-churn ice cream recipe, you don't need any of that. The balance of ingredients naturally freezes up to exactly the right texture, with no stirring or churning or anything like that.
This allows the ice cream base to be made in mere minutes, with no cooking necessary, no eggs, no muss, no fuss. It's revolutionary!
Does it taste the same as regular ice cream?
Listen, when it comes to desserts I have a pretty picky palate. And as I mentioned above, I've made no-churn ice cream in a lot of different ways.
When I taste it, I am tuned in. My senses are on high alert!
I cannot detect any difference at all to what you'd buy in a store.
And I've served it to others too, and they can't get over it either.
As somewhat of a food snob, I'd love to be able to tell you that slow-churned ice cream is the only way, but it's just not. This shortcut method is every bit as good. I'm convinced!
Coffee ice cream ingredients
You'll only need a handful of basic ingredients for this recipe.
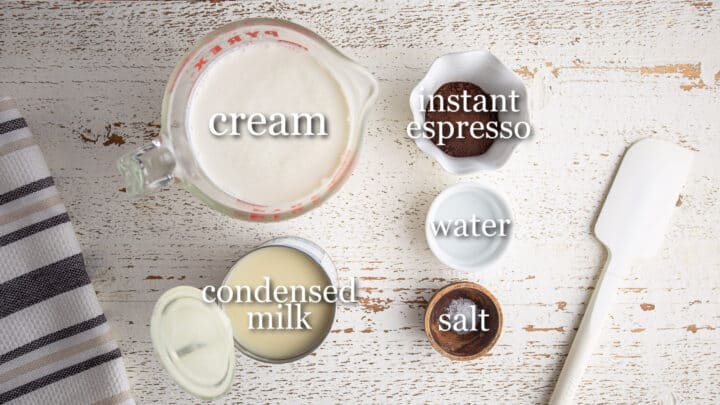
Here's a quick rundown, with ideas for substitutions:
Heavy Cream
Cream is the base of this recipe, and it's where most of the richness comes from. There are certain flavor compounds that are only carried by fats, so higher fat foods like cream will really intensify the flavors of everything you make.
Be sure to use cold cream- it will whip up so much easier if it's cold.
Make sure you're buying "heavy cream," "whipping cream," or "heavy whipping cream" for this recipe. They are all different labels that mean the same thing. If you are outside of the US, it could also go by the name "double cream."
Light cream won't work for this recipe. Neither will half and half or milk. You need the high fat content in order for it to whip up stiff enough to hold a stiff peak.
For a vegan substitution, try using coconut cream. Start with a can of unsweetened coconut milk, and chill it overnight in the fridge. Then, open the can and scoop off the hardened cream from the top, leaving the thin, watery liquid below. This can be whipped up just like dairy cream!
Condensed milk
Sweetened condensed milk is sold in 14 ounce cans. This ingredient will sweeten your coffee ice cream.
It's made from whole milk, boiled down with sugar until thick.
The consistency is similar to caramel, but it's not brown.
Make sure you're buying condensed milk and not evaporated milk. Evaporated milk is similar, but it doesn't have any sweetness to it.
Instant Espresso
Instant espresso powder is what gives this ice cream its rich coffee flavor.
You can find it in the coffee aisle of your grocery store, or you can order it online: Instant Espresso Powder.
It has a more intense flavor than regular instant coffee, but you could probably use that in a pinch. The end result will just have a milder taste.
Water
Just a little bit, to dissolve the instant espresso.
It doesn't really matter what the temperature is.
Salt
Salt carries the flavors and intensifies them. The end result won't taste salty, but it will make everything so much more flavorful!
I like kosher salt best because it doesn't have any additives (table salt usually contains iodine and that can leave a bitter taste), so the flavor is pure. It's also inexpensive and easy to find in a regular grocery store.

Do I need any special equipment?
Absolutely not!
I repeat: you do not need an ice cream maker to make this coffee ice cream!
All you need is a big bowl, a whisk or an electric mixer (stand or hand), a silicone spatula, and something to freeze the ice cream in (I like a loaf pan for this).
Pretty basic, right?
How to make this no-churn coffee ice cream recipe
Step 1
Whip the cream until it holds stiff peaks.
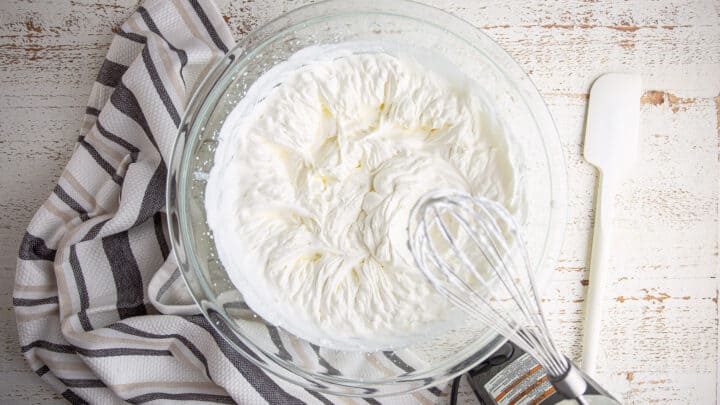
You can do this by hand with a whisk, or use an electric mixer.
Step 2
Dissolve the espresso powder.
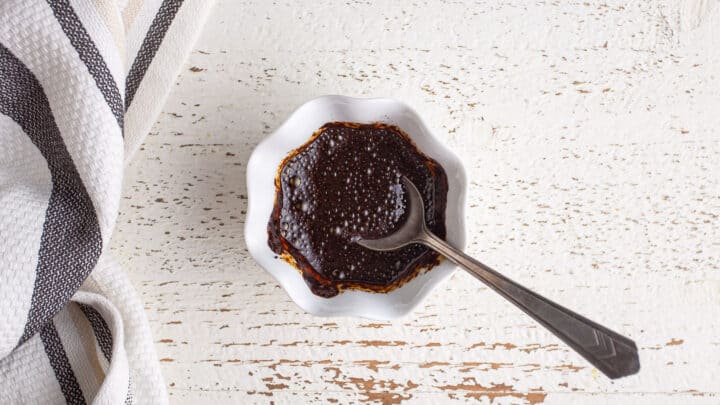
Just stir it together with the water until you have a thick liquid, then add it to the bowl.
Step 2
Add sweetened condensed milk.
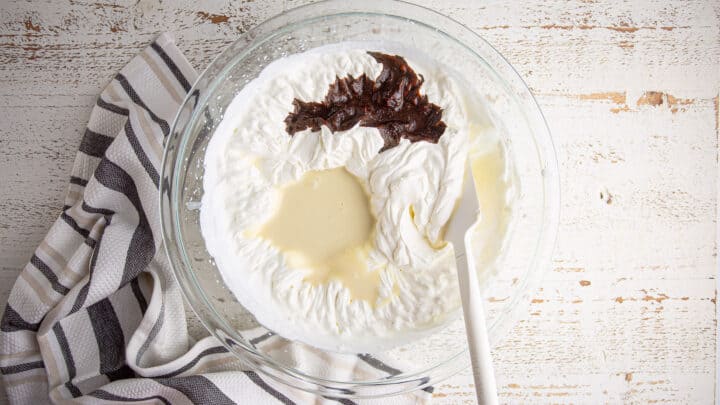
Just crack open the can and pour it all in!
Step 4
Mix all the ingredients together.
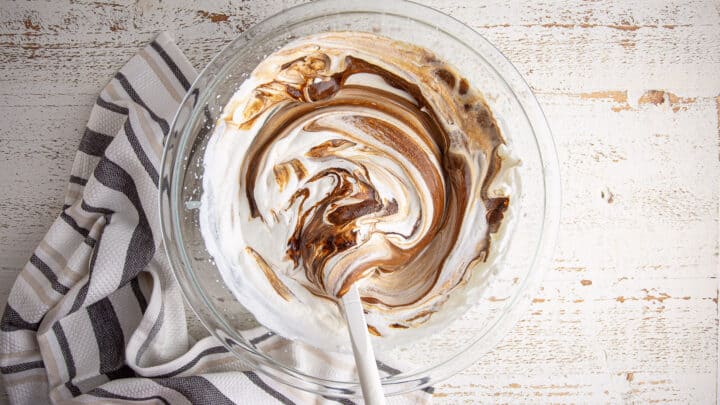
Fold carefully so you don't knock all the air out of the whipped cream! The mixture should be light and fluffy.
Step 6
Freeze.
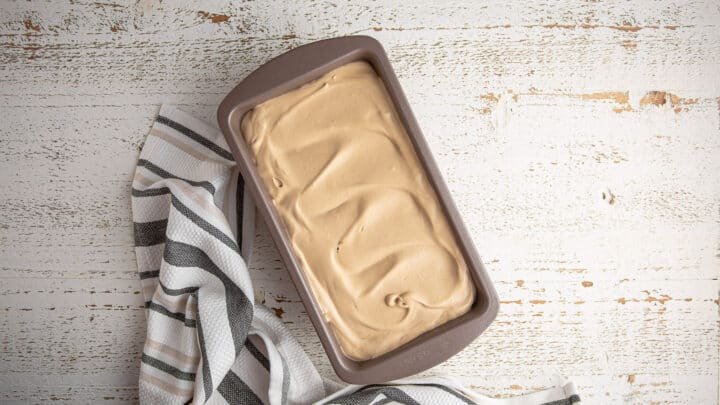
Transfer the mixture to a freezer-friendly container and pop it in the freezer.
Depending upon your freezer, it should be ready to scoop in anywhere from 2 to 4 hours, but I usually just leave it in overnight.
Expert Tips
- Use heavy cream: Light cream, half and half, and milk do not have a high enough fat content to whip up properly.
- Use cold cream: Cold cream will whip up faster and easier. You can chill your bowl and whisk too!
- Sweeten with condensed milk: I have not tried making this with sugar, but I have a feeling it wouldn't work as well. Sweetened condensed milk adds a little richness along with the sugar.
- Flavor with powdered espresso: This ingredient will give you the most concentrated, bang for your buck flavor. You can sub with instant coffee or brewed and chilled coffee or espresso, but the flavor will be weaker.
- Fold gently: The ice cream base should still be fluffy when it goes into the freezer. This will give your final product the loveliest texture.
Coffee ice cream recipe variations
There are lots of ways you can customize this recipe!
- Swirl in some caramel sauce, dulce de leche, fudge sauce, or chocolate syrup.
- Fold in some chopped nuts, such as walnuts, almonds, or hazelnuts.
- Splash in a little vanilla extract, vanilla bean paste, or scrape in the seeds of a whole vanilla bean.
- Toss in a handful of chocolate chips or white chocolate chips.
- Crumble in some pretzels, chocolate chip cookies, Oreos, or edible cookie dough.
How to serve
Take this out of the fridge and allow it to soften up on the counter for about 5 minutes. This will make it easier to scoop.
I prefer this kind of ice cream scoop: Ice Cream Scoop with Trigger. It releases beautiful, rounded scoops of ice cream effortlessly!
Eat it ice cold! So refreshing on a warm day.
You can also sandwich a scoop in between two cookies. Here are some great cookie recipes for you to check out: Cookie Recipes. Any one of these would be fantastic for coffee ice cream sandwiches.
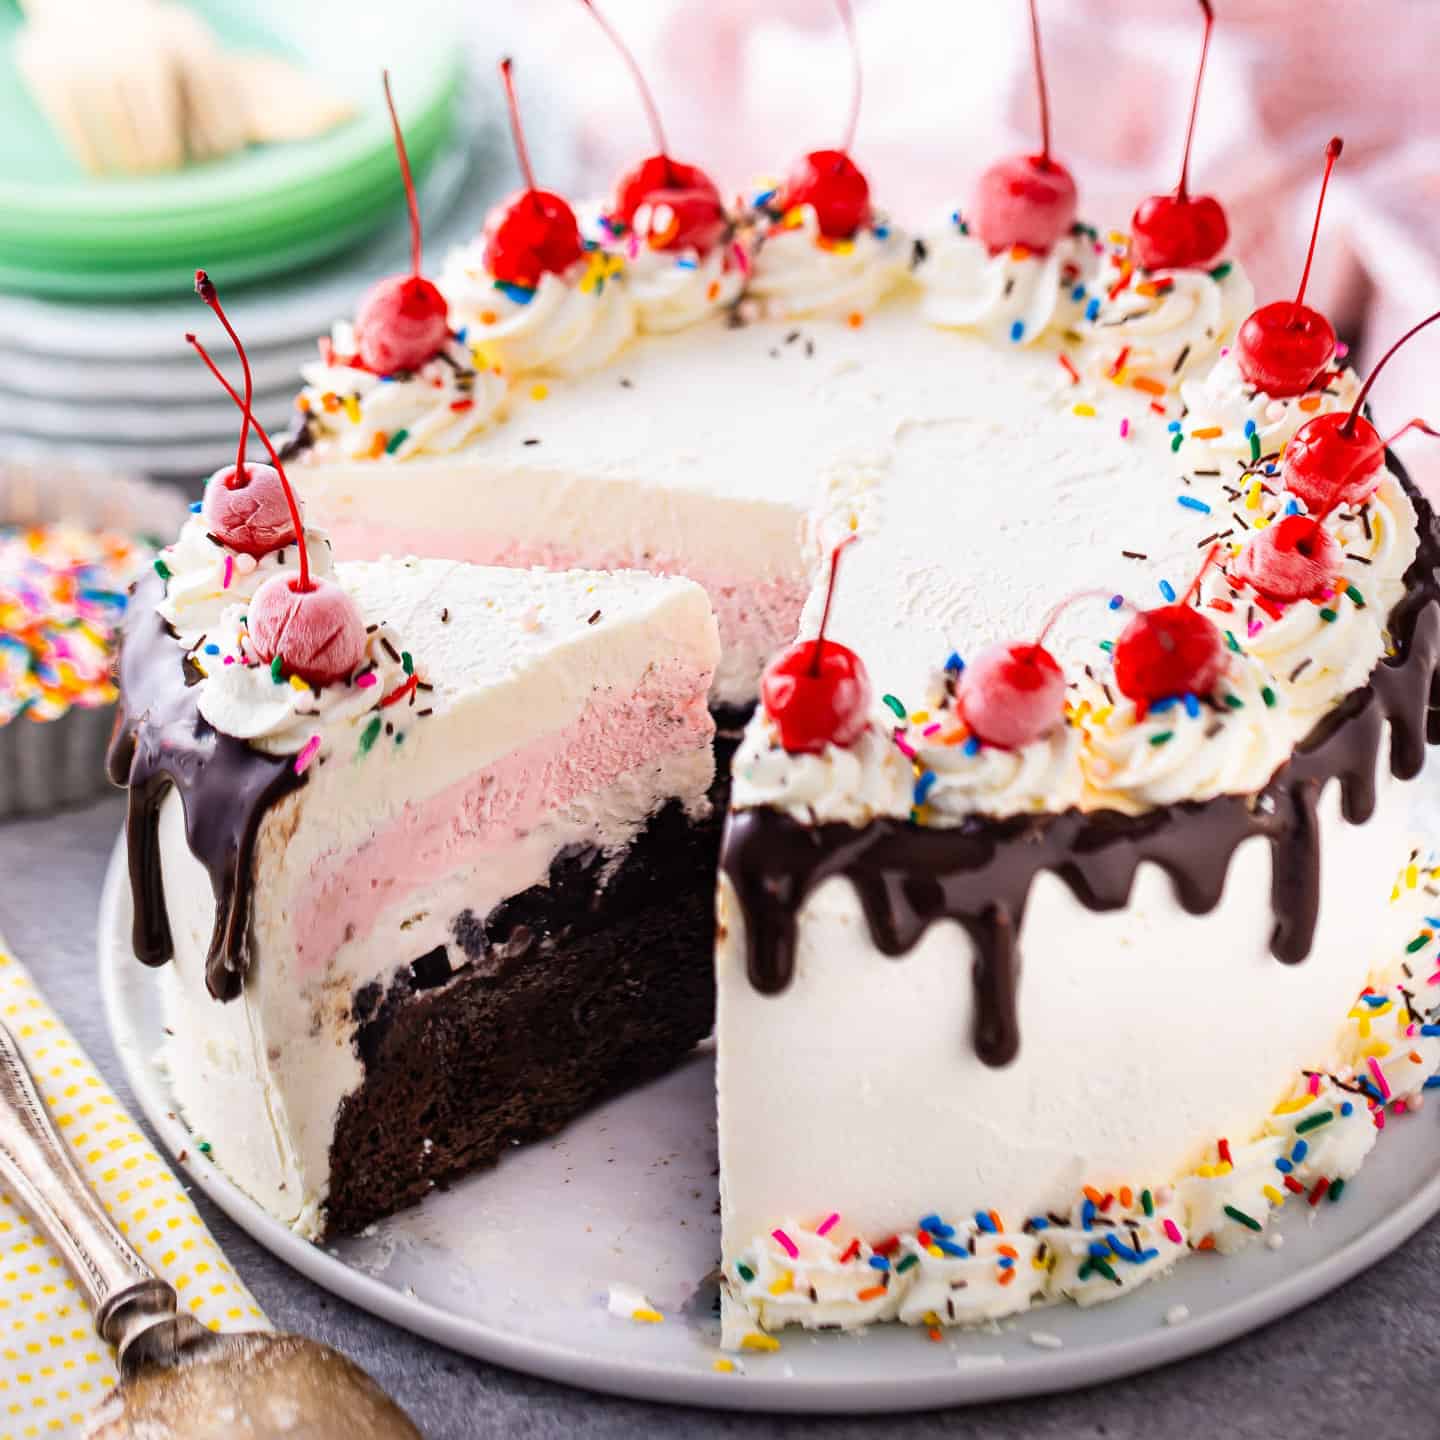
Or make a sundae! I linked to a few sauce recipes above! Drizzle on the toppings and don't forget the whipped cream and cherry on top!
Coffee ice cream faq's
Does coffee ice cream have caffeine?
This recipe contains instant espresso powder, which does have caffeine in it.
A typical shot of espresso has 58 milligrams of espresso, and this recipe contains enough espresso powder to make 2 shots of espresso. That's spread out over a little more than 8 ½ servings of ice cream.
So if you have the standard ice cream serving (⅔-cup) of it, you're probably looking at under 20 milligrams of caffeine, which is less than you'd get with a cup of tea (tea clocks in at around 26 mg of caffeine).
How to store
This coffee ice cream recipe should keep in your freezer for a couple months.
Cover your container so the ice cream doesn't dry out or get gummy. This can be tricky with a cold pan, so it might be a good idea to secure the plastic wrap with a rubber band.
A few more of my favorite coffee recipes:
As an amazon associate I earn from qualifying purchases.
Ingredients
- 2 cups (476 g) heavy whipping cream
- 14 ounces (396.89 g) sweetened condensed milk
- 2 tablespoons (10 g) instant espresso powder
- 1 tablespoon (15 g) water
- ⅛ teaspoon (0.75 g) kosher salt
Instructions
- Pour the heavy cream into a large bowl and whip it (with a hand mixer, stand mixer, or by hand with a whisk) until it can hold stiff peaks.
- Add the condensed milk.
- Mix the espresso powder and water together and add the mixture to the bowl.
- Add the salt and fold all the ingredients together until blended.
- Transfer the mixture to a freezer-friendly container (I like to use a loaf pan) and freeze until hard (approx. 2 to 4 hours).


Great receipt. The only change I recommend is much less sweetened condensed milk, 1/4 to 1/3 can. My wife and I both found it to be too sweet.
Thanks for the great feedback Mark! And for sharing your preference. Good to know that it still works well with less condensed milk.
Made this morning, DH and I just had it after dinner. Coffee ice cream has been my absolute favorite since I was a kid and this recipe was so super easy. Wow! Is it beyond delicious! Soft serve and ready in 11 hours. I don't tolerate caffeine so I did use instant decaf, and added a splash of vanilla to the coffee mixture. Vanilla brings out coffee (and chocolate) flavor without altering the taste. I whisked the coffee and condensed milk together with the salt, then folded in the cream. With this delicious ice cream base there are many possibilities for mix-ins, homemade ice cream cake, tiramisu etc. Thanks for the recipe. It brings my grandmother and her coffee ice cream right back to memory.
I'm so happy you and your DH enjoyed it Dianne! Thanks so much for taking the time to share your feedback. xo
I’ve just made a batch of this recipe and I suspect it will be delicious once frozen. Unfrozen, it tastes fantastic and my sweets loving husband licked the bowl clean! Thanks so much.
Made it today added some roasted walnuts on top the result was amazing
We're so glad you loved it! Thank you for leaving a review!
Love this recipe! I cut thick slices rather than scooping it and serve on or between graham crackers. Delicious!
I tried adding 8 oz. of softened cream cheese as other recipes suggest but did not like the texture or richness. Make this mocha recipe as is.
Any suggestions for making an all vegan version?
Hey Willow! So happy you like it! For a vegan version I'd suggest using sweetened condensed coconut milk or sweetened condensed oat milk, and whip the cream that rises to the top of a can of unsweetened coconut milk. (You'll probably need more than one can to get the same amount of dairy cream.) It will seem very solid at first but it whips up nicely! Good luck and thanks for the great question!
Hi, Allie. Could I small batch it and freeze, then use a Ninja Creami?
I think that would work just fine! Good luck!
can I cut the recipe in half?
Absolutely! Good luck Constance!
made this and added a ribbon of dark fudge sauce. I may have hidden it in the freezer and not shared 🙂
Omg LOVE that!!!
Soooo delish!!!
Yay! So happy you like it. Thank you for the positive feedback!
Super easy and delicious. I was impressed by the taste and texture.
I want to try different flavors.
Thank you for posting 👍
My pleasure Cindy! I'm so happy you liked it. TYSM for the 5-star review!
The recipe is amazingly good in both flavor and texture. On the other hand, I find it almost over the top in its sugary taste. Of course that sugar is built into the sweetened condensed milk. Do you think the condensed milk could be "cut" with heavy cream or some other non-sugared liquid? Or is the heavy sugar essential to the result?
Last time I made it for my family I actually cut back the condensed milk by a few ounces to suit my own personal taste, which sounds similar to yours. I was pleased to find that it really worked just as well!