

Vanilla Cake Recipe: Perfectly Moist and Delicate
As an amazon associate I earn from qualifying purchases.
This is the only Vanilla Cake Recipe you'll ever need! It bakes up soft, buttery, and moist, with a fine, delicate crumb. So easy it's practically foolproof, and it all comes together in just one bowl. Simple, versatile, and so delicious!
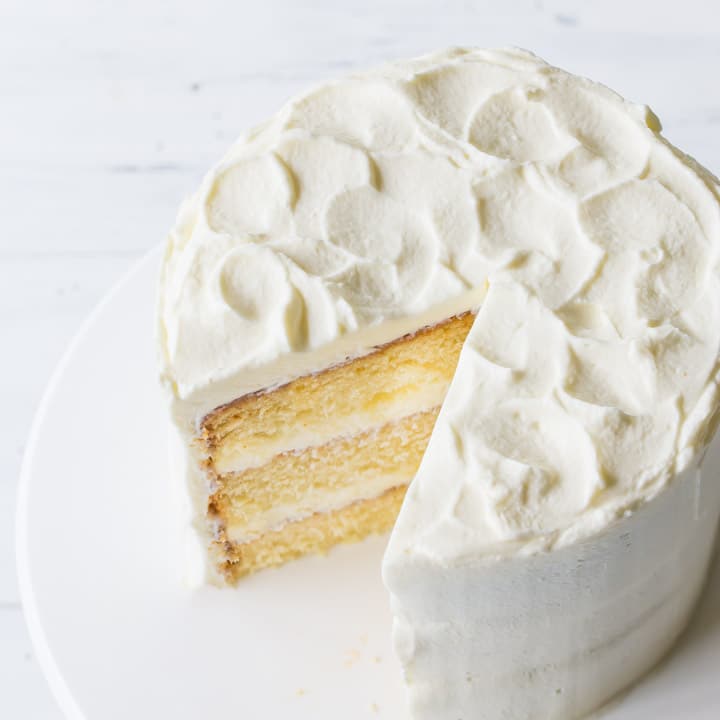
There is no better way to celebrate a special occasion (I'm talking birthday or a holiday) than with a gorgeous layer cake. I love baking cakes, and my family loves them too. Our favorites include Chocolate Cake, Red Velvet Cake, and Carrot Cake. But lately we are really loving this simple, perfect vanilla cake.
I am a firm believer that nothing beats scratch-made. There is something so blow-your-mind fantastic about a homemade dessert freshly baked from simple, wholesome ingredients.
I grew up mostly on prepackaged desserts and treats made from a mix, but my grandmother used to bake for special occasions. My mom always made a big deal about her from-scratch cakes and would make sure I tasted them. She wanted me to note the difference, and I definitely did!
If you're good about keeping a well-stocked pantry, this recipe isn't any more complex than a box cake. Got basics like flour, sugar, butter, and eggs on hand? Know how to properly measure ingredients?
Then you can totally do this! This recipe comes together in just one bowl, so it's super easy, and you won't have a ton of dishes to wash. No sweat!
You will be amazed at the difference scratch makes. This is the best vanilla cake recipe because it is incredibly light, soft, moist, and delicate, and the flavor is off-the-charts. Buttery, rich, and sweetly perfumed with fragrant vanilla.
You'll never go back to the box!
Jump to RecipeWhy You'll Love This Cake Recipe
- Tastes amazing: Vanilla cake made from scratch offers a richer, more authentic flavor than the box mixes' artificial flavors.
- Great Texture: Scratch-made cakes tend to have a finer crumb and a moist, delicate texture.
- Wholesome: A homemade vanilla cake has no preservatives, weird additives, or artificial flavors or colors.
- Easy to Make: You will love how easy this recipe is to make! And, you only need one mixing bowl to make it. Less cleanup!
Ingredients
Here's a quick rundown of the ingredients you'll need to make this vanilla cake, and why.
- Flour: A combination of all-purpose flour and cake flour is used to give that perfect balance between structure and tenderness.
- Sugar: Sugar adds sweetness (obvs!), but it also aids browning and keeps things moist, since it's hydrophilic (it loves water, so it draws moisture in). Regular white sugar is fine, or you can sub another sweetener if you like. As long as it swaps 1:1 for granulated sugar, it should work.
- Baking powder and baking soda: These leavening agents are essential for making the cake rise and bake up light and fluffy.
- Salt: Salt carries the flavors and intensifies them. The result won't taste salty, but it will make everything so much more flavorful! I like kosher salt best because it doesn't have any additives (table salt usually contains iodine, which can leave a bitter taste), so the flavor is pure. It's also inexpensive and easy to find in a regular grocery store.
- Butter: Butter adds richness and flavor to the cake. I like to use unsalted butter because it lets me control the amount of salt in the dish. Different brands of butter can contain different amounts of salt, so this way you get a more consistent result. For a vegan or dairy-free vanilla cake recipe, use a plant-based butter that can substitute for dairy butter 1:1.
- Eggs: Eggs act as a binding agent and provide structure to the cake. They also contribute to its moisture and tenderness. Use large chicken eggs here, or a plant-based egg replacement than subs 1:1 for chicken eggs. It's best if the eggs are at room temperature, but I don't find it critical.
- Sour cream: Sour cream adds moisture to the cake batter, resulting in a softer and more tender cake. It helps prevent the cake from drying out during baking. If you don't have sour cream, you could also use the same amount of Greek yogurt or buttermilk.
- Milk: Milk adds moisture and helps achieve a workable batter consistency. You can use whatever kind of milk you keep on hand: 2%, skim, whole, or even a plant-based milk will work!
- Oil: A little splash of a neutral-tasting oil (such as vegetable oil or canola oil) help keep this cake moist for days.
- Vanilla: Vanilla extract adds a subtly sweet flavor without being at all sugary. For a more pronounced flavor, try using vanilla bean paste. You could also split a vanilla bean lengthwise down the center, scrape out the seeds, and add them. Or you could try this with an altogether different type of extract or flavoring, such as:
- Almond extract
- Lemon extract or citrus zest
- Orange blossom water
- Coconut extract
- Cinnamon
Special Equipment
Here are the tools you'll need to make this recipe:
- Measuring cups and spoons: To measure out the ingredients.
- Large mixing bowl: I use the one that comes with my stand mixer.
- Electric mixer: Either a stand mixer or a handheld electric mixer.
- Silicone spatula: For scraping down the bowl's bottom and sides.
- Non-stick spray: For greasing the pans.
- Parchment paper: To line the cake pans so the cake layers come out easily without breaking apart.
- Cake pan(s): For what you see here, I've used three 6-inch round cake pans, but you could also use two 8-inch round cake pans or two 9-inch round cake pans, a 9x13-inch sheet pan, or bake 24 cupcakes, or double the recipe and bake it in a 12-cup bundt pan.
In Photos: How To Make Homemade Vanilla Cake
Let's walk through the steps together!
Step 1: Prep
Preheat the oven to 325 degrees F, mist three 6-inch cake pans with nonstick spray, and line them with circles of parchment paper.
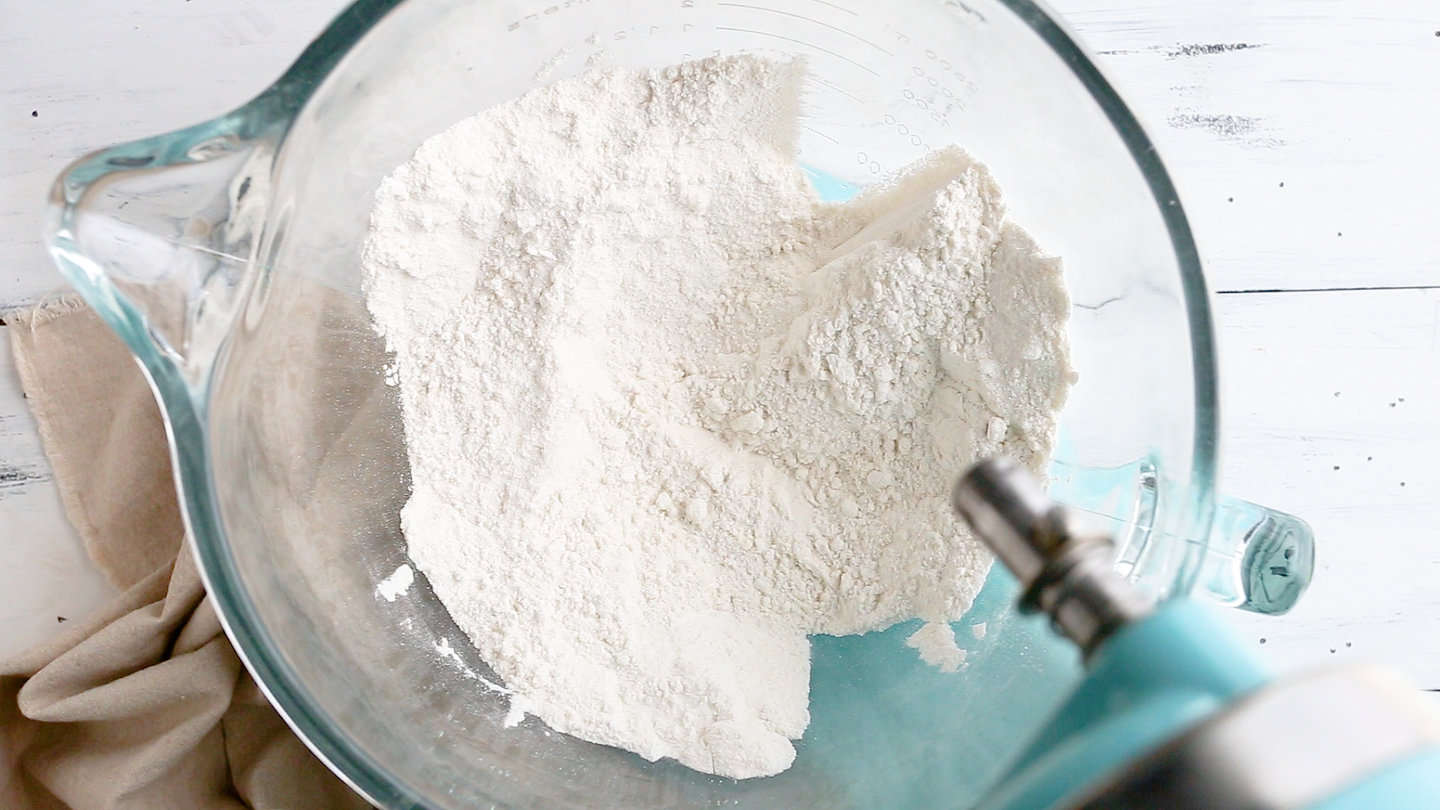
Step 2: Combine the dry ingredients
Place the cake flour, all-purpose flour, sugar, baking powder, baking soda, and salt in a large bowl, and stir to combine.
Step 3: Work in the butter
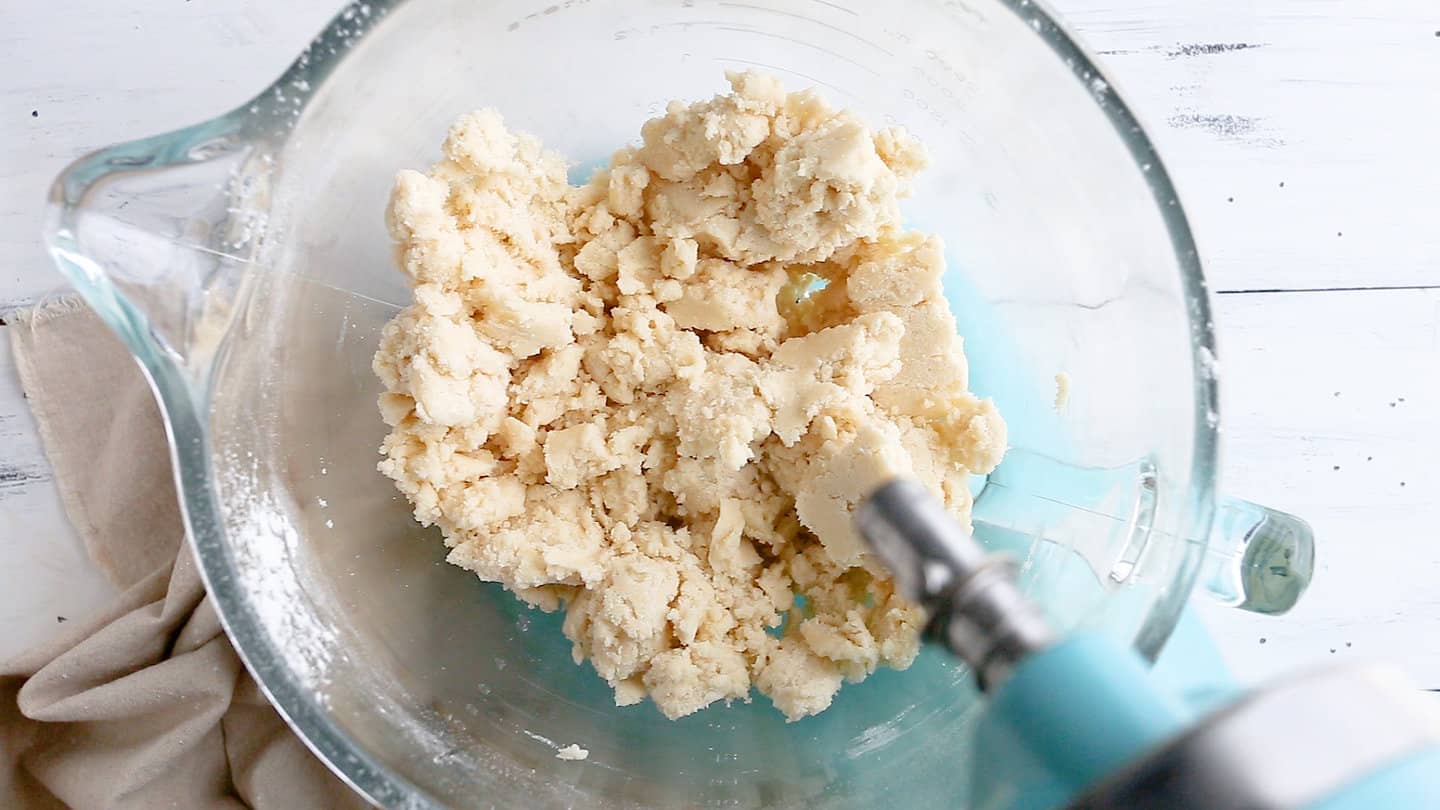
Add the soft butter to the bowl. Then mix it in on medium-low speed until the mixture resembles damp sand.
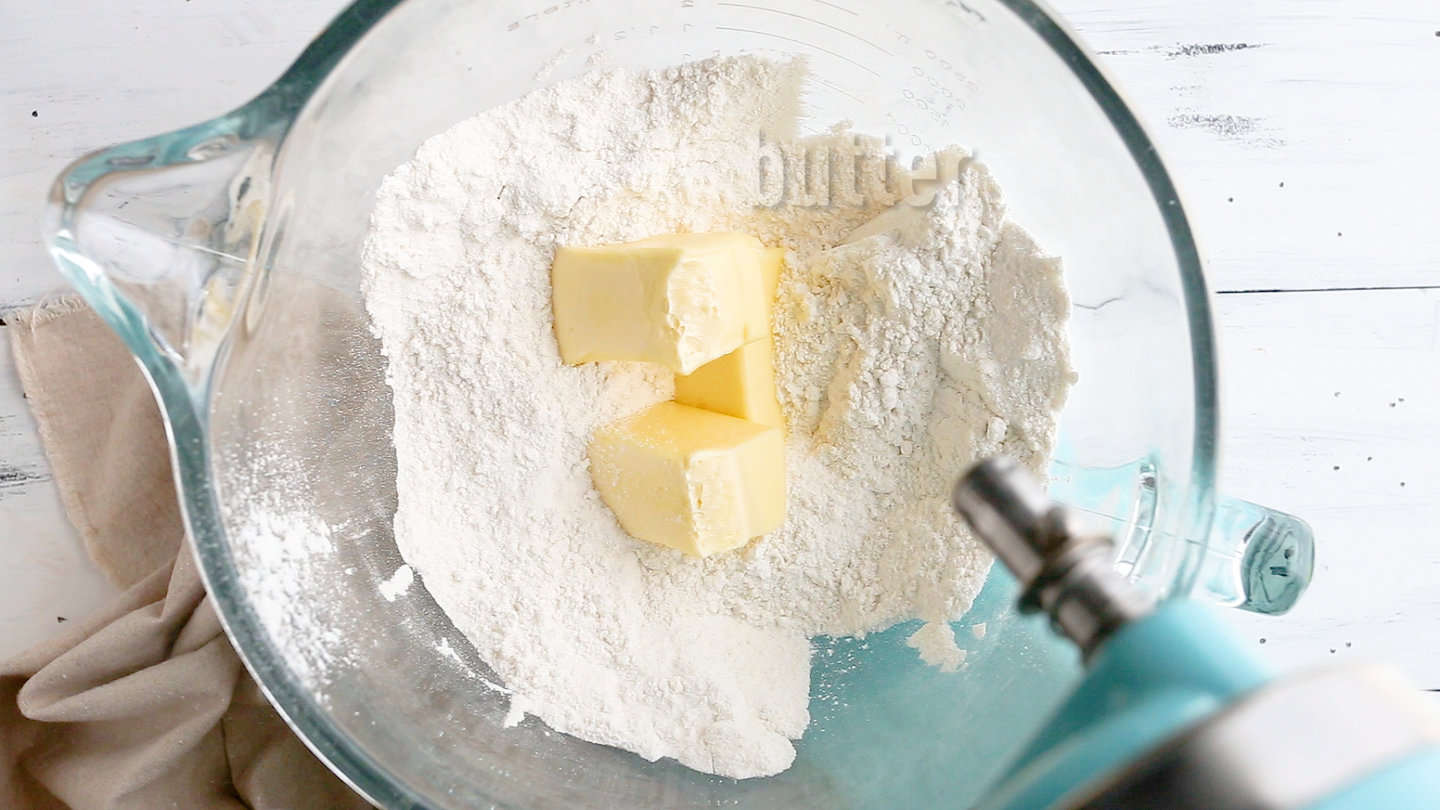
Then mix it in on medium-low speed until the mixture resembles damp sand.
Step 4: Add eggs
Stir in the eggs, one at a time, and allow each one to fully incorporate before adding the next.
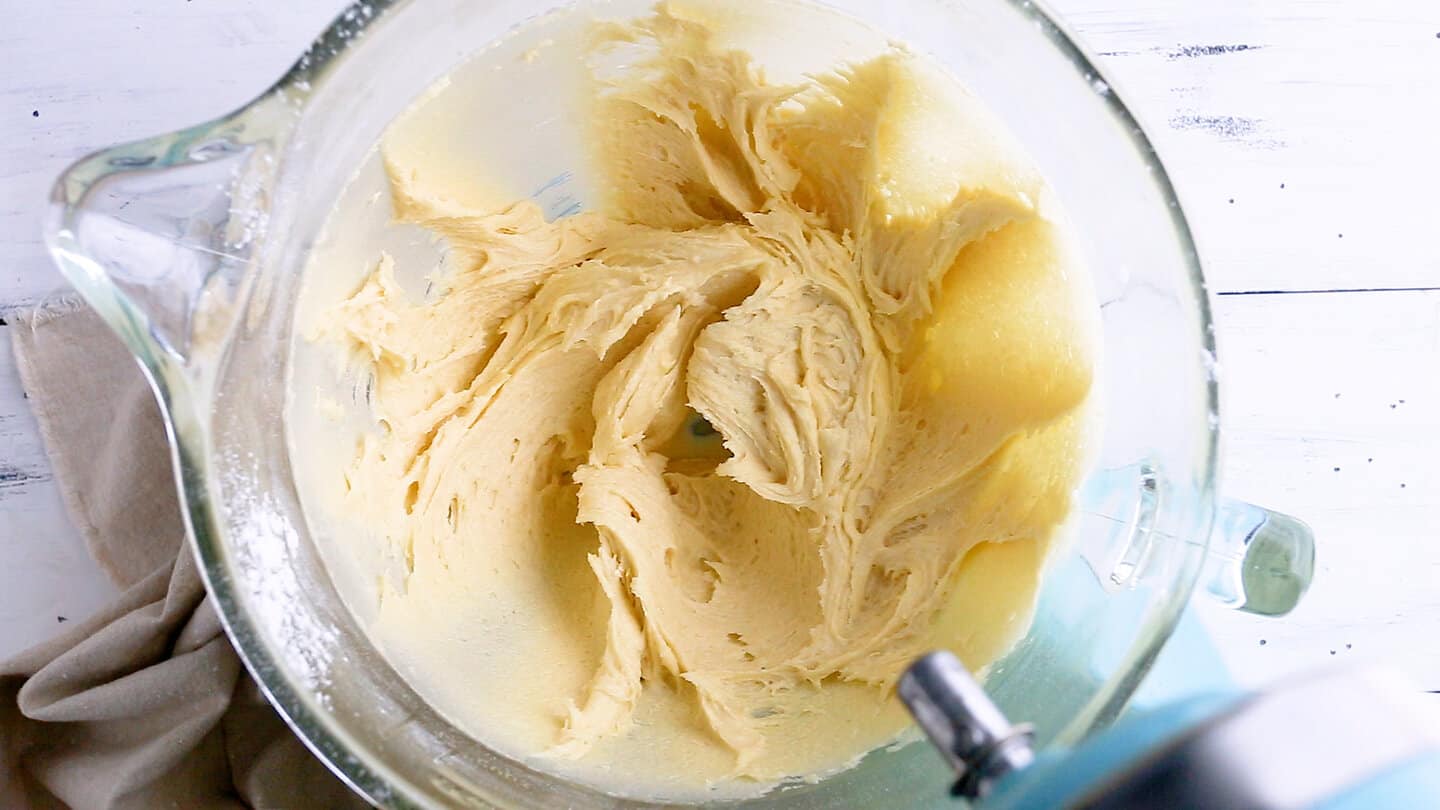
Step 5: Liquid ingredients
Scrape the bottom and sides of the bowl to ensure all ingredients are fully incorporated, then add the sour cream, milk, oil, and vanilla.
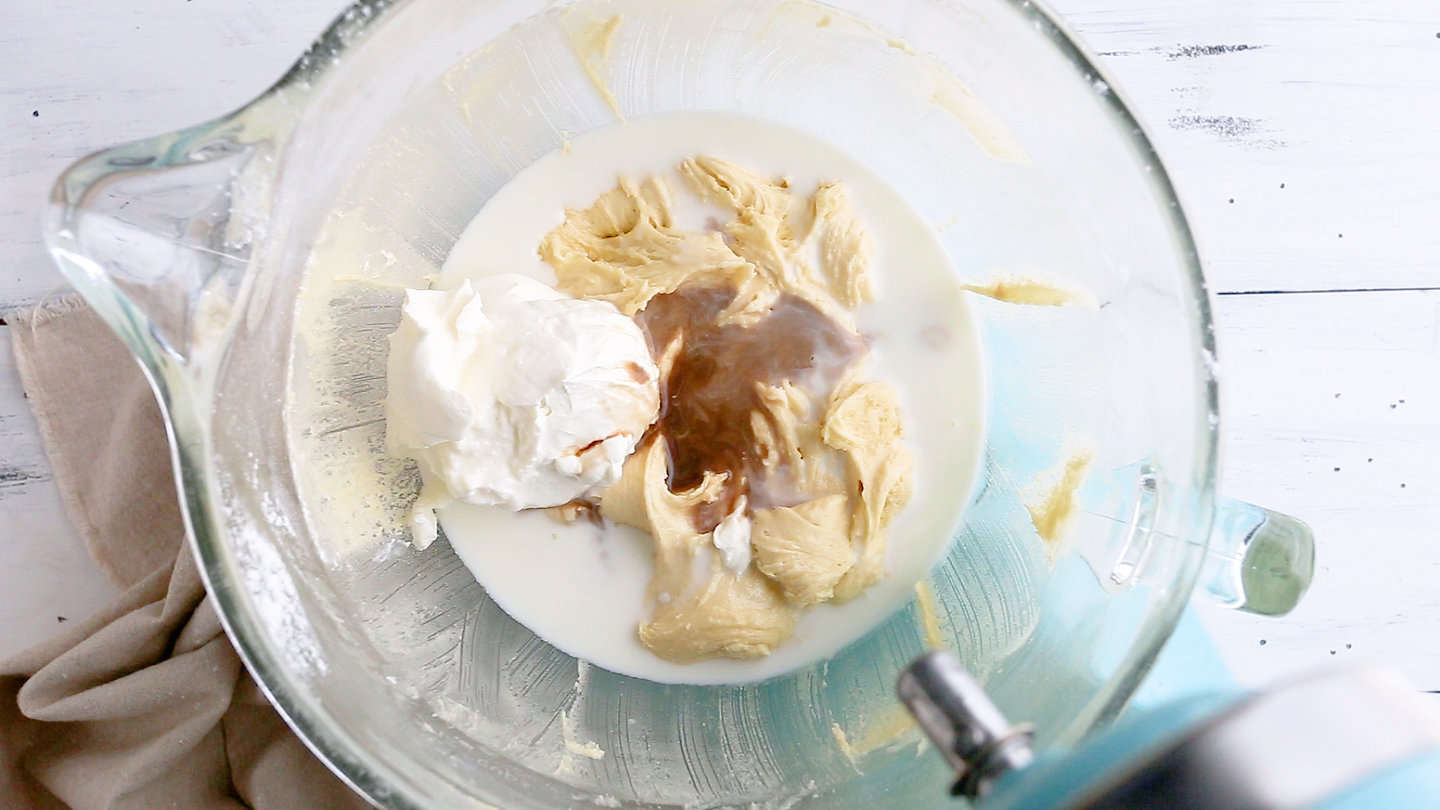
And stir them in until combined.
Step 6: Fluff
Mix on medium speed for 2 to 3 minutes, to aerate the batter and build the cake's structure. This step is really important! If you don't give it a FULL 2 to 3 minutes, your cake layers will bake up flat, dense, and heavy.

Step 7: Bake
Divide the batter evenly between the prepared pans, then slide them into the oven on the middle rack.
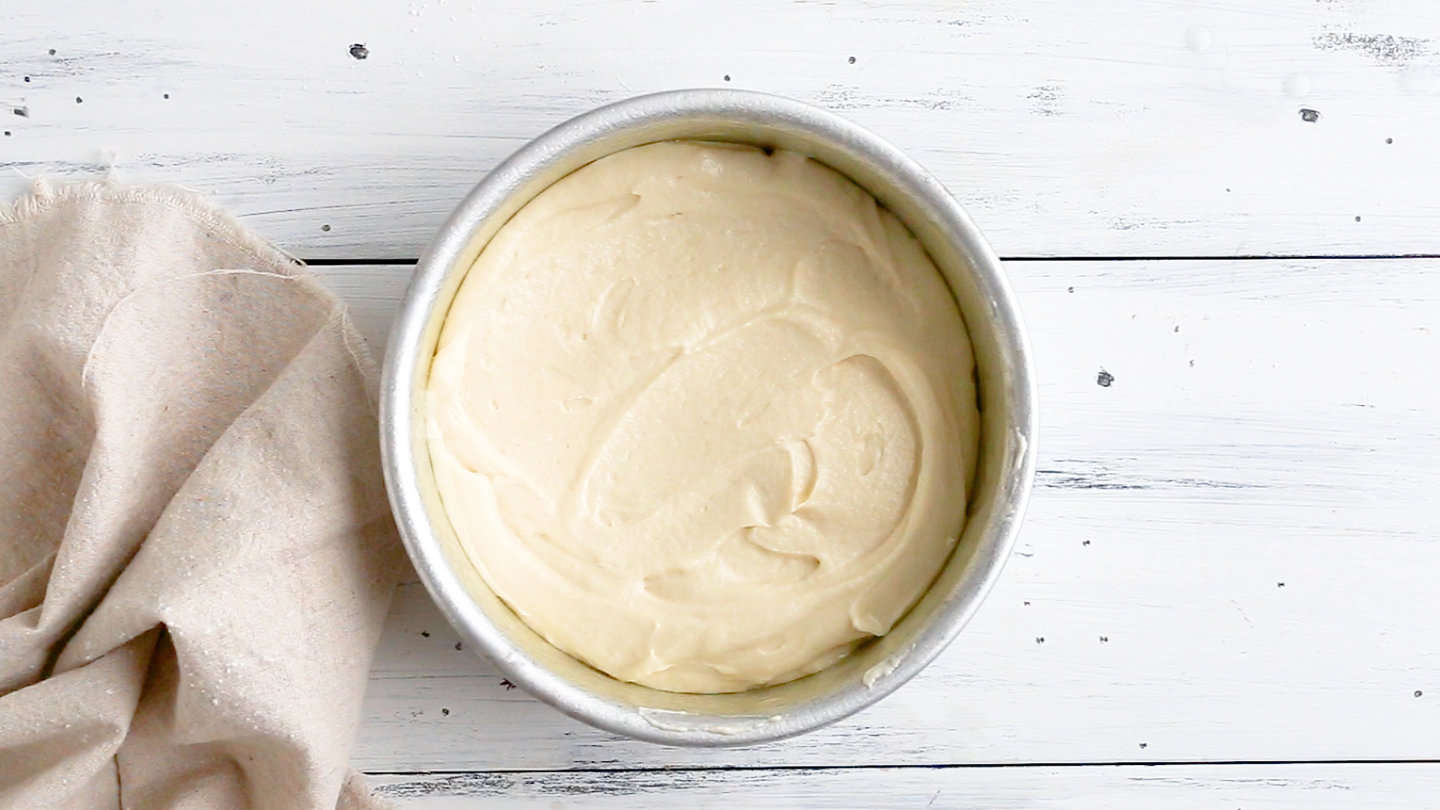
You'll know your cake layers are done baking when they feel springy to the touch and a toothpick inserted in the center of the cake comes out clean or with a few moist crumbs.
Step 8: Cool
Allow the cakes to cool completely in the pans before filling and frosting.
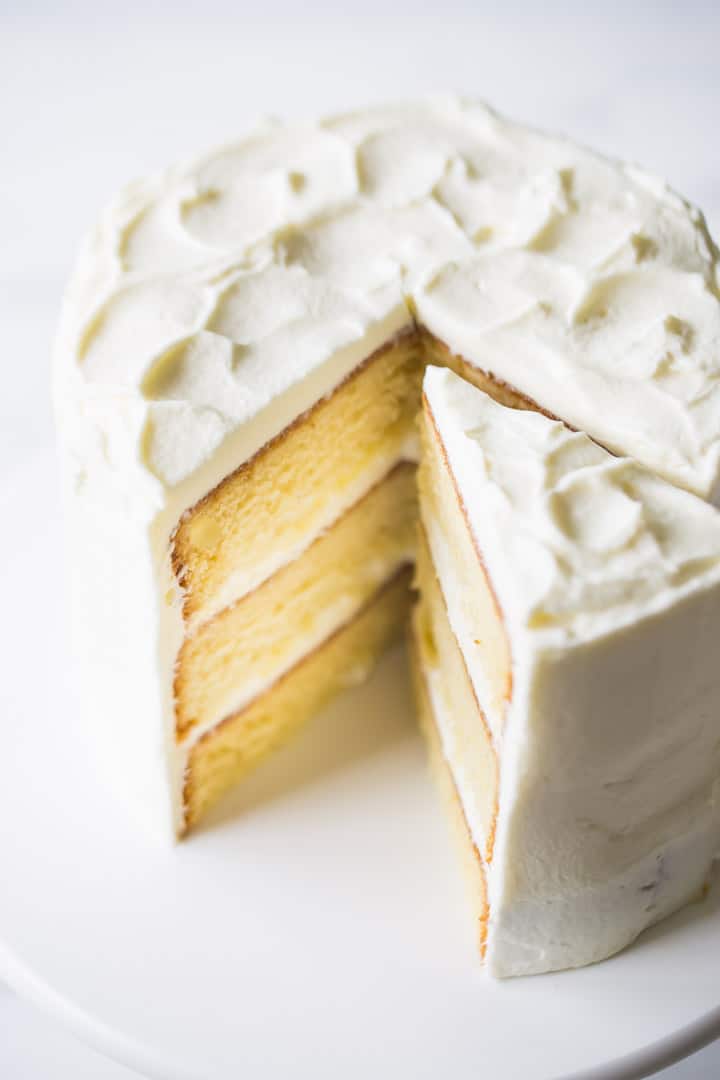
Recipe FAQ
Most cake recipes start by creaming the butter and sugar, then alternately adding the dry and liquid ingredients in batches.
With this method, it's way too easy to under-cream the butter and sugar and over-mix the batter, which can make the cake tough.
Plus, it creates too many dirty dishes for my liking.
The reverse creaming method is much simpler.
Measure the flour, sugar, leavening, and salt into the mixing bowl, then work in the soft butter until the mixture resembles damp sand. Mix in the eggs, then add the dairy and vanilla extract, and you're done.
It's practically foolproof!
This cake is so versatile! It can be filled and topped in all sorts of ways. You can really let your imagination go wild!
Here are a few ideas to get your creative juices flowing: whipped cream frosting, chocolate Swiss meringue buttercream, vanilla Swiss meringue buttercream, pastry cream (filling), cream cheese frosting, vanilla frosting, or raspberry buttercream.
Yes, this cake can easily be made into cupcakes. I've already figured out all the particulars and adapted the recipe as needed, so just pop on over to my vanilla cupcake recipe for the recipe and a full tutorial.
I baked my vanilla cake in three 6-inch pans. I just love the look of a tall cake!
But if you'd prefer to bake it as two 8 or 9-inch layers, you can totally do that.
Just keep an eye on the bake time, because a thinner, flatter cake will need less time than a smaller, thicker cake would.
This recipe can also be doubled and baked in a 12-cup bundt pan. Again, adjustments to the bake time will likely be necessary.
Recipe Tips
- Use Room-Temperature Ingredients: This recipe works best when the butter is at room temperature. You can set it out on the counter a few hours before making your recipe, or you can microwave it for 10 seconds, then turn it over and microwave it again for another 8 seconds. Allow ingredients like eggs and yogurt (if using) to come to room temperature before starting, too. Room temperature ingredients mix in more smoothly, so you don't end up with a lumpy batter.
- Measure All The Ingredients Precisely: Use liquid measuring cups for liquid ingredients and dry measuring cups for dry ingredients. Accurate measurements ensure the right balance of ingredients and prevent the cake from being too dry or too wet. Read more about this here: How to Measure Ingredients for Baking.
- Don't Overbake: Keep a close eye on the cake while baking and avoid overbaking it. Overbaking can lead to a dry cake. A few minutes before you think it will be done, flip on the oven light and view the cake through the window. If it doesn't look wet in the middle, crack open the door slightly and feel it. If it's springy, give it the toothpick test. If it comes out with a few moist crumbs, the cake is done. Insert a toothpick into the center of the cake; if it comes out with a few moist crumbs, the cake is done.
- Cool In The Pan: Allow the cake to cool in the pan. Cooling in the pan helps keep the cake moist.

How To Store This Cake
This vanilla cake should be fine at room temperature for a day or so. If you have a lot of leftovers, stash them in the fridge, tightly wrapped. They should be good there for a week or so.
Depending on the filling recipe and frosting recipe you've used, you might be able to freeze it as well. The cake itself should keep for a few months in the freezer.
Can This Be Made In Advance?
I love a good make-ahead dessert, and this white cake is a perfect example. The layers can be baked up to a few weeks in advance, which really helps take the pressure off when you're entertaining.
Once the cake is baked and completely cooled, wrap the layers tightly in plastic wrap and place them in the fridge. They can stay there overnight or up to a few days. Or slip the wrapped cakes into a zip-top bag and keep them in the freezer for several weeks.
When you're ready to fill, frost, and decorate, it's so much easier if the cake is cold.
You'll find it's much less crumbly that way. I like to frost my cakes straight from the fridge or freezer. No loose crumbs in the frosting, which really makes it much easier to decorate a beautiful birthday cake.
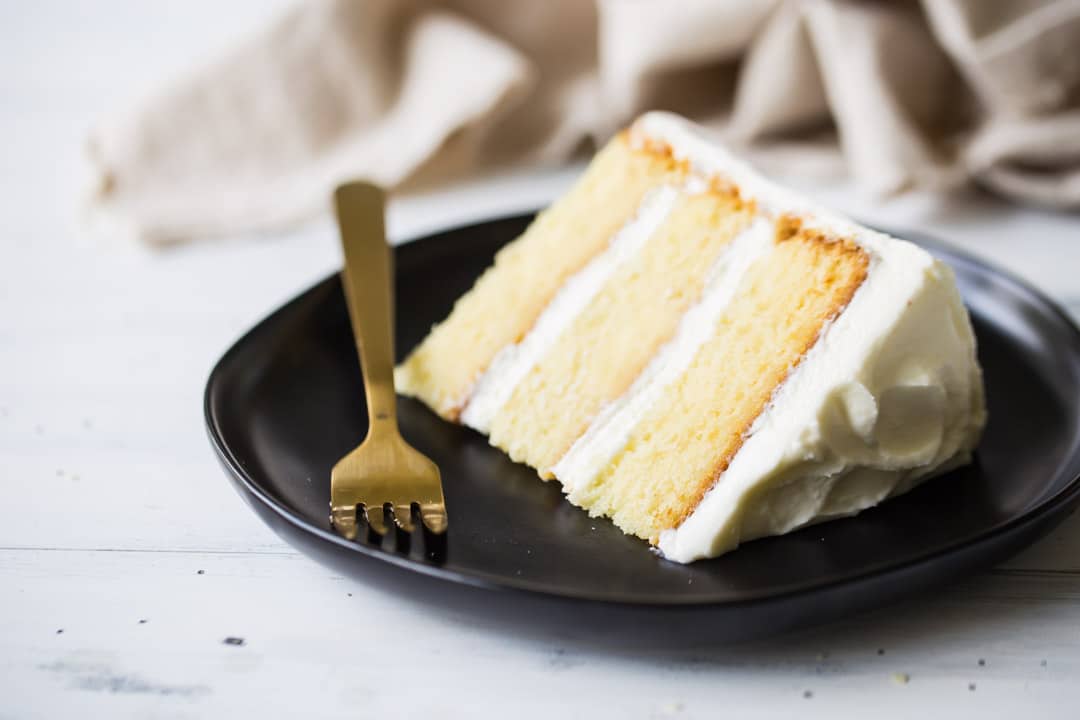
I know you are going to love this vanilla cake recipe! Bake it up for your next big occasion and get ready for tons of compliments!
Serving Size
Using three 6-inch cake pans to create a triple-layer cake, this recipe makes 8 servings.
The nutritional info in the recipe card below reflects a serving size of ⅛ the recipe.
More Classic Cake Recipes
Ingredients
- 2 ¼ cups (281.25 g) cake flour, *
- ¾ cup (93.75 g) all-purpose flour
- 1 ½ cups (300 g) granulated sugar
- 1 ½ teaspoons (6 g) baking powder
- ¾ teaspoon (3 g) baking soda
- 1 teaspoon (6 g) kosher salt
- ¾ cup (170.25 g) unsalted butter, softened
- 3 (132 g) eggs, (large)
- 1 cup (230 g) sour cream, (plain, unsweetened Greek yogurt or buttermilk** can be substituted)
- ⅓ cup (81.33 g) milk
- ⅓ cup (74.67 g) oil
- 2 teaspoons (10 g) vanilla bean paste, (vanilla extract may be substituted)
Instructions
- Preheat the oven to 325 degrees F, line three 6-inch cake pans*** with circles cut from parchment paper, and mist the sides of the pans with non-stick spray.
- Place the cake flour, all-purpose flour, sugar, baking powder, baking soda, and salt in the bowl of an electric mixer, and stir on low speed to combine.
- Add the butter, mixing on medium-low speed until the mixture resembles damp sand (about 1 minute).
- Add the eggs, one at a time, scraping the bottom and sides of the bowl after each addition and allowing each egg to fully incorporate before adding the next.
- Add the sour cream, milk, oil, and vanilla.
- Mix on medium speed for 2 to 3 minutes, to aerate the batter and build the cake's structure. (<--Do not skimp on this step!)
- Divide the batter equally between the prepared pans, and bake on the middle rack of the oven until the cakes are lightly golden, feel springy when lightly pressed, and when a toothpick inserted in the center comes out clean or with a few moist crumbs (approx. 35 to 45 minutes).
- Cool completely before filling and frosting.
Notes
** If you don't have sour cream, plain Greek yogurt, or buttermilk, you can create a substitute by following this tutorial: How to Make Homemade Buttermilk.
*** This layer cake can also be baked in two 8-inch or 9-inch diameter cake pans. The cake layers may bake up slightly thinner, and the bake times may need to be adjusted. Click here for the cupcake version of this recipe: Perfect Vanilla Cupcakes from Scratch.
Author

More Cakes and Cupcakes
Have a question about this recipe? Ask AI:
Hi, do you know if using sour cream creates a different texture or taste than using Greek yogurt or is it the exact same? What do you recommend using?
Also, do you know if freezing the cake a couple weeks in advance does anything to affect the quality? Do you recommend thawing it before frosting or frosting it frozen?
Hi there! I freeze cake layers all the time. Not only does it not seem to have a negative effect, I actually think sometimes it can improve the quality! And I really like frosting a frozen cake because it won't shed as many crumbs into the frosting. It's a great technique- I highly recommend it!
Hi Nora! Honestly I have never done a side-by-side comparison, but sometimes I make it with Greek yogurt and sometimes with sour cream. Either way I find it delicious! If you like a rich flavor, I would probably suggest sour cream. Or you could use a full-fat Greek yogurt and I think the result would be nearly identical.
I've done a side-by-side taste test on a different vanilla cake recipe using full fat sour cream, Greek yogurt (label says 6% M.F.), and 2% milk with no additional dairy (ie. all sour cream, all yogurt, or all milk). The milk version stood out from the other two as having a finer and less moist crumb. The sour cream and yogurt versions were very close. We had a very hard time telling them apart, but felt that the sour cream was slightly better.
I preferred the wetter batter that the yogurt makes when it comes to cakes and it's lower in calories, but I'm more likely to have sour cream in the house for other recipes and a stiffer batter makes it easier to scoop for cupcakes (though batter thickness might be moot if you're using a blend of milk & sour cream like this recipe calls for). Both are good, so use whichever you like.
Hello..
Your recipes look amazing..I love making cakes with cake flour and it was my first time not creaming the butter with the sugar first...so I was really excited to try this technique out but unfortunately the tasted and smelt doughy..i baked it in two 8 inch pans and baked until the cake tester came out clean..it didnt rise much though I followed the recipe exactly...do you know why that could happen.
That could happen if your oven temperature is off, or if your baking powder/baking soda are not fresh. It can also happen if the layers don't go into the oven right away after mixing up the batter. Sorry you had difficulty Loulou!
Dear Allie, I made this cake with my 3 y.o. on the weekend and it was the best cake we have ever made, by a mile. My in laws run a cafe with a large cake cabinet so I was surprised when my mother in law wanted to bring a piece to work with her for my father in law, but she said they have nothing this nice from any of their suppliers!
My son wants to make a “brown” cake next weekend and I just can’t go back to the Hershey’s recipe knowing how much better this cake is, so we will be trying your simply perfect chocolate cake. I compared the two recipes and was interested to note the double quantity of eggs. Can’t wait to try.
Thank you so much for sharing, you are an amazing baker!!
Wow congratulations Rita on outdoing your inlaw's suppliers! That's definitely a win! I'm so happy you and your family enjoyed. Thank you so much for the 5-star review and I hope you like the chocolate cake every bit as much!
What is the height of the pan? 2 inches or 3 inches?
Hi Aron! Either will work- but my pans are just 2 inches high. Hope that's helpful!
Hi! This recipe sounds really good and I’m planning on making it soon. I just have a few question that I want to ask.
Is it okay if I use less sugar? Whenever I bake cakes from recipes I find online, they usually turn out too sweet, so I’m wondering if the same thing would happen to this cake.
I don’t have an electric mixer so would using a whisk and a wooden spoon work for this recipe?
Hi Carmen! Thanks for reading and for the thoughtful questions. To be honest I would not recommend decreasing the sugar on this recipe. I know that a lot of times dessert recipes come out overly sugary, but I kind of pride myself on developing recipes that are less sweet. I like to taste the flavor of all the ingredients (the butter, the eggs, etc.), and not just overpower desserts with a lot of unnecessary sugar. If you use less sugar, you run the risk of a dryer, less moist cake since sugar is hydrophilic and it holds moisture. And you can definitely try making this with just a wooden spoon but your arm will get a good workout! Just make sure that the butter is blended really well into the dry ingredients. It should look almost like damp sand. Good luck and I hope you enjoy!
Hi, i noticed your butter is 3/4 cup but you wrote that its equivalent to 1 1/2 sticks of butter. 3/4 cup butter is 170g but 1 1/2 sticks of butter is 340g. Im so confused!
Hi Jade! I'm not sure where you are getting those numbers from, but the correct amount of butter for this recipe is 3/4 cup. In the US, butter is sold in 1/2 cup sticks, so that would be 1 1/2 sticks of butter.
Thank you for this delicious recipe. I’ve been looking for years for a perfect vanilla cake recipe and I finally found it. I bake cakes for my kids and hubbys birthday and this will be my go-to recipe from now on. It’s perfect all around (perfectly moist, great texture, delicate and not too sweet). I can’t wait to try your other recipes. Thank you again!
I'm so happy you've been pleased with it Kana! Thank you so much for the great feedback!
Which icing recipe did you use for this cake?
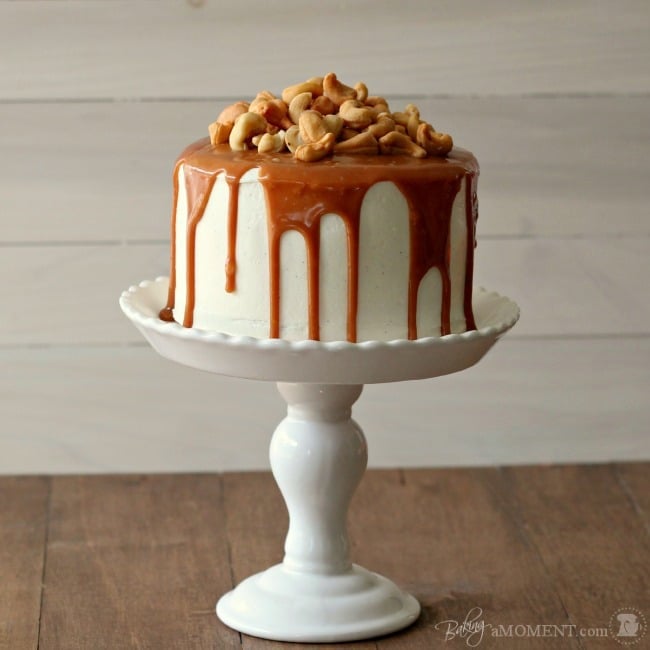
Hey Kelsey! For the pictures you see here, I frosted the cake with Whipped Cream Frosting.
Made this cake last night, doubling the recipe so I could get a three layer 8” cake (plus a few teaser cupcakes). It is FABULOUS! I used to think vanilla cake was for bakers lacking creativity... I’m officially a convert, this cake is a winner!
Wow, so glad to hear it Crystal! Thanks so much for the great feedback!
Honestly this recipe deserves a 5 stars. Every vanilla cake I have baked in the past hasn't quite made it up there but this one is a keeper!
That is so great to hear Kyoni! Thank you so much for the positive feedback!
Hi,I want to try to make this cake for my son's BD party but I just wonder if this cake is ok to be covered with fondant.
Wow. Amazing. Thank you for sharing. Pairing with custard and chocolate ganach for a boston cream pie cake for my moms birthday.
So happy you enjoyed Ty! I actually have a Boston cream pie recipe on this site that does use this recipe as a base: https://bakingamoment.com/boston-cream-pie-recipe/. Happy birthday to your mom!
OKAY..... this has to be easiest recipe to follow because I made it and it turned out FABULOUS! I've had so many baking fails, so when I come across a recipe that works it's a big deal. This cake is so moist and delicious. Will be using this recipe for many more occasion to come. Thank you for sharing =)
So happy to hear that Tee! Thank you so much for the awesome feedback!
The whole thing before the recipe was unnecessary and stupid nobody wants to read all that crap just to get to the recipe put the recipe on top and if people don't know how to bake they can read past the recipe I had to scroll down to the bottom. Just to see the ingredients I just wanted to see if I had everything I needed
I can't believe you had to scroll all the way to the bottom! That must have taken you ages and I bet your thumb was really sore. Tell you what, when you start your own website and pay all the fees, hire your employees, and devote 50-plus hours a week to providing FREE recipes to your readers, you can put your recipe right at the top and let me know how that works out for you. Good luck and God bless!
Brilliant reply. I just found your site today, made this cake today and your marble cake. Both are delicious! I love the combo of cake and all purpose flour, and the crumb that reverse creaming creates. And simple directions to follow. **Perhaps old Alex just needs to crack open a cookbook and call it a day. I, for one, love the story of the recipe, the why's of the ingredients, as well as the beautiful photography and any back stories. Take a chill pill Alex, nobody wants to read your rant!!!
Lol thanks for having my back Paula! I'm so glad you're liking the recipe!
Alex could have been more tactful, but he has a point. I frequently load up new recipes on my phone before I go to the kitchen so I don't have to waste paper, and it is a royal drag having to scroll past the irrelevant content. Not everyone has the same level of mobility as yourself, some people are disabled or have vision impairments and depend on a screen reader to read the page for them.
Most other baking bloggers include a "jump directly to the recipe" link at the top of the page, and they still manage to do what they do FREE of charge. It's easy to add and is helpful for able-bodied and disabled users alike.
I do have a jump to recipe button, it's right under the title next to the date!
AND everything on here is free of charge. I have never charged my readers a dime for anything I provide.
Best come back ever! I will definitely be making your cake this weekend
Lol thanks! Hope you enjoy it!
Your are awesome, thank you for providing these wonderful FREE recipes. I am still shocked by tge lack of kindness and gratitude by some. Best wishes to you! Trying out recipe now?
Thanks for that, Rosa. What can I say... when you put yourself out there you need to accept that you are going to be criticized I guess. Luckily most people are nice and it's rare that I get a bashing like that, lol!
Wow, Alex. Just wow.
I made this cake today, in 2, 9 inch pans. I adjusted the cooking time to about 36 minutes and they came out looking great. After I let them cool, they sunk a little in their pans. What did I do wrong?
Hey Deborah! So sorry you had trouble! Usually if your cake sinks it's because it hasn't been baked quite long enough. A lot of times, it will look really puffy because it's full of steam. But if it's still too soft or wet in the middle, that steam will dissipate as the cake cools, and it doesn't have the strength/structure to keep itself "lifted." Definitely use the toothpick test because bake times are really just a guideline and every oven is different. Again, I'm so sorry, but hopefully next time you'll have a better result!
Great recipe! I also found that my cake collapsed inwardly. The bottom of the cake layer would pull away from the pan about 1/4” while the top of the layer pulled away by about 1/2”. I’m not sure why this happened but it’s no biggie.
I’ll be using this recipe again! 🙂 thank you for posting!
Happy you enjoyed it! Thanks for weighing in!
Every time I've made this recipe the sides of the cake collapse! I've tried less oil on the pan but I think next time I'll try none. I made sure not to over beat the batter too. If that doesn't work I guess I'll try less milk? I didn't overbake them and I certainly didn't over grease the pan this time. If you have any suggestions of how to fix this please let me know.
That is so strange! What exactly do you mean when you say the sides of the cake collapse? Like do they fall inward? When I make it the cake does shrink away from the pan as it cools, but I've never had the cake collapse unless it was underbaked and lacked enough structure to support itself. But even then it tends to sink in the middle, not on the sides. ???