Coconut Cake
As an amazon associate I earn from qualifying purchases.
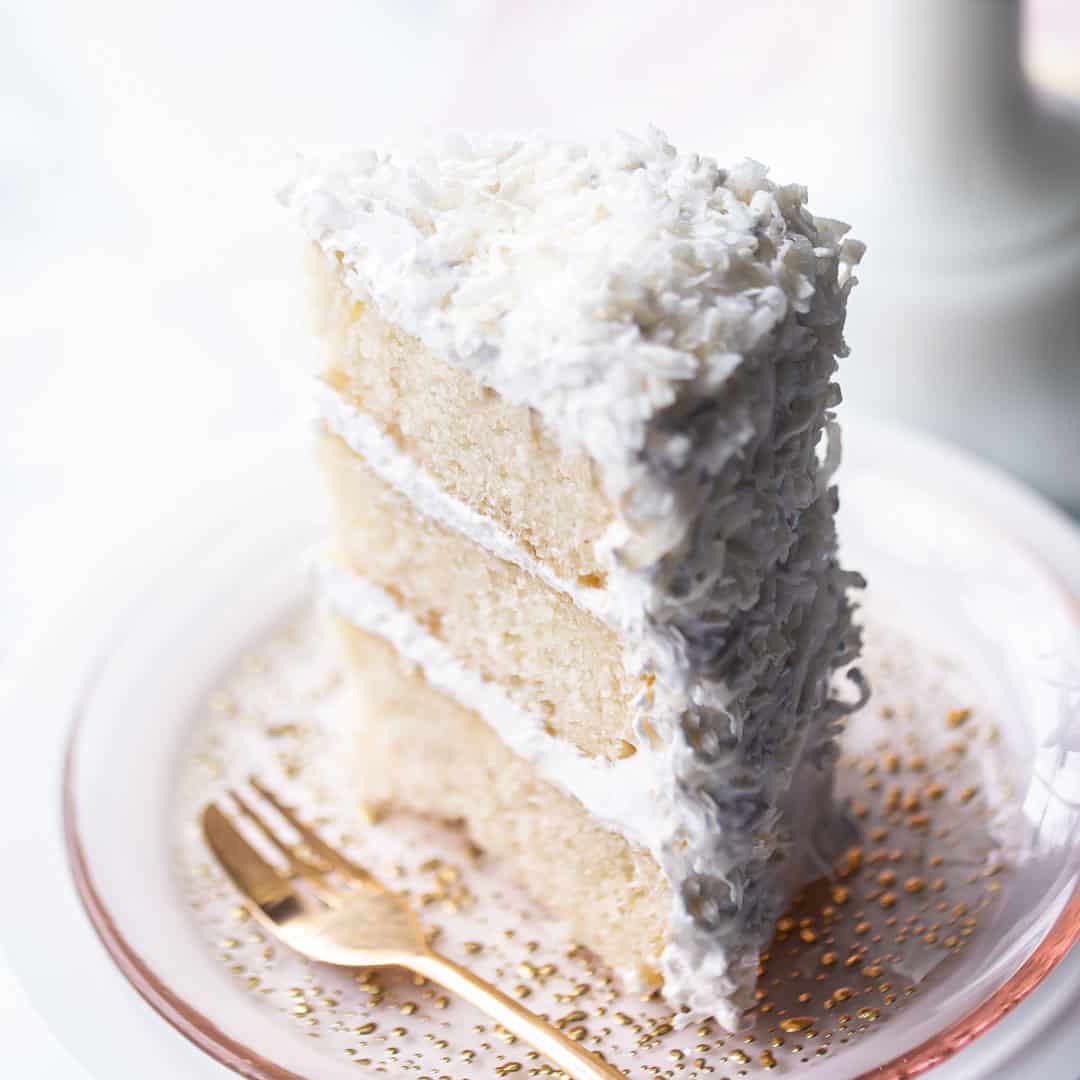
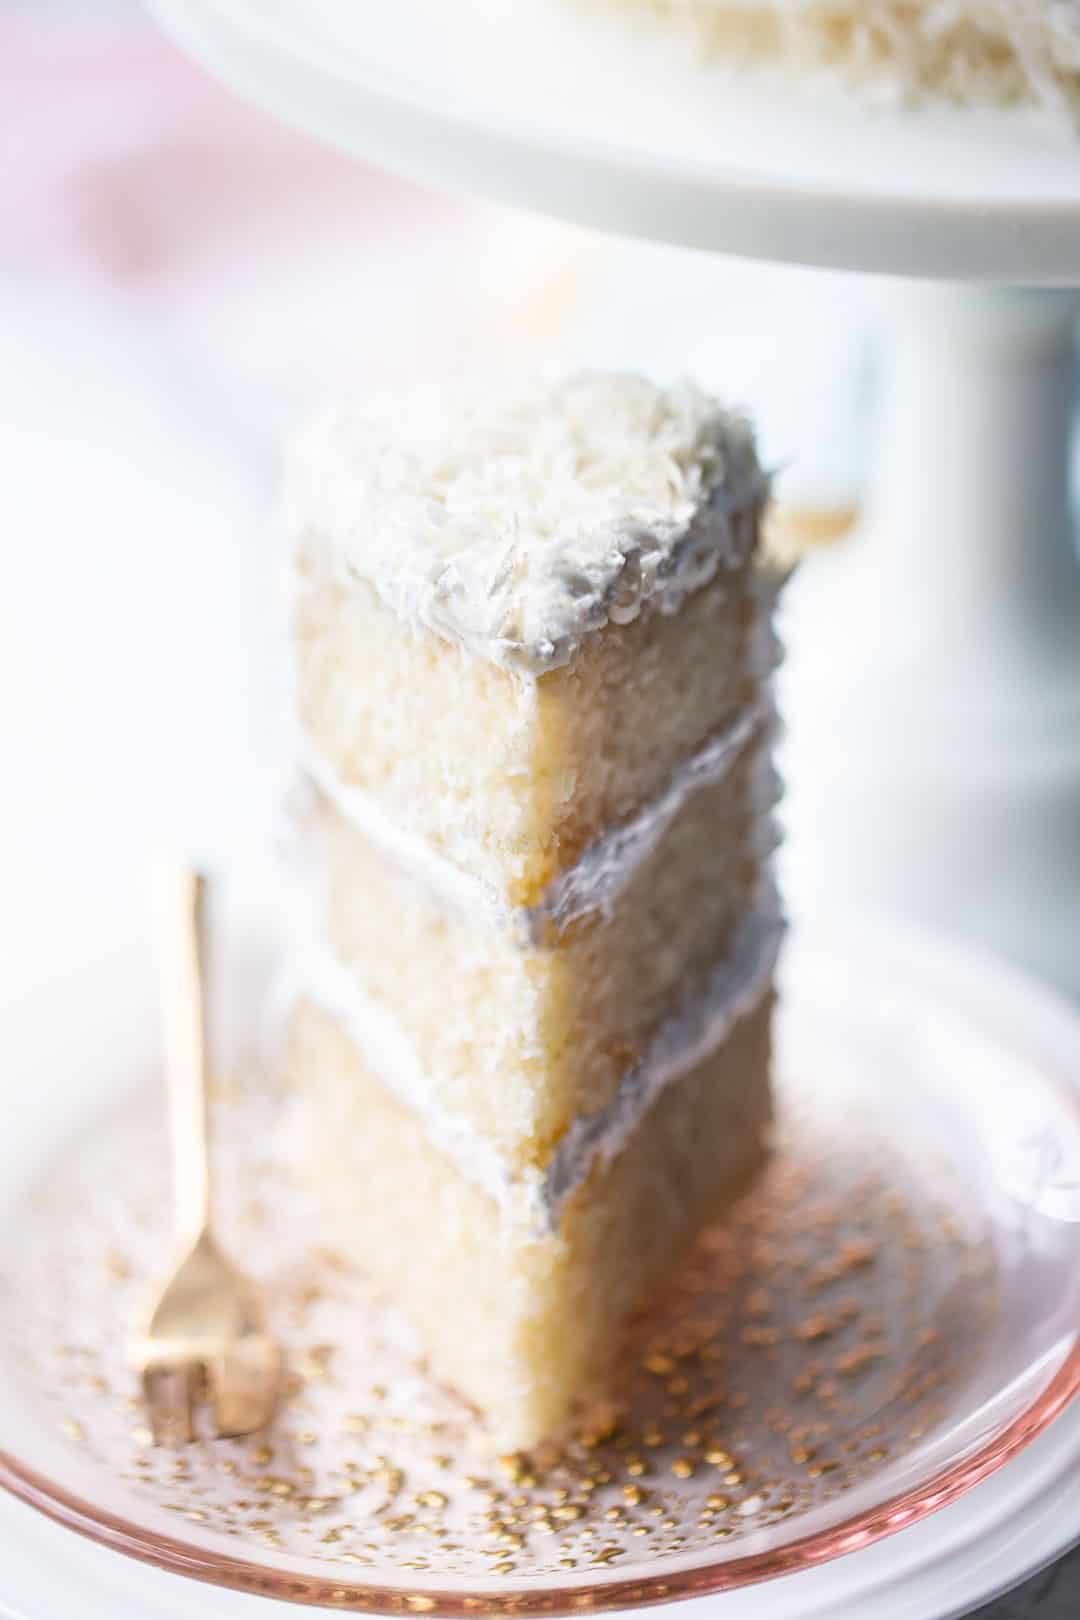
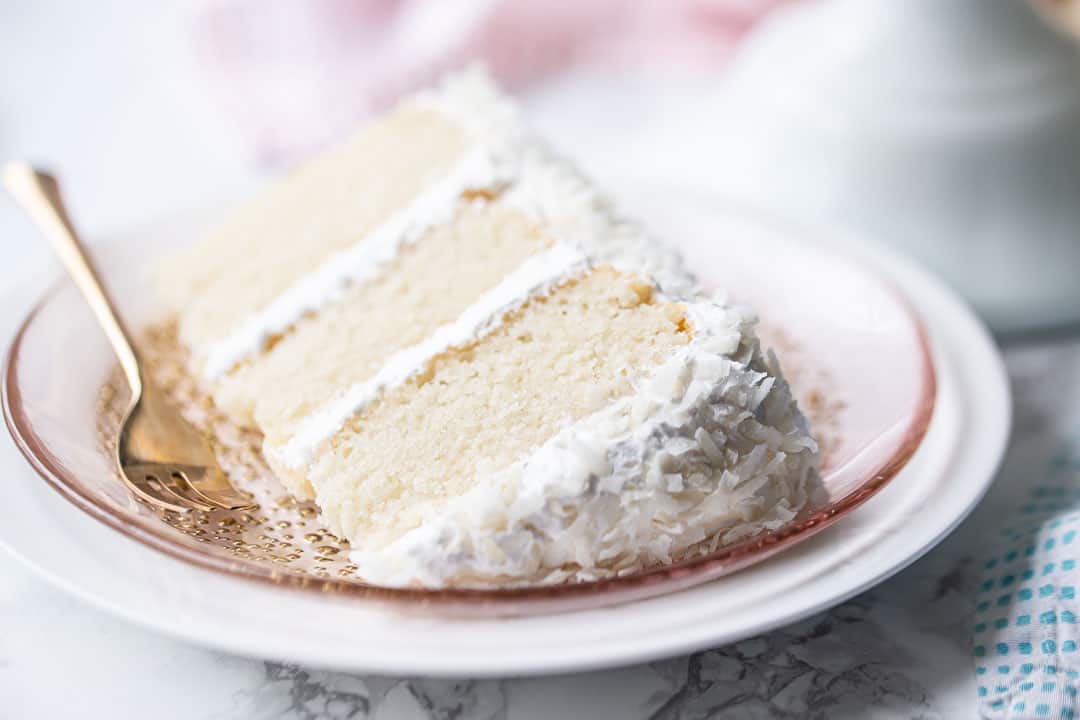
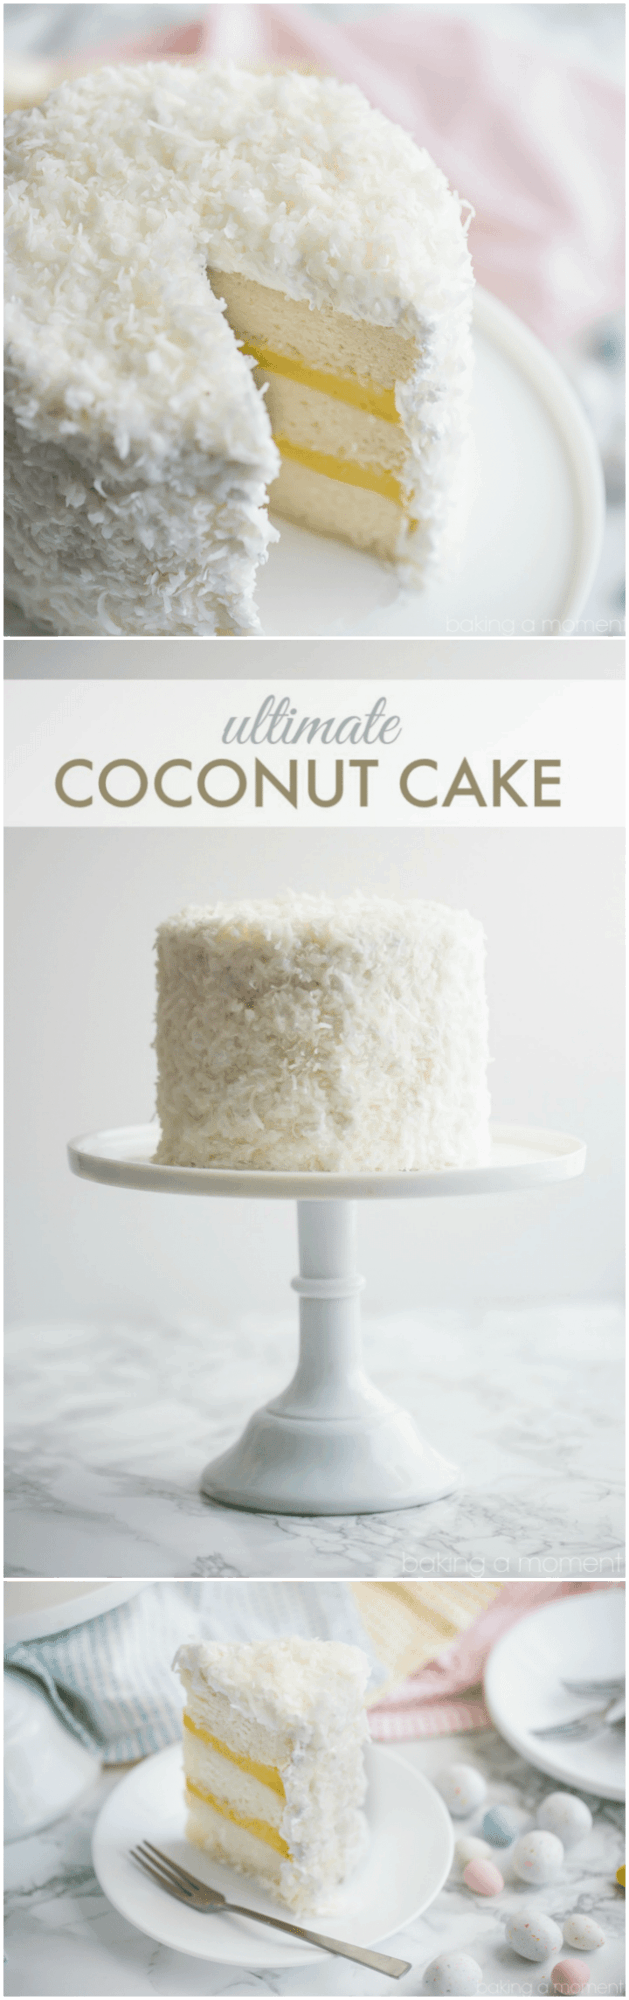
Coconut Cake: A towering triple-layer beauty, filled and iced with fluffy, marshmallowy frosting and topped with mounds of sweet shredded coconut.
Spring is in the air!
And I can't stop thinking about Easter recipes! I've got deviled eggs, pineapple stuffing, quiche Lorraine, and lemon meringue pie on the brain!
So it seems like the perfect time to overhaul my old coconut cake post.
This was originally published way back in 2016, and it made a big splash!
I adapted it from my classic white cake recipe, so it's a really easy recipe to make. You just mix your dry ingredients in one bowl and your liquid ingredients in another bowl and then combine the two.
A lot like a quick bread!
Most everyone loved this easy coconut cake recipe, but I did get a few comments about it being dense (which I don't always think is a bad thing... ie: pound cake?). But I decided to rework the recipe and create something with a little more of a downy-soft, moist, and fluffy texture.
This coconut cake recipe bakes up light as a cloud and so pillowy! It's just sweet enough and extra-moist, and it's perfumed throughout with the fresh, tropical aroma of coconut.
I like to bake it as a tall triple-layer beauty (talk about the wow factor!), but it can also be made into a shorter, wider cake, a sheet cake, or even cupcakes.
Topped with a fluffy-sweet meringue frosting and coated in shredded coconut flakes, this simple coconut cake recipe will be the centerpiece of your holiday table.
Get ready for rave reviews!
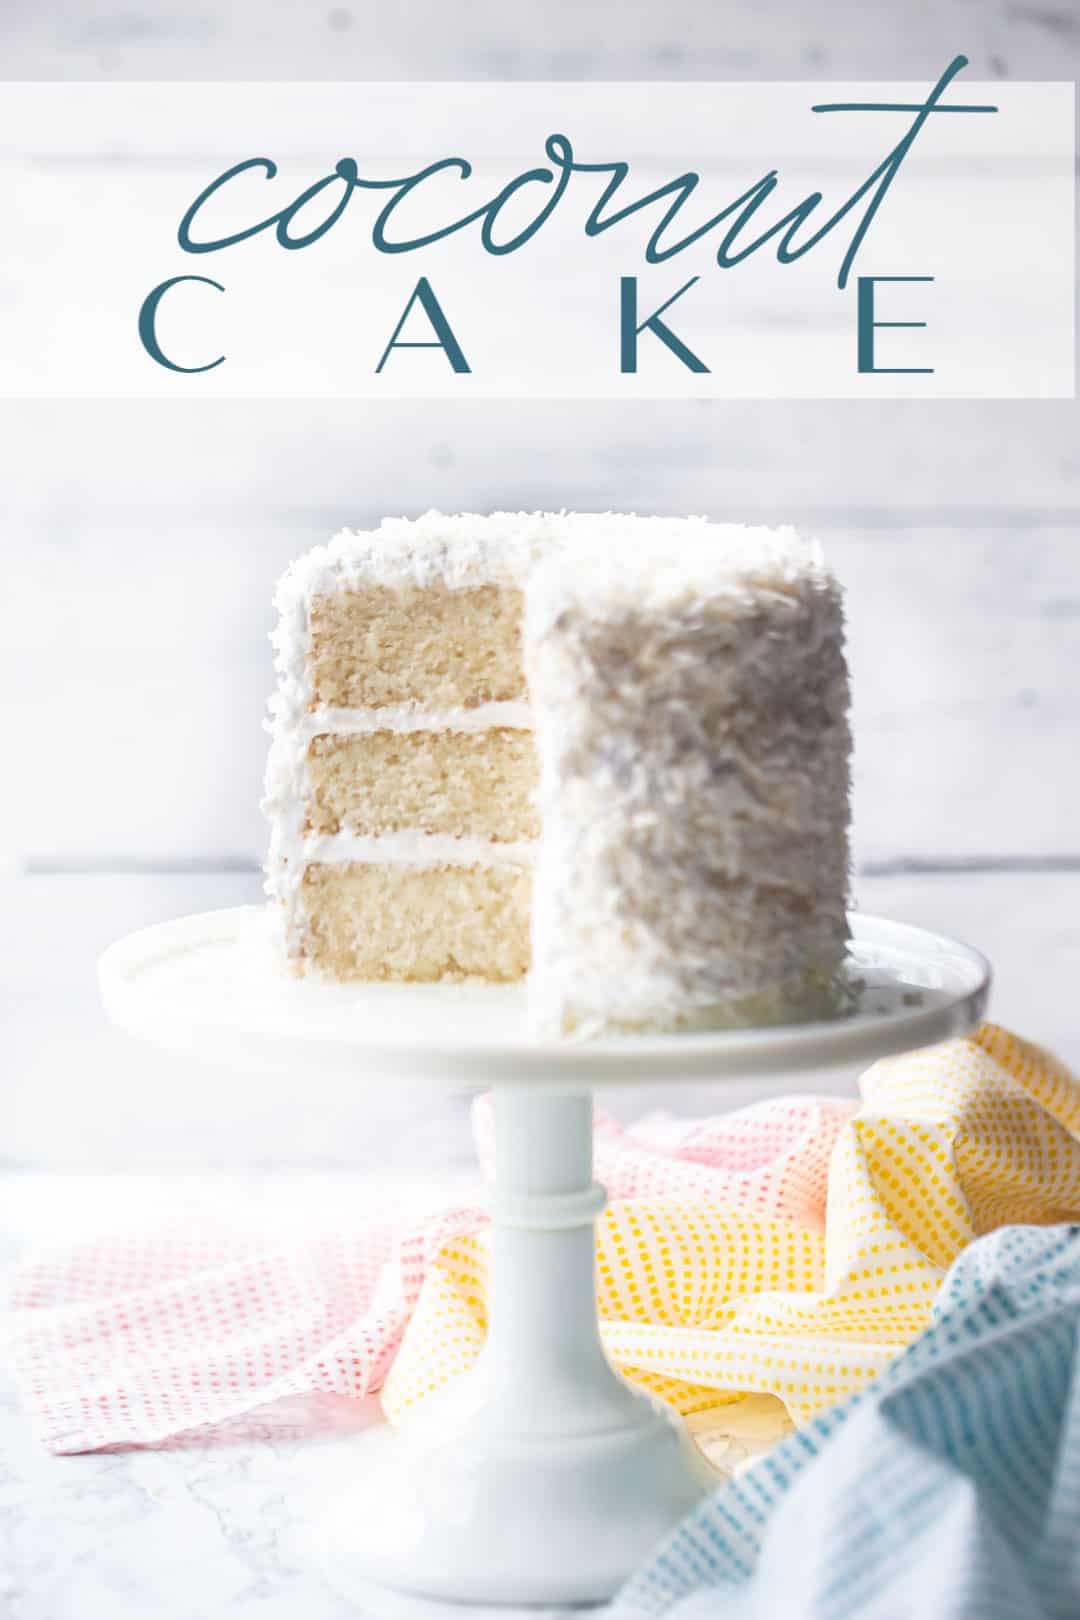
Table of Contents
- Why you'll love this coconut cake recipe
- Ingredients and notes
- How to make coconut cake
- Recipe FAQ's
- Expert tips
- Variations
- How to store and keep
- A few more of my favorite coconut recipes!
Why you'll love this coconut cake recipe
Tropical flavor: The cake will remind you of an island vacation with its sweet, nutty, and mildly tropical flavor.
Moist and tender: This coconut cake is so moist and tender, thanks to the addition of coconut milk.
Great texture: The shredded coconut on the cake adds a nice chewiness.
Gorgeous presentation: This cake's snowy-white look with toasted coconut flakes on top will really wow your guests!
Celebratory treat: Coconut cake is great for celebrations like birthdays, weddings, and holidays. It'll really add to the joy and festivity of the occasion.
Ingredients and notes
Flour
All-purpose flour is my go-to, but you can swap it out for any kind of whole-grain option if you like. You may need slightly less if you go that route.
A gluten-free flour blend that can sub 1:1 for regular flour should also work just fine, if you'd like to make a gluten-free coconut cake.
Sugar
Sugar adds sweetness (obvs!) but it also aids in browning and keeps things moist, since it's hydrophilic (this means it loves water, in other words, it draws moisture in).
Regular white sugar is fine, or sub for another type of sweetener if you like. As long as it swaps 1:1 for granulated sugar it should work.
Baking Powder
This coconut cake recipe utilizes baking powder to leaven (or "lift") the cake layers.
Baking powder is a double-acting leavener, so it starts the pastry rising both when liquid is added to it, as well as when it hits the hot oven.
Baking soda will not work in this recipe because there isn't enough acid to activate it.
Baking powder has a little bit of that acid built in.
Salt
Salt carries the flavors and intensifies them. The end result won't taste salty, but it will make everything so much more flavorful!
I like kosher salt best because it doesn't have any additives (table salt usually contains iodine and that can leave a bitter taste), so the flavor is pure. It's also inexpensive and easy to find in a regular grocery store.
Coconut milk
A crucial ingredient that infuses the cake with a sweet coconut flavor and makes it ultra moist, coconut milk is essential. You'll want to use full-fat, unsweetened coconut milk in a can for the coconut milk. I especially like the Thai Kitchen brand.
Oil
Provides richness and moisture to the cake. Use a neutral-tasting oil such as vegetable oil or canola oil that won't detract from the coconut flavor of the cake.
Egg whites
Egg whites provide structure and stability to the cake.
Coconut extract
Enhances the overall coconut flavor. If you don't have coconut extract you can order it here: Coconut extract. Or just substitute almond extract or vanilla extract.
Marshmallow frosting
This light and fluffy frosting perfectly compliments the airy texture of the cake.
Learn lots more about it here: Marshmallow frosting.
Coconut
Shredded coconut is the star ingredient, adding texture, taste, and stunning visual appeal to the cake.
I prefer sweetened shredded coconut, but you can use the unsweetened kind if you prefer.
How to make coconut cake
This showstopper of a cake comes together in 6 simple steps.
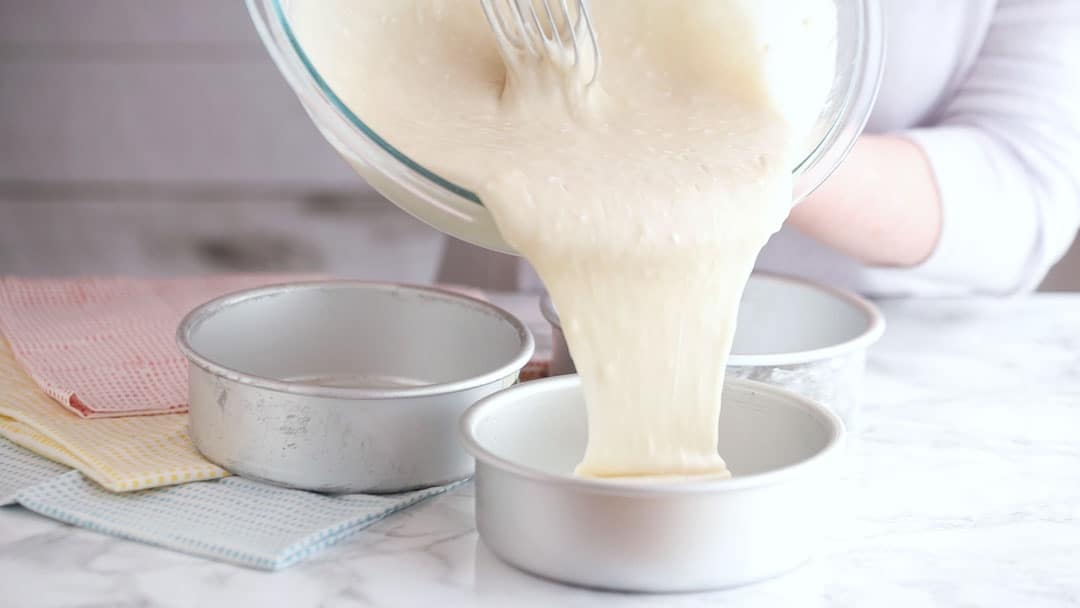
Step 1: Prep the pans
Get your oven preheated and line three 6-inch cake pans with parchment paper.
You can make this in other sized pans as well; check the notes in the recipe card below for specifics.
Step 2: Combine the dry ingredients
Add the all-purpose flour, sugar, baking powder, and salt into a big bowl.
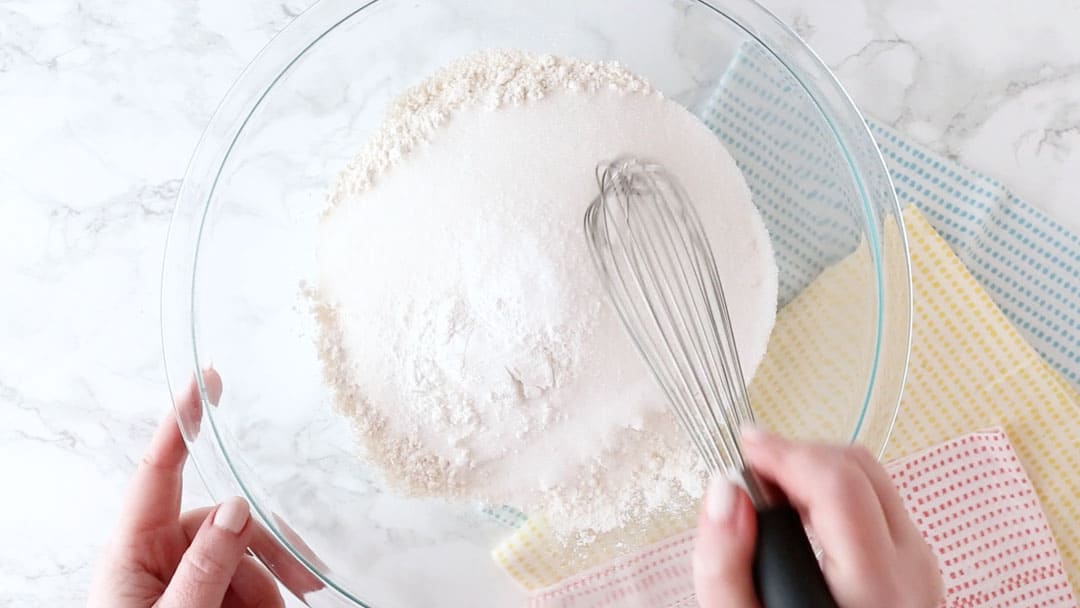
Whisk everything together to get it combined.
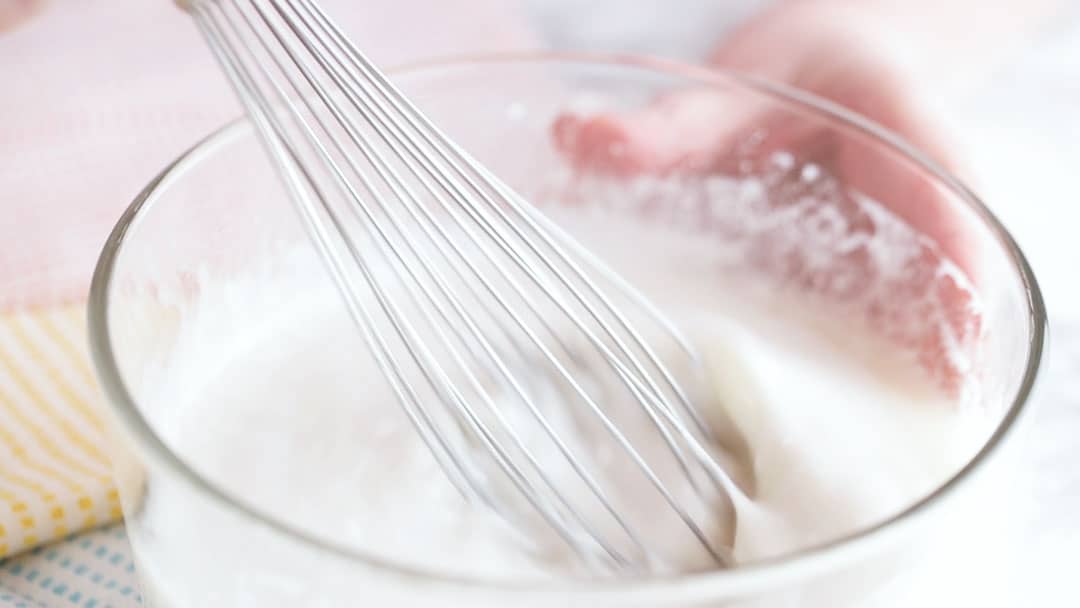
Step 3: Combine the liquid ingredients
Next, whisk your coconut milk, oil, egg whites, and coconut extract together in a smaller bowl.
For the oil, you can use any neutral-tasting oil that is liquid at room temp.
My old recipe called for melted coconut oil, but I think that was actually what was causing the denser texture. So if you like a more pound-cake-y coconut cake, use melted coconut oil! It will give your cake an even coconutty flavor.
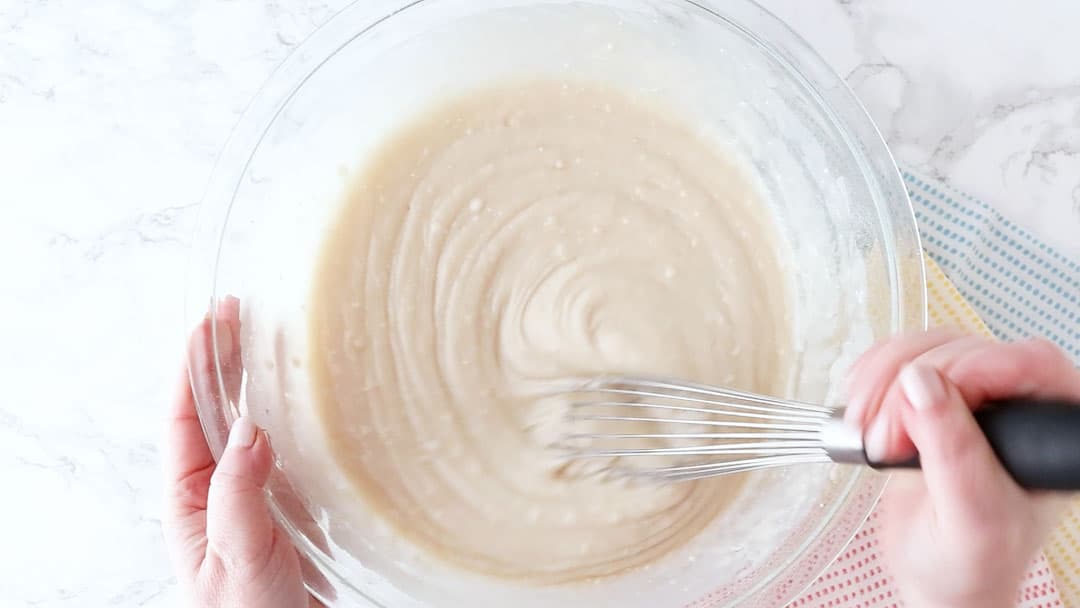
Step 4: Add wet to dry
Once all these wet ingredients are well combined, add them to the large bowl with the dry ingredients.
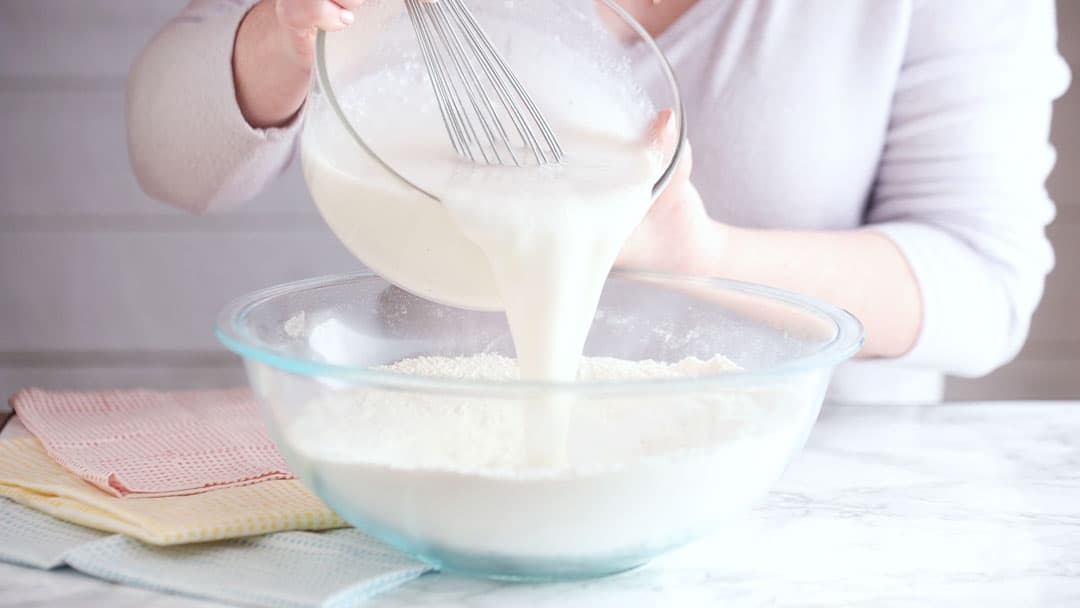
And whisk everything together until smooth.
Step 5: Bake the cake layers
Transfer the batter to your prepared pans and bake!
Keep an eye on your cake while it's baking. You'll know it's done when it feels springy and when a toothpick inserted in the thickest part comes out clean.
In my oven, this takes about 40 minutes, but ovens can vary, so I would suggest checking it 5 minutes early to see. But don't open the oven door too soon, or your cake could collapse!
Allow the cakes to cool completely before filling and frosting them.
Step 6: Frost and decorate
Fill and frost the cake with marshmallow frosting.
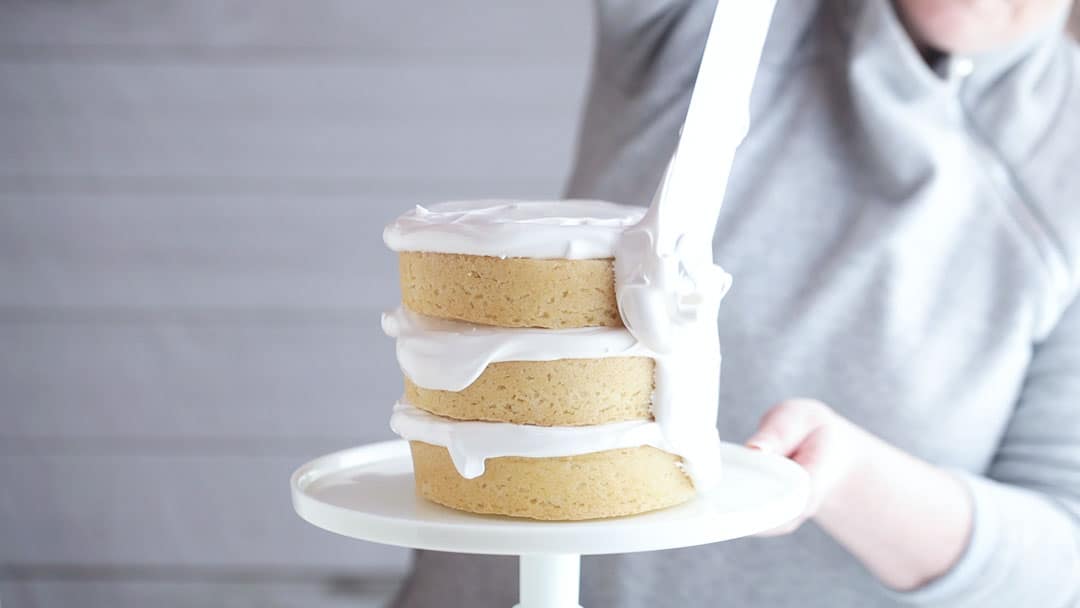
Then coat the entire thing in a thick layer of fluffy shredded coconut!
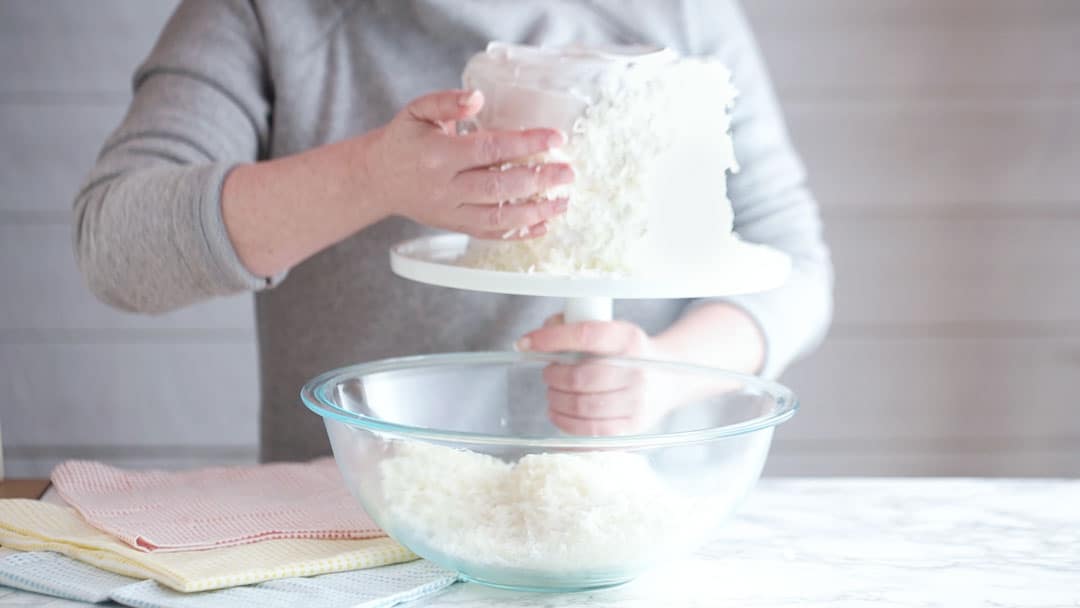
Do this by holding the iced cake over a big bowl, then pressing big handfuls of coconut along the sides and over the top, allowing the excess to fall away into the bowl.
You can see just what this looks like when you watch the video in the recipe card below.
Recipe FAQ's
I used my favorite marshmallow frosting to fill and ice the cake.
To me, coconut and marshmallow go together like bread and butter!
Find the full step-by-step picture tutorial and recipe here: Marshmallow Frosting.
You could also try 7-minute frosting, a classic choice that's similar to this.
There are plenty of specifics on this in the nutritional info found in the recipe card below, but I can tell you that this old-fashioned coconut cake is 100% dairy-free!
It is not vegan, however, because it does contain eggs. (Contrary to popular belief, eggs are not dairy. Even though they're often sold in the dairy section, the term "dairy" only applies to milk products.)
Expert tips
- Start with fresh and high-quality ingredients, as they can significantly impact the flavor and texture of the cake.
- Ensure that ingredients like the eggs and coconut milk are at room temperature. This allows for better mixing and helps achieve a smooth batter.
- Use the spoon and level method to avoid packing flour in the measuring cup when measuring flour. This helps prevent a dense and dry cake. Find more info on this here: How to Measure for Baking.
- Once you add the wet ingredients to the flour, mix until just barely combined. Overmixing can result in a tough cake.
- Keep a close eye on the cake while it's baking. Coconut cake can go from perfectly moist to gross and dry very quickly, so check for doneness a few minutes before the recommended baking time is up.
- Allow the cake to cool in the pan for about 10 minutes before transferring it to a wire rack. Let it cool completely before filling and frosting.
Variations
Gluten-free coconut cake
This cake can be made gluten-free by swapping the wheat flour for a gluten-free blend. Look for one that subs 1:1 for regular flour. Here are a few good options:
- King Arthur Flour Gluten-Free Measure for Measure Flour
- Bob's Red Mill Gluten-Free All-Purpose Baking Flour
- Cup4Cup Multi-Purpose Gluten-Free Flour
Try a different filling or frosting
I used a coconut pastry cream filling for the prior version of this southern coconut cake. If you'd like to try it that way, swap the dairy milk in this recipe for coconut milk: Pastry Cream.
Lemon curd would also be a great choice!
You could even use chocolate mousse or strawberry jam between the layers.
If you prefer something a little less sweet, definitely try this with whipped cream frosting or Swiss meringue buttercream.
Cream cheese frosting is another excellent choice.
My easy chocolate frosting would take things in a delicious direction, and a simple American-style buttercream is always a favorite!
How to store and keep
Room Temperature: It's OK to leave this cake at room temperature for a few hours. The hot sugar syrup cooks the egg whites in the marshmallow frosting.
Refrigerate: If you have any leftovers it's best to wrap them tightly with plastic wrap and keep them in the refrigerator in an airtight container. They will keep in there for several days to a week.
Freezing: This homemade coconut cake freezes beautifully.
You can bake the layers, allow them to cool, and then wrap them tightly, and they will last at least a few months in the freezer.
Fill and frost them while frozen (this works great by the way!), or thaw them in the refrigerator first.
You can try freezing the leftovers too, but you may not have the best results depending on what filling and frosting you've used. Some fillings and frostings don't hold up well through the freeze/thaw process.
A few more of my favorite coconut recipes!
As an amazon associate I earn from qualifying purchases.
Ingredients
For the coconut cake layers
- 2 ½ cups (312.5 g) all-purpose flour
- 1 ½ cups (300 g) granulated sugar
- 1 tablespoon (12 g) baking powder
- 1 teaspoon (6 g) kosher salt, scant
- 13.66 fluid ounces (403.93 g) coconut milk, (1 can)*
- 1 cup (224 g) oil, (any neutral-flavored oil that is liquid at room temp will work)
- 2 (60 g) egg whites, (large)
- 1 ½ teaspoons (7.39 g) coconut extract
For the marshmallow frosting and decoration
- 5 (150 g) egg whites, large
- ½ teaspoon (1.5 g) cream of tartar
- ⅛ teaspoon (0.75 g) kosher salt
- 2 cups (400 g) granulated sugar, divided
- ⅔ cup (157.73 g) water
- 2 teaspoons (8 g) vanilla extract
- 1 ½ cups (120 g) shredded coconut, (approx.)
Instructions
To make the coconut cake layers
- Preheat the oven to 325 degrees F, lightly mist three 6-inch diameter cake pans** with non-stick spray, and line them with circles cut from parchment.
- Place the flour, sugar, baking powder, and salt in a large mixing bowl, and whisk to combine.
- Place the coconut milk, oil, egg whites, and coconut extract in another bowl, and whisk to combine.
- Add the coconut milk mixture to the flour mixture, and whisk together until smooth.
- Divide the batter equally between the 3 prepared pans, and bake the cakes until a toothpick inserted in the thickest part comes out clean (approx. 35 to 45 minutes).
- Cool completely, then fill and frost the cake with marshmallow frosting and coat it with shredded coconut.
To make the marshmallow frosting***
- Place the egg whites, cream of tartar, and salt in a large mixing bowl and whip on medium speed until foamy.
- While continuing to whip, add 1 cup of the sugar in a very slow and steady stream (about 1 teaspoon at a time).
- Once the entire cup of sugar has been added, continue to whip until the meringue can hold stiff peaks.
- Whip in the vanilla extract, and continue to stir the meringue on low speed while you prepare the hot sugar syrup.
- Place the remaining 1 cup of sugar in a small pot, along with the water.
- Place the pot over medium heat and cook until the syrup boils and reaches 235 degrees F.
- In a very slow and steady stream, add the hot sugar syrup to the meringue, while continuing to whip on low speed.
- When all the syrup has been added, turn the mixer up to high speed and whip until very stiff and glossy.
Notes


Fill it with coconut milk pastry cream for an over the top cake.
Made this as a dessert for a dinner party. I must say, this is the BEST coconut cake recipe I have ever tried. Well done! It really is the Ultimate Coconut Cake! I had a guest who is dairy free, so this cake filled the bill. I frosted the cake with a coconut swiss meringue buttercream and I made a raspberry sauce to accompany the cake. Perfection! Thank you for such a winning recipe!
Looks yummy! This cake reminds me of one my mom used to make. She brushed each layer with orange juice (not too much to make it soggy), then frosted with 7 minute frosting and topped with coconut. You are making me hungry for one!!!
Love that! Thanks so much for reading Janet!
I love your recipes I wish you had cookbooks to purchase