Bread Bowl Recipe
As an amazon associate I earn from qualifying purchases.
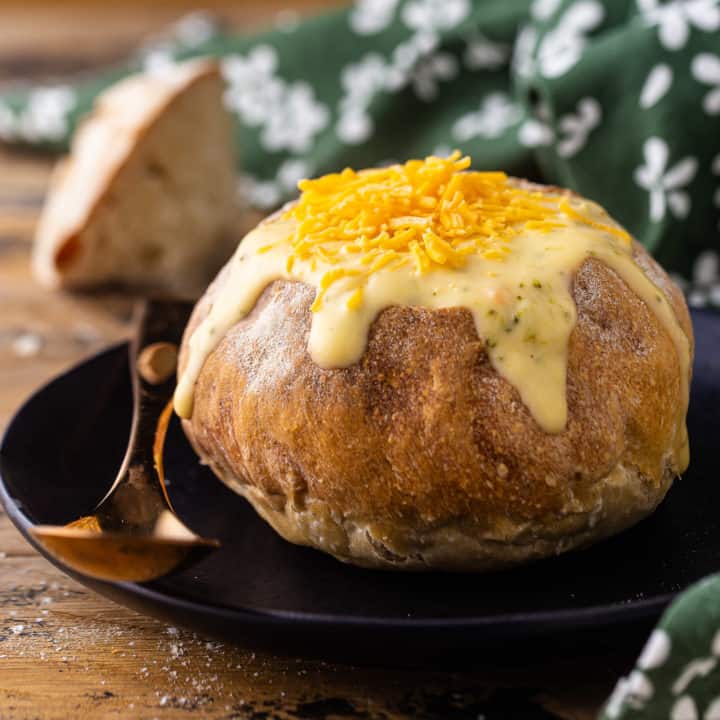
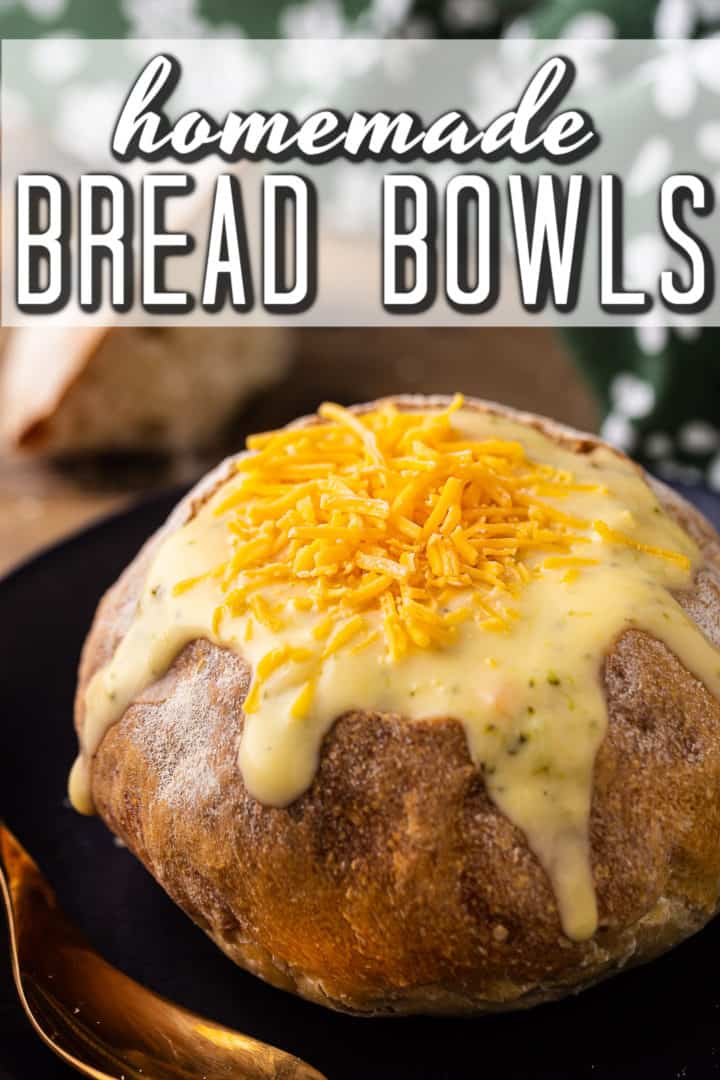
This easy homemade bread bowl recipe bakes up crusty, chewy, & so flavorful! Perfect for soups and dips. Just 4 simple ingredients!
Let's make bread bowls!
Don't you just love the idea of a hearty soup or creamy dip served in a hollowed-out loaf of bread? There's something so fun about being able to eat the vessel your food is served in.
There are so many bread recipes out there, and every time I look at one all I can think about is "How can it be simplified?".
I got you, the idea of baking with yeast can be intimidating. So I want to eliminate any unnecessary steps for you and break things down to be as approachable as possible.
That's what I've done here. This bread bowl recipe has just 4 simple ingredients and it's all made in one bowl. You don't need any fancy equipment and you don't even have to really knead the dough. There's a lot of resting involved, so you'll want to plan ahead, but the active time is so minimal.
You'll love it so much you won't want to eat another bowl of soup without one!
WHAT'S A BREAD BOWL?
A bread bowl is exactly what it sounds like: a round loaf of bread scooped out to create a bowl.
You can put all different kinds of deliciousness inside, but it's mostly used to hold soups or dips.
This recipe bakes up with a shatteringly crisp, brown crust and an airy, chewy interior, similar to a French baguette or Italian bread. Once filled, it will absorb the flavors and moisture of whatever you put into it, to become softer and even more delicious.
HOW TO MAKE A BREAD BOWL
STEP 1: MAKING THE DOUGH
To make these homemade bread bowls, start by proofing a packet of yeast in some lukewarm water. Aim for the temperature of a baby's bath: not too hot (or around 105 degrees F).
If your yeast doesn't start to look foamy after about 5 minutes, throw it out and start again. It's probably dead.

Once it's bubbling a little bit, add in about ¾ of the flour. I use all-purpose but bread flour works well too.
Stir the flour in until you have a homogenous, sticky dough.
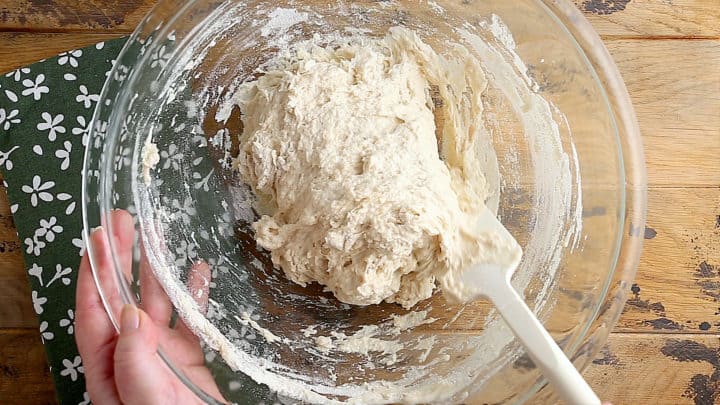
Then work in the remaining flour and the salt. You should have a stiff, somewhat shaggy dough.
Cover the bowl with plastic wrap and allow the bread dough to rest for about 30 minutes and relax a little bit before starting the folding process.
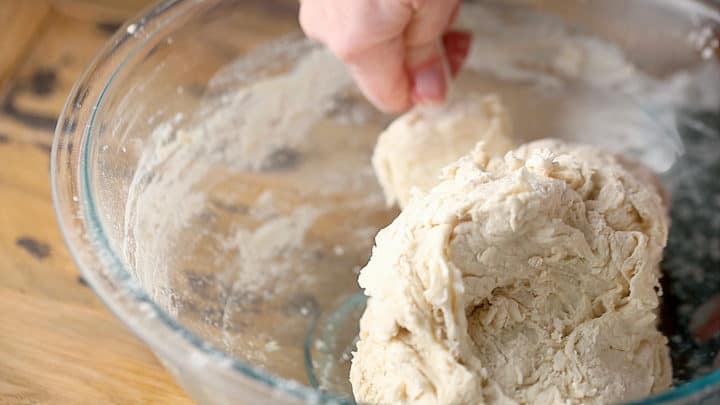
STEP 2: FOLDING AND RESTING
You'll want to fold this dough twice, with a one-hour rest after each fold. The fold goes like this: top to bottom, bottom to top, right to left, left to right. You can see what this looks like by watching the video in the recipe card below.

This folding action will develop the glutens in the flour so you get that chewy, elastic texture that's so satisfying in a good loaf of bread!
STEP 3: SHAPING THE LOAVES
After the dough has had its second fold and rest, divide it into 6 individual portions. You are going to make 6 individually portioned bread bowls. (If you want fewer, larger loaves, there's info on that below.)
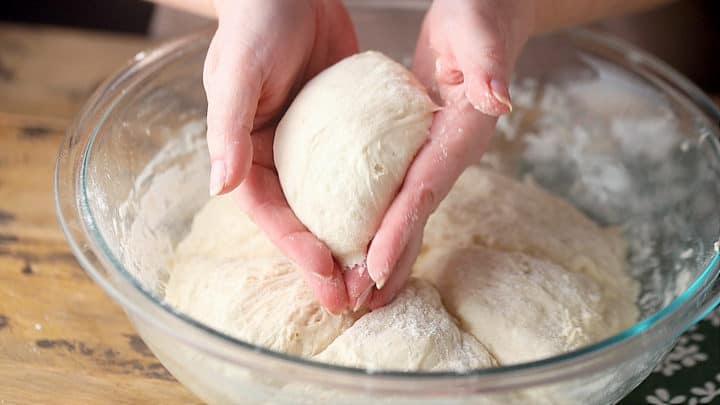
Using lightly floured hands, smooth each portion into a tight ball, stretching the top surface of each dough ball and tucking any seams underneath. Again, you can see what this technique looks like in the video.
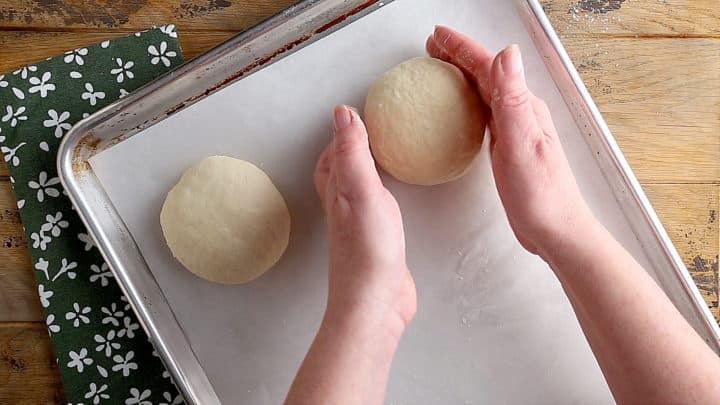
Place the dough balls on a parchment-lined baking sheet, cover them loosely with oiled plastic wrap (I just mist a big sheet with non-stick spray), and let them rise to twice their original volume.
STEP 4: BAKING THE BREAD
Place an oven-safe dish in the bottom of your oven (I just use a metal cake pan), and preheat the oven to 475 degrees F.
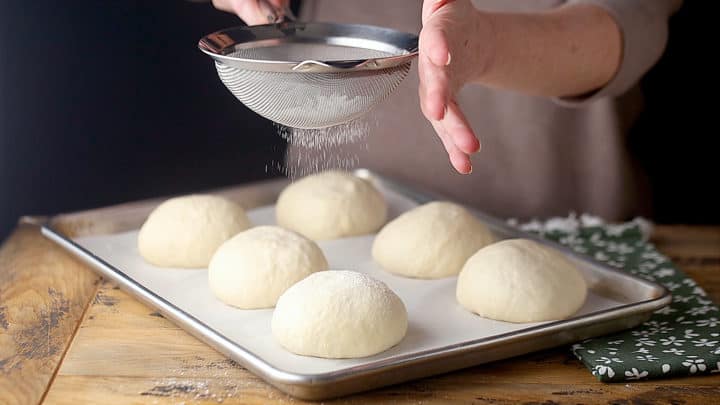
Carefully remove the plastic wrap from your risen dough balls and dust them lightly with flour.
Then, using a lame or a very sharp knife, score them in an "X" shape.
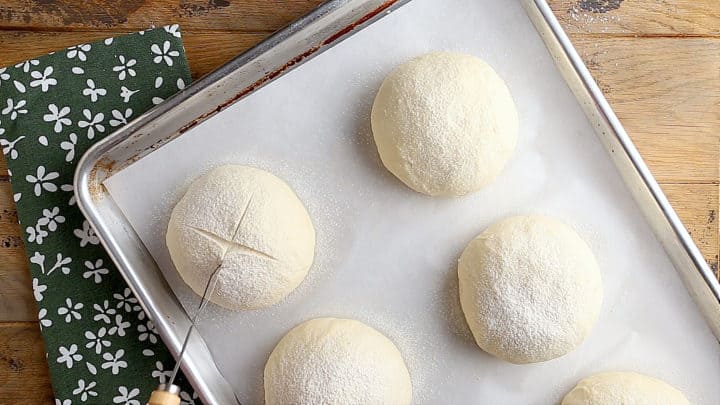
Pop them in the oven, fill the bottom dish with hot water to create a steam bath, and allow them to bake until browned & crusty. They should sound hollow when tapped, and their internal temperature should register at least 190 degrees F.
Once they are cool enough to handle, slice the tops off horizontally, and use your fingers or a sharp spoon to hollow them out. Then fill them with whatever you like!
IS IT VEGAN?
This recipe contains no eggs and no dairy. It is 100% vegan, so it's great for those who have sensitivities.
INGREDIENT SUBSTITUTIONS
I have not tested it myself, so I can't guarantee the results, but if you'd like to make gluten-free bread bowls, try using a gluten-free flour blend that subs 1:1 for regular flour.
I'd love to hear about your results! Drop a comment below; I'm sure it will be helpful to other readers.
Also, I've had good experiences with other bread recipes swapping out some or all of the all-purpose flour for whole-wheat flour. One thing I do find though, is you may need either a little less flour, or a little more water to get the proper consistency. I think that would work well here too.

WHAT TO PUT INSIDE
As noted above, bread bowls are mostly used to hold soups or dips. Here are some of my favorite ideas:
SOUP RECIPES:
- Cream of Mushroom Soup
- French Onion Soup
- Gazpacho
- Corn Chowder
- Broccoli Cheese Soup (this is what's pictured in the photos & video!)
- Chili
DIP RECIPES:
But don't feel limited here! You can fill a bread bowl with just about anything you can dream up!
CAN THIS BE MADE IN A BIGGER SIZE?
If you are making a dip for a bigger crowd, you might want to make just one or two larger loaves, rather than 6 individual ones. That is totally fine!
Shape your bread bowl into any size you like. You can do one big one, two or three slightly larger ones, or whatever!
Just keep in mind that the bake time may need to be adjusted slightly to allow for the larger volume. You'll know your bread is done baking when it looks brown and crusty, makes a hollow sound when tapped, and registers an internal temperature of 190 degrees.
CAN THIS BE MADE AHEAD?
With all the resting and rising time involved, I definitely recommend making these a day or two beforehand. They'll keep (baked) at room temperature for at least a couple of days, in the fridge for up to a week, or in the freezer for a month or two.
Just be careful not to wrap them too tightly! I know it sounds a little counterintuitive, but I've found that if I seal these airtight, they tend to lose their crisp crust and become a little wrinkly-looking. Still delicious, but to preserve that look and texture, I just slip them into a plastic grocery bag, and leave a little airhole so they can breathe a bit.
Refrigerate unbaked, shaped loaves for no more than 48 hours. Remove them from the fridge, allow them to rise, and continue on with the recipe as written.
The dough can also be frozen. It should last in the freezer for around 2 weeks.

A FEW MORE OF MY FAVORITE YEAST BREAD RECIPES:
As an amazon associate I earn from qualifying purchases.

Ingredients
- ¼ ounce (7.09 g) active dry yeast, (1 packet or about 2 teaspoons)
- 1 ⅔ cup (394.31 g) lukewarm water
- 4 cups (500 g) all-purpose flour, , plus extra for dusting
- 1 ½ teaspoons (9 g) kosher salt
Instructions
- Combine the yeast and lukewarm water in a large bowl.
- When the yeast is fully dissolved and the mixture is starting to look foamy, stir in 3 cups of the flour until incorporated.
- Add the remaining flour and salt and stir until a stiff dough forms.
- Cover the bowl with plastic wrap and allow the dough to rest for 30 minutes.
- Fold the dough as follows: top to bottom, bottom to top, right to left, left to right.
- Cover the bowl again and allow to rest for 1 hour, then repeat the folding process, cover, and rest for another hour.
- Divide the dough into 6 equal portions,* then roll into tight balls, smoothing the top surface.
- Place the dough balls on a parchment-lined baking sheet, cover with oiled plastic wrap, and allow to rise until doubled in volume (approx. 30 to 45 minutes).
- Preheat the oven to 475 degrees F and place an oven-safe dish on the bottom rack.
- Carefully remove the plastic wrap, dust with flour, and score with a lame or sharp knife.
- Pour hot water into the dish and bake the bread bowls until browned, crusty, & hollow-sounding (approx. 30 to 45 minutes). (The internal temp should register 190 degrees F.)
- Allow the bread bowls to cool completely, then use a sharp knife to cut the tops away.
- Scoop out the insides of the bread to create a hollow for the filling.


made these with the New England clam chowder recipe on this website. both were so delicious with ways to follow recipes.
So happy you enjoyed Danielle! I just made the clam chowder again recently and I love it too!