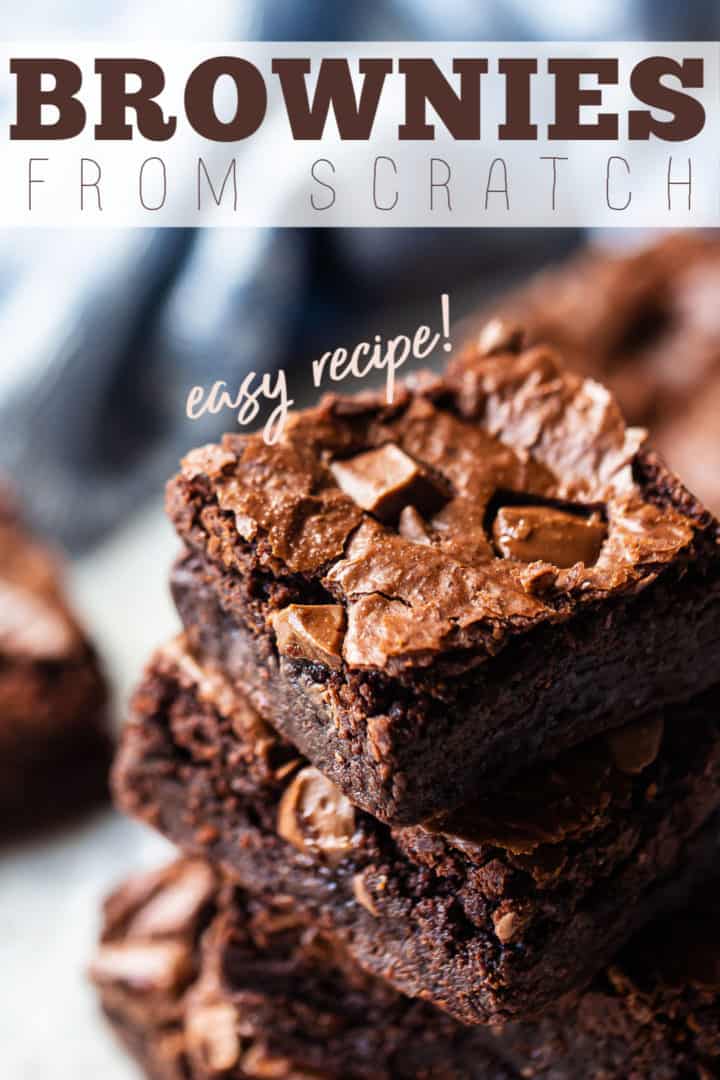
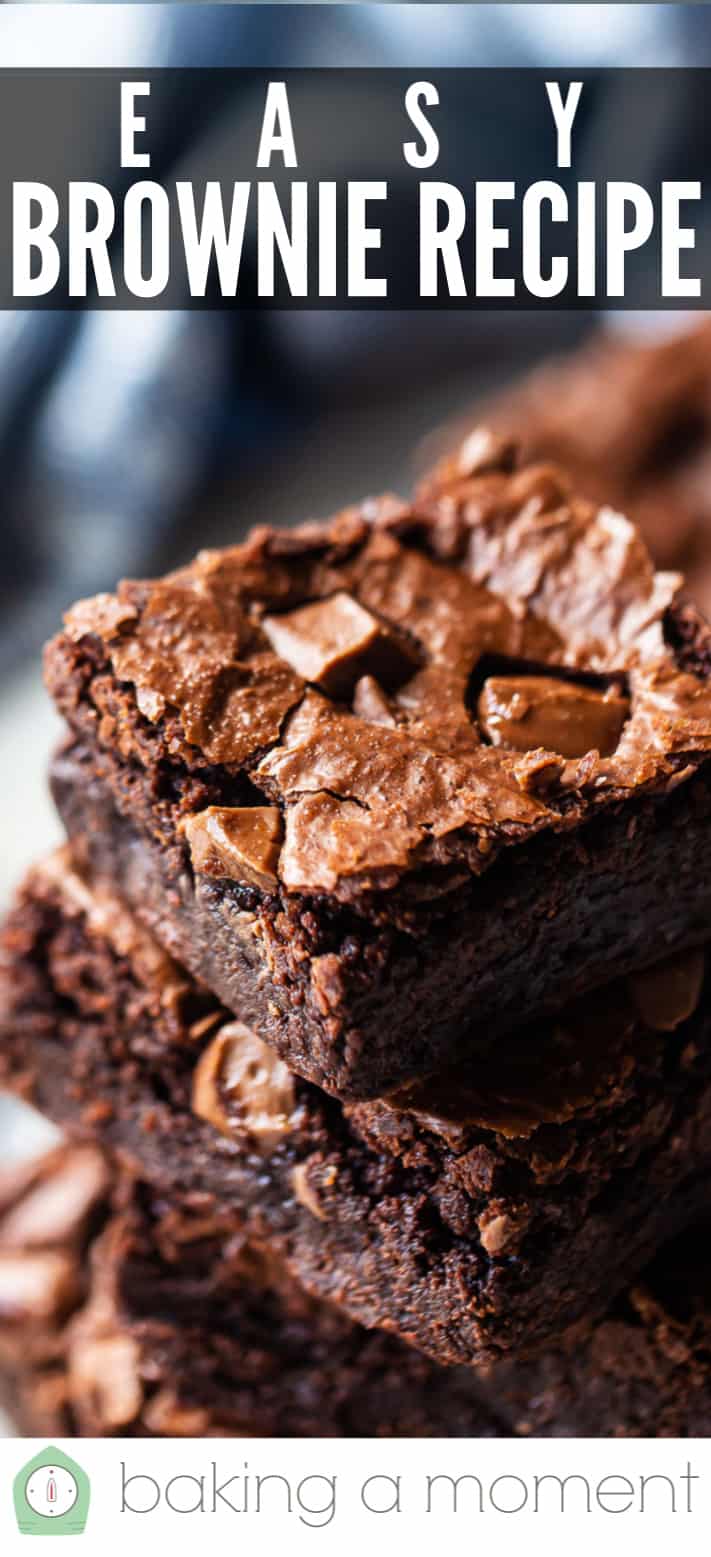
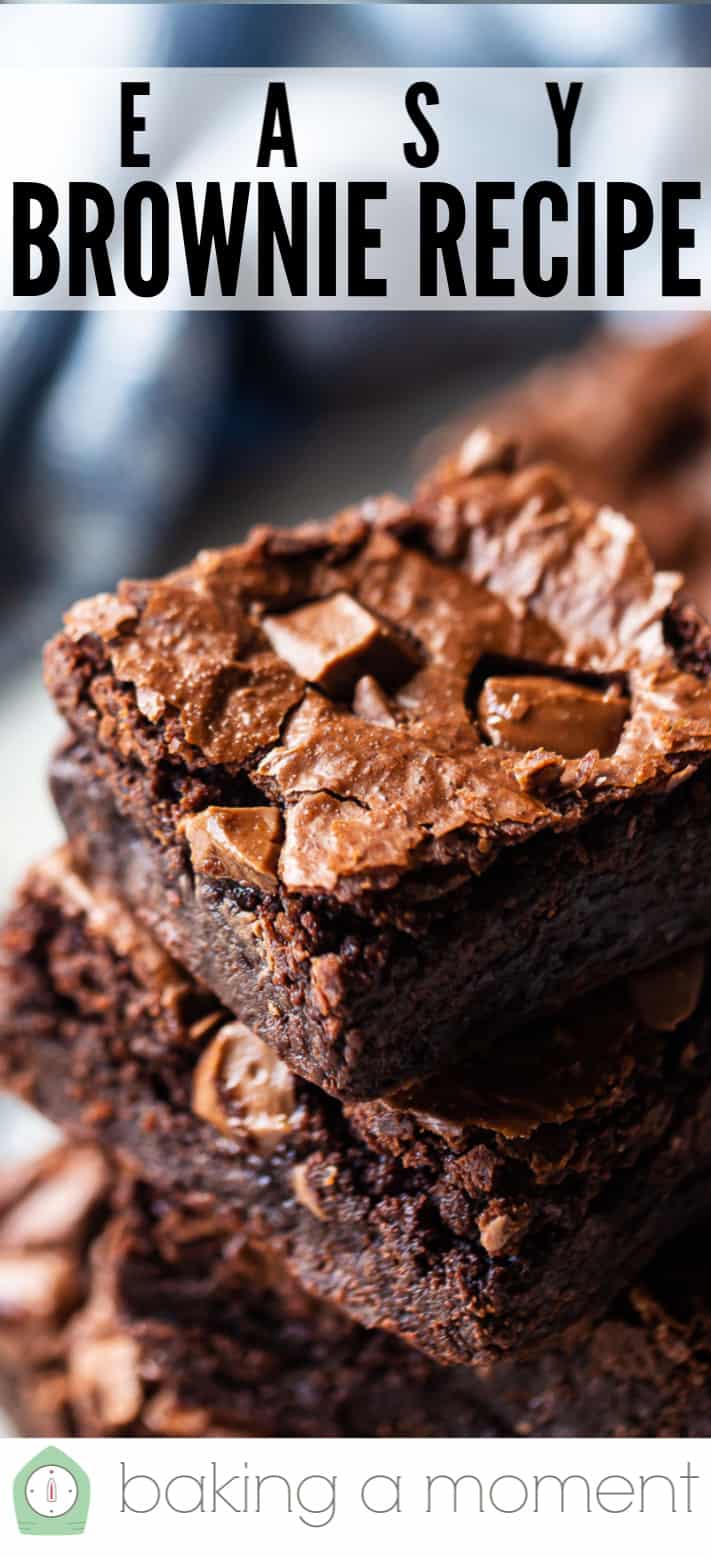
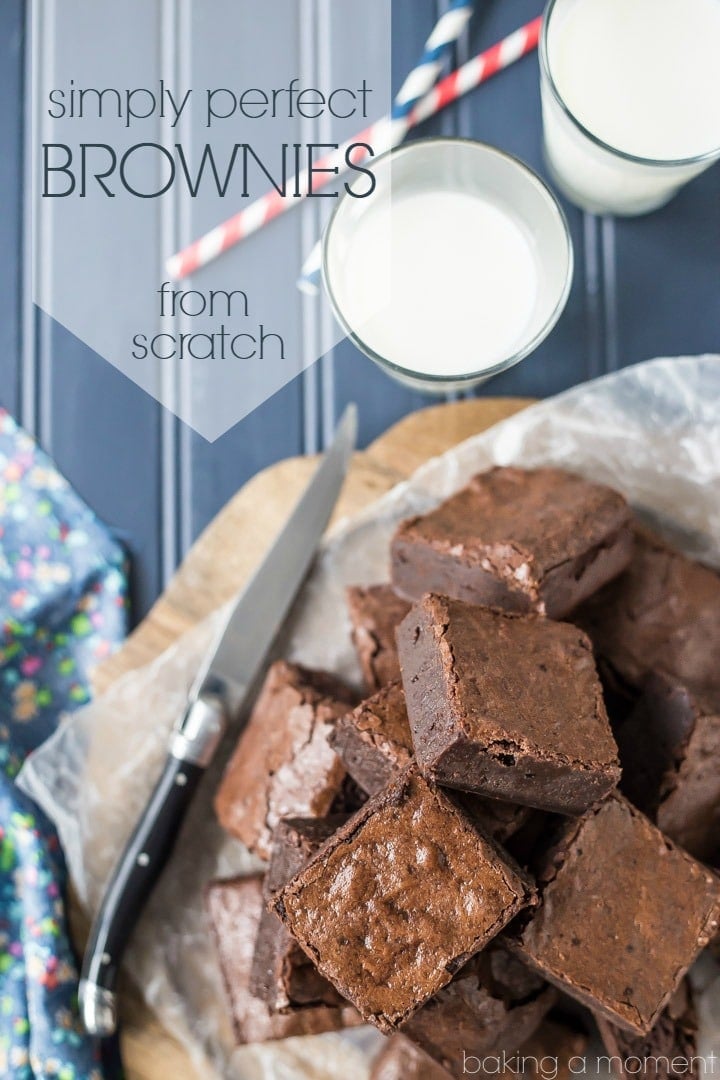
Simply Perfect Brownies from Scratch
Gooey, fudgy brownies, with the deepest, darkest, most intense chocolate flavor EVER! Easy, one-bowl recipe, from scratch, pantry staples, no mixer needed.
Or this:
Simply Perfect Brownies from Scratch
You have come to the right place.
The brownie recipe is the same, but the photos have been updated.
Honestly, this is without a doubt one of the best recipes on this site. I have been making these brownies for ages, and I just don’t think there is any way to improve upon it. It’s absolute perfection.
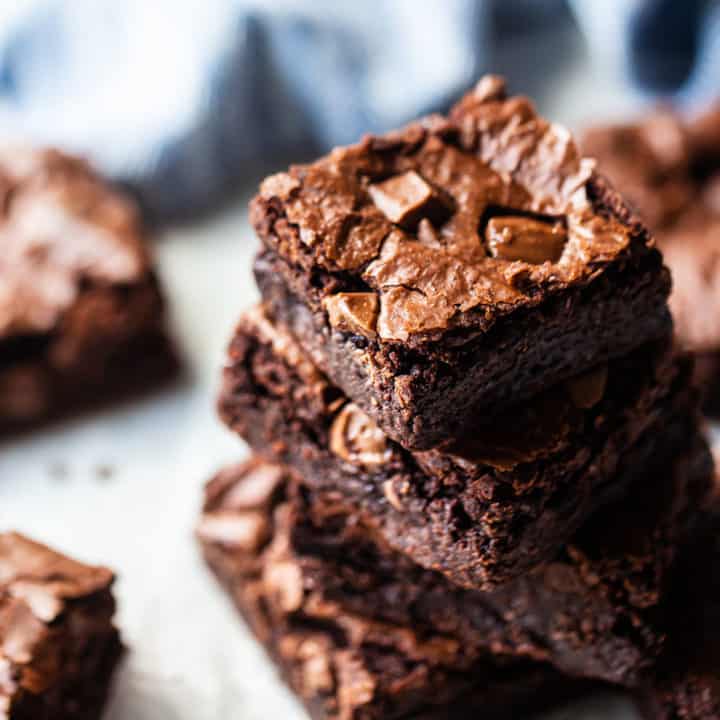
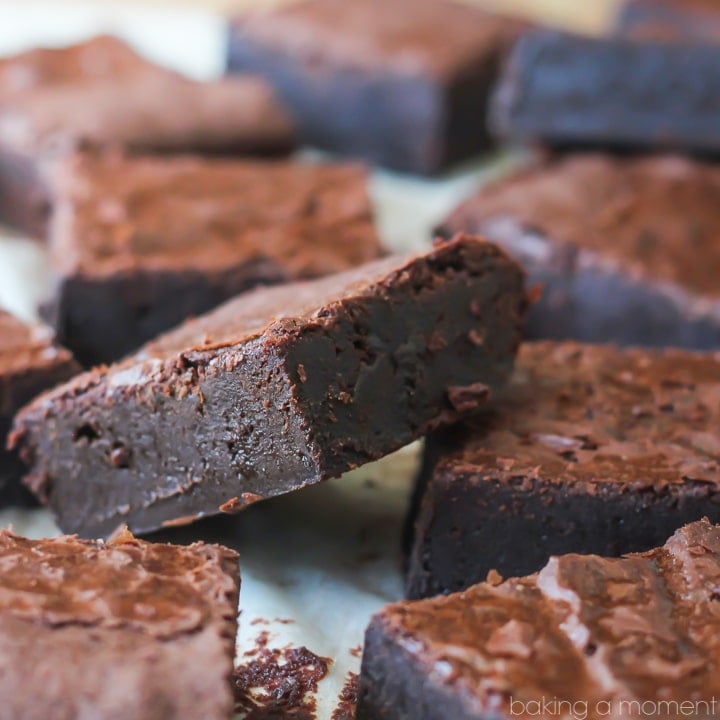
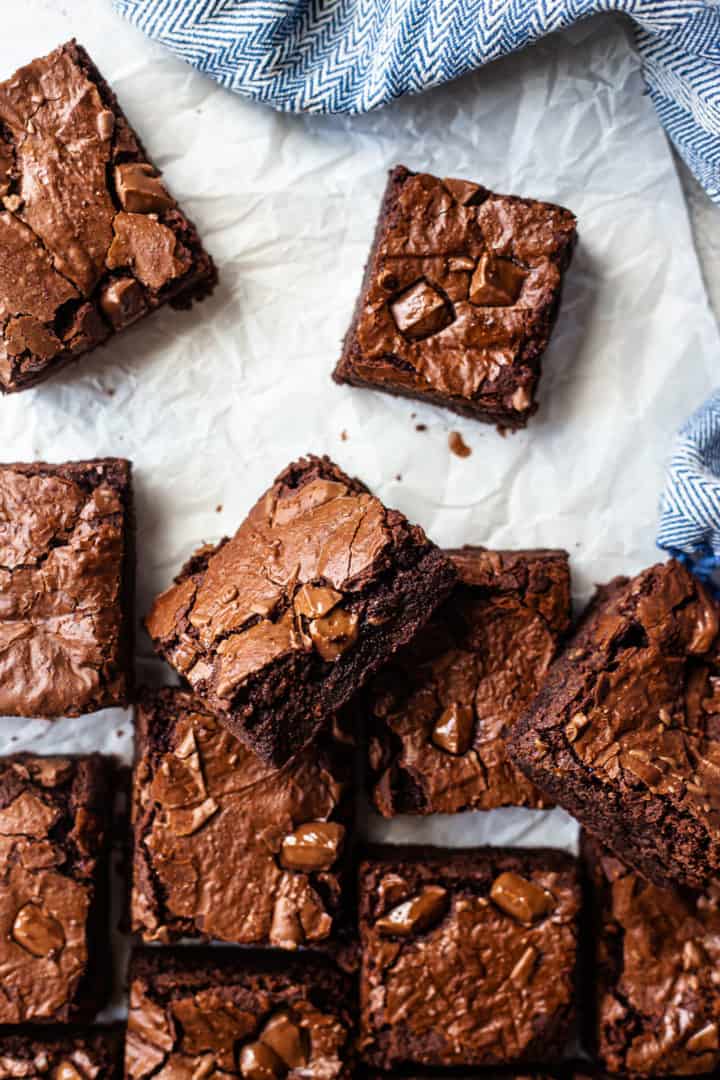
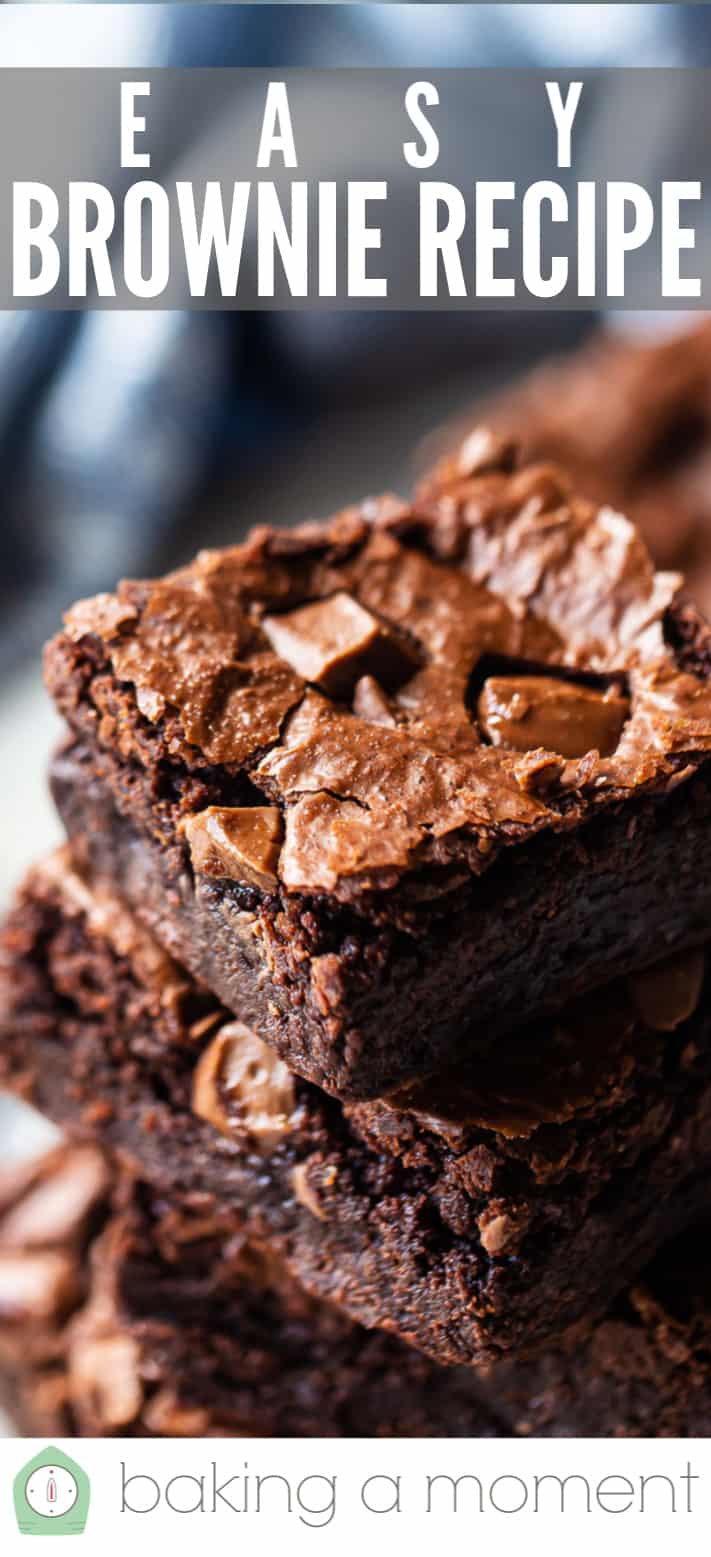
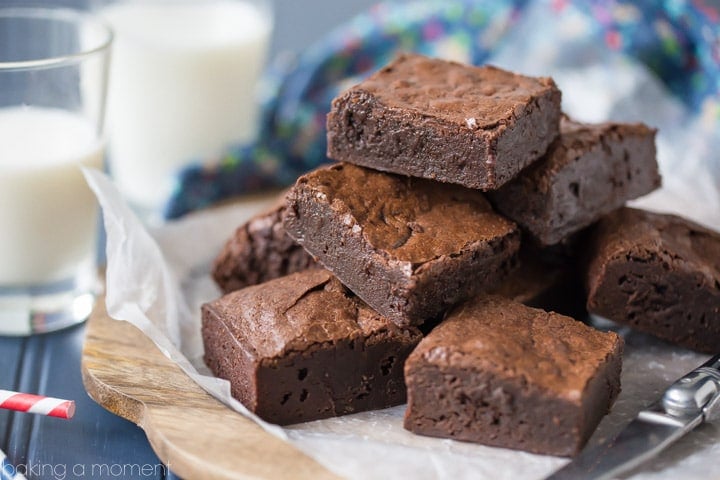
They are so chocolate-y. So fudgy. So rich, and flavorful, with just enough sweetness and the most perfect shiny, crinkly crust on top.
Plus they are super-easy to make. Honest to goodness, the batter is made in about 15 minutes flat, you’ll only dirty up one bowl, and you don’t even need to break out the electric mixer. It couldn’t be simpler.
I have used this recipe as a base for so many other fancier brownie recipes. Like these Salted Caramel Brownies, these Cheesecake Brownies, and these Peanut Butter Brownies. It has never let me down.
So today I’m bringing the recipe back up front, with prettier pictures, more detailed info on how to make them the best they can possibly be, and a video tutorial so you can see how they come together, step by step.
Read on, for everything you need to know about making the absolute BEST brownie recipe on earth!
HOW TO MAKE BROWNIES FROM SCRATCH
I know it can be tempting to reach for that box of brownie mix you see on the grocery store shelf. Maybe you’re not that confident in the kitchen, and you’ve convinced yourself that you just don’t have the chops to make brownies from scratch.
WRONG!
You can totally do this! Trust me when I tell you, brownies are one of the easiest things you can make, and you only need a handful of pantry staples. I’m talking stuff you probably already have on hand, so save yourself some bucks and bust out those measuring cups! I promise it’s not that hard.
INGREDIENTS
There are 9 ingredients in this brownie recipe:
- Sugar
- Cocoa
- Butter
- Eggs
- Flour
- Baking Powder
- Salt
- Chocolate Chips
- Vanilla
Let’s briefly go through each one, so you can understand the parts they all play.
SUGAR
Obviously, sugar is going to make things sweet. But did you know it also has a big impact on texture?
It’s true! The amount of sugar you use helps to determine if your end product will be crunchy, chewy, cakey, or soft and fudgy.
And it’s also hydrophilic, meaning it draws moisture in and keeps things from being overly dry.
So it’s important to use the right amount of sugar, in this and all recipes. It’s way more than just a sweetener!
COCOA
Cocoa powder is what gives these brownies their chocolate-y taste. I like to use all cocoa powder when I make brownies, because it gives the most intense chocolate flavor. It’s the pure essence of chocolate, with no additional sweeteners or fats added to it. Nothing gets in the way of it’s rich, complex flavor.
Because it’s the main ingredient, use the best quality cocoa powder you can get your hands on. It will really make a difference in the end result! I prefer this brand of 100% unsweetened cocoa: Unsweetened Cocoa Powder.
I like to use regular unsweetened cocoa powder because to me, it’s the chocolatiest taste. But you can sub with dark cocoa (aka: Dutch-processed) if you like, or a combination of regular and Dutched. This will give you a darker color and more of an Oreo-like flavor.
BUTTER
Butter gives these brownies richness and added flavor. It also gives a moist texture.
You can substitute with other kinds of fat. Look for more info on this below, under the heading “Gluten-Free Brownies and Vegan Brownies.”
EGGS
Eggs help to bind the brownies together. The fat in the yolk adds richness, and the proteins in the white provide structure, which keeps the brownies from falling apart.
They also act as a leavener, trapping tiny air bubbles in the batter and creating a lighter texture.
If you want to make an eggless brownie recipe, try using a flax egg or chia egg. For each egg in a recipe, just stir 3 tablespoons of water into 1 tablespoon of ground flax or chia seed. Allow it to set for about 10 minutes, and it will gel up.
This substitute is vegan, gluten-free, paleo, and whole30, and it works very well in most baked items.
FLOUR
Flour provides the bulk. I recommend all-purpose flour, but you can substitute other types of flour if you like. There’s more info on this below, under the heading “Gluten-Free Brownies and Vegan Brownies.”
BAKING POWDER
I didn’t always put baking powder in my brownies. I guess you could say it’s an optional add-in.
Without baking powder, the brownies come out very dense, almost like blocks. I don’t dislike this, but one day I was experimenting and I found that when a little baking powder was added, the brownies came out softer, with a slightly airier consistency. Still very rich and fudgy, but just a little bit more pillowy.
This is because when baking powder meets liquid and heat, little air bubbles are created that cause baked goods to rise as they bake. Magic!
SALT
Salt is added to provide a balanced flavor. And salt is also magical in that it carries and enhances other flavors as well, so your brownies will taste even more chocolate-y!
I use kosher salt for almost all my baking, because there are no additives so the flavor is pure, and also because it’s a very inexpensive product to buy.
If you’d prefer to use another type of salt, just google “kosher salt to [your preferred type of salt] conversion” to find out how much more or less of it you should use for this recipe.
CHOCOLATE CHIPS
This is another optional ingredient, but I recently discovered that beyond just adding fabulous pockets of warm, gooey, melted chocolate all throughout your brownies, chocolate chips also help to contribute to that paper-thin, shiny, crinkly crust that we all know and love.
I can’t fully explain it (I think it has something to do with the additional sugar and cocoa butter), but somehow adding chocolate chips can mean the difference between brownies with shiny tops and brownies without.
VANILLA
Vanilla extract is added purely for flavor. Chocolate and vanilla pair beautifully together, and vanilla brings a sweet, aromatic quality to anything it enhances.
You can sub or add additional extracts if you’d like to get creative. Here are some of my favorite flavorings to use in baking:
You could also add in spices like cinnamon, ginger, lavender, chili, or cardamom for additional flavor.
TO MAKE THE BATTER
This batter whips up in 15 minutes or less, and you only need to dirty up one bowl!
Start by placing the sugar, cocoa powder, butter, and salt in a large bowl.

Then microwave it in 1-minute intervals until the butter is completely melted and the mixture feels hot to the touch.
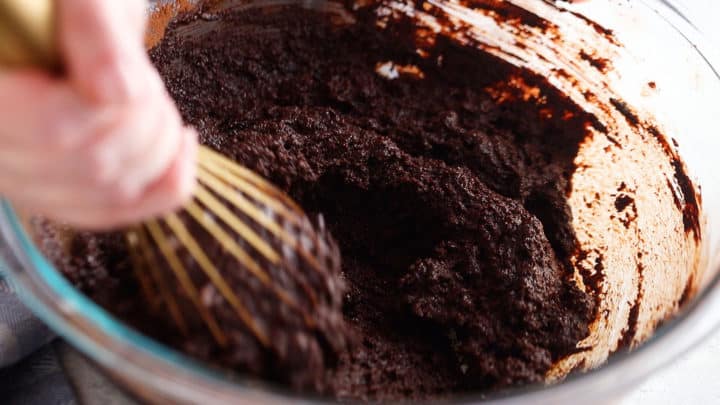
Now whisk everything together until combined. It might look a little grainy- that’s totally fine, don’t panic!
Next, add in the eggs, one at a time.
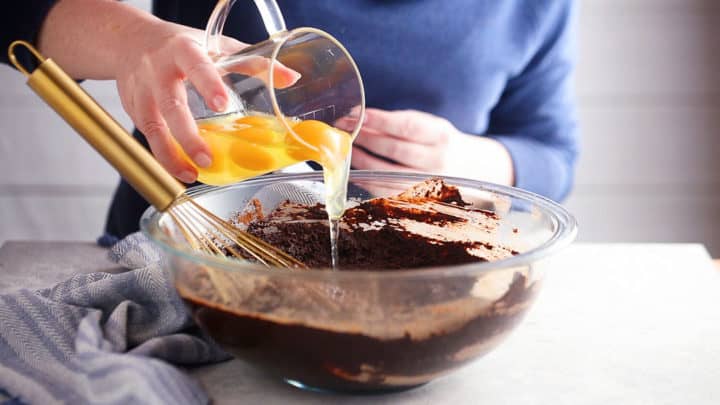
Whisk each egg in vigorously until it’s completely incorporated, before adding in the next one.
When all the eggs have been added, fold in the flour, baking powder, and salt until just a few streaks remain.
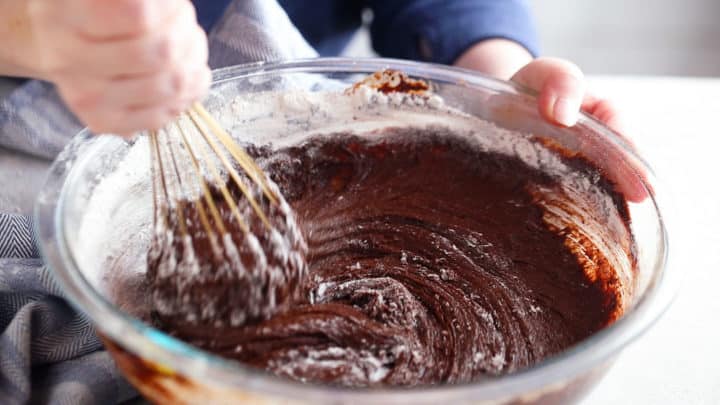
Then fold in about 2/3 of the chocolate chips and the vanilla.
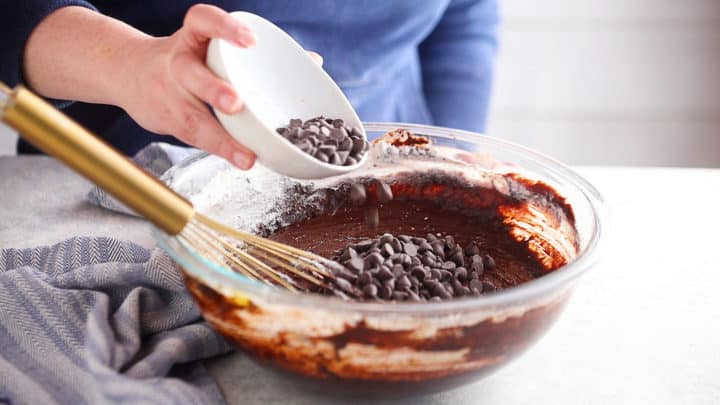
Be careful not to overmix the batter once the flour’s gone in! This could result in tough, hard brownies.
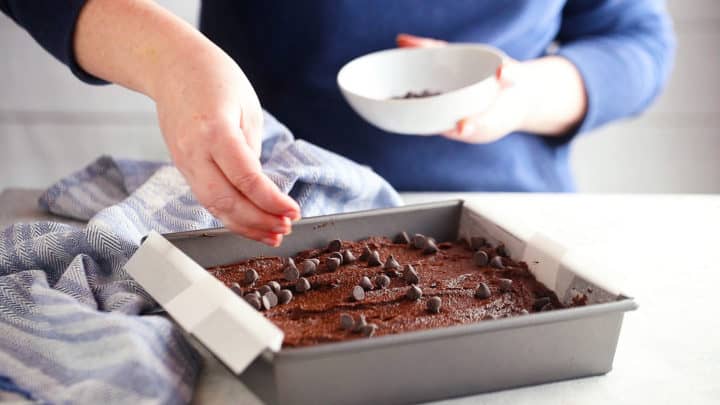
Transfer the batter to the pan, and sprinkle the remaining chocolate chips on top before baking.
HOW TO BAKE BROWNIES
Bake these brownies in a greased 9×13 pan that’s been lined with parchment. Here’s how to line the pan with parchment: How to Line Pans with Parchment. If you do it this way, it will give you 2 little “handles” on each side that will allow you to easily lift the brownies out and onto a cutting board.
These will bake at 325 degrees F. I like to do them at this slightly lower temperature because it allows them to bake flatter without puffing or curling up around the sides.
Every oven is different, so bake times listed are meant as just a guideline. That said, it’s kind of hard to judge when brownies are done baking, because they’re so fudgy the toothpick test doesn’t really work. The batter will still stick to the toothpick even when they’re done.
I usually judge by touching the sides, and if they feel set but the center part is still gooey, I pull them.
Remember that they will continue to firm up and cook even as they cool. I think an under-done brownie is preferable to an over-done one, but definitely use your own judgement!
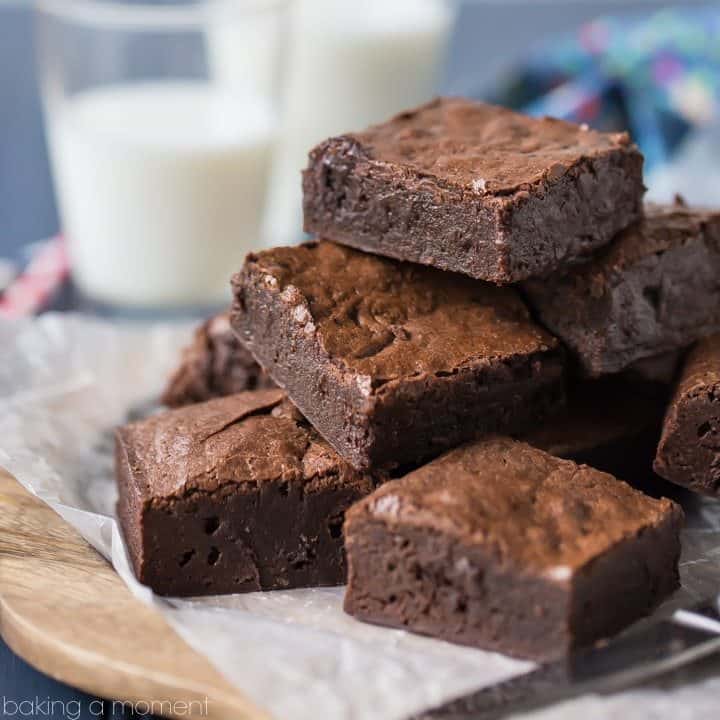
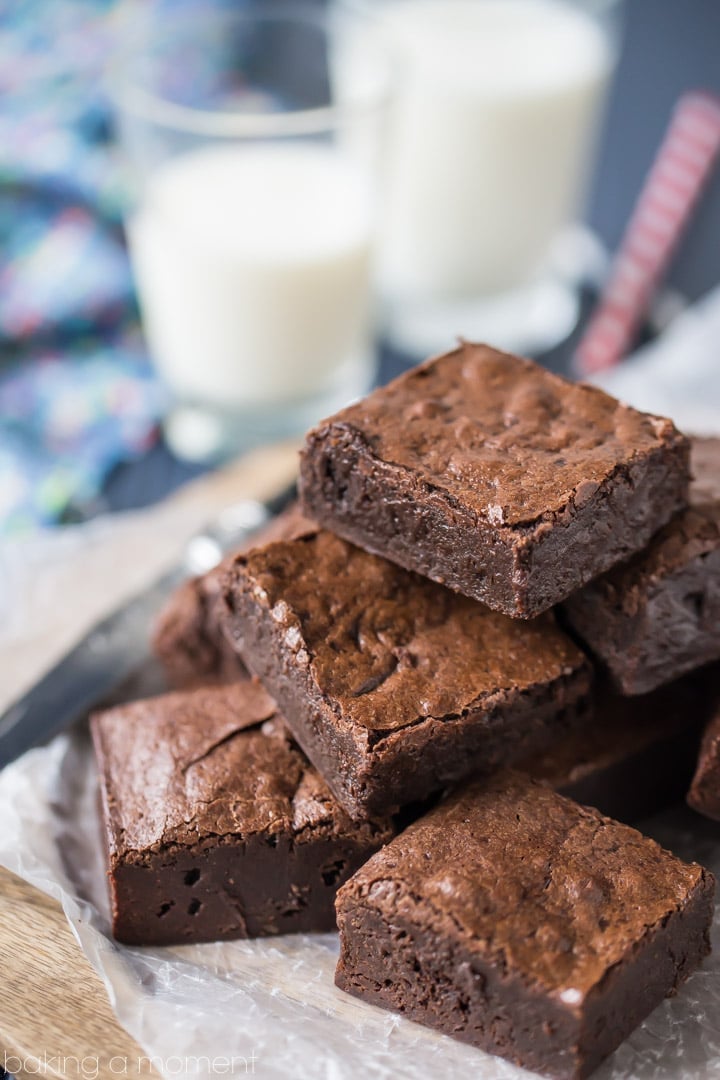
HOW TO CUT PERFECT SQUARES
Grab the two overhanging edges of parchment and lift the cooled brownies straight up and out of the pan. Place them on a cutting board, and use a sharp knife to cut the brownies into bars, wiping the blade of the knife clean after each cut.
CAN THESE BE BAKED IN A DIFFERENT SIZED PAN?
For thicker, chunkier brownies, this recipe can be baked in a 9×9 pan. Or, you can halve it and bake it in an 8×8 pan.
Just keep in mind that the bake time may need to be adjusted. You’ll know your brownies are done when the sides are set but the center is still quite soft.

GLUTEN-FREE BROWNIES AND VEGAN BROWNIES
I have not personally tested it this way, so I can’t guarantee the results, but I do believe that this recipe would come out well using a gluten-free flour blend. Look for one that subs 1:1 for regular flour.
For vegan brownies, substitute the butter with an equal amount of solid coconut oil (or any other vegan butter substitute that works 1:1).
The eggs can be swapped for flax eggs or chia eggs. Instructions on how to make these can be found above, under the subheading “Eggs.”
TROUBLESHOOTING: WHY ARE MY BROWNIES HARD?
If your brownies come out hard or dry, it’s because they spent too much time in the oven.
Personally, I think it’s better to err on the side of underdone rather than overdone, because as they sit in the hot pan and cool, they will continue to cook and firm up.
Remove your brownies from the oven when the sides are set but the middle is still quite gooey, and by the time they’ve cooled to room temp they will still be moist, soft, and delicious.
TIPS FOR AN EXTRA-SHINY, EXTRA-CRINKLY-CRACKLY CRUST
This was my quest when I first decided to update this post! I really wanted to get into the science of what creates that gorgeous shiny crust.
- Get the butter really hot in that first step. It should almost be boiling.
- Use room temperature (or slightly warm) eggs. If you keep your eggs in the fridge, place them in a bowl of very warm water to take the chill off before adding them to the batter.
- Beat the bejesus out of the batter after each egg goes in. You really want to incorporate a lot of air in this step. You don’t need an electric mixer to make this brownie recipe, but if you have one, this would be a good time to break it out.
- Work quickly so that the batter is still somewhat warm when it goes into the oven. If it looks glossy and shiny going in, it will look shiny coming out too.
- Add chocolate chips to the batter. I can’t explain this one but somehow it works! See above for more info, under the subheading “Chocolate Chips.”
CAN THIS BROWNIE RECIPE BE MADE AHEAD?
Brownies are a great make-ahead treat. They need lots of time to cool before they can be cut, so it’s actually even better if you make them a few hours (or even a day or two) ahead.
But they do tend to dry out quickly, so you definitely want to wrap them up very tightly if you’re not going to serve them the same day. And it’s best to wait to cut them until just before serving.
They can sit out at room temperature for several days without a problem.
Or, pop them into the fridge and they’ll last at least a week.
Leftover brownies freeze beautifully. Wrapped well, they should keep in the freezer for several months. Thaw them in the fridge or at room temperature before serving.

A FEW MORE OF MY FAVORITE BAR RECIPES:
As an amazon associate I earn from qualifying purchases.

Simply Perfect Brownies from Scratch
Ingredients
- 2 1/2 cups (500 g) granulated sugar
- 1 1/2 cups (150.5 g) unsweetened cocoa powder
- 1 1/4 cups (283.75 g) unsalted butter, (2 1/2 sticks)
- 4 (200 g) large eggs
- 1 cup (125 g) all-purpose flour
- 2 teaspoons baking powder
- 1/2 teaspoon (0.5 teaspoon) kosher salt
- 1 cup (180 g) chocolate chips
- 1 teaspoon (4.93 g) vanilla extract
Instructions
- Preheat the oven to 325 degrees F, mist a 9x9-inch or 9x13-inch pan with non-stick spray, and line it with a sheet of parchment.
- Place the sugar, cocoa, and butter in a large microwave-safe bowl,* and microwave in one-minute increments, stirring, until the butter is completely melted and the mixture feels quite hot to the touch (approximately 3 to 4 minutes).
- Add the eggs, one at a time, stirring vigorously after each addition.
- Fold in the flour, baking powder, and salt until just a few streaks remain.
- Stir in about 2/3 of the chocolate chips and vanilla, and transfer the batter to the prepared pan.
- Sprinkle the remaining chocolate chips on top , and bake until set around the edges but still soft towards the middle (approximately 25 to 35 minutes).
- Cool completely in the pan, then transfer to a cutting board and cut into squares.


These brownies are awesome! Loved them so much making them twice today cause the entire family ate the first batch up in an hour! 😉
That’s so great! Thanks for the awesome feedback, Gaut!
I also made these brownies and really thought this recipe was great!
Hooray! So glad you enjoyed the recipe Kim! Thanks so much for letting me know 😉
Hi,I just had to stop by to thank you for this amazing recipe! This was the first brownie I ever made and I’m certainly not going to try any other! This is simply perfect!! Many who have taste-tested for me said these are the best brownies they have ever eaten..and my family and I concur. I have shared your beautiful site with my friends..told them you are the best out there! 🙂
Wow thank you so much, Leya! You have no idea how nice that is to hear. I’m so glad you and your family are enjoying the brownies! That Alice Medrich recipe is an old favorite of mine. Thank you so much for taking the time to leave me this sweet comment; you’ve brightened my whole day! <3
This looks very good!
Thanks!
Hi,
They look gorgeous so I was going to try, converted everything into grams, but somehow it all went wrong… Can you help? Do you maybe have the measurements in grams? Do you do it by weight or volume?
Thanks.. 🙂
Ulrike
Hi Ulrike! I’m so sorry I do not have the recipe in grams! I would pull out my kitchen scale and measure it all out for you, but I’m actually sitting in a coffee shop right now with an indoor playground, trying to get my kiddos to burn off some steam lol! It’s tough for me to work when school lets out 😛 I know weight and volume are most reliable but most of my readers are more accustomed to imperial measurements so that’s why I typically post cups and teaspoons. My apologies!
These look so fudgey!! Just to let you know, I think the pin it link might be broken for this post? I tried to pin it but it comes up as blank in the image box or it tries to pin an image of the social media icons. I hope you don’t mind me pointing it out, but I just really wanted to pin it!! 🙂 xo Tash
Thanks so much for the heads up, Tashiana! Were you trying to pin it from my site, with the pin-it button, or did you see it in your Pinterest feed?
From this web-page. It takes you over to Pinterest but after I pick the board to re-pin it on it says that an image_URL upload is needed! Confusing stuff 🙁
Oh gee I don’t know??? I tried pinning it from the page too and didn’t have any issues…??? Well thanks anyway for the heads up.
These look delicious, Allie and the recipe is very similar to my own go-to brownies. I’ll have to try to find good cocoa powder next time my family visits the states. I’ve never tried anything but Hershey’s… and sadly that’s all they sell here in Costa Rica. Your photos are lovely and almost making me drool!
Thank you Jelli! Yes I think if you can find a really high quality cocoa powder you will notice a difference. I’m surprised there’s not more available in Costa Rica, don’t they grow cacao there? Either way, these brownies are super yummy. I’ve made them with all different brands of cocoa and they never disappoint! Thanks again for the compliment 😉
We literally have brownies every Sunday! My kids are obsessed with them… I’ll totally be trying these soon!
Pinned 🙂
Awesome! I hope you guys like ’em rich and fudgy, because these are 😉
These sound AMAZING and my dau is off to make them now. Thanks to this recipe I have discovered Alice Medrich’s books. Just got her Easy Desserts book in the mail and am drooling over it. Have a list to take to the store tomorrow so that I can start trying the recipes! Thanks so much – I read cookbooks like novels and hadn’t come across any of hers yet. If you have not read it, an old favorite of mine is The Good Cake Book by Diana Dalsass. Lots of really great cakes from the light to the dense, every one packed with flavor and texture. Never had one of these recipes fail me, and a great many are family favorites. This is an older book, so you can likely find a used copy if you are interested.
Oh, wow, that’s so great to know, Susie! Thank you so much for sharing that with me. I’ve never heard of Diana Dalsass or The Good Cake Book- I will definitely have to look that one up! I read cookbooks like novels too. And blogs! 😉
I am making these asap! They look perfect, and sooooo chocolately! YUM!!
Oh, you are going to love them!!! I’ve been making them for years and they never disappoint! Enjoy!
Hello Allie,
It has been a while since I followed your blog but I never posted.
However, I just baked these brownies!
They are awesome!!!
So fudgyyy and very tasty!
Thank you for great recipes!
My pleasure, Mela! I’m so happy you liked the brownies. Aren’t they good? Thanks so much for reading and for saying hello! It’s great to hear from you 😀
Hi Allie – These brownies are fantastic! I have made them once in 9X12 which yields 12 medium sized brownies. I have a pan that’s probably double the size, so would it work if i just double the recipe?
Hi Jenny! I’m so glad you like the recipe!
I’m thinking that should work just fine. You may have to increase the bake time a little though. Keep an eye on them! Good luck and thanks for reading and for the great question!
in the process of making these now, they look simply delish! Decided I would try to add pepermint extract instead of vanilla in the holiday spirit; I’ll be sure to let you know how they turn out! 🙂
Love it, Christy! Peppermint + chocolate at Christmastime can’t be beat! I hope you enjoy!
These came out brilliantly. Thanks got the beautiful post.
Yay! I’m so happy you liked, Marisa! Thank you for reading, and for the great feedback. 😀
Made the brownies…absolutely delicious.
Yay! So happy you liked them, Julie! Wishing you a happy holiday… 🙂
Hi Allie,
These brownies look delicious, but I want to clarify something so I don’t hurt my mixing bowl. You say to put it in simmering water…it looks from the pictures that the skillet is off the stove when you put the ingredients in….is this true and the things will still melt and blend together? Also, I have a glass bowl which I don’t think I should use…or I have the metal bowl that comes with the stand mixer. Is it safe to use that for this? I don’t want to ruin any of my bowls from the heat.
On another note, I made the sticky buns you posted on someone else’s blog….absolutely delicious. Thanks for sharing your expertise so generously.
My pleasure, Julie, and I’m so happy you enjoyed the sticky buns!
I moved the skillet off the stove just because I have really bad light in that corner of my kitchen and it makes it hard to get a good photo. I usually just do everything right in the bowl, which sits in the simmering water. I don’t have a glass bowl, so I’m not entirely sure about that. I would think that the glass bowl is probably tempered, like Pyrex, and therefore heat safe, but I wouldn’t want to tell you the wrong thing since I don’t really know for sure. My mixer has two metal bowls and I do know that those work great! I put them over simmering water all the time and they’ve lasted over 15 years.
Thanks for the great question & I’m so glad to hear you’re enjoying your new mixer!