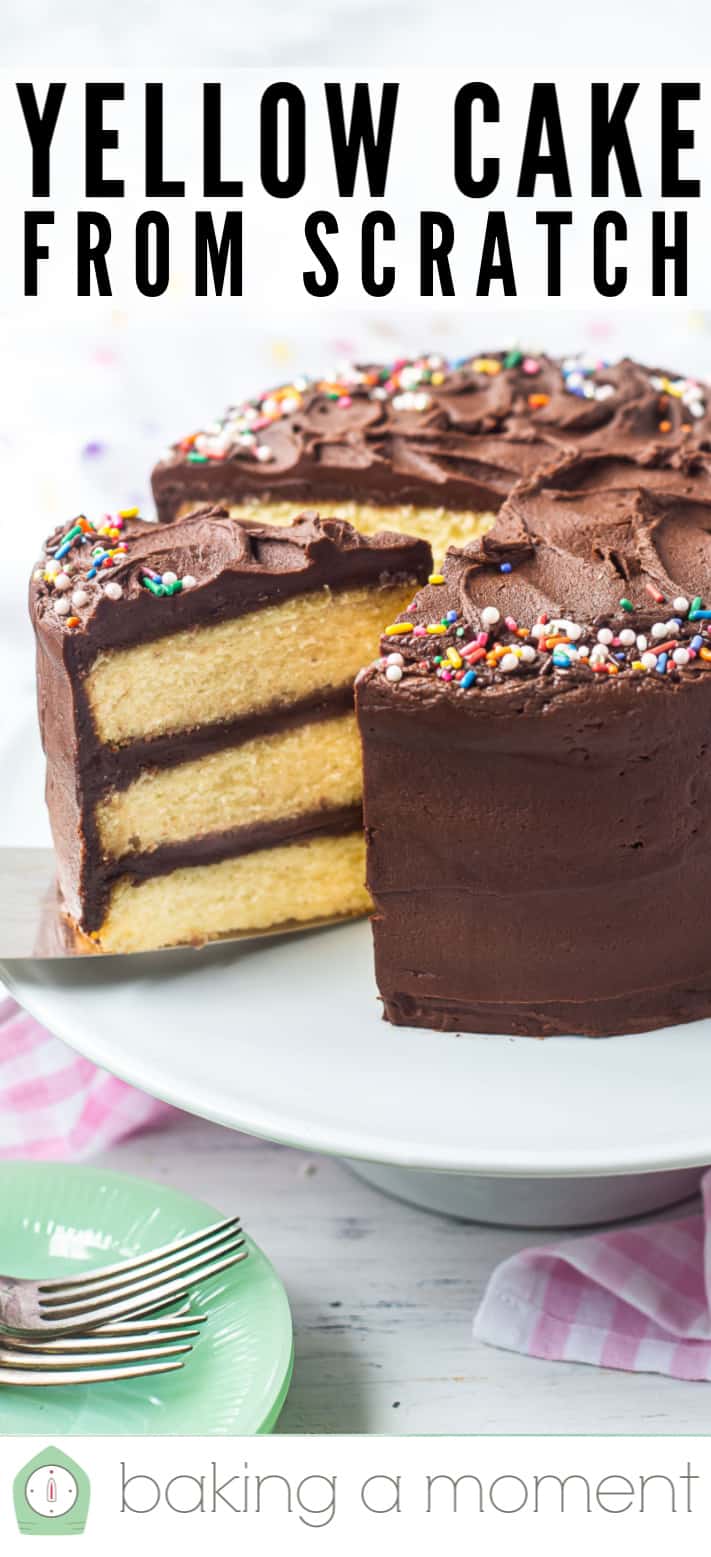
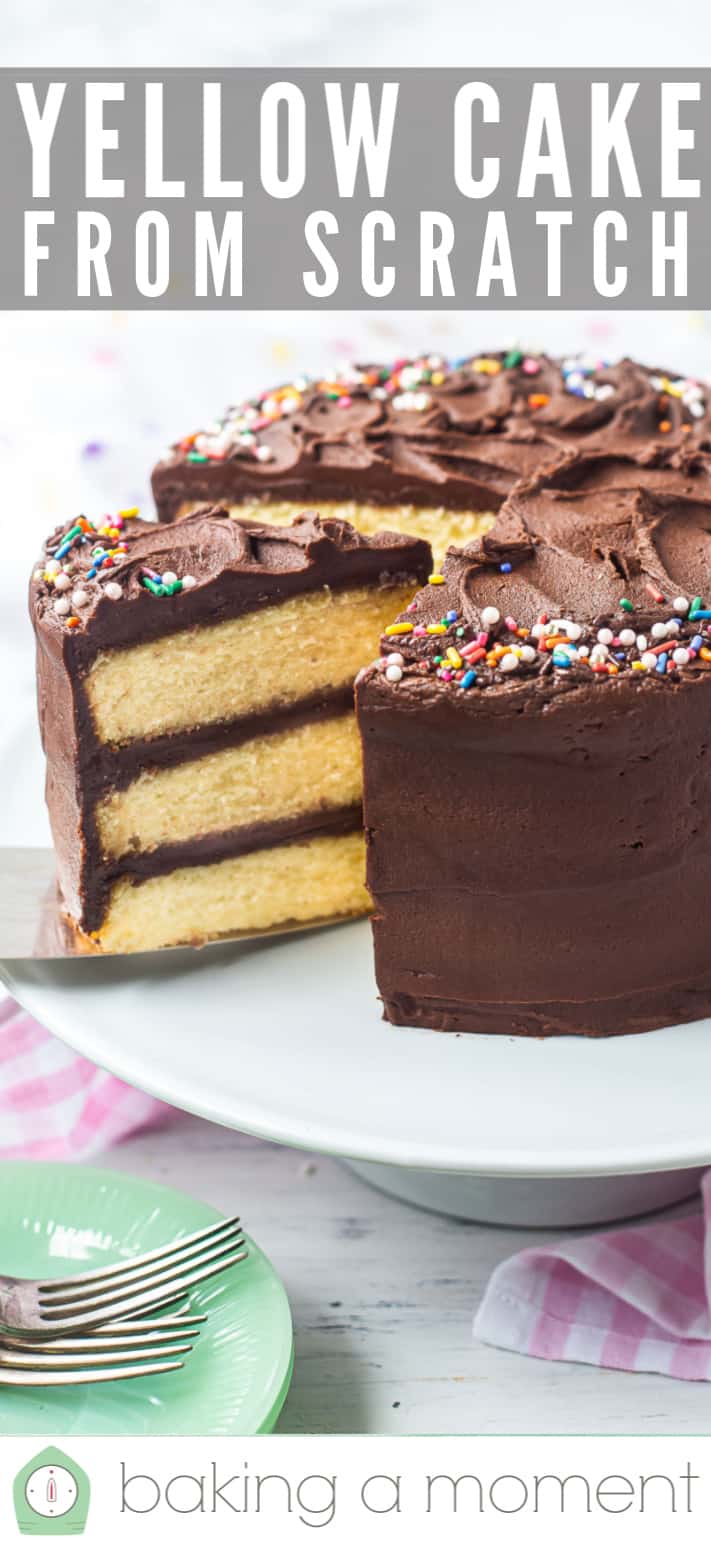
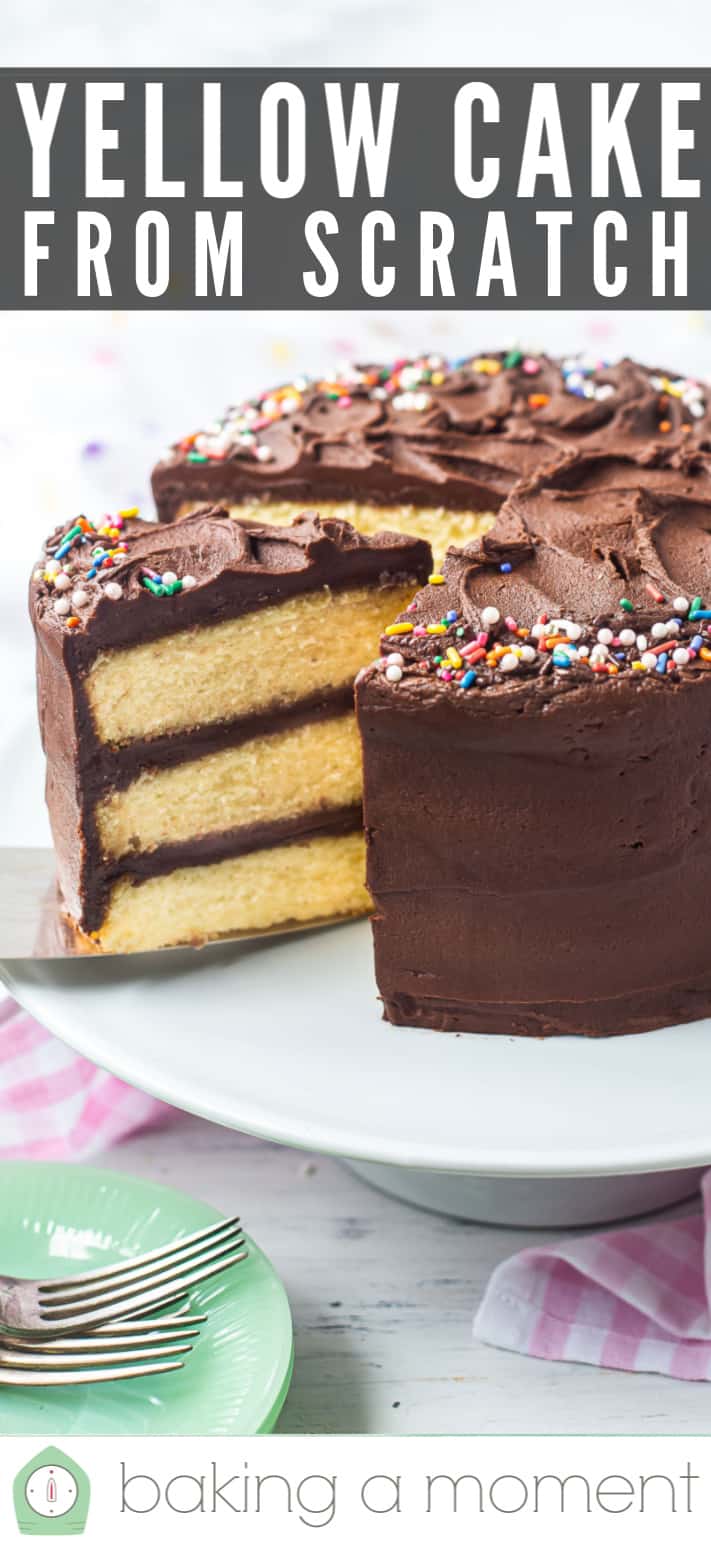
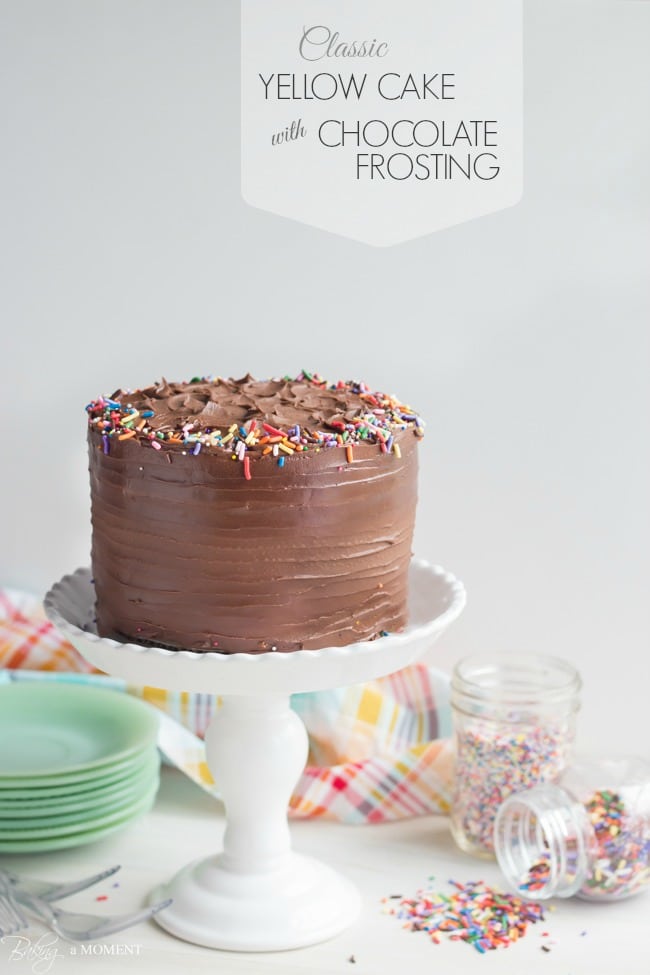
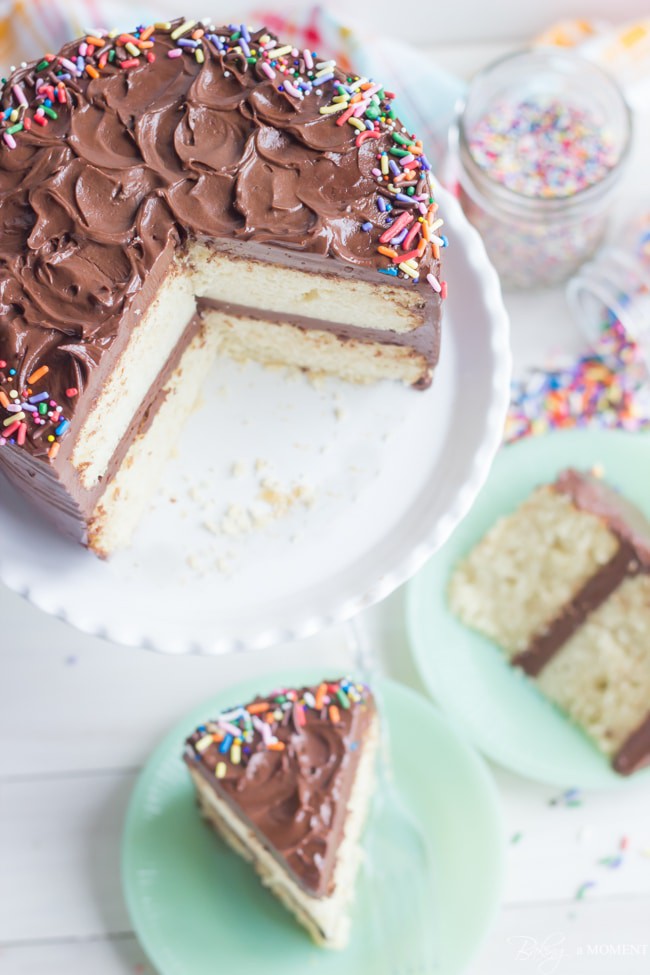
Yellow Cake with Chocolate Frosting
As an amazon associate I earn from qualifying purchases.
Moist & buttery yellow cake recipe from scratch! A true classic with chocolate buttercream, this easy recipe is made from basic pantry staples.
*This post originally published on June 12, 2014. I thought it was due for an update. So the photos you see here now are new and improved, and I’ve added a step-by-step picture tutorial and answers to some frequently asked questions. Hopefully you’ll enjoy this yellow cake recipe as much as my family and I do.*
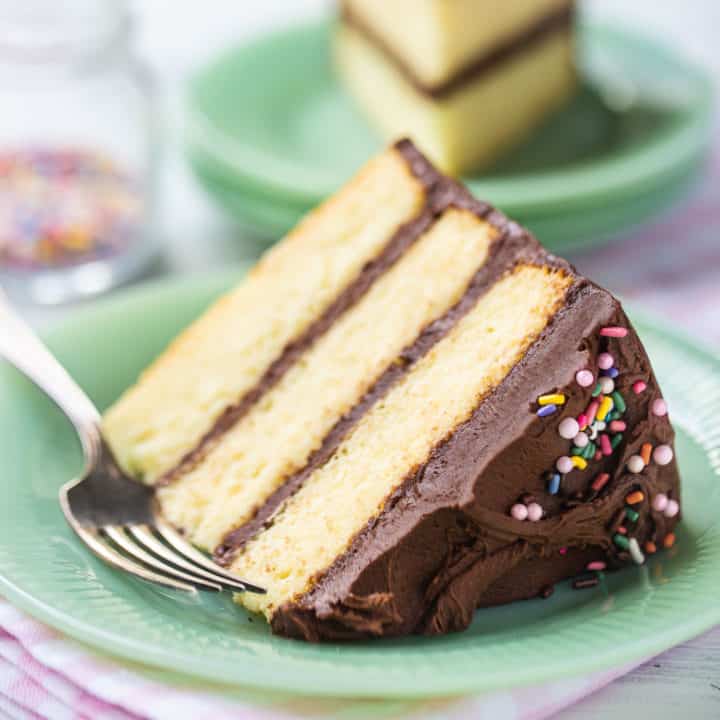
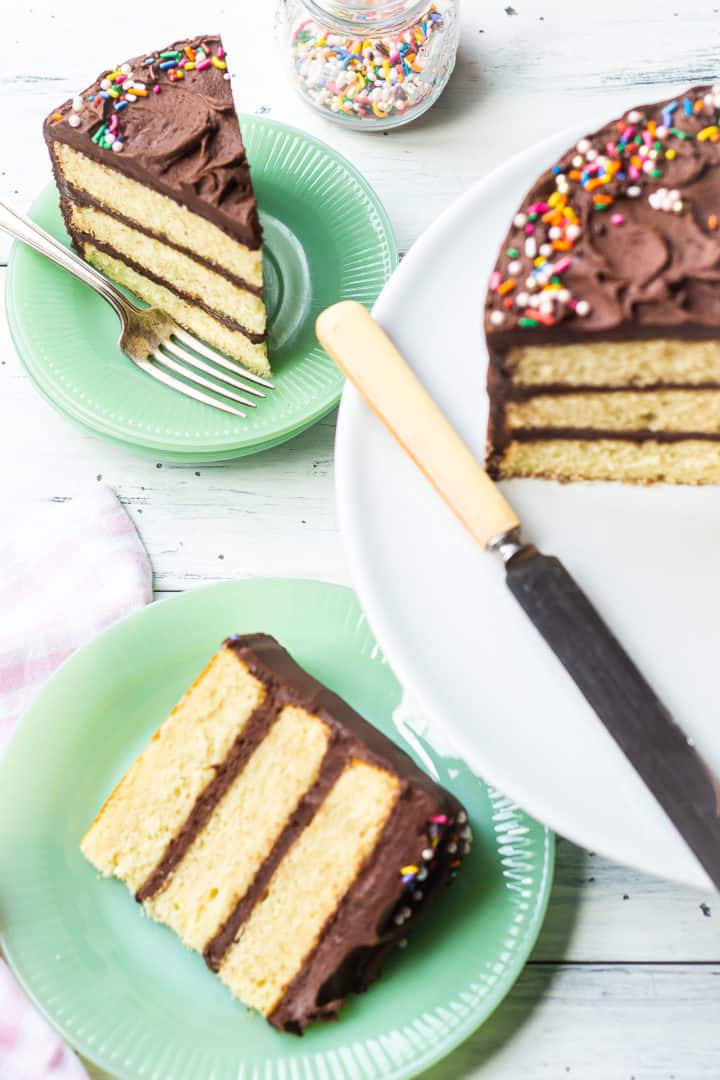
Today I’m sharing a true classic: yellow cake with chocolate frosting!
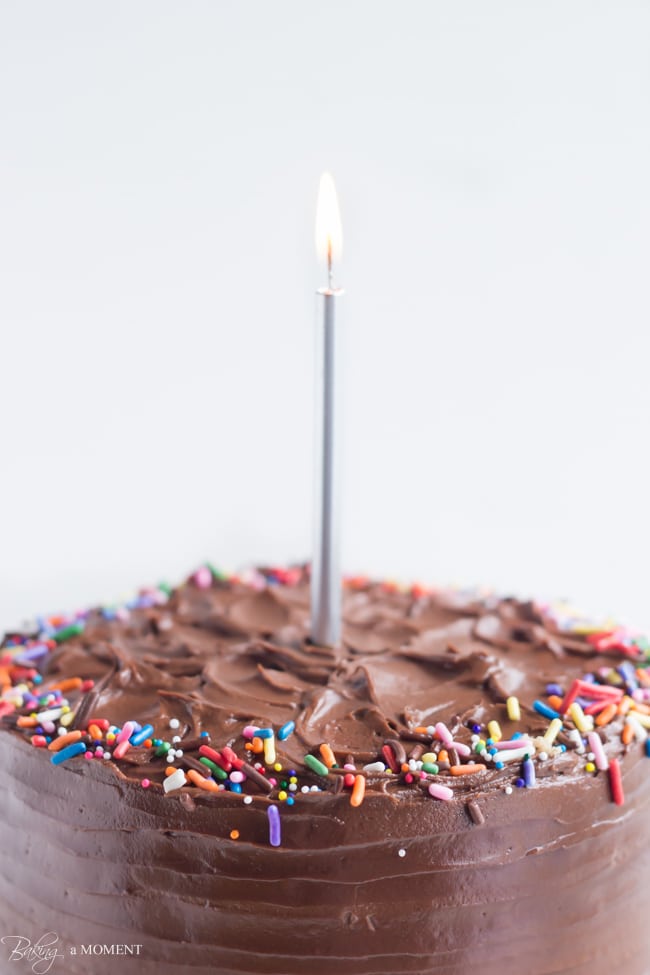
I bet at some point in your life you’ve had something like this for a birthday cake, and I have no doubt it was devoured. And enjoyed immensely.
It’s one of the most iconic of all layer cakes, and it’s definitely one of my top favorites! Along with chocolate cake, marble cake, and red velvet cake, of course!
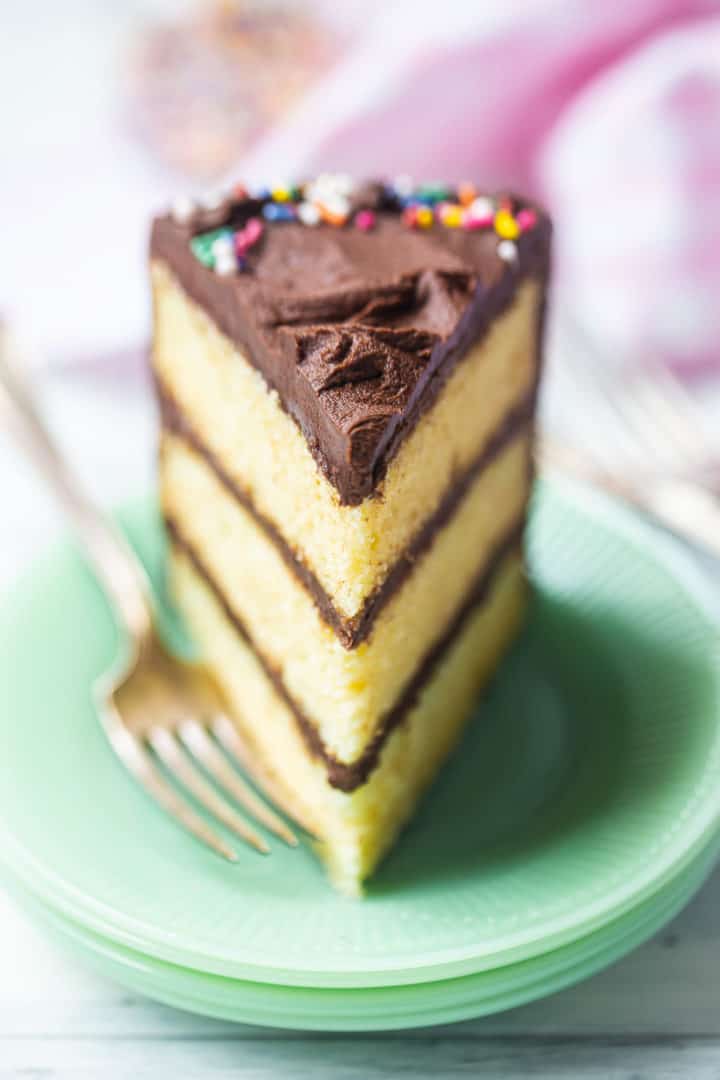
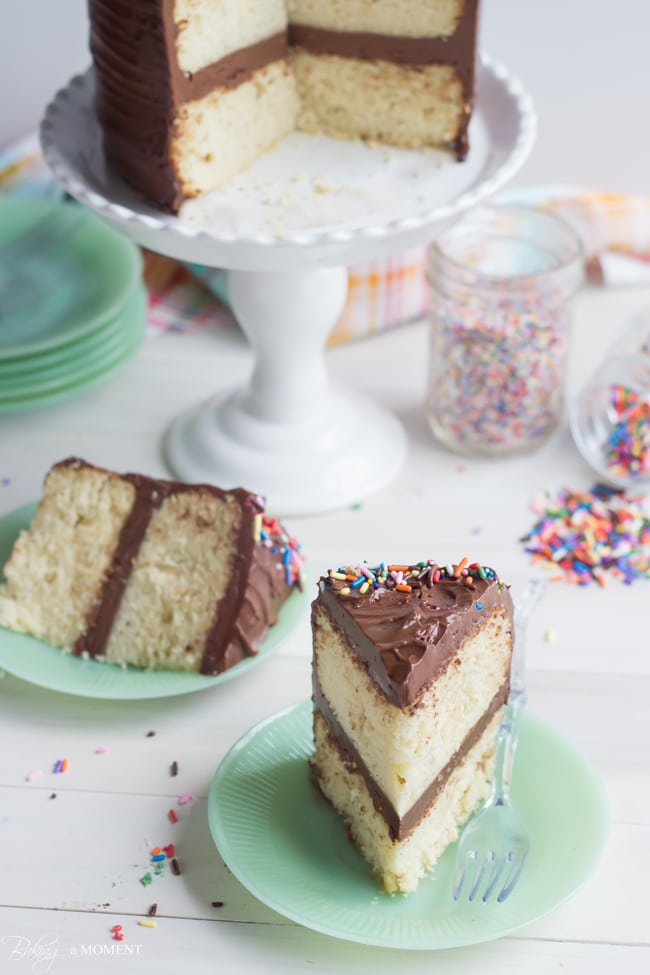
And I think you are going to love it too. The cake is moist and downy, with a fine, delicate crumb and a buttery vanilla flavor that will make you swoon. The easy chocolate frosting is the perfect fudgy compliment.
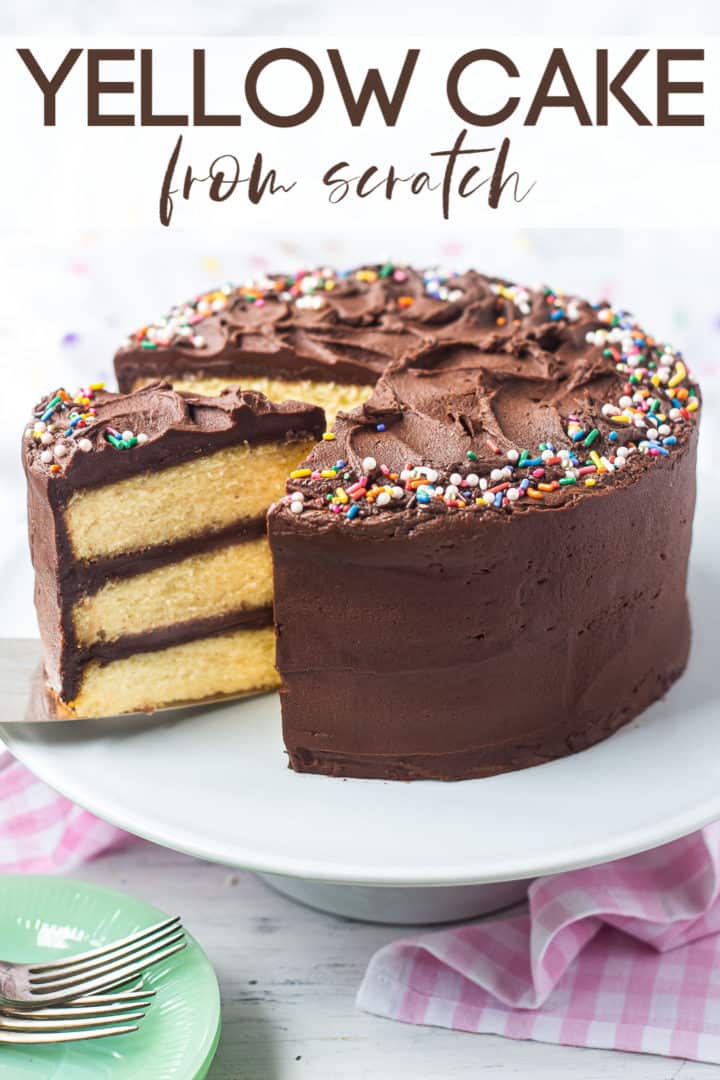
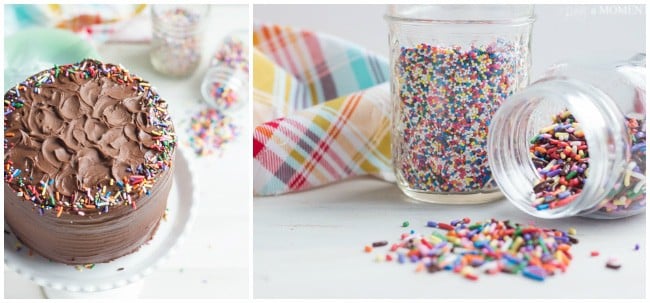
The recipe is so simple to make, in just one bowl, with ingredients you probably already have on hand. You can make it as a tall layer cake like you see here, as a 9×13 sheet cake, or even as cupcakes.
This yellow cake recipe will surely become a favorite for you and the ones you love!
WHAT FLAVOR IS YELLOW CAKE?
The most predominant flavor in this cake is vanilla. It’s got a very fragrant, aromatic vanilla taste, with a buttery back note and an indulgent richness from the egg yolks.
A cake like this would be a perfect base for all sorts of fillings and frostings (more on that below), but I especially love it with chocolate frosting. It’s a classic combination and the simplicity of the yellow cake plays beautifully against the rich, bittersweet taste of chocolate.
INGREDIENTS FOR YELLOW CAKE FROM SCRATCH
It only takes a handful of basic ingredients to make this yellow cake recipe, and everything happens in just one bowl!
Here is what you’ll need:
- Cake Flour
- All-Purpose Flour
- Sugar
- Baking Powder
- Baking Soda
- Salt
- Butter
- Eggs
- Sour Cream
- Milk
- Vanilla Extract
FLOUR
I like to use a combination of cake flour and all-purpose flour for this recipe. The cake flour yields an incredibly soft, delicate texture, and the all-purpose flour provides a little more structure.
You can read more about cake flour here: Why Use Cake Flour?
SALT
I use kosher salt for almost all my baking because there are no additives (so the flavor is pure), and also because it’s a very inexpensive product to buy.
If you’d prefer to use another type of salt, just google “kosher salt to [your preferred type of salt] conversion” to find out how much more or less of it you should use for this recipe.
BUTTER
The butter should be softened before it goes into the mixing bowl. You want it soft enough to squish if you press on it firmly, but not so soft that it’s melting.
I usually soften butter in my microwave. Every machine is different but for mine, 10 seconds on 30% power, then flip it over, and 10 seconds more on 30% is perfect.
Be sure to use unsalted butter when you make this recipe- that way you can control the amount of salt in your final result. I’d love to be able to tell you how much salt to cut back to if you want to use regular, salted butter instead, but the fact is, different brands use different amounts of salt in their product, so it’s really inconsistent and impossible for me to say.
SOUR CREAM
If you don’t have sour cream, you can substitute with plain, unsweetened Greek yogurt, or regular plain yogurt, or buttermilk.
Or you could sour your own milk by stirring 2 teaspoons of white vinegar or lemon juice into 2/3 cup of regular milk. Allow the mixture to stand for 5 minutes, or until thickened and slightly curdled.
Just be aware that while using any of these substitutes will work, I much prefer the result you get with sour cream. It gives the richest flavor and the nicest texture, so if you can get your hands on it, I really think it’s the best way to go.
MILK
Use whatever kind of milk you typically have on hand. For the cake you see here, I used 2%, but anything will work, even plant-based milk.
But keep in mind that a higher-fat milk product will produce a richer tasting result.
HOW TO MAKE YELLOW CAKE FROM SCRATCH
This recipe utilizes the reverse creaming method, which really makes it easy, and practically foolproof. To learn more about this method, click here: Reverse Creaming Method for Cakes.
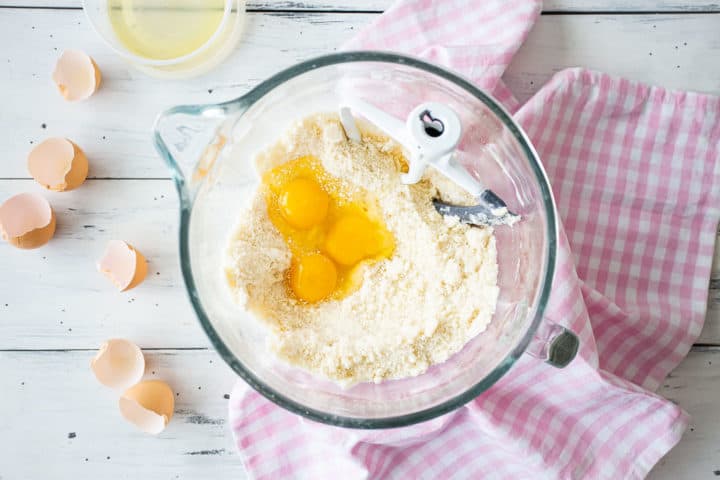
Start by placing all the dry ingredients (both kinds of flour, sugar, baking powder, baking soda, and salt) in a big bowl.
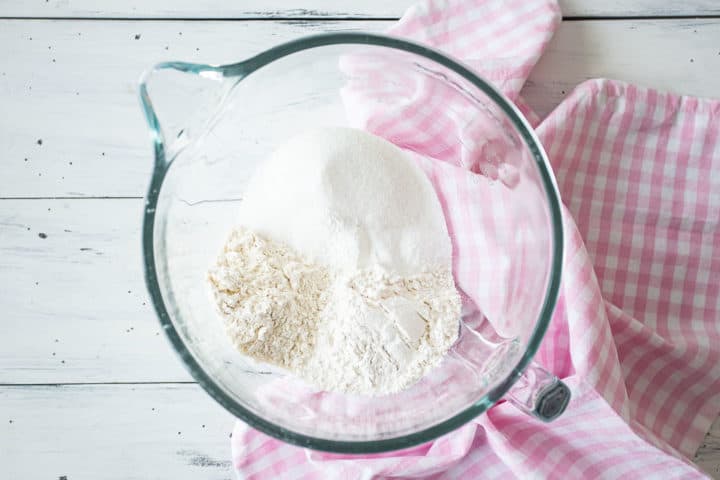
Give them a quick whisk, just to get them combined, then add the softened butter.
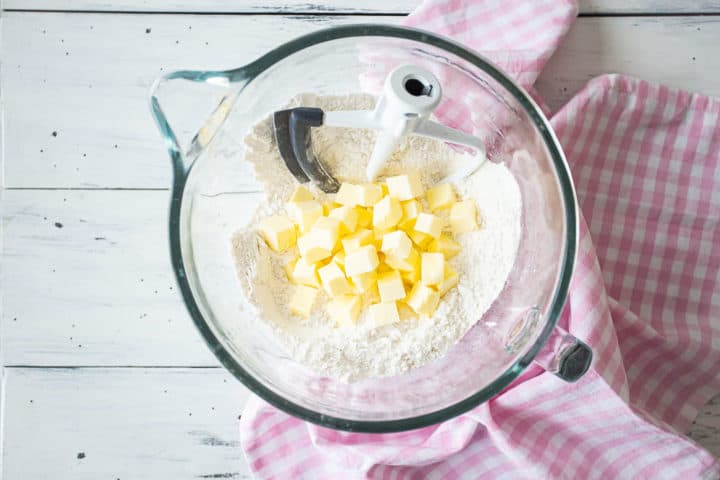
Mix the butter in until the mixture resembles damp sand, then add the eggs.
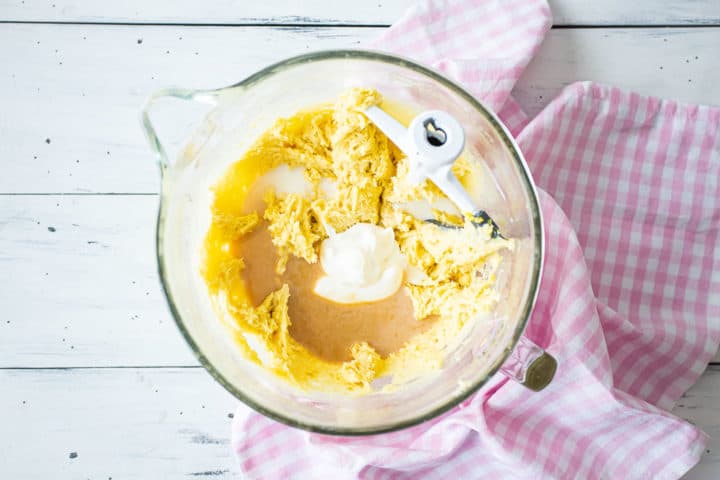
Once these are mixed in, you’ll have what looks a lot like stiff cookie dough. Scrape the bottom and sides of the bowl with a silicone spatula, then stir in the sour cream, milk, and vanilla.
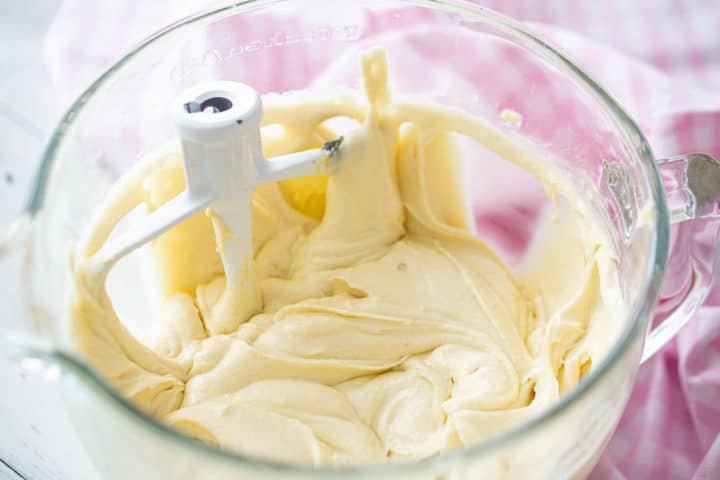
When the liquid ingredients are all incorporated, give the bowl one more scrape with the spatula, then turn the mixer up to medium speed and beat it for about 2 to 3 minutes. This will smooth out any lumps, aerate the batter, and build the cake’s structure.
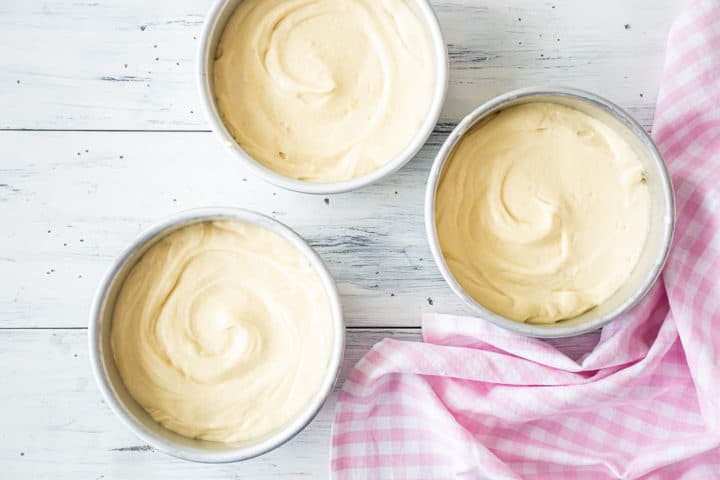
Transfer the batter to your greased and lined cake pans, then pop into the oven to bake!
No two ovens are exactly alike. You’ll know your cake is done baking when it looks golden brown around the edges, feels springy to the touch, and when a toothpick inserted into the thickest part comes out clean.
WHAT KIND OF FROSTING TO USE
For what you see in these pics, I used my favorite easy chocolate frosting. I’ve included the recipe in the recipe card below, but you can find lots more info on how to make it here: Easy Chocolate Frosting.
Some other great options would include my all-time favorite: Chocolate Swiss Meringue Buttercream. This frosting recipe will really blow you away- it’s so silky smooth and rich.
Or a simple whipped ganache would be incredible: Whipped Chocolate Ganache. This option will give you the deepest, darkest chocolate flavor.
You could also do a chocolate (or vanilla) whipped cream frosting. There are instructions for how to make both here: Whipped Cream Frosting.
Or choose any of these non-chocolate options:
CAN THIS BE MADE IN A DIFFERENT SIZED PAN?
For what you see here, I baked this yellow cake recipe in three 8-inch diameter round pans. I really love the look of a tall cake!
But you could also make it in three 6-inch pans or two 9-inch pans. Your layers might just be slightly thicker or thinner, depending.
This can also be made in a 9×13 rectangular pan, or as cupcakes. You should get 24 standard sized cupcakes from one batch.
Whichever size pan you choose, be aware that the bake time may need to be adjusted. You’ll know your cake is done baking when it looks golden brown around the edges, feels springy to the touch, and when a toothpick inserted in the thickest part comes out clean.
CAN THIS BE MADE AHEAD?
I actually prefer to make my layer cakes ahead. The cake needs a good bit of time to cool completely, and I find it much easier to frost after it’s been chilled.
After the cake layers come out of the oven, allow them to cool completely, remove them from their pans, and then wrap them tightly with plastic wrap. Chill them in the fridge or freezer for a few hours (or up to several days) before filling and frosting.
A frosted cake will keep in the fridge for several more days. The frosting almost “seals” it and prevents it from becoming dry or stale.
HOW LONG WILL IT LAST?
Once the cake has been cut, keep it covered to prevent the cut side from drying out. It will keep at room temperature for a few days.
After that, it’s probably best to keep it in the fridge. It should last there for a week or two.
CAN YOU FREEZE IT?
This cake will freeze beautifully.
Wrap it tightly so that it doesn’t pick up any funky freezer odors, and thaw it in the fridge or at room temperature before serving.

A FEW MORE OF MY FAVORITE LAYER CAKE RECIPES:
As an amazon associate I earn from qualifying purchases.

Yellow Cake with Chocolate Frosting
Ingredients
For the Yellow Cake Layers:
- 1 1/2 cups (187.5 g) cake flour
- 3/4 cup (93.75 g) all-purpose flour
- 1 cup (236.59 g) granulated sugar
- 1 teaspoon (4.93 g) baking powder
- 3/4 teaspoon (3.7 g) baking soda
- 3/4 teaspoon (3.7 g) kosher salt
- 3/4 cup (170.25 g) unsalted butter, (1 1/2 sticks), softened
- 2 (88 g) eggs, (large)
- 1 (18 g) egg yolk, (large)
- 2/3 cup (153.33 g) sour cream
- 1/2 cup (122 g) milk
- 2 teaspoons (9.86 g) vanilla extract
For the Easy Chocolate Frosting:
- 1 cup (227 g) unsalted butter, (2 sticks), softened
- 1/2 teaspoon (2.46 g) kosher salt
- 3/4 cup (64.5 g) unsweetened cocoa powder
- 4 cups (480 g) powdered sugar
- 1/4 cup (59.5 g) heavy whipping cream, (approximately)
- 1 teaspoon (4.93 g) vanilla extract
Instructions
To Make the Yellow Cake Layers:
- Preheat the oven to 325 degrees F, mist three 6-inch cake pans* with non-stick spray, and line them with circles cut from parchment paper.
- Place the cake flour, all-purpose flour, sugar, baking powder, baking soda, and salt in the bowl of an electric mixer, and stir on low speed to combine.
- Add the butter, mixing on medium-low speed until the mixture resembles damp sand (about 1 minute).
- Mix in the eggs and the additional yolk until fully incorporated.
- Scrape the bottom and sides of the bowl with a silicone spatula, then add the sour cream, milk, and vanilla.
- Mix on medium speed for 2 to 3 minutes, to aerate the batter and build the cake's structure.
- Divide the batter equally between the prepared pans, and bake until the edges are golden brown, the cake feels springy when pressed, and a toothpick inserted in the thickest partcomes out clean (approximately 35 to 45 minutes).
- Cool completely before filling and frosting.
To Make the Easy Chocolate Frosting:
- Place the butter, salt, and cocoa powder in a large mixing bowl, and add about 1/3 of the powdered sugar.
- With an electric mixer, beat on medium speed until combined.
- Add the remaining powdered sugar (in 2 more additions), beating until combined.
- Stir in the cream** and vanilla, then turn the mixer up to medium-high speed and whip the frosting until light and fluffy.


I can’t believe your blog is only a year old- it looks amazing! And that cake looks delicious!
Thank you so much Chloe! <3
Happy anniversary! Congrats. Wishing you many more wonderful years!
Thanks so much, Melanie! So glad to have “met” you through food blogging 😉
Dannngggg that is a beautiful looking cake! Fantastic recipe 🙂
Happy Blogging!
Happy Valley Chow
Thanks Eric! So glad to hear that you liked it. Have a great weekend!
Fabulous!! Big congrats on your 1-Year Blog-iversary!!
WTG Allie!!
You have a wonderful site, I have made some of your recipes and I always get a thumbs up from hubby and friends, THANK YOU!!
Looking forward to many more great posts from you.
That is so awesome to hear! I just love that, thank you so much for making my day with your comment. Take care, Dalila! <3
Came to visit your blog thanks to Zainab and what do I found, very yummylicious cake
Unfortunately I can’t participate in the raffle (although entered before realizing I’m not eligible..sorry), that would have been nice considered I don’t have a stand mixer at all.
Thasnksd any easy and beautiful blog you have..happy blogaversary and for many more years.
Thank you so much for stopping over, Michal! And for the sweet and warm wishes. I hope to see you here again soon! Take care and enjoy the weekend 😉
Happy blogiversary, dearest Allie! You are such a fabulous woman. I’m honoured to call you a friend and I’m so proud of you. This blog is incredible. Your photography skills are off the chain and everything you make has me drooling all over myself. Case in point – I’d kill for a slice of this perfect cake right now. I’m so glad that I had the chance to meet you in person (you’re the sweetest lady, ever) and I can’t wait until we get to meet again, hopefully sooner rather than later. Here’s to many many more years of Baking a Moment!
Aw, Nancy! The feeling is so totally mutual, girl! I’m so glad to have you in my life- you are such an inspiration! I hope we get a chance to hang out again IRL. Thanks so much for the sweet comment, love and hugs to you dear!
Congrats Allie! Great idea to end your first year on a classic note,yum!
Thank you so much Leah! Nothing beats a simple yellow cake in my opinion. So happy you agree! Thanks for reading and for the sweet comment. 😀
Congratulations Allie!! I love your blog and I really look forward to each and every post 🙂 It’s a shame we live in different countries as your such a lovely person and a great bloggie friend! Btw, scrumptious cake you got there!
I know, and I totally agree! But thank goodness for the internet bringing friends together across the miles! You’ve been so supportive and encouraging to me, from day one! Thanks so much for all the kindness you’ve shown over the last year. xoxo
Happy 1 year! And thank you for the giveaway opportunity!
My pleasure, Linda! I’m so happy to be able to do it 😉
Oh my! This cake looks deeeelish. Happy one year Birthday to you, and a ton more to come! 🙂
Thanks so much for the warm wishes, Katt! Hope you have a fabulous weekend 😉
I love the look using 6″ pans. Makes the cake look special. Congratulations on your one year!
I agree Polly! So much more special and celebratory. Thanks so much for reading and for the sweet comment!
Happy happy happy birthday, Baking a Moment! It is stunning to think you have only been doing this for a mere year. You’re such a pro, and everything from the site to the recipes to the photos is just flawless. Congratulations on a wonderful year, Allie! I truly can’t wait to see what you have in store for year two!!
I’m looking forward to it! It’s such a learning process, as I’m sure you know. I’m glad I was able to learn the ropes on my last blog before launching this one last year. Thanks so much for the kind words, Nora, and for being such a supportive friend to me! I’m so glad we were able to connect through our shared passion 😉
Happy Blogiversary, Allie!!! What a simplistically perfect recipe to celebrate with! Love your photography btw, you are awesome! Good luck in year two!!!
Thank you so much for the warm wishes, Lindsay Ann! And I’m so glad you enjoyed the recipe too. Have a great weekend!
Happy blogiversary! This cake is gorgeous and I love that you made a classic. So glad I was introduced to your blog and all of your wonderful creations!! 🙂
Thank you, Beth! And same here! Have a great weekend, sweetie 😀
Beautiful and delicious-looking cake! I would love to win a mixer in a pretty color!!!
Thanks Sharon! And good luck! 😀
My hubby’s favorite cake! Congratulations on your anniversary 🙂
And mine too! Your hubby has great taste, lol! Thanks, Jett!